The new document picker and provider functionality in iOS 8 is exciting technology because it expands on the possibilities of what we are capable of doing with our devices. We are already seeing a flood of great apps integrating document pickers and extensions from developers like Dropbox, Panic, and Readdle. I recently had the need for the new UIDocumentPicker functionality so I decided to dive in and see what it takes to implement the feature. As it turns out, getting a basic implementation is extremely easy and only requires a few lines of code. Of course, this is well documented by Apple and seasoned developers will have no problems implementing a picker but for us noobs it helps to see the process laid out – so here is a brief walkthrough.
Getting Started
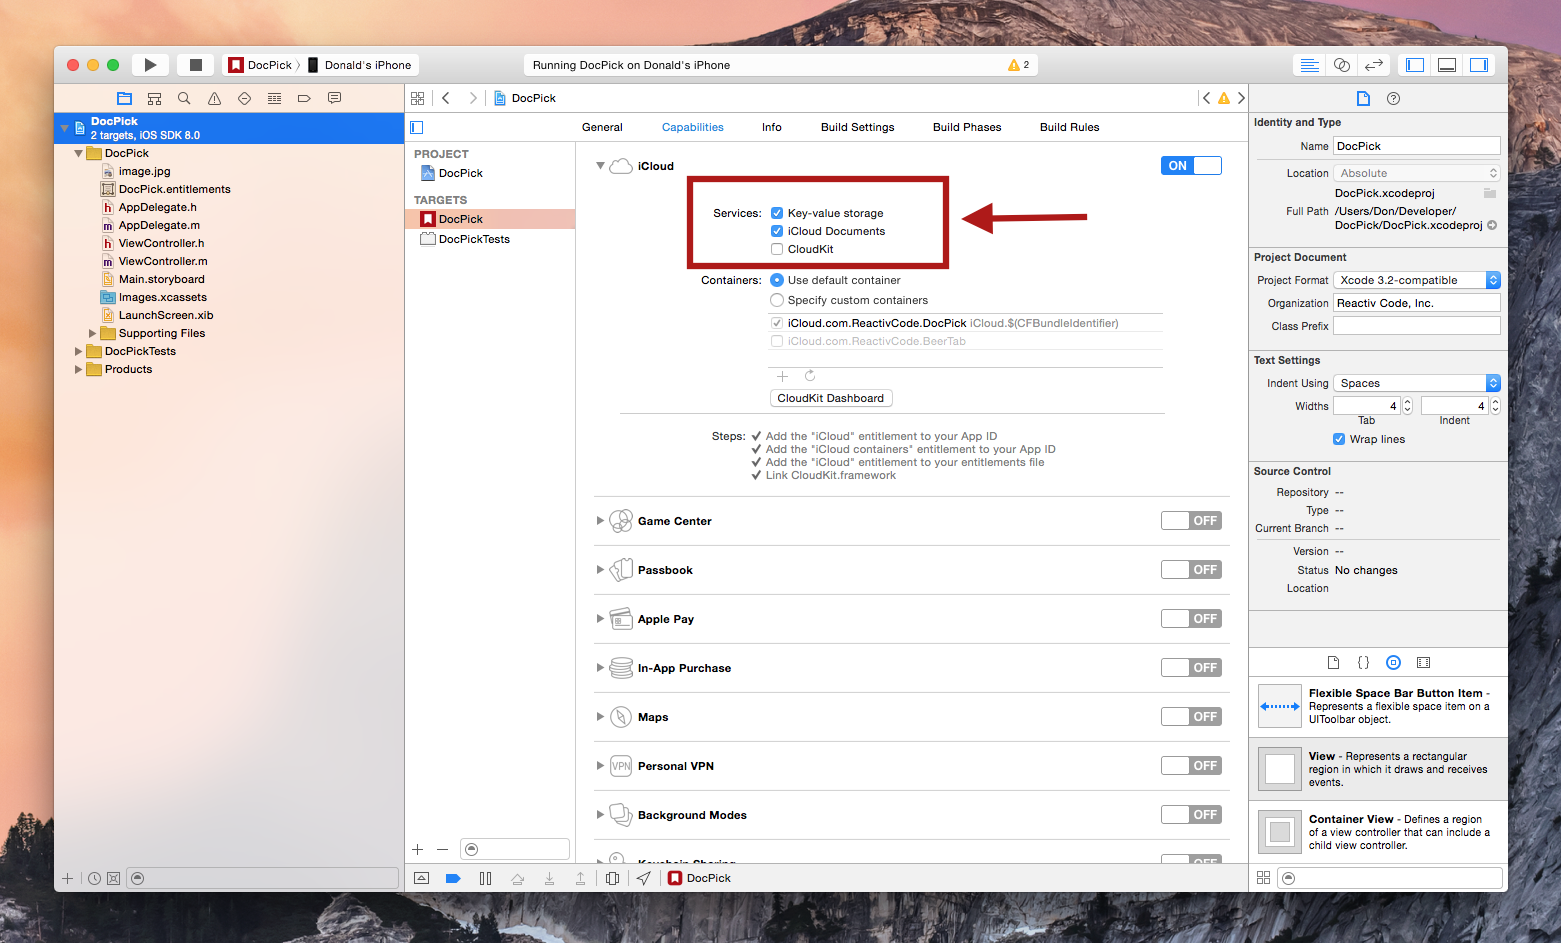
The first thing you will need to do is start an iOS project in Xcode and enable iCloud and iCloud Documents capabilities as shown below.
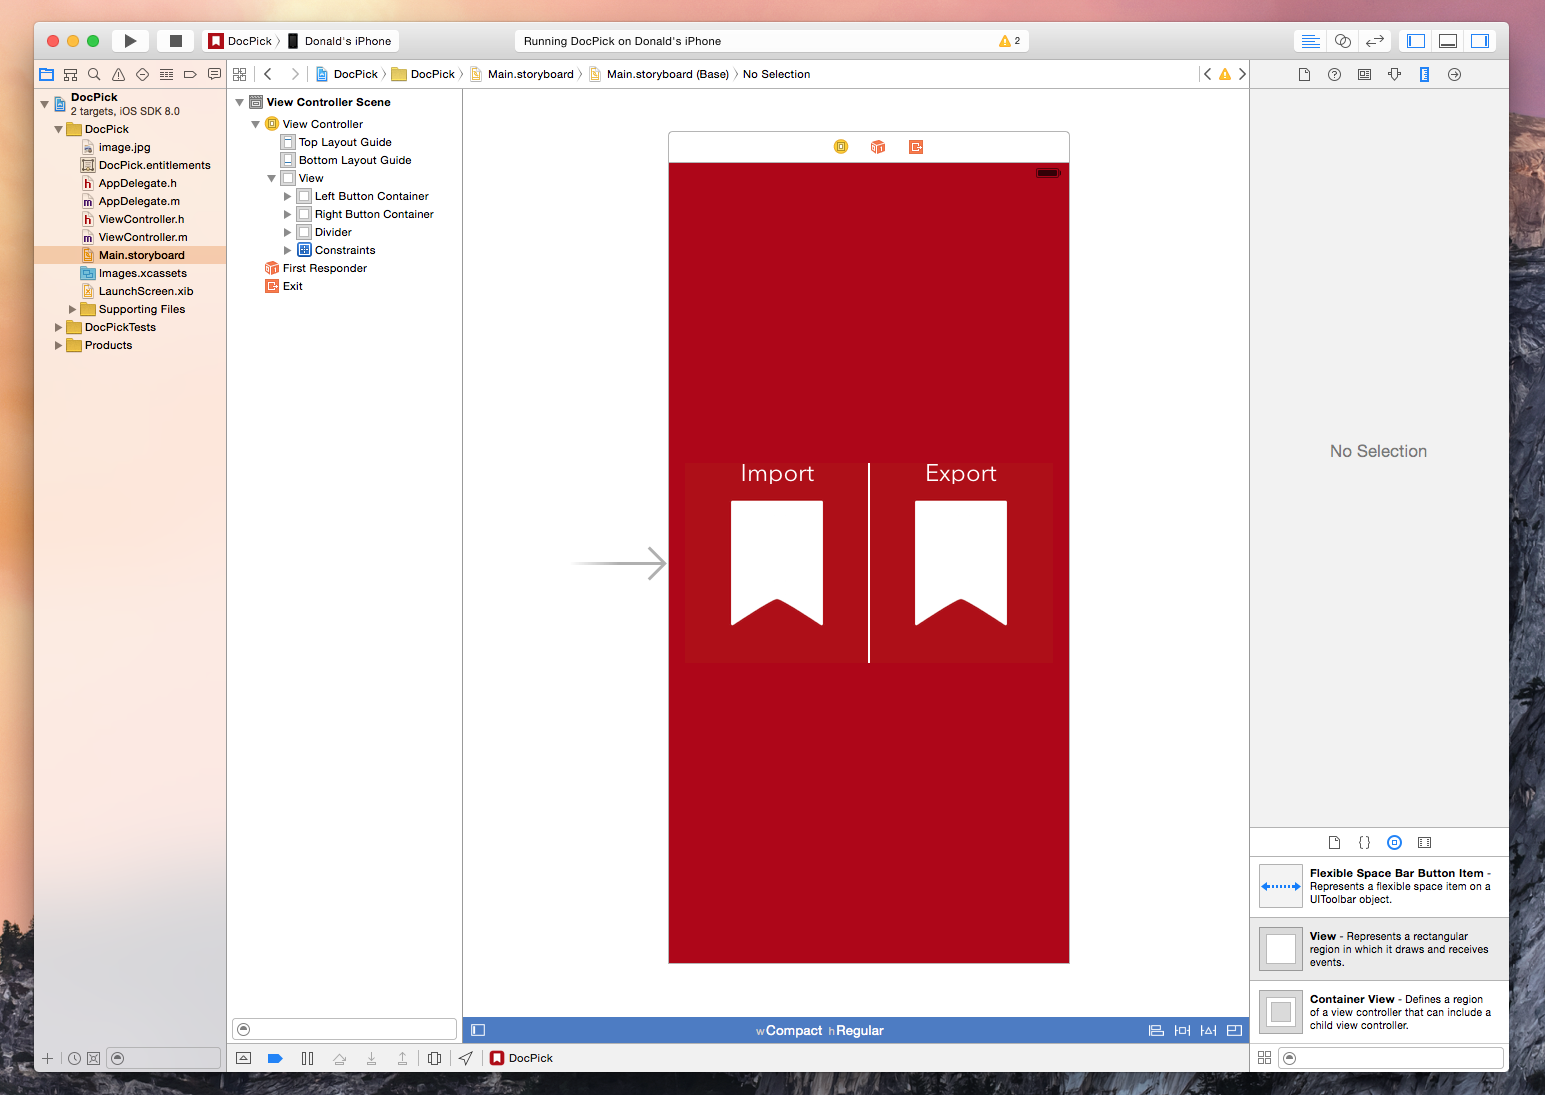
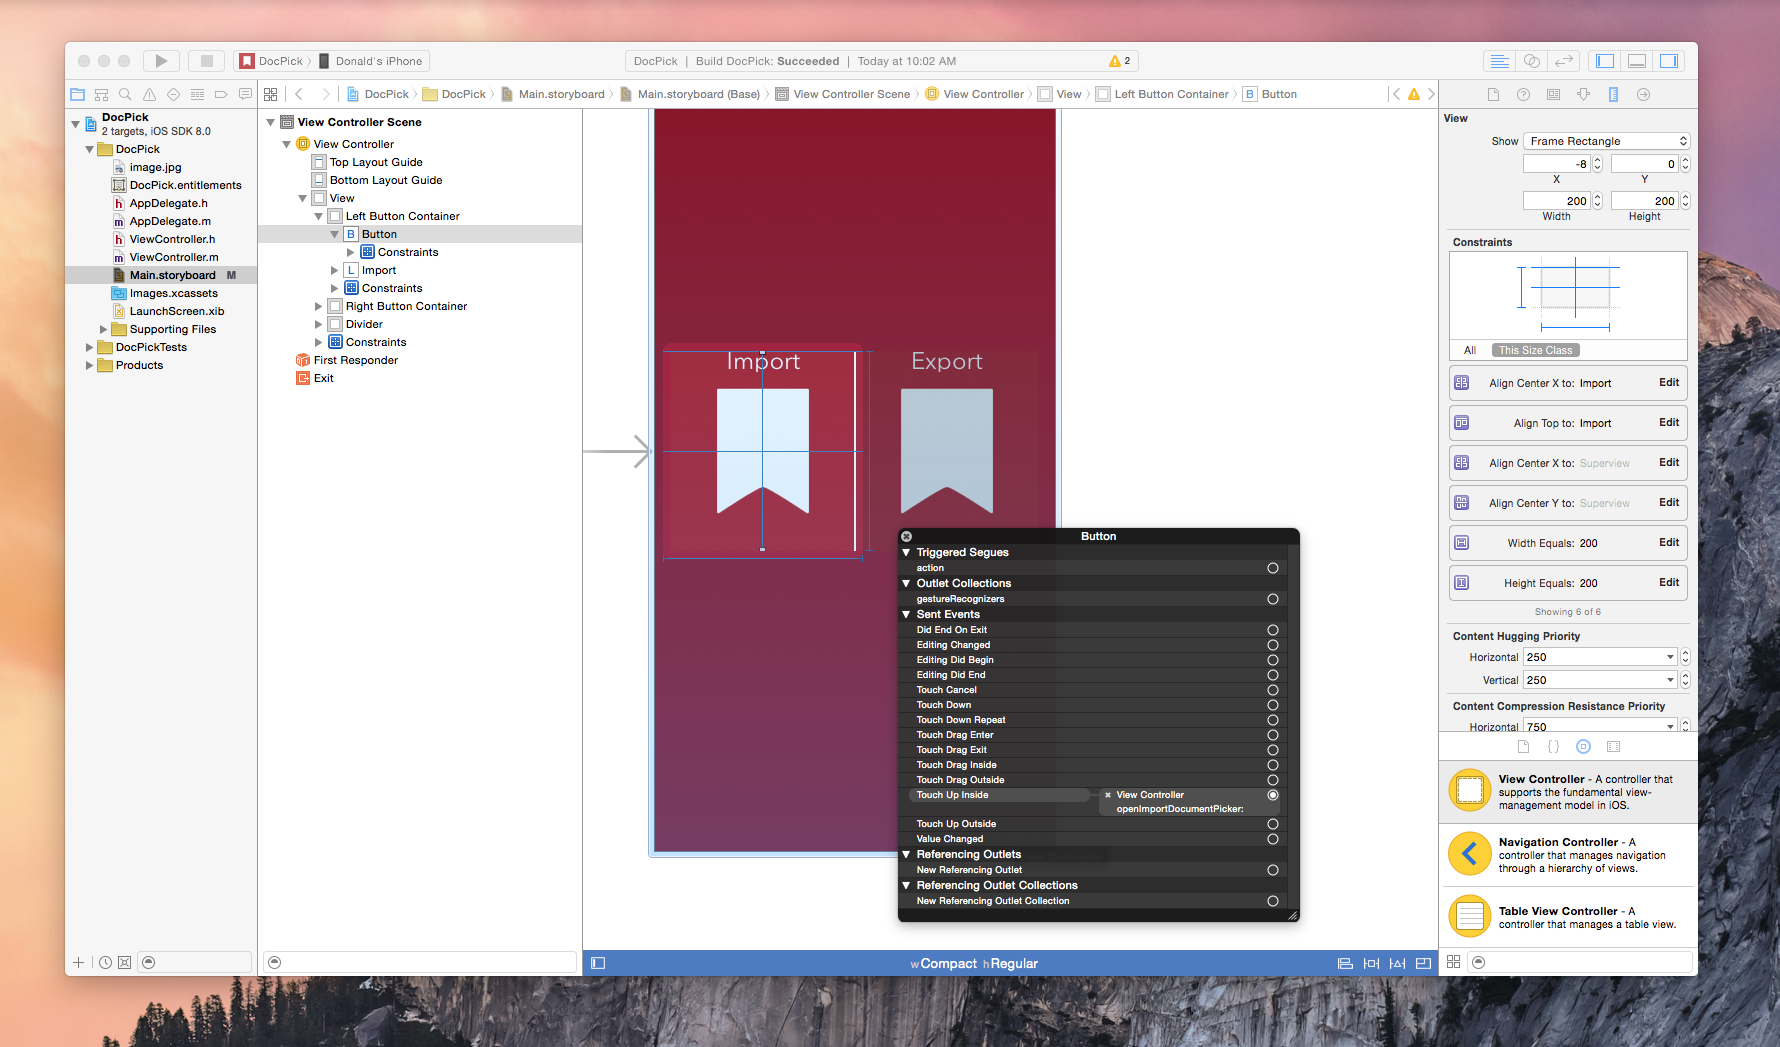
I created a simple UI with two buttons (Import and Export) so I can demonstrate a couple of the picker modes. I created two methods in my View Controller class and wired them up to their respective buttons.
(IBAction)openImportDocumentPicker:(id)sender
(IBAction)openExportDocumentPicker:(id)sender
First let’s implement the import functionality with UIDocumentPickerViewController mode UIDocumentPickerModeImport. It is as simple as calling the instance method initWithDocumentTypes:inMode:and passing an array of UTI document types with a mode that will define view controller capabilities.
If you are unfamiliar with Uniform Type Identifiers (UTIs), Apple has a useful site of common UTIs to help you get started interacting with the necessary file formats for your application. For this example I have choosen a single UTI for image formats because I only want the user to be able to import pictures.
- (IBAction)openImportDocumentPicker:(id)sender {
    UIDocumentPickerViewController *documentPicker = [[UIDocumentPickerViewController alloc] initWithDocumentTypes:@[@"public.image"]
                                                                                                            inMode:UIDocumentPickerModeImport];
    documentPicker.delegate = self;
    documentPicker.modalPresentationStyle = UIModalPresentationFormSheet;
    [self presentViewController:documentPicker animated:YES completion:nil];
}
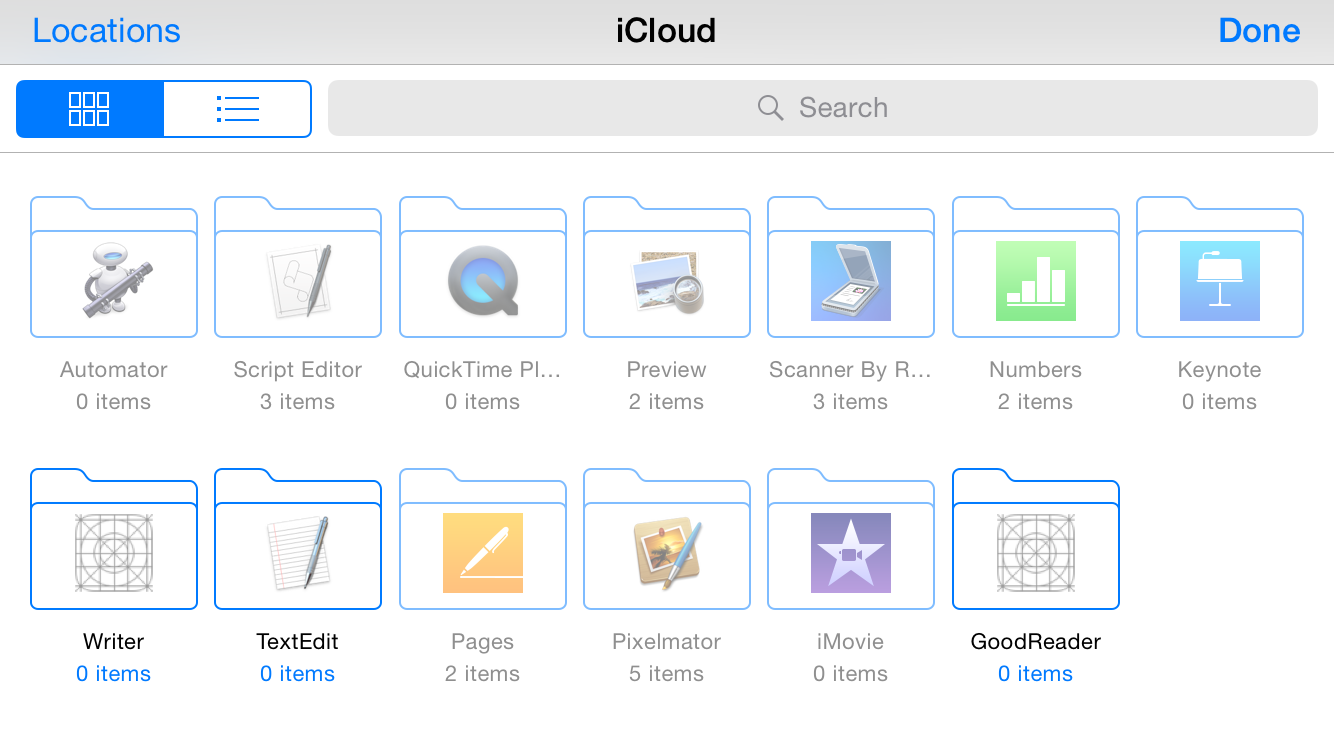
Once presentViewController: is called, your user is presented an Apple-provided UI for selecting a file from the document provider. At this time the user has access to all of the enabled third-party providers installed on their device.
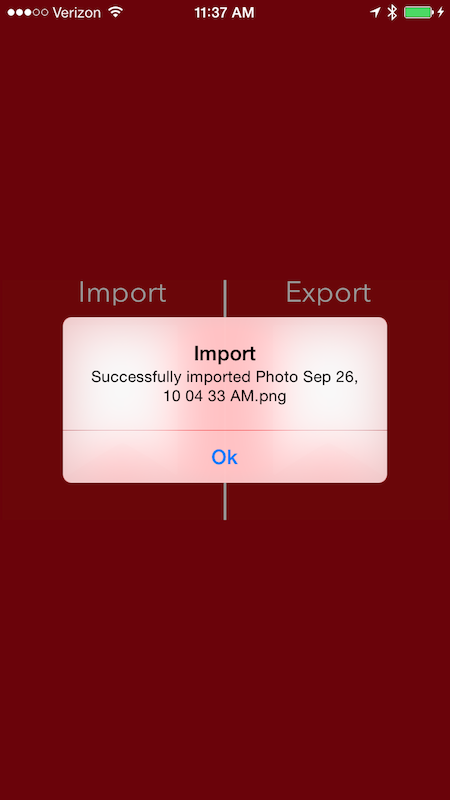
To be notified of the selected file you have to make your View Controller a <UIDocumentPickerDelegate> and implement the - (void)documentPicker:didPickDocumentAtURL: method. As shown below, I simply respond to the incoming image by extracting the filename and displaying it with another new iOS 8 API – UIAlertController. It is also important to note that this delegate method is called whether you are importing or exporting so you have to inspect the methods controller and act on the specific mode property as shown below. In an actual application this is the point in which you would process the file with logic specific to your app.
- (void)documentPicker:(UIDocumentPickerViewController *)controller didPickDocumentAtURL:(NSURL *)url {
    if (controller.documentPickerMode == UIDocumentPickerModeImport) {
        NSString *alertMessage = [NSString stringWithFormat:@"Successfully imported %@", [url lastPathComponent]];
        dispatch_async(dispatch_get_main_queue(), ^{
            UIAlertController *alertController = [UIAlertController
                                                  alertControllerWithTitle:@"Import"
                                                  message:alertMessage
                                                  preferredStyle:UIAlertControllerStyleAlert];
            [alertController addAction:[UIAlertAction actionWithTitle:@"Ok" style:UIAlertActionStyleDefault handler:nil]];
            [self presentViewController:alertController animated:YES completion:nil];
        });
    }
}
Example import:
That is all that is required to import a file into your app on iOS 8 and it is simply amazing. So how do you export a file? Well that is even easier.
Once you prepare the necessary file, you initialize a document picker with the mode UIDocumentPickerModeExportToService and pass in the URL to the file.
- (IBAction)openExportDocumentPicker:(id)sender {
    UIDocumentPickerViewController *documentPicker = [[UIDocumentPickerViewController alloc] initWithURL:[[NSBundle mainBundle] URLForResource:@"image" withExtension:@"jpg"]
                                                                                                  inMode:UIDocumentPickerModeExportToService];
    documentPicker.delegate = self;
    documentPicker.modalPresentationStyle = UIModalPresentationFormSheet;
    [self presentViewController:documentPicker animated:YES completion:nil];
}
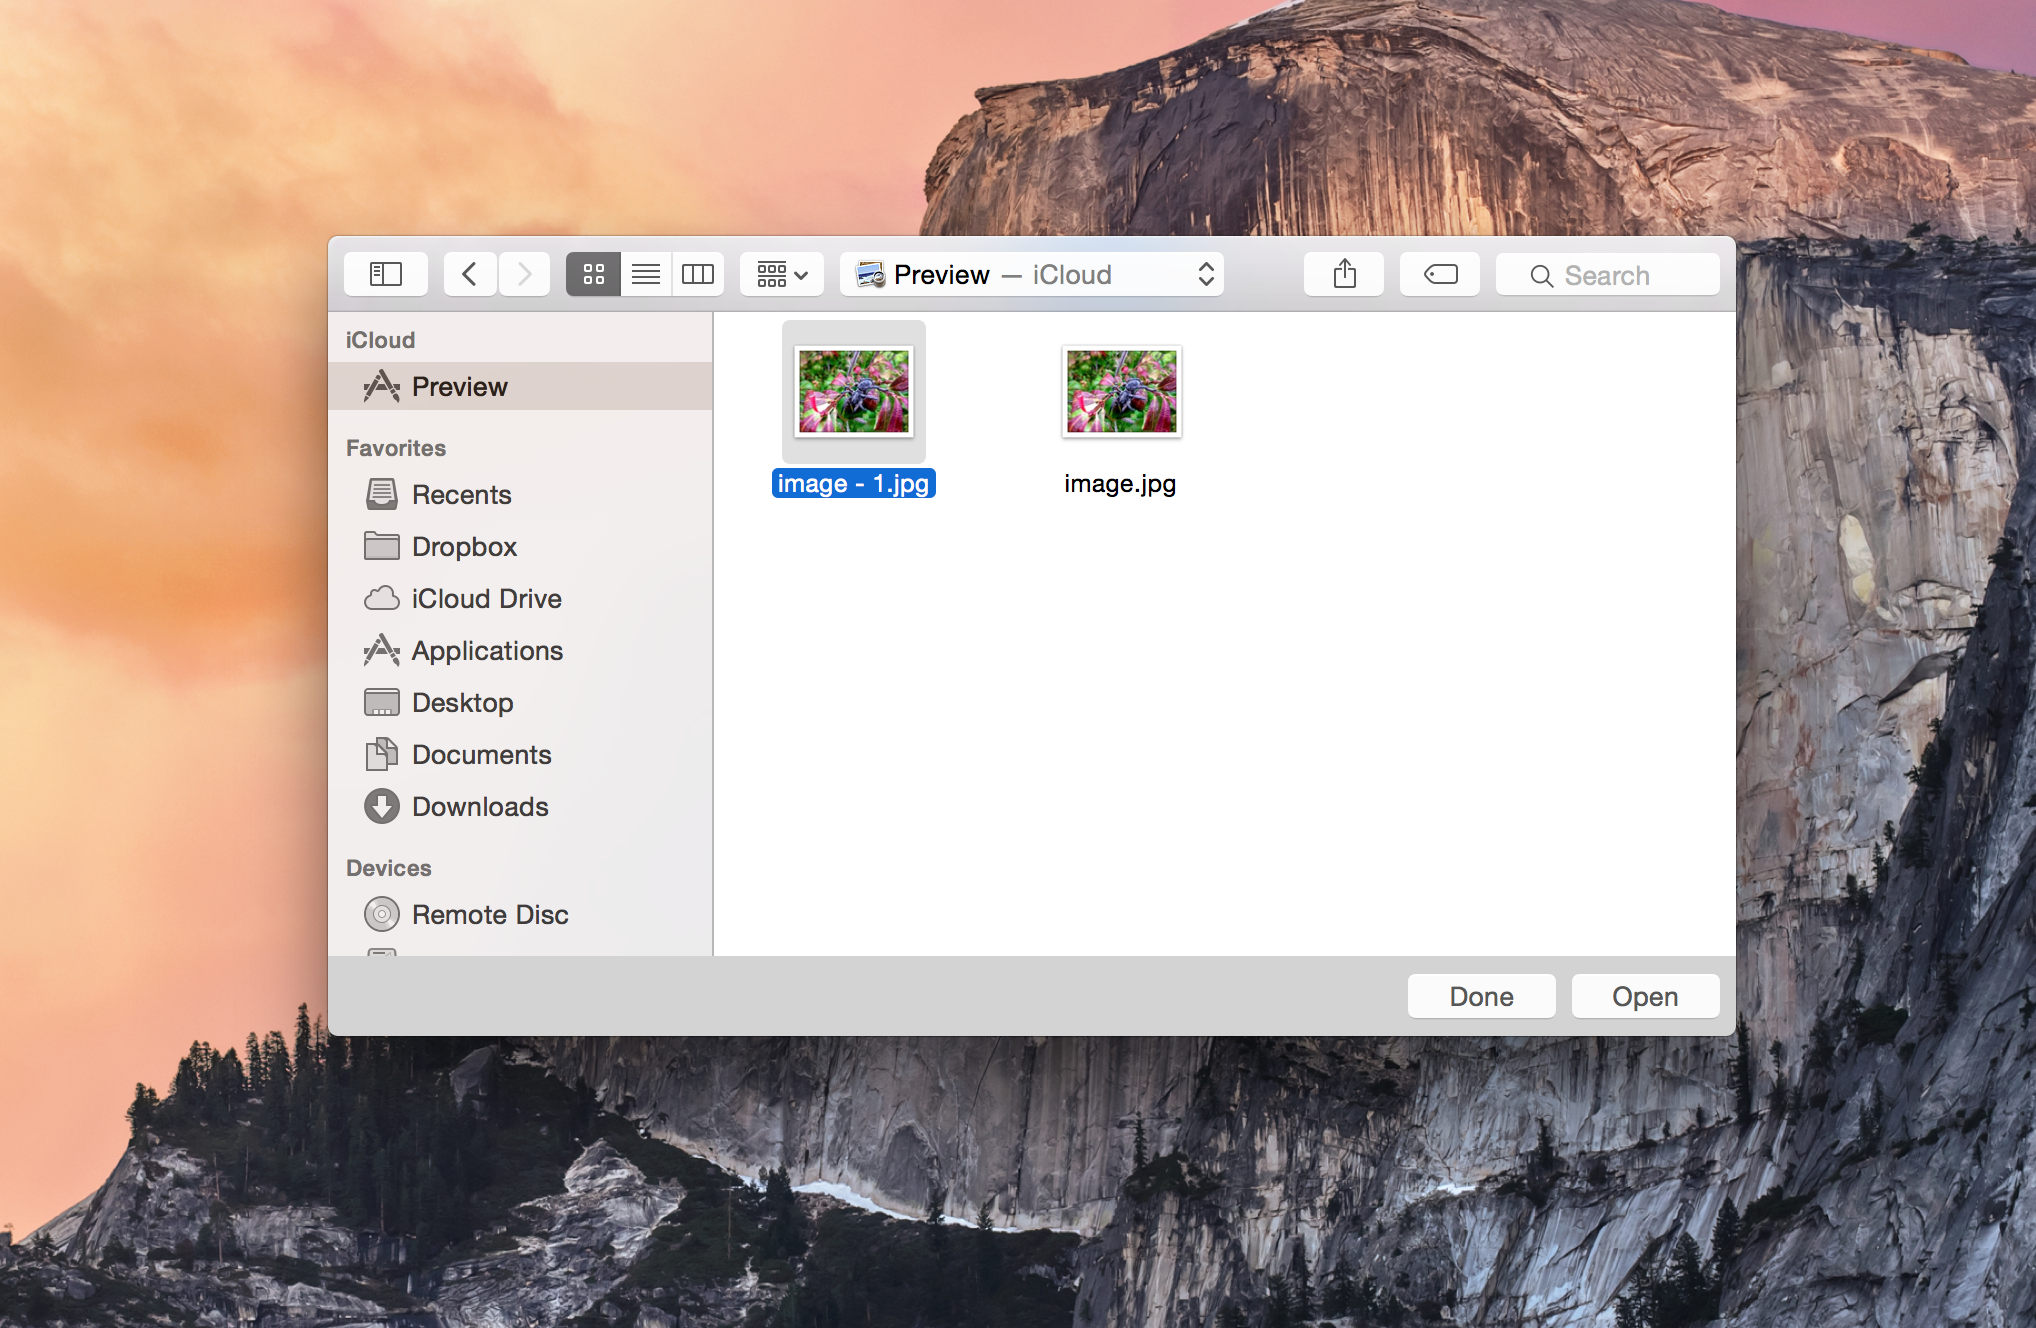
The user is presented the document picker and once a destination is selected the file is copied to the resulting location. In my example code, I am exporting an image I have saved in the bundle called image.png. You can see in the screenshot below that I exported it to Preview.app in iCloud Drive and it instantly showed on my Mac running the beta version of Yosemite. If the file already exists then the user is prompted to rename file.
That is all there is to a basic implementation of UIDocumentPicker and you can integrate it into your app in less than an hour. I am making the project available on GitHub so check it out and let me know if I did anything wrong.
If you have other resources relating to the topic or have feedback on this example feel free to reach out!


