If you’re a blogger, a social network addicted, a casual geek, it’s very, very likely that you open tons of links everyday. From a browser point of view, this means that you usually have 10 / 20 / 30 open tabs and - you know - it’s not so good. But, it’s also likely that you don’t read all the pages as soon as you open them: you leave them open for later reading sessions.
And here come tools such as Read it Later and Instapaper: instead of leaving those open tabs cluttering your browser window, you can send pages to your read later app and - ehm - read it when you want. I’ve reviewed Read it Later for iPhone a few months ago, be sure to read the article if you missed it.
Anyway, today I’d like to talk about the famous alternative to RiL, Instapaper. Developed by Marco Arment (lead developer of Tumblr), Instapaper has slowly become one the most popular applications in the App Store, featured on many tech blogs / magazines.
Is there a way to make Instapaper even more Apple-style? Sure! I’ve collected some tips and hacks to enhance your Instapaper experience while on Mac OS and iPhone OS, but don’t hesitate to share your tips and suggestions in the comments!
Enjoy! ;)
Web Interface
Basically, Instapaper is a web app. You create an account, drag the bookmarklet onto your browser toolbar and you’re ready to save pages. Then, when you want to read the stuff you saved, just head over instapaper.com and you’re done.
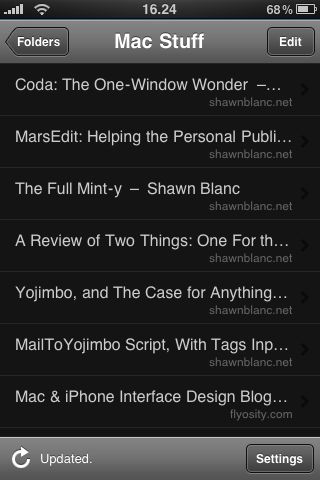
The biggest difference from Instapaper and Read it Later (aside from the user interface) is the possibility to create folders. You can create as many folders as you wish and move articles there.
Really useful.
iPhone App
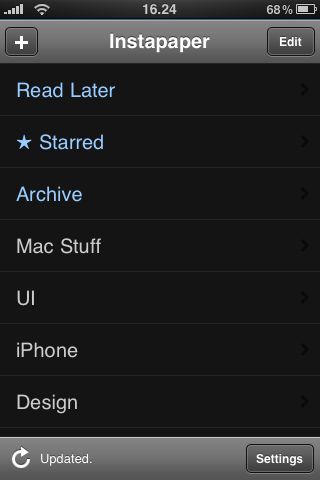
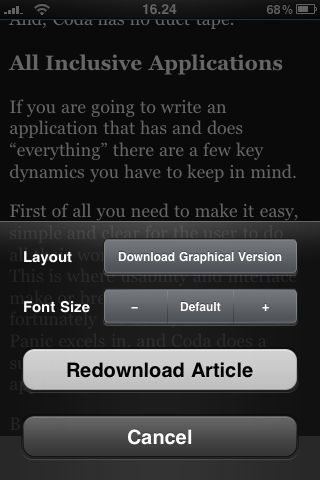
The official Instapaper iPhone app is one of the best I’ve recenlty downloaded.
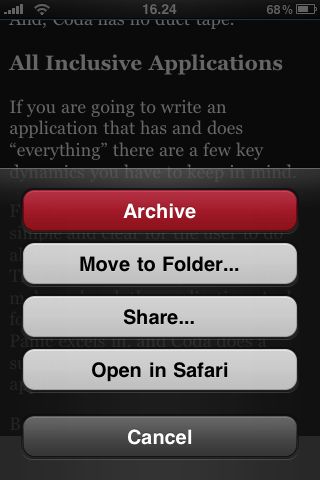
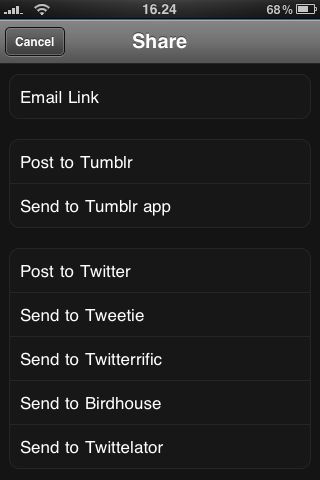
The user interface is simple yet elegant and functional, but the real deal about this app are is that it’s features rich. You can set up a twitter / tumblr account for quick sharing, but you can also send links to other supported apps such as Tweetie or Twittelator Pro.
Also, you can post to tumblr via Instapaper or the Tumblr app (which is pretty unstable by now, should be better with the upcoming 1.1 update waiting approval).
Fluid
Here comes the real Mac stuff. Fluid is an application which turns web services into full featured desktop applications. I also wrote a roundup about the best web apps you should convert with Fluid. However, let’s focus on Instapaper now.
If you’re a user, you MUST turn Instapaper into a desktop app. And, if you want some good Mac OS eye-candy, follow these steps:
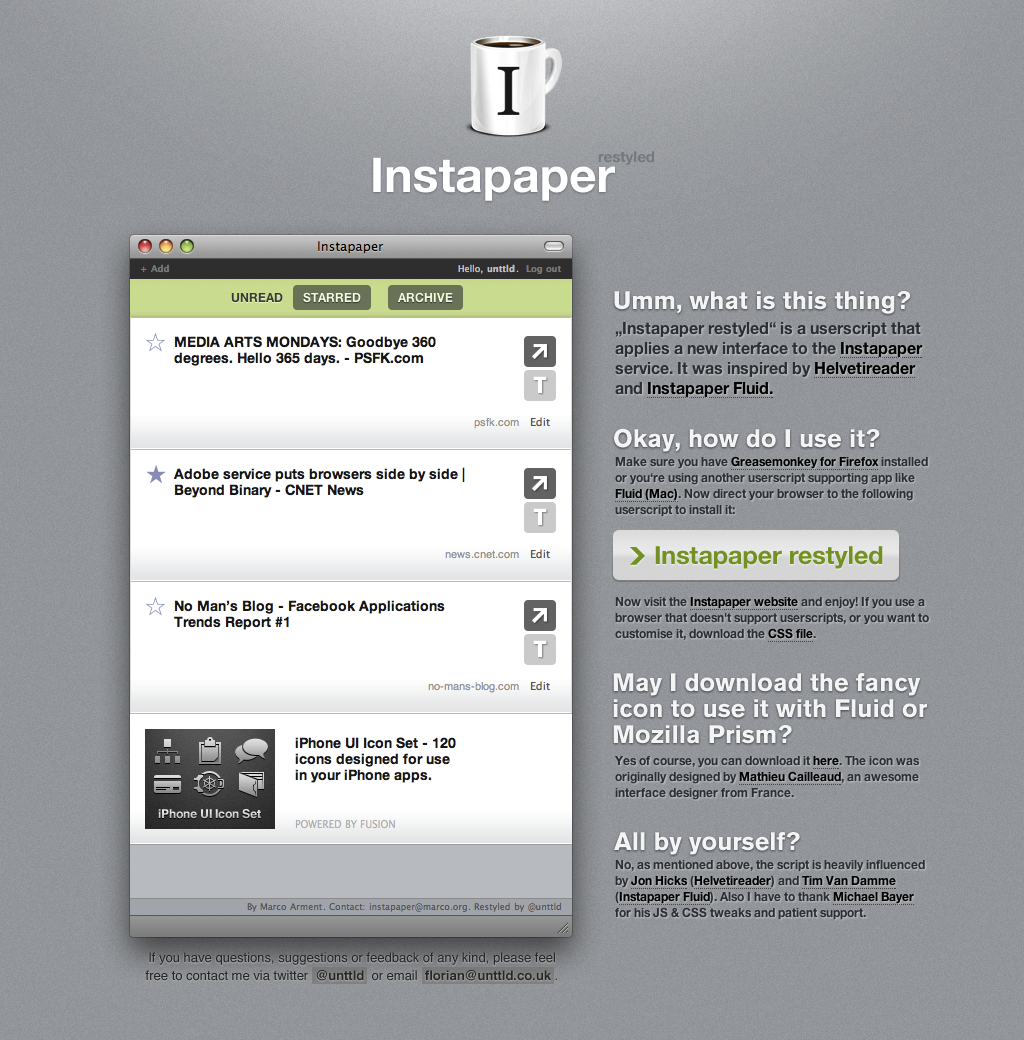
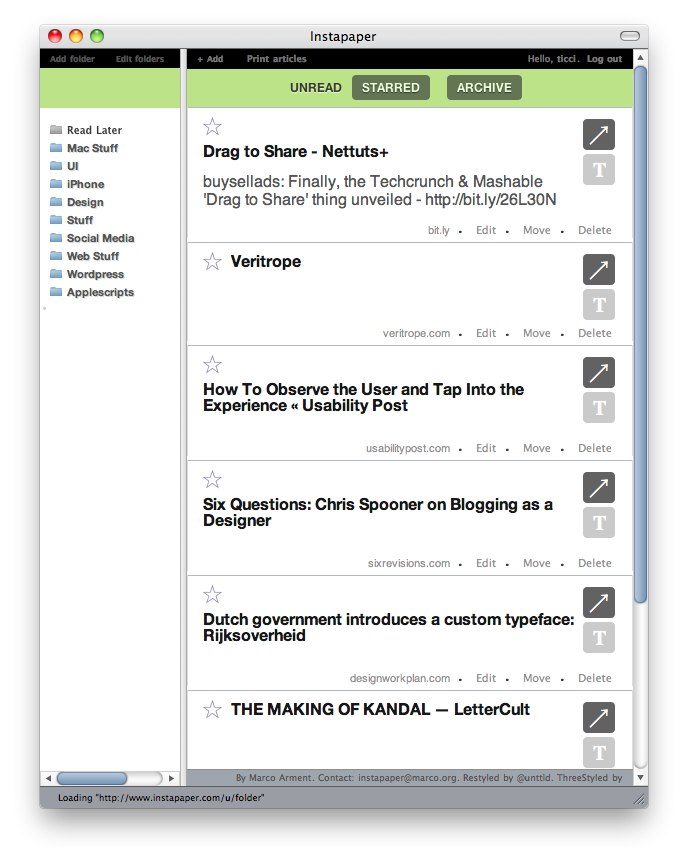
Instapaper Restyled [link]
A beautiful userstyle which turns Instapaper’s standard UI into something waaaay better. See the screenshot to believe.
Instapaper Threestyled [link]
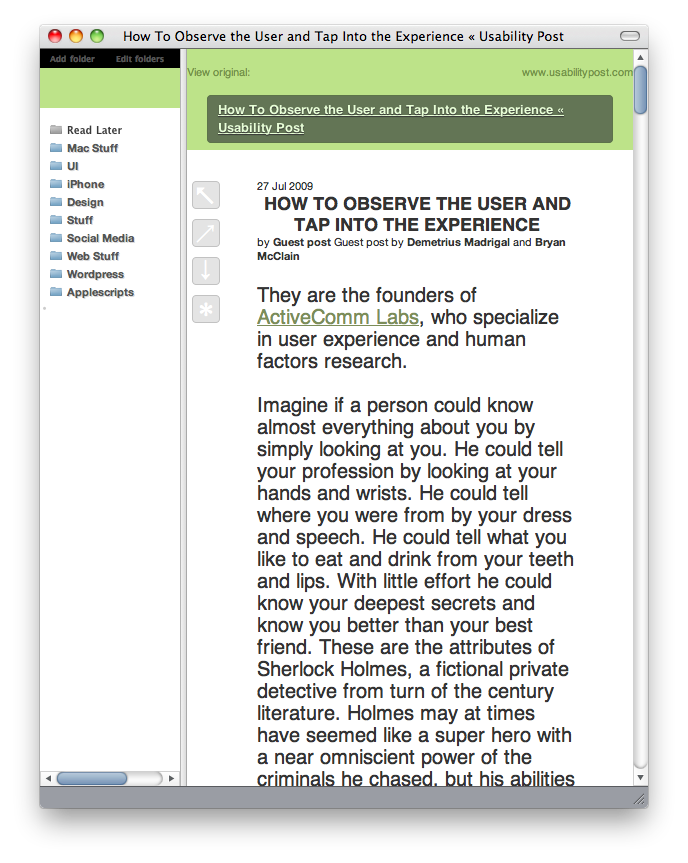
Built on the base of Restyled, adds support for folders.
A must have. (at least, until Instapaper Restyled author won’t update his style)
Instapaper Article Tools [link]
From the creator of Threestyled, this script adds a floating palette to articles viewed in text-only mode. The palette includes star and return to read later buttons.
Icon [link]
You can use this amazing icon by Mathieu Cailleaud.
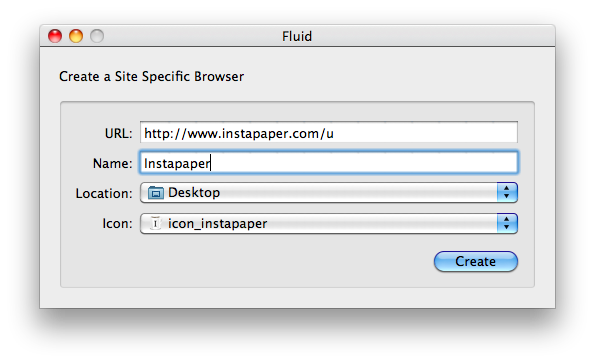
Now, to create a desktop app with all these features enabled:
- Fire up Fluid and fill the fields like this:
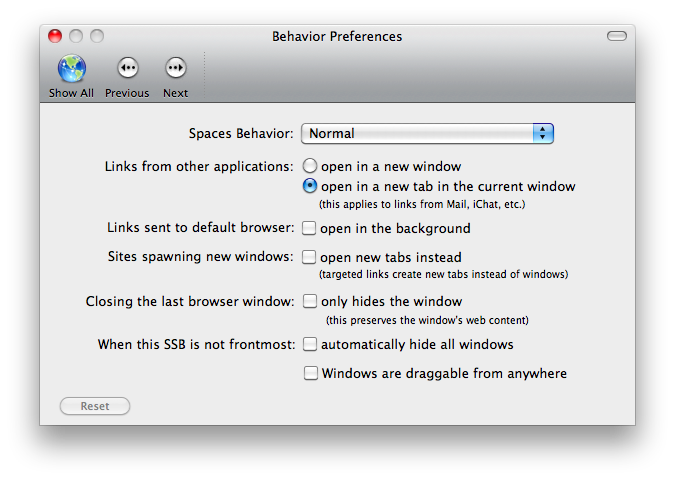
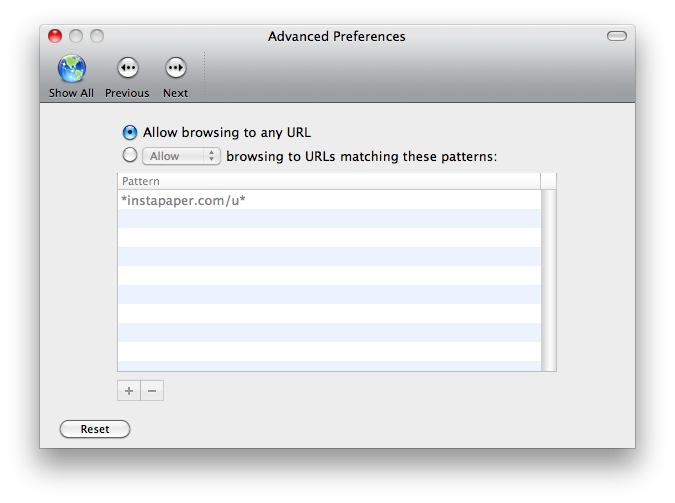
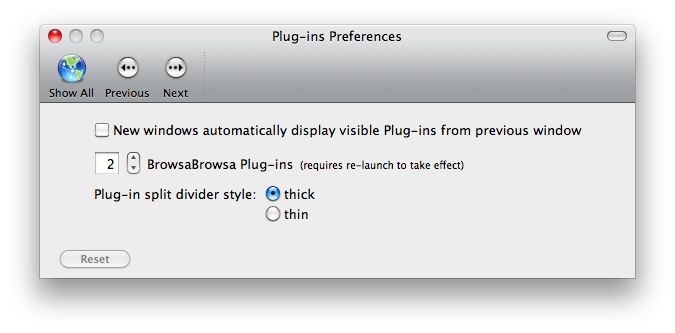
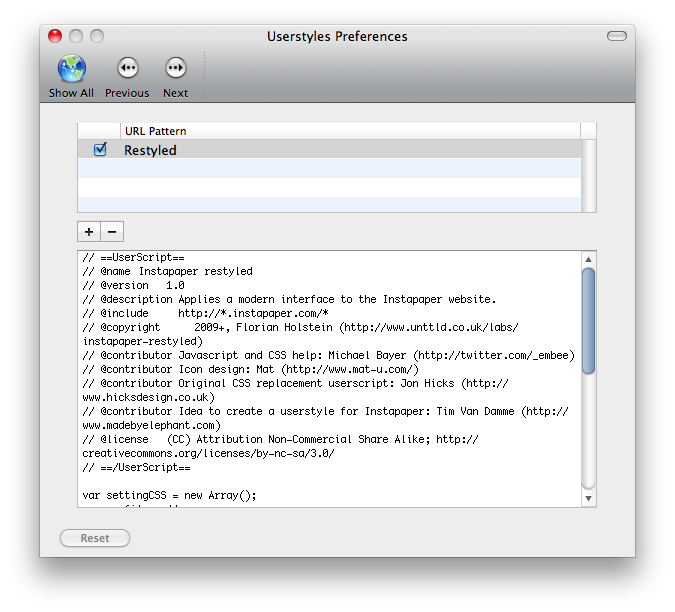
- Now, launch the application you’ve just created and adjust the preferences like this:
Please note that if you want to use Safari instead of Fluid you have to install Greasekit to let you Mac load userscripts / userstyles. Follow my tutorial here to install it.
- Now, to install Article Tools and Threestyled, follow the steps the author mentioned in the official posts (see above).
- To create a new userscript within Instapaper.app, click on the script icon in the menubar, then Add New Userscipt, paste the code and save. Then activate it and reload.
And here’s the final result of the facelift:
Cool, isn’t it? In this way, I’ve managed to create a gorgeous and full featured Mac native app for Instapaper.
And you? Have you got other tips to share? :)


