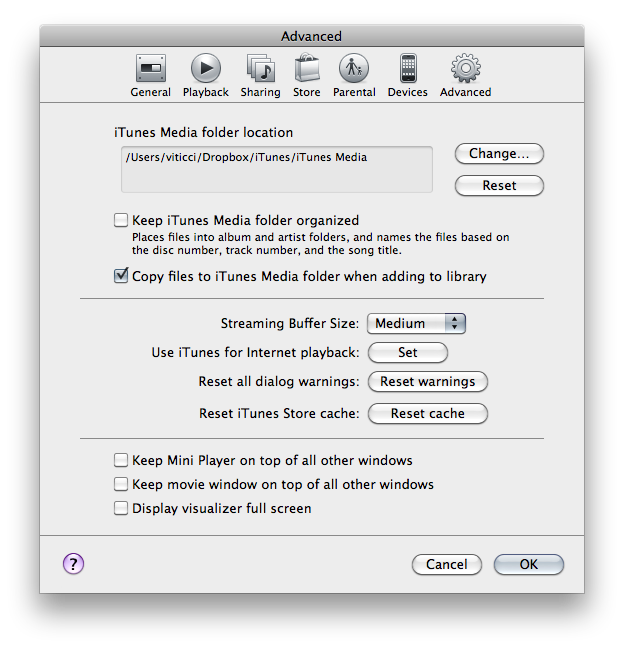
Those who follow me on Twitter have probably read that I’ve been struggling in trying to make iTunes play nice with Dropbox. As I wrote many times here on MacStories in the past, I moved all the files and app databases I access on a daily basis into Dropbox, but iTunes was missing. I read in many forums and blog posts that making iTunes work fine with Dropbox sync across multiple computers was quite a mess, and I wasn’t sure I was ready to take the effort and spend hours messing with 80GB of music (and hours of uploads for my connection) and all those apps I have in my library. Fortunately, I don’t store movies in iTunes.
So as I wrote, I was having doubts about going Dropbox all the way with iTunes. The advantages of this method are obvious: you can sync your devices on multiple computers as long as Dropbox is updated to the latest version, you can check for app updates on any of your computers – you can add music to your library no matter the computer you’re using. With Dropbox, iTunes simply thinks it’s running on a single machine, while in fact you’re using it on multiple machines. I have a MacBook Pro and an iMac, but I’m sure the same method works on 2 or more computers.
There are some tricks you must know, however, and some steps you have to follow in order to make it work and avoid errors. iTunes is not exactly the most stable app for the Mac or the easiest to tweak: by default, it stores its database in a directory other than /Library (where most apps usually reside), it relies on a .xml library file that can easily be corrupted and if you go ahead and store app betas in your iTunes Library, you’ll have to deal with additional folders. In my experience, iTunes has turned out to be the hardest application to sync with Dropbox, but I think I’ve nailed it. Here’s how.
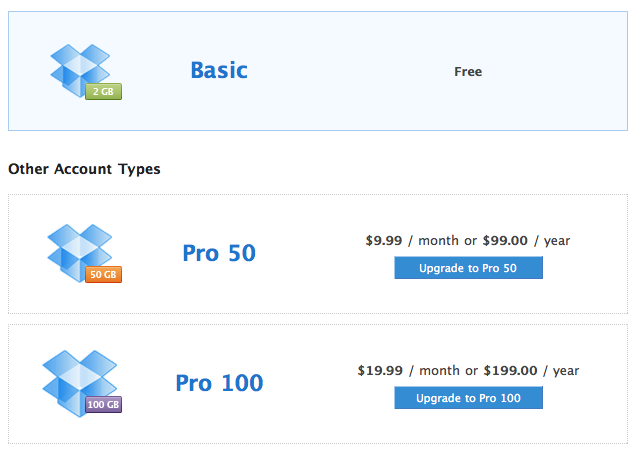
First, make sure you have enough space on Dropbox. I had to upgrade my account, being my music library way above the 10GB I used to have. Dropbox doesn’t exactly come cheap, but it’s well worth it.
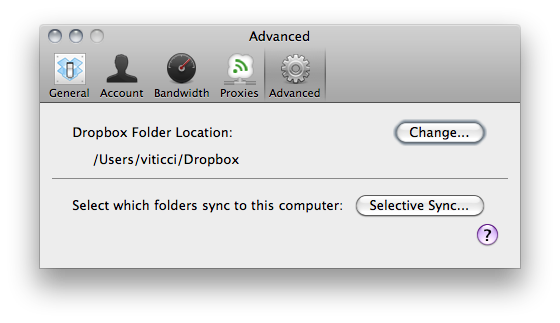
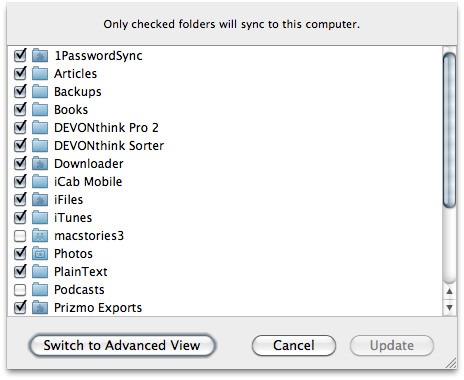
Once you have enough space in your Dropbox installation, take a leap of faith and install the “forum build” of the app. You can call it “beta” or “preview”, it’s basically a version of Dropbox for Mac that comes with features not released to the public yet. Selective Sync is one of those features: it will allow you to select which folders you don’t want to sync back to your machine. It may come in handy if you want to keep some stuff saved on Dropbox, but save space on your computer for iTunes at the same time. It really comes in handy for SSD owners who will likely want to save some space (SSD are still pretty expensive when it comes to high storage).
Once Dropbox is running the latest version (again, this is just my tip. The regular version will work fine as well) and you’re sure your iTunes library will fit in there, make a backup of the aforementioned library. You never know if things will somehow go wrong, so I suggest you copy your current library (should be in Music/iTunes) to an external drive, or somewhere else on your computer. I backed it up to my external FireWire drive.
Now, you want to move that very same library to Dropbox. That’s where problems, issues and incompatibilities will likely arise. After many tests and hours spent trying to figure how iTunes “plays” (no pun intended) with its media files (music, podcasts,ringtones, apps), I’ve come to a conclusion: the best thing you can do if you have enough space on Dropbox is store your entire library on it. See, some people will suggest you can store just the “library files” (like the .xml file I mentioned above) in Dropbox and leave songs, videos and apps out of it. That won’t work, and will eventually lead to issues. It is true that you can store “library files” in Dropbox and point to another “iTunes Media” location, but that method caused too many issues on my computers and I had to create a new library from scratch twice. Plus, as this tutorial is focused on how you can sync your entire iTunes library via Dropbox, it makes no sense to talk about and even consider that method.
With the iTunes Media folder stored out of Dropbox, you won’t be able to sync your devices on all your computers. That’s one of the main points of this article.
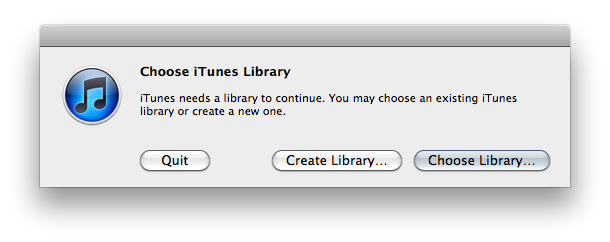
What I did is fairly simple: I moved the entire library in /Dropbox. That’s really it. With existing iTunes libraries, though, the moving process may turn out to be fairly complicated and lead to further issues. If you want to create a new library from scratch as you want to start anew in Dropbox, go ahead: quit iTunes, hold Option and click on the iTunes dock icon. You’ll be able to create a new iTunes library in any desired location and start fresh with it. You’ll then need to re-import your music and movies, and transfer your apps back from your devices. If you’re willing to take your time to re-import media files, re-download album artworks and all the additional tasks that come with a new library, this is surely the easiest way to get started with iTunes in Dropbox.
If you don’t want to lose your library, however, there’s a way to trick Mac OS to think the library is still in its original location, while, in fact, it’s stored into Dropbox. You have to use a symbolic link. With a symbolic link (which is different from an alias) the Finder (and iTunes) will think the library is still into Music/iTunes, but it’s actually been moved into iTunes. To do this, make a backup of your current library then copy it into Dropbox. The entire “iTunes” folder. Quit iTunes. Delete the iTunes folder inside Music/iTunes. Then open Terminal and write:
ln -s new/Dropbox/location old/Dropbox/location
Of course you’ll have to replace “new/Dropbox/location” and “old/Dropbox/location” with the actual paths to your iTunes folders. For example, I wrote:
ln -s /Users/viticci/Dropbox/iTunes /Users/viticci/Music/iTunes
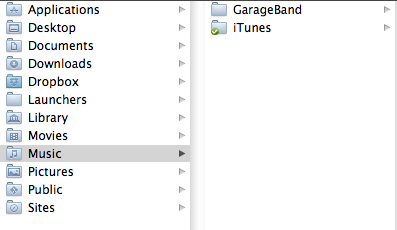
In this way, the same library is believed to be stored in the same location as before, but the symbolic link makes sure it’s indeed living into Dropbox. You can verify this by clicking on the iTunes folder inside “Music” and see how the Finder magically brings you into Dropbox.
Now that iTunes is stored into Dropbox, here’s something you must know: you can’t keep the same iTunes library open on multiple computers at once. When you’re at your MacBook, make sure iTunes is closed on the iMac and vice versa. Otherwise, iTunes will detect an error and will create a “conflict” library file that will cause issues with the Dropbox sync. Here’s what I do: when I’m about to leave the office, I make sure Dropbox has registered all the latest iTunes changes, then I quit iTunes. I open the MacBook Pro, I wait for Dropbox to fetch the changes, then I open iTunes. I haven’t encountered a single issue with this method. If you’ll ever forget to close iTunes on the first machine, though, and you’ll notice a conflict file has been created, there’s an easy fix: let Dropbox finish its sync, quit iTunes, delete the conflict file and start iTunes again with the Option key held down: choose the correct iTunes library and the app will load the correct library with the latest changes. It’s a hard fix, so I suggest you always pay attention that iTunes is only running on a single machine.
This method works perfectly with music, apps, movies, podcasts – anything you store in iTunes. If you have to store app betas for iPhone and iPad in iTunes, though, you’ll need to create an extra symbolic link. Betas, in fact, most of the time require you drag two files in iTunes: an .app file and a .mobileprovision one. To be able to sync app betas across multiple computers, you have to create a symlink with the same method described above for the “Provisioning Profiles” folder stored into Library/MobileDevice.
If you’re using the symlink method both for the iTunes and Provisioning Profiles folder, make sure to create the same symlinks on all your additional machines. Personally, I don’t care about syncing my devices’ backups (stored in /Library/Application Support/MobileSync/Backup) but if you want you can create a symlink for that, too.
Overall, iTunes isn’t meant to be run on multiple machines, but you can make it work with Dropbox if you follow these simple tips.


