Since Apple released Snow Leopard last year and QuickTime came with built-in screen recording capabilities, many people started thinking apps such as Screenflow or Camtasia suddenly lost all of their value.
Couldn’t be any wronger.
There’s a big difference between a simple recording tool like QuickTime and those 3rd party applications: the difference lies in the editing features. QuickTime only provides the basic editing features like trimming and a few other things,which is clearly not enough. Sure, it’s great if you have very basic needs - but if you’re really serious about screen recordings you’re gonna need a more powerful application.
Today I’ll talk about Screenflow, one of the most famous screen recording apps for Mac OS X, while next week I’ll take a look at the new kind on the block, Camtasia for Mac. Enough said, let’s how it works.
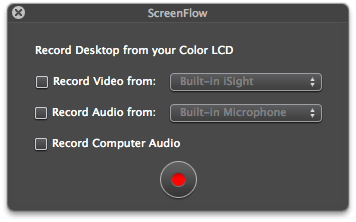
As you fire up Screenflow the only thing you’ll notice is a small HUD-ish window withe three options: Record Video from, Record Audio from, Record Computer Audio. While computer audio requires you to install an additional driver which can be removed at any time in the Preferences, the other two menus allow you to choose between iSight, built-in microphone and input. If you just don’t check off anything, you’ll simply record your screen, pretty much like QuickTime. It’s clear that Screenflow focuses on the editing process rather than just empowering the users with hundreds of features while recording, and that’s perfectly fine to me. Let’s move on.
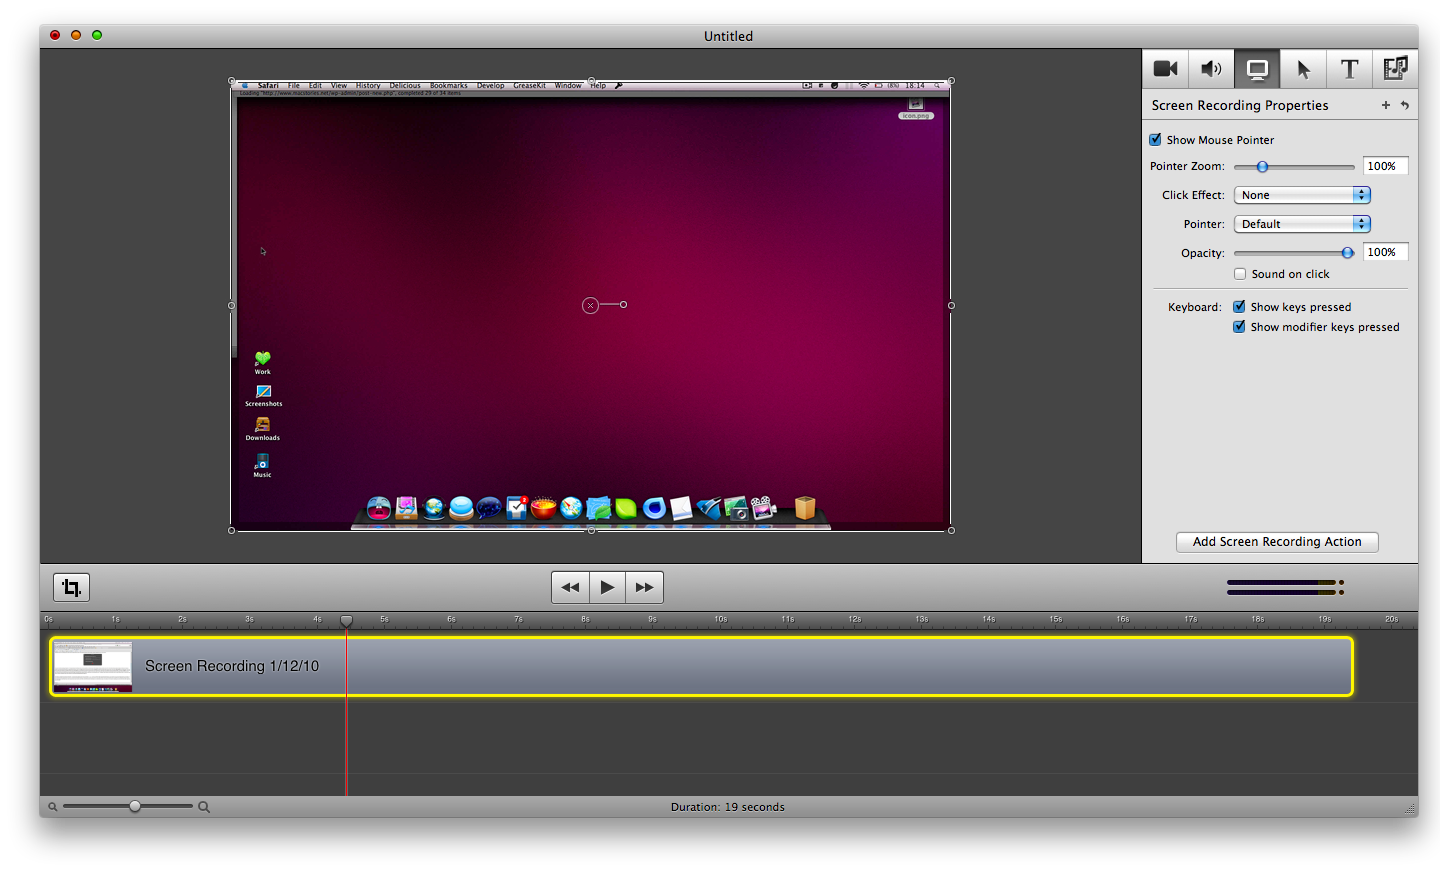
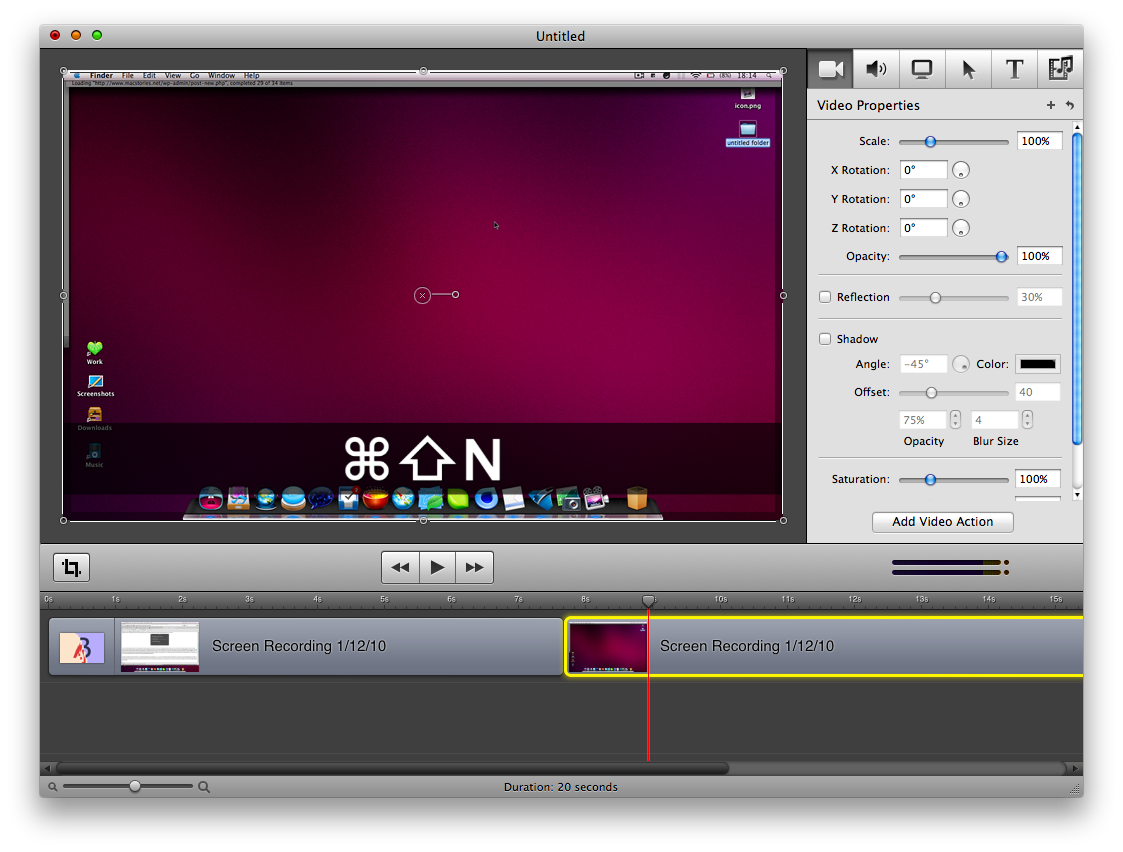
Once you’ve recorded something Screenflow will automatically open the editing window which is possibly one of the best user interface designs currently available on Mac OS X. The interface theme is dark and matte, the buttons are crisp and, overall, it’s very user friendly. Screenflow it’s organized into three main “zones”: the video itself takes most part of the window, properties are listed in the right sidebar and, last, there’s what I call “video timeline” in the bottom part. Let’s start from the video itself: the preview is zoomable, and just like in other apps like, say, Photoshop you can zoom in and out, zoom to 100% and zoom to fit. Useful to get a very detailed of what you’ve been recording. The window is draggable, if you want to exclude some parts like the menubar. You can also manually resize the video with the corner indicators. I wouldn’t do that, anyway. Also, you can crop the whole canvas with the crop button right above the timeline: enter the size you want to crop, choose if you want to snap to the front window and hit Apply. Last thing I’d like to mention about the video preview is that Screenflow shows “coordinates” both vertically and horizontally when you drag anything inside it: it could be the video itself or a text box, coordinates really come in handy if you wanna keep everything aligned the right way.
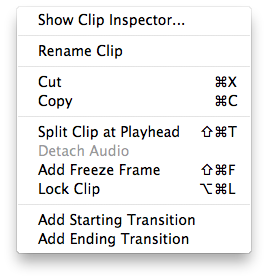
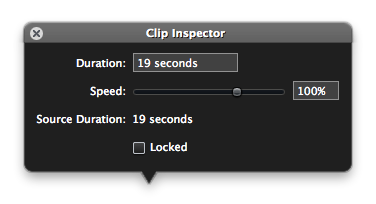
The timeline is probably the best feature of Screenflow. On the top bar the application shows the seconds (like 0 - 0-5s - 1s and so on) while the video is basically transformed into a gray strip that runs across the timeline basing on its length. See the screenshots to better understand what I mean. The timeline is clickable: right clicking on it brings up the contextual menu which has many options like the usual Cut and Rename plus some cool additions like Add Starting / Ending transition, show Clip Inspector or Add Freeze Frame. Every callout, action, frame or text box you’ll add to a video will be shown in the timeline as a colored overlay. Again, you can drag it, cut it, rename it, everything you can do with the video itself, applies the same to this stuff.
Last, there’s the sidebar, which is the heart of Screenflow. I’m not a video recording pro, but I definitely found every feature inside it usable and easy to set up. There are 6 tabs you can choose from: Video properties, Audio properties, Screen Recording properties, Callout Action, Text properties and Media. As I mentioned before I’m not really that skilled into this kind of stuff, so I won’t enter the technical details behind Screenflow. Let’s just focus on what you can actually achieve with a few clicks in the sidebar. You can set the X,Y and Z rotation, adjust Saturation, Brightness and Contrast, show / hide / zoom the mouse pointer, show which keys and modifier keys were pressed, enter callout action, text boxes and even choose the right fonts and font sizes for them. From what I read in the documentation of the app, it seems like Screenflow captures everything on screen as a standalone channel, and that explains features like mouse pointer and modifier keys. That’s totally awesome.
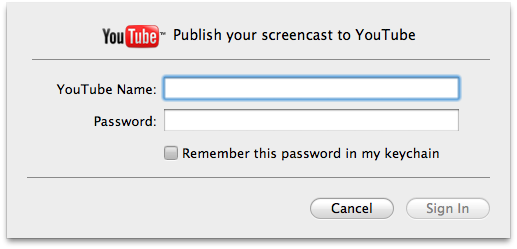
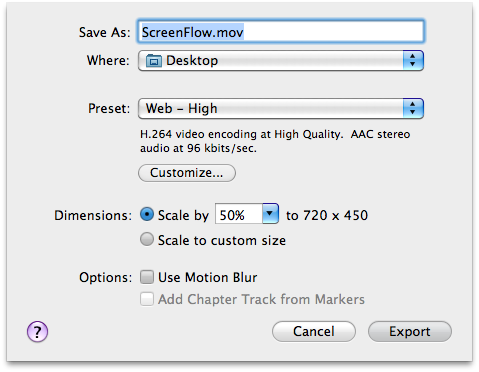
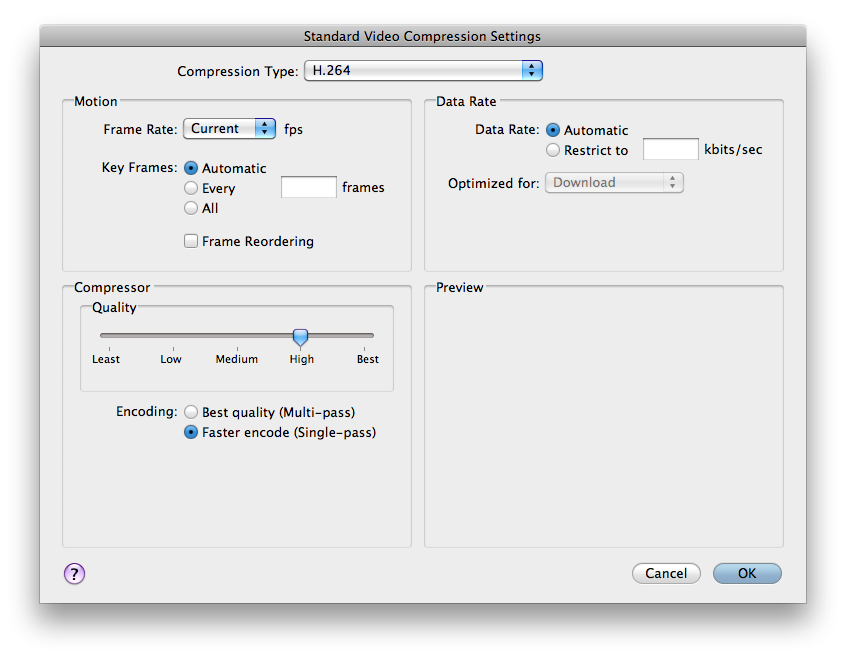
Once you’ve done editing your video, you’ve got a lot of options to save it. First, Screenflow 2 comes with built-in Youtube integration, so you can publish videos online from the application by just entering your username and password. I wish it supported Vimeo too, maybe it will come in the future updates. If you want to keep your video local anyway, Screenflow is almost perfect speaking of video outputs: it supports various formats like Web (High / Medium etc. ), PAL, Apple TV, iPhone and others. And if you’re not happy with them, you can even edit every setting manually by pressing customize. I’m sure many of you are gonna like that.
I’m very satisfied with Screenflow. I’m not a power user, but I must admit that trying it some weeks ago made me decide of starting the VideoStories series on this blog. It’s the finest example of a feature-rich application, built with professional users in mind, but that actually makes simple to record and edit screencasts. Yeah, Screenflow is the best screencasting app for Mac OS X in my opinion, and all of you who currently produce a lot of screencasts should seriously consider purchasing it.
There’s a free trial awaiting for download over at Telestream official website, and it’s a fully unlocked version that applies a watermark to your videos. The unlocked version comes at $99, which is not exactly cheap but you know, it’s a great price for a professional tool.
Try it, love it, buy it. I did.


