The Mac platform is blessed with tons of excellent productivity tools, outliners, and task managers. Despite this, the majority of these apps have been founded on the GTD philosophy, and while that’s not necessarily a bad thing, I’ve always wanted a separate application for managing tasks that specifically relate to school. You could certainly do this in an application like Things or The Hit List, but it can get quite messy since you’d have to create tags for classes, then you have to manage assignments alongside your business stuffs, and you just get bogged down in everything rather than the schoolwork you want to focus on.
Enter Schoolhouse, an application dedicated to providing you with the management tools needed to stay on task and get those assignments turned in on time. It also features an incredibly smart grading tool that can calculate weighted and unweighted grades, which is an amazing time saver compared to doing it by hand on the Ti-83.
Keep on reading to find out what makes this app one of my favorites.
[This review was written by Cody Fink, an Apple enthusiast and college student out of the great American East Coast. He currently runs the Apple-Bits blog and tweets as @codyfink]
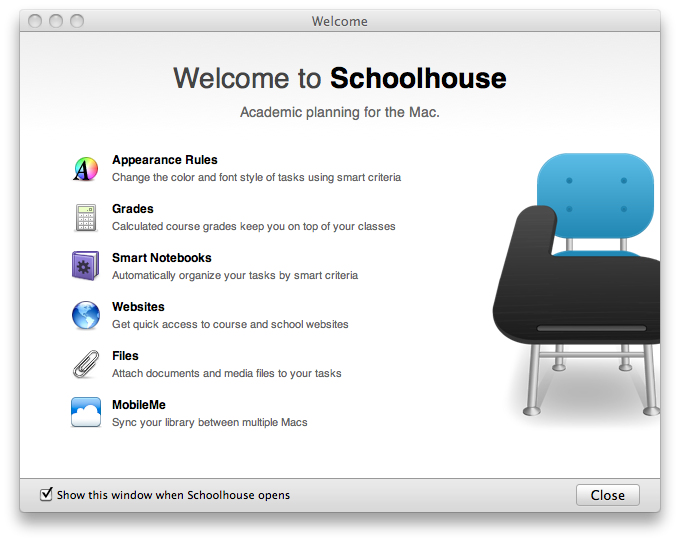
Upon opening Schoolhouse, you’re presented with your now standard welcome Window, which displays a list of features that are included with the Schoolhouse app. While I’m surprised there aren’t any links (preferably to short videos demoing those features), the application is intuitive enough where you don’t need them. It’s safe to uncheck the “show again” box, because by now you already know what the application offers.
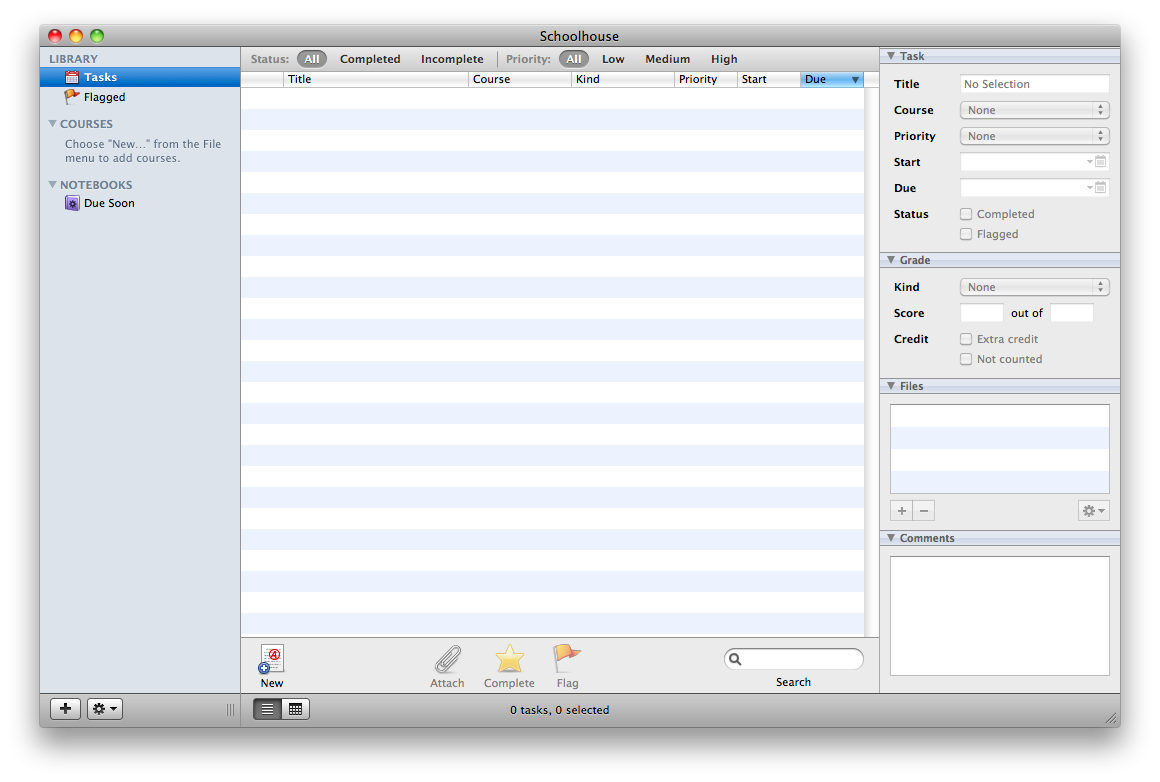
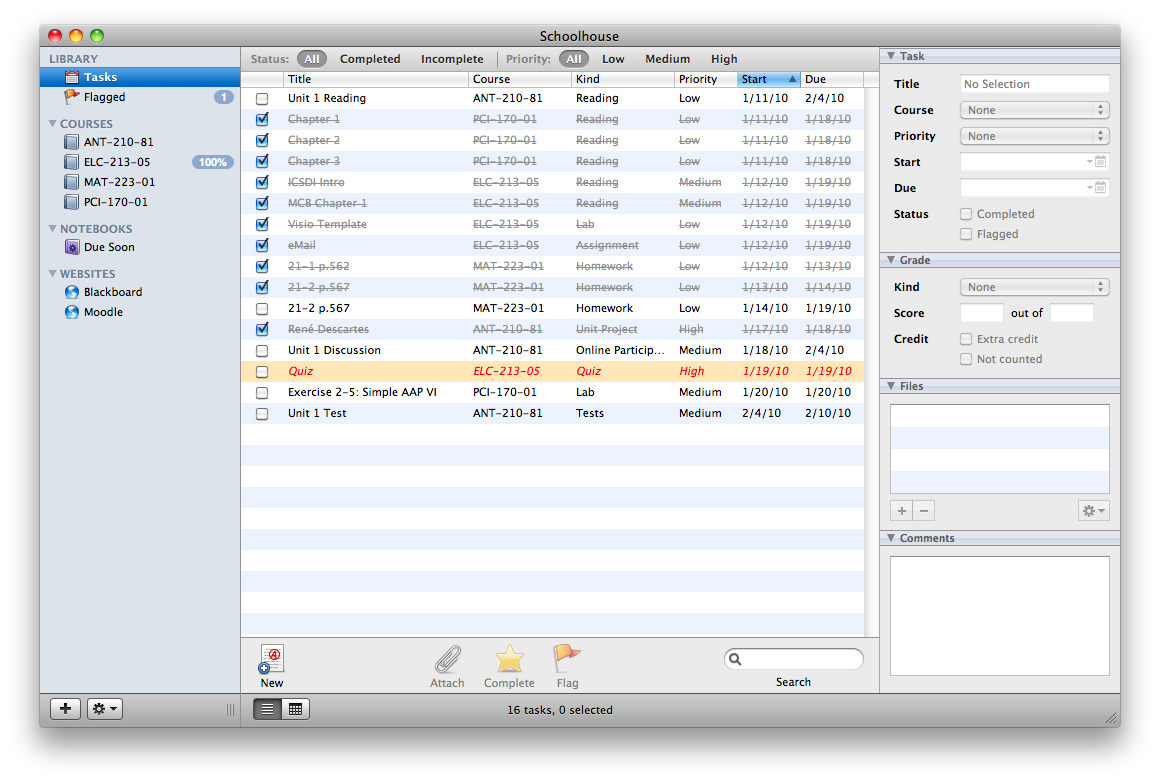
Schoolhouse opens in the “Library,” which boasts a Finder and iTunes like interface. The Library is where you can get a rundown of all of your tasks (homework assignments) and flagged items, but you don’t want to start adding your tasks just yet. I was immediately drawn to the big add button on the bottom of the sidebar, because I knew I needed to get some courses in this thing. I mean, what are tasks useful for if you can’t organize them under their own courses?
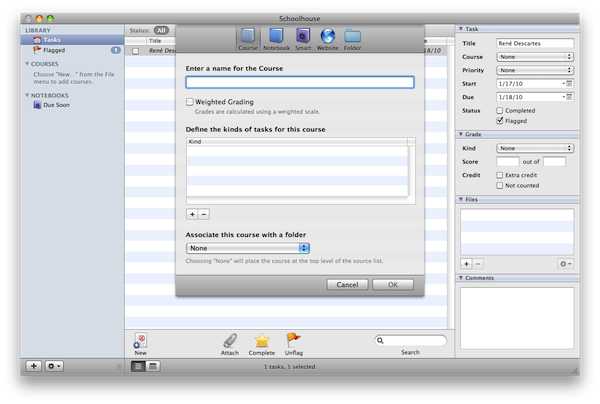
Adding items to your sidebar is incredibly easy. Hitting the add button scrolls down a small window where you can add courses, a notebook, smart notebook, website, and folders.
You’ll want to select courses to add a course and kinds of tasks associated for that course. Here you can also specify what the weighted grades are for each kind of task. Say for example you’re in Mechanical Engineering. Your kinds of tasks might consist of reading, homework, labs, quizzes, and tests. It’s important to define this now, so when you go to add tasks later to that course, you can specify exactly what it is. Weighted grading will also allow you to define percentages of those kinds (for example, you might weight tests as 40% of your whole grade). The last option allows you to append the course to a folder.
Notebooks I honestly haven’t found that much use for (I first assumed it was maybe a quick note taking feature), but instead it’s another way to organize general tasks. You simply create a notebook with a specific name, and in that notebook you can add tasks. I suppose you could create a notebook called “dorm,” and in it keep general tasks relating to upkeep.
Smart notebooks however can be quite useful. Here you can add conditions that will allow your smart notebook to pull in information based on any factor you desire. For example, you could create a notebook called “Labs,” that goes out and fetches all of the tasks that are labs. While this doesn’t sound helpful, it beats the pants off having to scroll through all of your tasks, or having to click through each course just to see if you have any labs due.
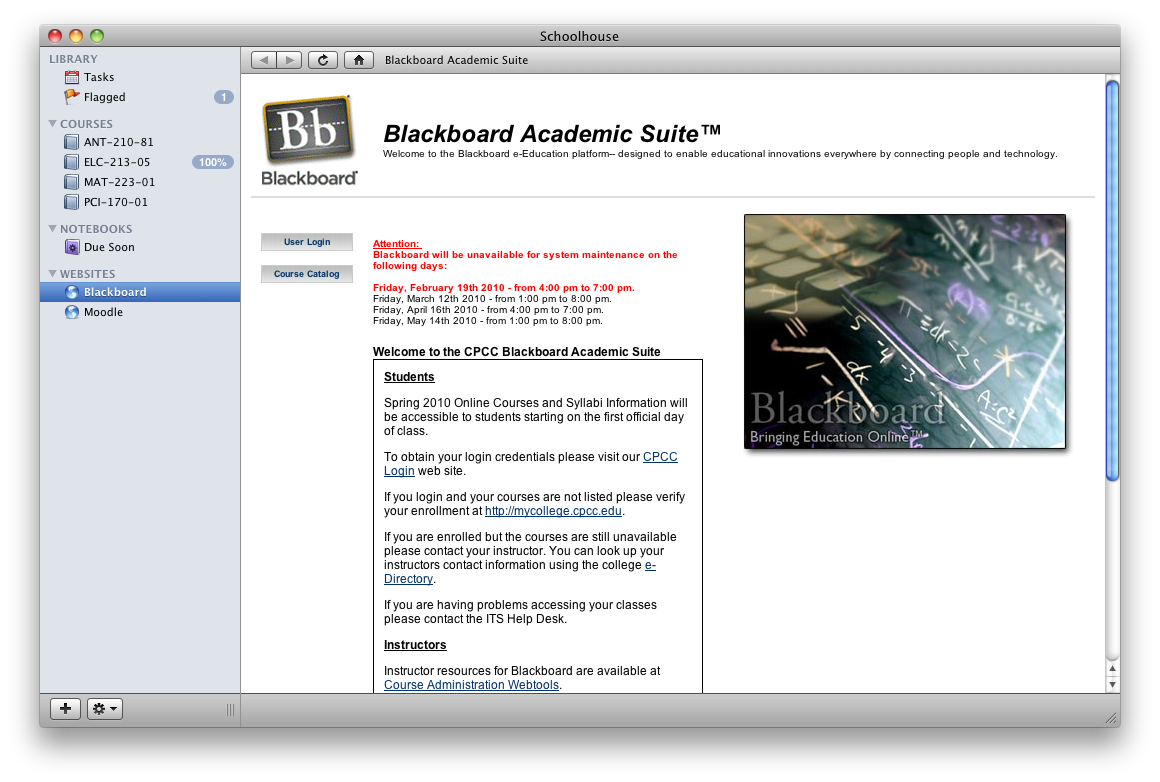
The websites feature allows you to add websites to your sidebar for easy access. This can be used for your college’s Moodle or Blackboard page for example, so you can have access to assignments posted without having to leave Schoolhouse. While smart, I’ll explain later why you might want to avoid this step.
Lastly you have the option to create a folder. One might question why you’d want to make a folder, but it simply allows you yet another way to keep courses organized. You could for example create a folder for courses you attend at your college, and then a folder for online courses. Or perhaps you could create a folder to divide new and old tasks up by semesters.
With this palette of options present, I opted to create my courses, and in less than five minutes had added four courses and the kinds of tasks present for each course. I love it when I can do something this fast and painlessly. With the courses added, I needed to get my assignments in there, pronto.
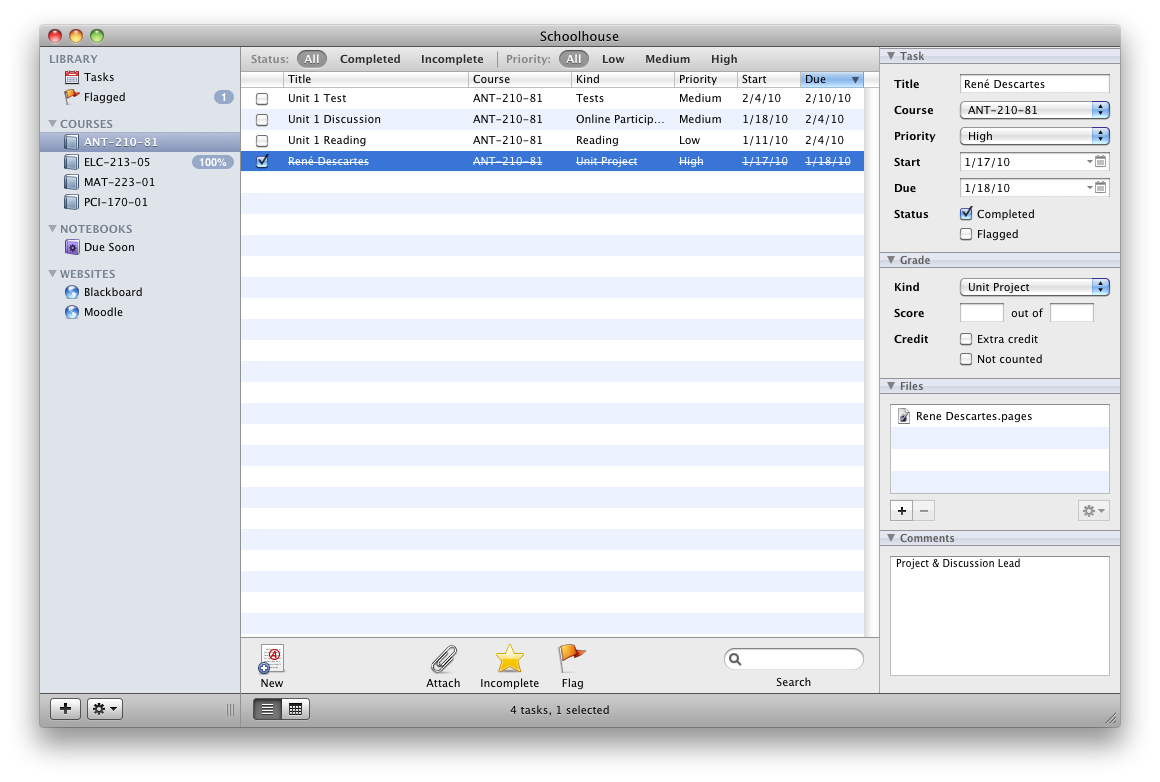
Adding assignments, like adding anything else, is dead simple. Clicking the big “new” button at the bottom of the tasks list will add a task. While you can edit the new task inline from the list, I found it much easier to use the task pane on the right.
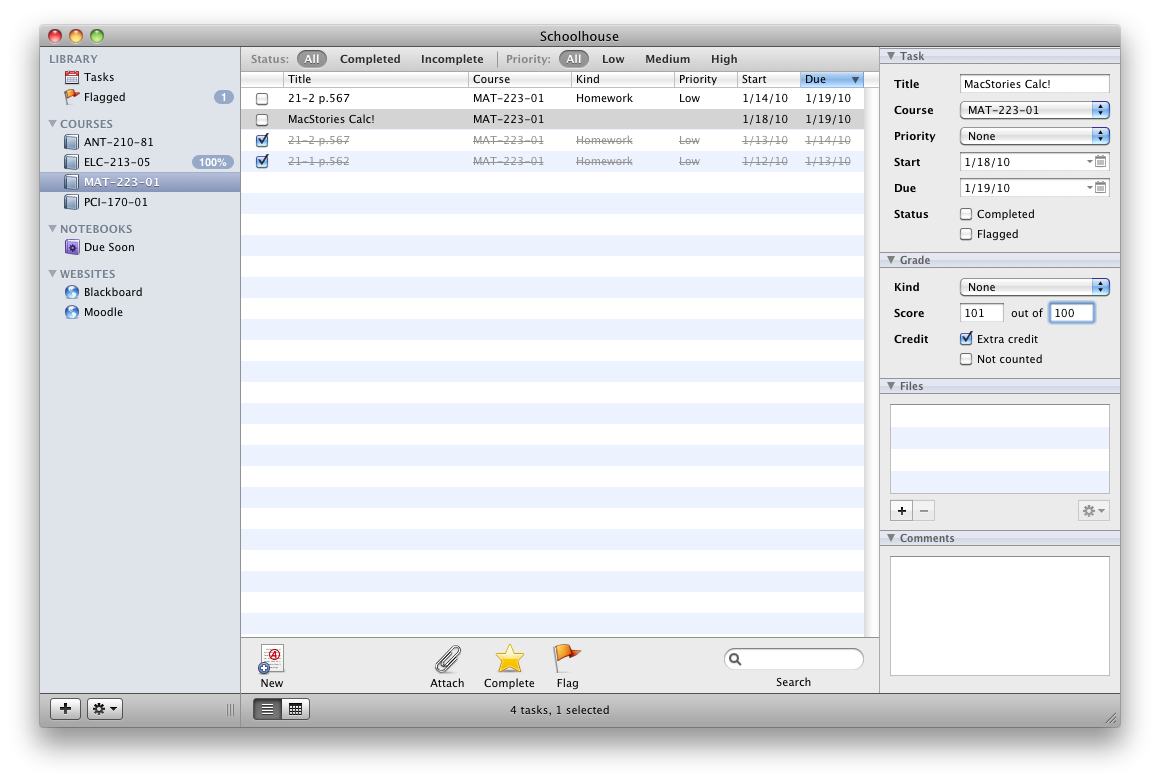
If you’re adding a task inside a course, the course name will already be appended for you, helpful since that removes a step. From the library, you’ll have to add the course yourself. The default start date and due date of an assignment assumes that the day you added the task is the day you’re starting it, and that tomorrow will be the day it’s due. While that may be the case for some of my tasks, it’s easy enough to change those values.
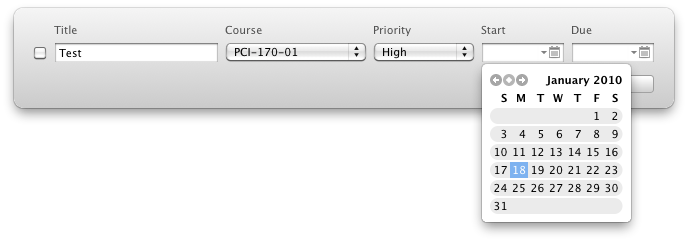
The options are pretty self explanatory. You can assign the task a name, like “Chapter 1” for example. You’ll then assign the course that task belongs to (if needed), and set your start and due dates. If you’re like me, and you can’t remember the exact date for things, you can click the calendar button that brings up a mini-calendar, where you can then select the day. This is probably my favorite feature in this pane since I don’t have to type in anything.
Next, you can give that task a completed status, a flagged status, or both. While I don’t personally use both at the same time, a completed status will cross out the assignment (which can be changed in the preferences), letting you know your work is done. A flagged status will highlight your task, giving you a visual reminder that it’s incredibly important. You might also want to set the priority on the task, which will help you finish tasks on time and get higher priority items of the way first.
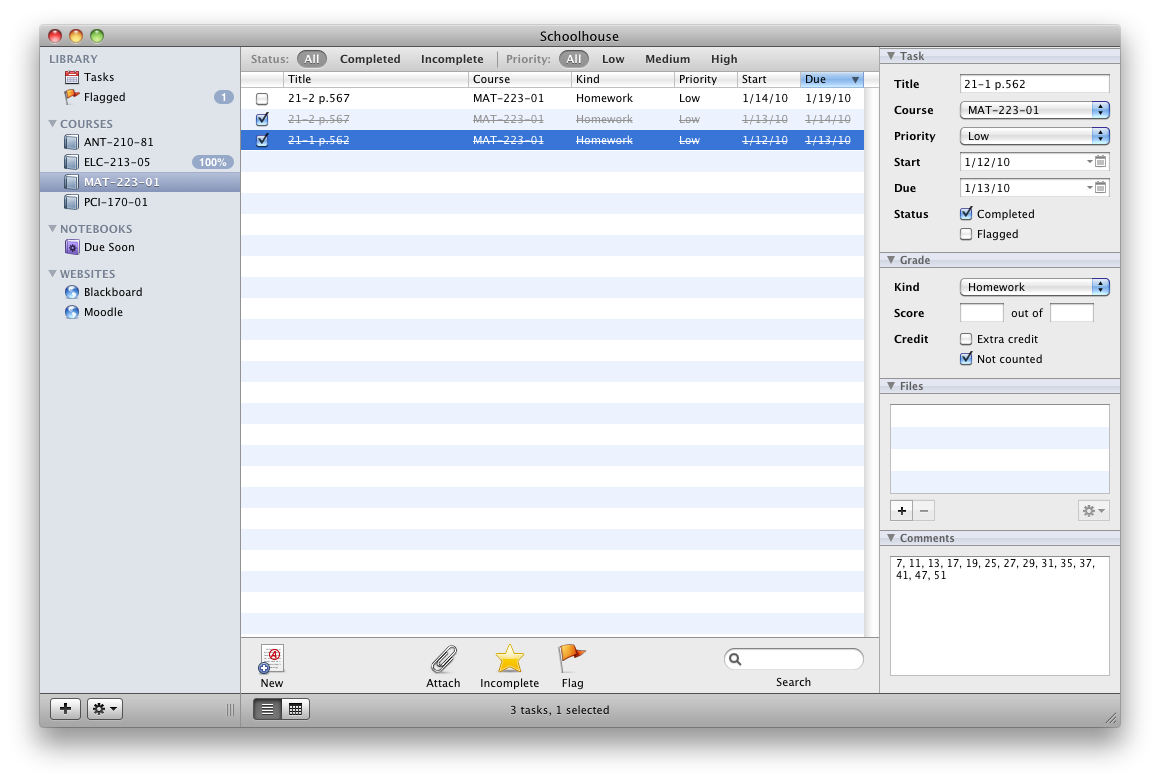
The next slew of options allows you to tell Schoolhouse what kind of task it is, the grade you received for that assignment, and if it even counted at all. So for that “Chapter 1” task you added, you can give it a kind of “reading” for example, letting you know that it’s a reading assignment. If you haven’t appended any kinds of tasks to the course, no options will be available. Because it’s a reading assignment, you might also check the box “not counted.” By default, this visually won’t do anything other than let Schoolhouse know not to include it in your grade calculation. For your grade, you can type in what your score was. If you got an 17 out of 18 for example, Schoolhouse will take that information and performs the grading in the background. Your grade will also appear or be updated next to the appropriate course on the left sidebar.
While you might not use the last two panes much, I find them useful for some assignments. Files can be used for connecting your task with a report you wrote for example. I recently did a paper on Renè Descartes, and found it useful that I could simply attach my .pages file to that task, instead of having to navigate through My Documents each time. The last pane, comments, I often use for my math classes, where I input math problems associated with that task. I also use it for general notes, like keeping tabs on if I need to provide a specific subject for an assignment due by eMail.
With my tasks inputed, I can now view everything via the tasks in the Library, or drill down into my courses to get a clearer view of what I actually need to do. I’m pretty much done at this point, until I get another assignment or I finish one. But I should mention some useful features the Library itself offers that will help you get even more organized.
At the top of the Library you might have noticed a status & priority bar. Selecting the various options will help you filter your tasks, aiding in tackling higher priority items first. It’s especially useful if you don’t want to see tasks you already completed, allowing you to keep finished tasks in the library for reference without having to remove them from the library completely.
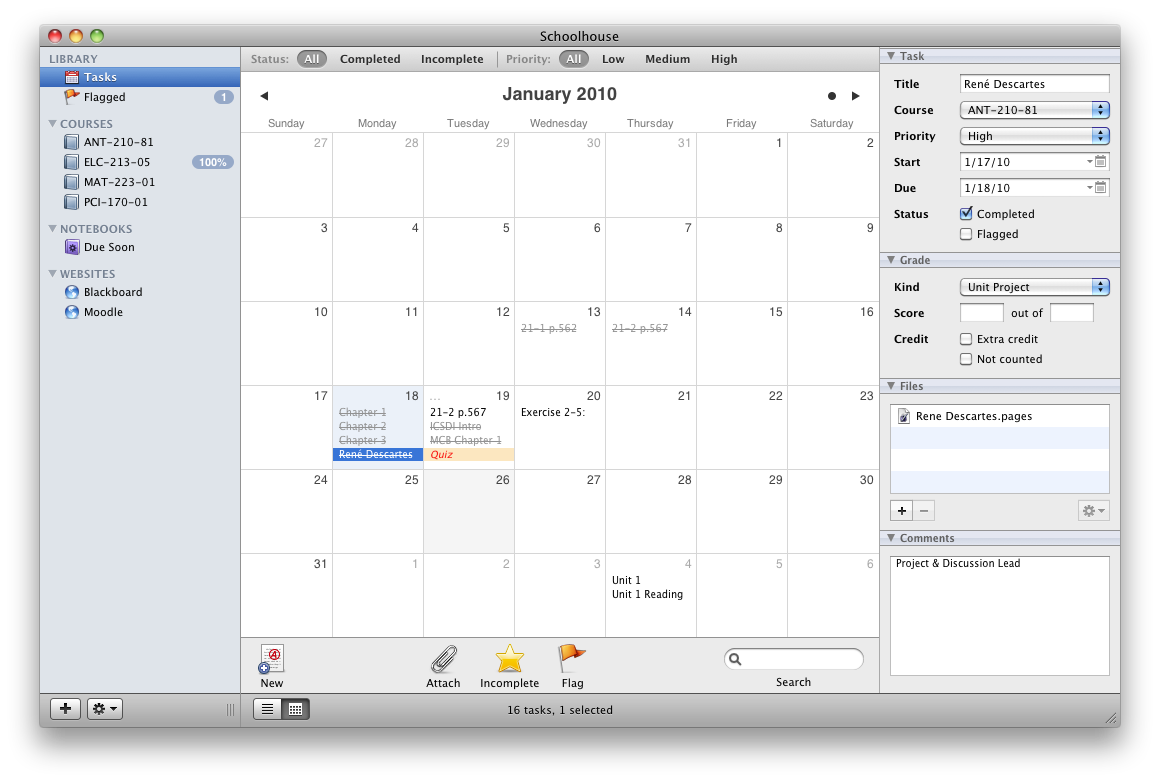
The very bottom of the Library pane gives you two buttons for displaying your tasks in a list view, or a calendar view. While I didn’t think the calendar view was that impressive (if you have a lot of tasks on one date, the calendar doesn’t expand, and it only shows due dates), it’s available to those who desire to use that feature. Double clicking on a date will allow you add a new task.
So we’ve tackled courses and touched on notebooks, but I haven’t yet mentioned why I think the website feature isn’t that great. While it’s useful if you want to keep your Moodle and Blackboard pages in an easy to reach location, especially if you’re just checking in on a quick assignment, it’s not helpful in that Schoolhouse’s built in browser blows. There is no address bar, and websites appear rather small as they conform to the built in browser. I’d say if you are really gonna log in to these services, just use a regular browser.
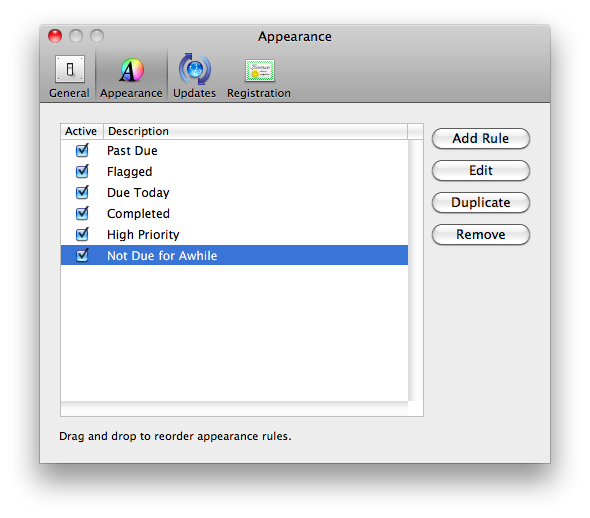
The preferences is where you can bend Schoolhouse to your will, including the ability to show dock badges for flagged items, remove the default date settings from the task editor, add rules to style tasks depending on conditions, schedule updates, and register your product.
The only place you’re going to spend much time in here would be with appearance. By adding rules, you can visually change how your tasks appear so that they aren’t as distracting (for example, if I don’t have to start an assignment for five days or more, I grey the task out), or if they’re important, they get a little more zing, such as making tasks red and bold. Although there is no font size option available, I think that’s something we wish we could have, but in the end it would be something that would break the overall cohesiveness of the tasks list. It just wouldn’t look that appealing.
On the general pane, you can also enable MobileMe syncing, perfect for if you own multiple Macs. But if you skipped over it (like I did), a quick entry option presents you with the ability to assign a global shortcut for a quick entry. While I assigned ^⌘N to my quick entry, you can assign anything you want.
Quick entry is a great feature, and it’s yet another reason why you should just use your regular web browser for visiting school sites. Say you’re looking at Moodle online, and you need to input a task. Simply bring up the quick entry, add your info, and continue on without having to switch to another Space or focus on the Schoolhouse app. I absolutely love this feature, and it’s somethings that’s a little bit hidden from view.
So, now that you know most everything you need to know about Schoolhouse, go out and buy it. For fourteen bucks, it’s incredibly cheap for all that it offers in a management app like this, so it’s clearly priced towards students. While I recommend this app for students, I do not recommend it for teachers, because it is not a grade book. If you’re like me, and you want to separate your college todos from your GTD lists, this is a near perfect solution.
I couldn’t be any happier using it. Go download.


