I’ve made a couple MacStories screencasts before, and while I can’t particularly say they are good, (in fact, they’re hilariously bad), they’ve all been done with Screenflow. That is, until recently. While it’s not the fault of Screenflow that’s the problem - rather me, who has not a proper Mic nor recording skill - Screenflow never felt right. I don’t know, I could never find the proper documentation I wanted, I couldn’t get the effects I wanted, and perhaps it was lazy on my part to not actually play around with it for a couple of weeks, but I could just never get into the _flow_. When Camtasia came along, they bombarded me with documentation, easy to follow tutorials, and ultimately, it’s become my #1 choice in screencasting software. Having used Camtasia and Screenflow together, if you know one you can use the other quite seamlessly.
The guys at Techsmith treat their customers right. They get to know you, load you up with easy to follow instructions, and the Mac version of Camtasia is a pleasure to use. While it lacks some features of Screenflow, it excels in others, and combined with Mousepose 3, it rocks socks.
There is one gripe I have about Camtasia, and it’s not necessarily a usability issue, but rather an aesthetic one. When you launch Camtasia, like Screenflow, the application expects you to begin a recording. I’m okay with that. But holy cow is the recording window fugly! Now really it’s not a big deal, especially when compared to the quality of the rest of their app, but I’m surprised they chose such large graphics depicting the options.
Anyway, if you’ve used Screenflow, you’ll be familiar with Camtasia. It allows users to start and stop recordings for example, so that you don’t have users witnessing the miserable fumble to click the stop button.
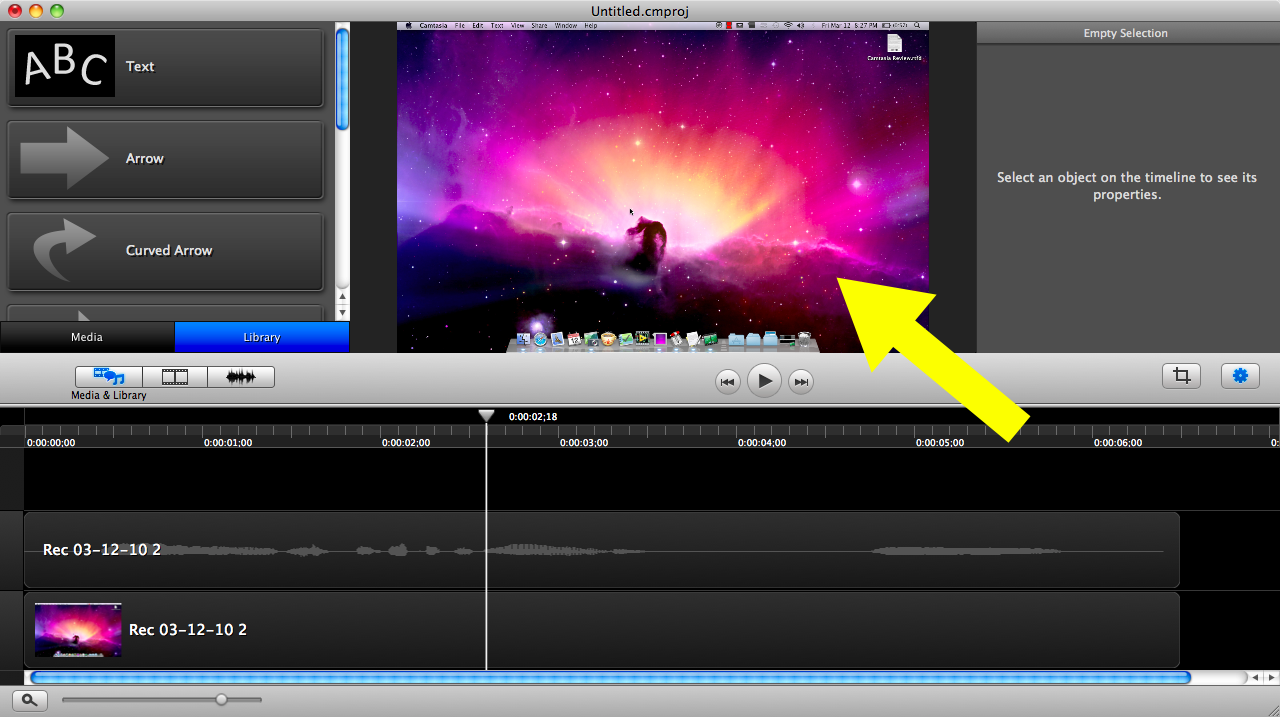
When you’re done recording, you’re presented with Camtasia’s editing features. And they’re fantastic. Again, if you’ve used Screenflow, you’ve used Camtasia (stop saying that!). In Camtasia you have four main areas: the canvas, the timeline, the media bin, and the properties.
The canvas is where you can edit the video, its resolution, and display area. There’s a trick here, and I haven’t quite figured it out completely, but here’s the gist: when making a recording in Camtasia, the canvas will be changed so that you’re only going to be editing and outputting video at half of the resolution you original recorded in. (1200 x 800 will magically become 600 x 400.) If that isn’t head scratching enough, sometimes larger resolutions will be recorded in less than half resolution. Camtasia does this so that the exported video is nice and tiny, but you’ll want to record in 720p. Here’s another tip - before recording, make sure your screen is in that resolution. (You can change the canvas size before or after the recording).
With the canvas being an initial or after recording setup, actually editing your video is fun and easy. Everything in the Media Bin can be dragged and dropped onto the Timeline, segments can be split and deleted easily, and changing the audio’s volume is fantastic.
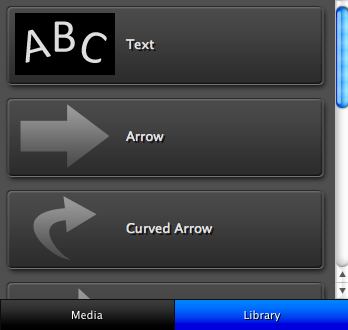
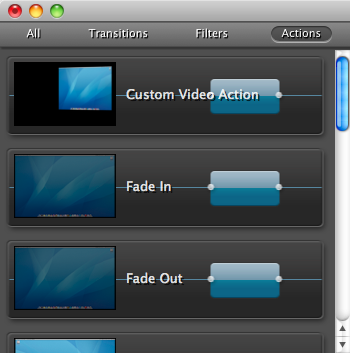
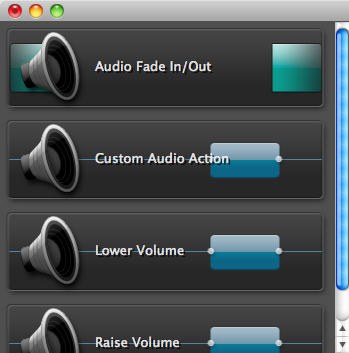
The Media Bin contains three separate categories, such as Media & Library, Video Effects, and Audio Effects. In Media and the Library, you can add previously recorded videos, pictures, and apply items such as text bubbles and arrows. Video Effects allows you to apply a variety of actions and transitions, while the Audio Effects gives you all sorts of goodies for manipulating your dulcet tones.
Video Effects is where you’ll spend a majority of your time, and it’s where the magic happens. All of the Transitions, effects, or actions can be simply dragged onto your Video’s timeline (which can be separated from the audio line). My favorite features, and I think this is accomplished better than what Screenflow offers, are the focusing options. Allowing you to create Smart Focus points or completely create Custom Video Actions, you can have superior control over the zoom and display of what’s in your canvas. They’re very powerful features.
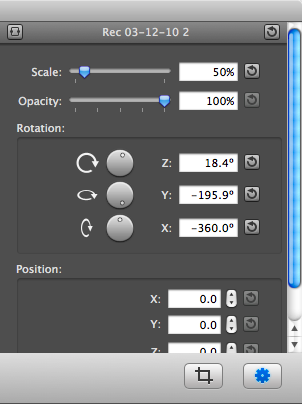
Lastly the properties give you precise control over the zoom, rotation, and opacity of what’s in your canvas. It allows you to fine tune settings you otherwise couldn’t achieve with simple mouse controls.
I’ve covered the basics of Camtasia studio and even threw you a tip - but to get really comfortable with it, you should download the 30 day demo. You’ll get lots of great tips from the Techsmith guys along the way, and you’ll be able to work with a beautiful interface that features a ton of powerful options for beginner, intermediate, and advanced users. Featuring popular exporting options to Youtube and Screencast.com, you can share video just as easily as you created it. Camtasia studio is just $99, and you can find it here.


