We’ve seen a lot of tutorials on how to hack the iPad to do stuff like Magic Mouse support or playing a SNES game with a Wiimote. But what about something really useful like download photos from it, print documents and move files using nothing but the Mac OS’ Finder? Wouldn’t it be great to access the iPad directly from the Finder as if it was an external drive and thus performing actions that would require iTunes, iPhoto or 3rd party applications otherwise?
Just follow our simple tutorial and you’ll see how it is indeed possible to do a lot more stuff with a single Cydia tweak called Netatalk.
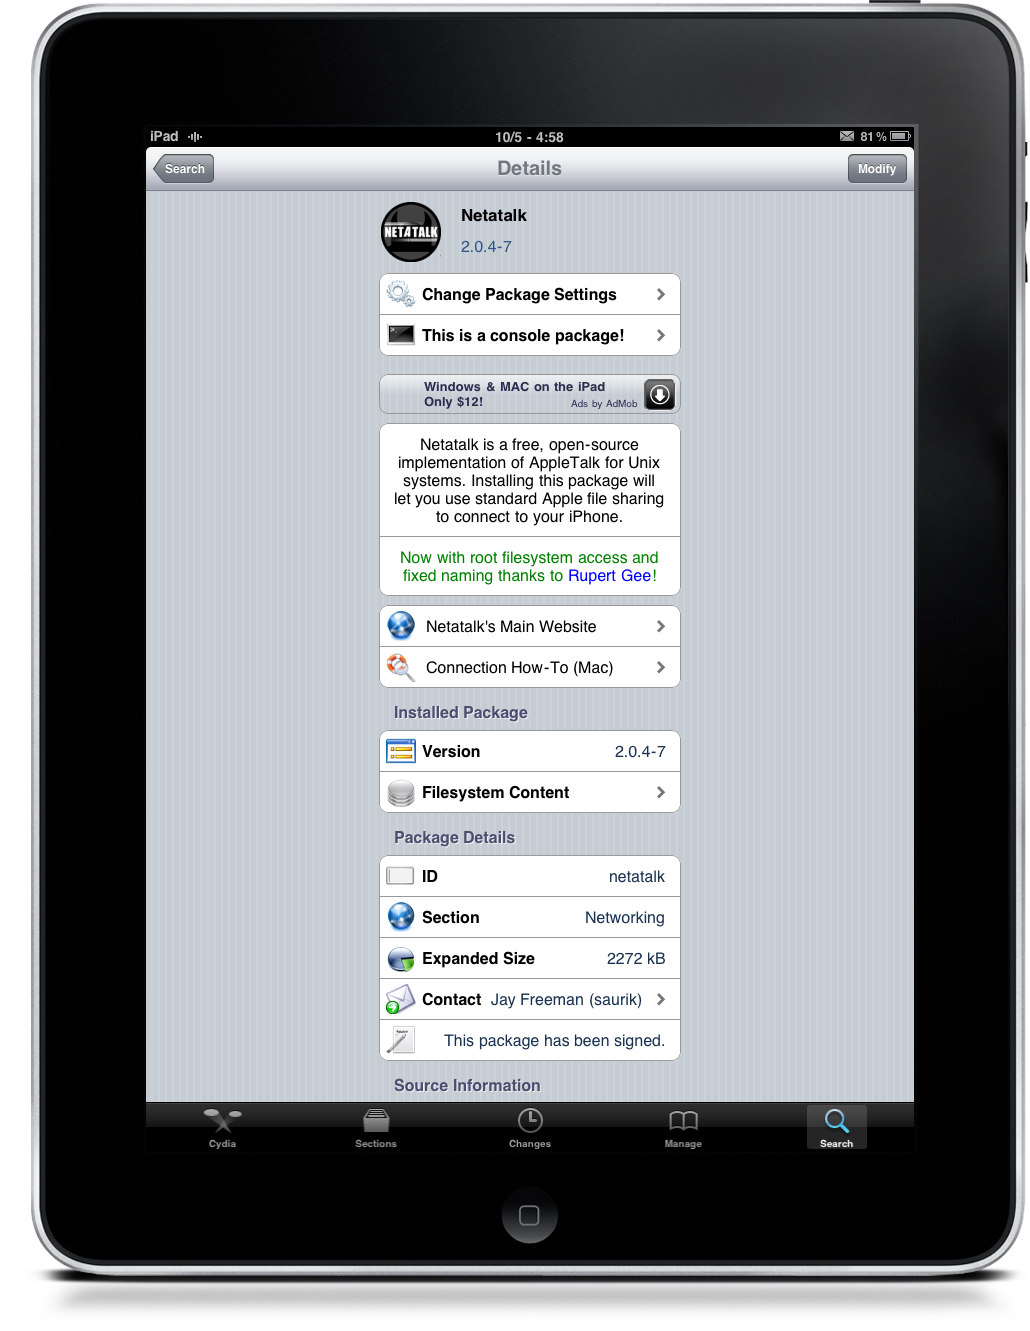
Netatalk is a free and open source implementation of Apple Talk for Unix devices which, basically, lets you use Apple’s standard file sharing between a Mac and an iPhone, in the Finder. And luckily for us, an iPad: Netatalk is compatible with iPhone OS 3.2, so feel free to fire up Cydia and install it. If you still have to jailbreak your iPad and get going with Cydia, you can read our post here. Once you’ve installed Netatalk, the iPad will respring. To get Netatalk to work you’ll have to reboot though, and if you’re using SBSettings (also from Cydia, a must have tool) tap on Power, then Reboot and wait for the iPad to restart. It should take around 10 seconds.
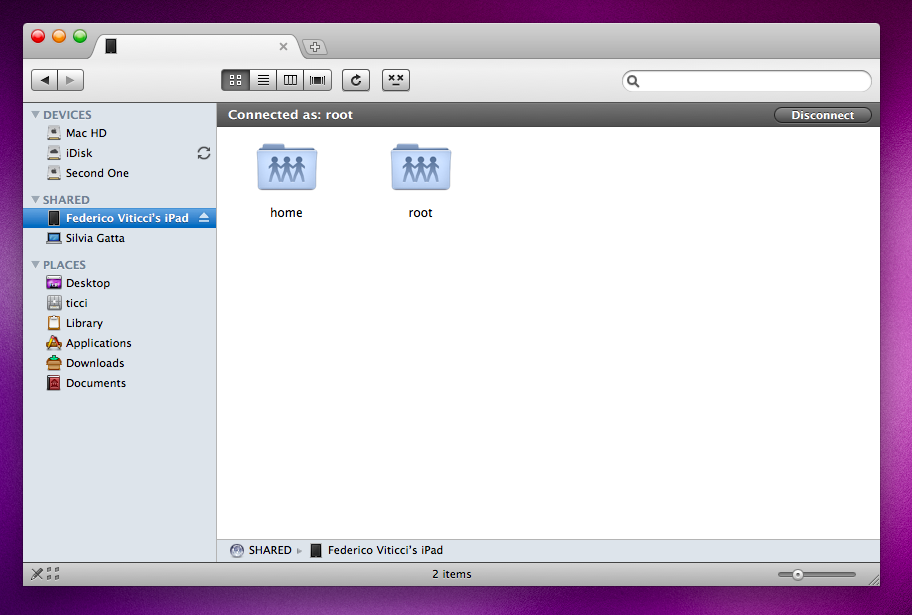
Now take a look at your Finder sidebar, ‘cause a nice iPad icon should be there under the “Shared” tab. Make sure that both the devices (iPad and Mac) and using the same local network. This is the kind of Netatalk magic we were talking about before. Now click on it and the Finder will ask you a username and password to access the device: the default ones are “root” and “alpine”, but you can read this tutorial here on how to change the password. Anyway, choose to remember the connection and here you go: you’re now browsing your iPad file system.
It’s very easy to get lost here and, most of all, you don’t want to mess with the OS files and break your iPad. For example, I suggest you don’t go into System/Library unless you want to backup graphic files like the default iPhone OS menubar icons. So, let’s say you “just” want to access the iPad to backup / print documents and download photos without using iTunes and iPhoto: it’s very simple.
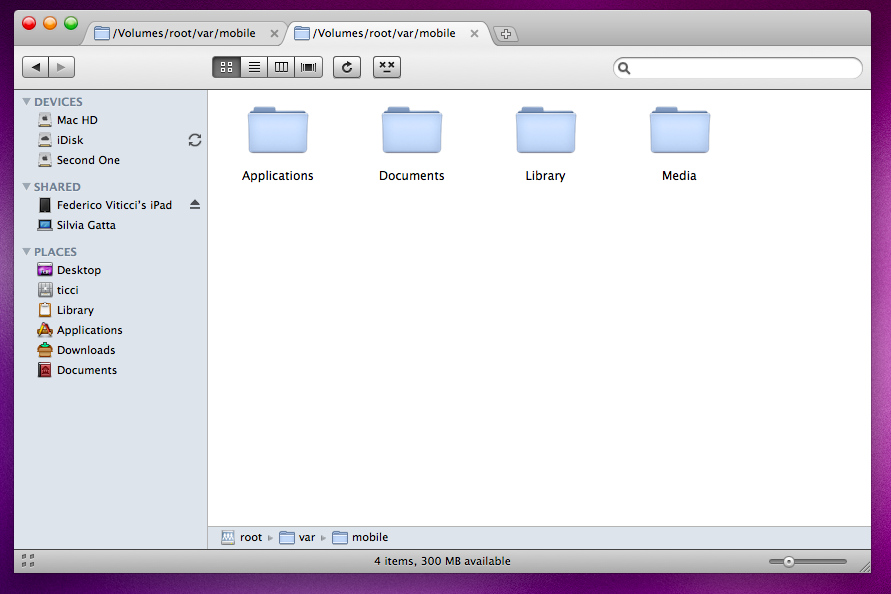
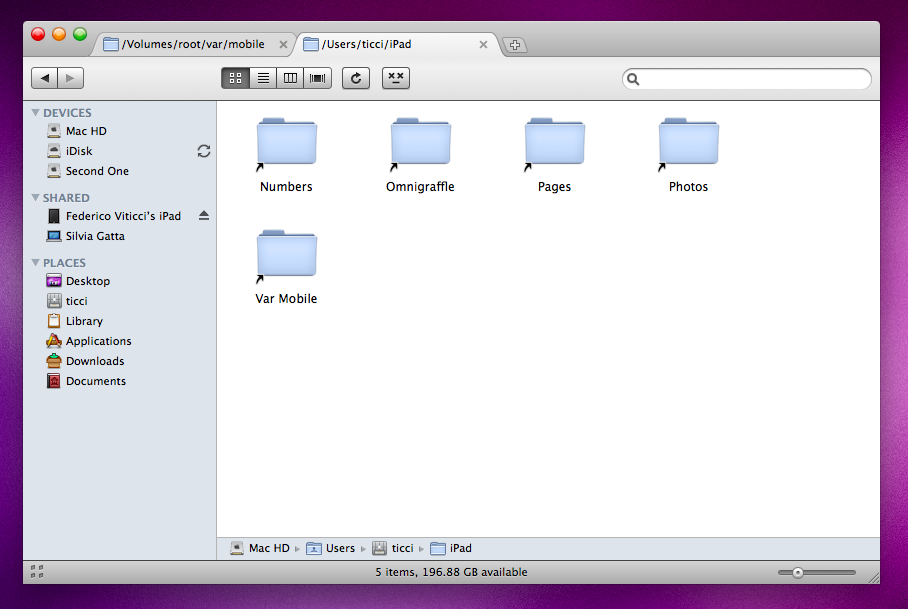
Create a new folder called “iPad” on your Mac: you’ll have to create aliases pointing to your iPad apps’ databases, and you’re going to dump all the aliases here to keep them organized. See my screenshot. Now, all this stuff (applications and photos) is located into the /var/mobile/ folder in your iPad, so go there.
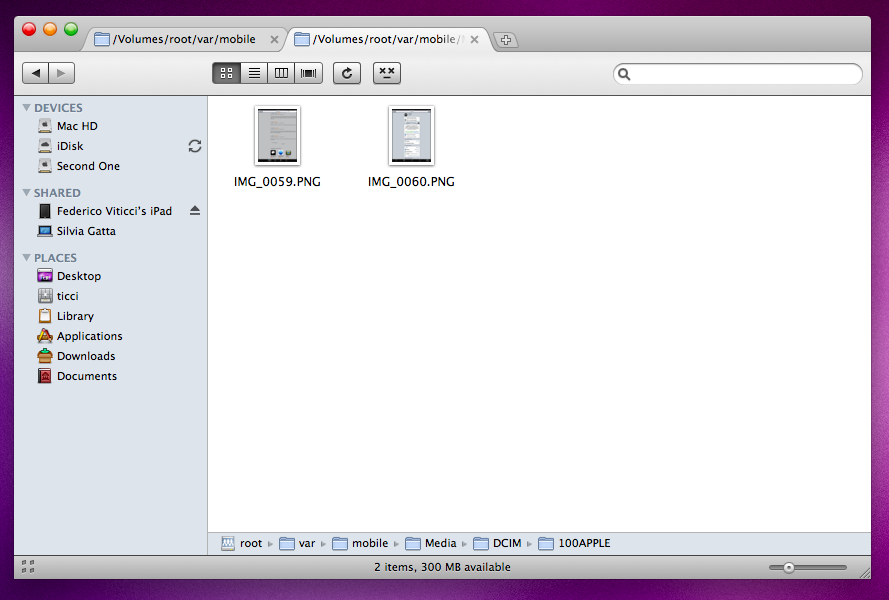
You can find photos into the Media folder. Lots of other stuff is in there (like Books and Podcasts) but to view photos you’ll have to open DCIM, then 100APPLE. I use this to download the screenshots I take on the iPad on my Mac, and it’s a huge time saver. Var/mobile/Library contains interesting files as well, like cookies (if you want to trash them manually), your custom lock / home background and all your Mail.app mailboxes and attachments, just to name a few. It depends on what you want to do, but be careful with the files you delete.
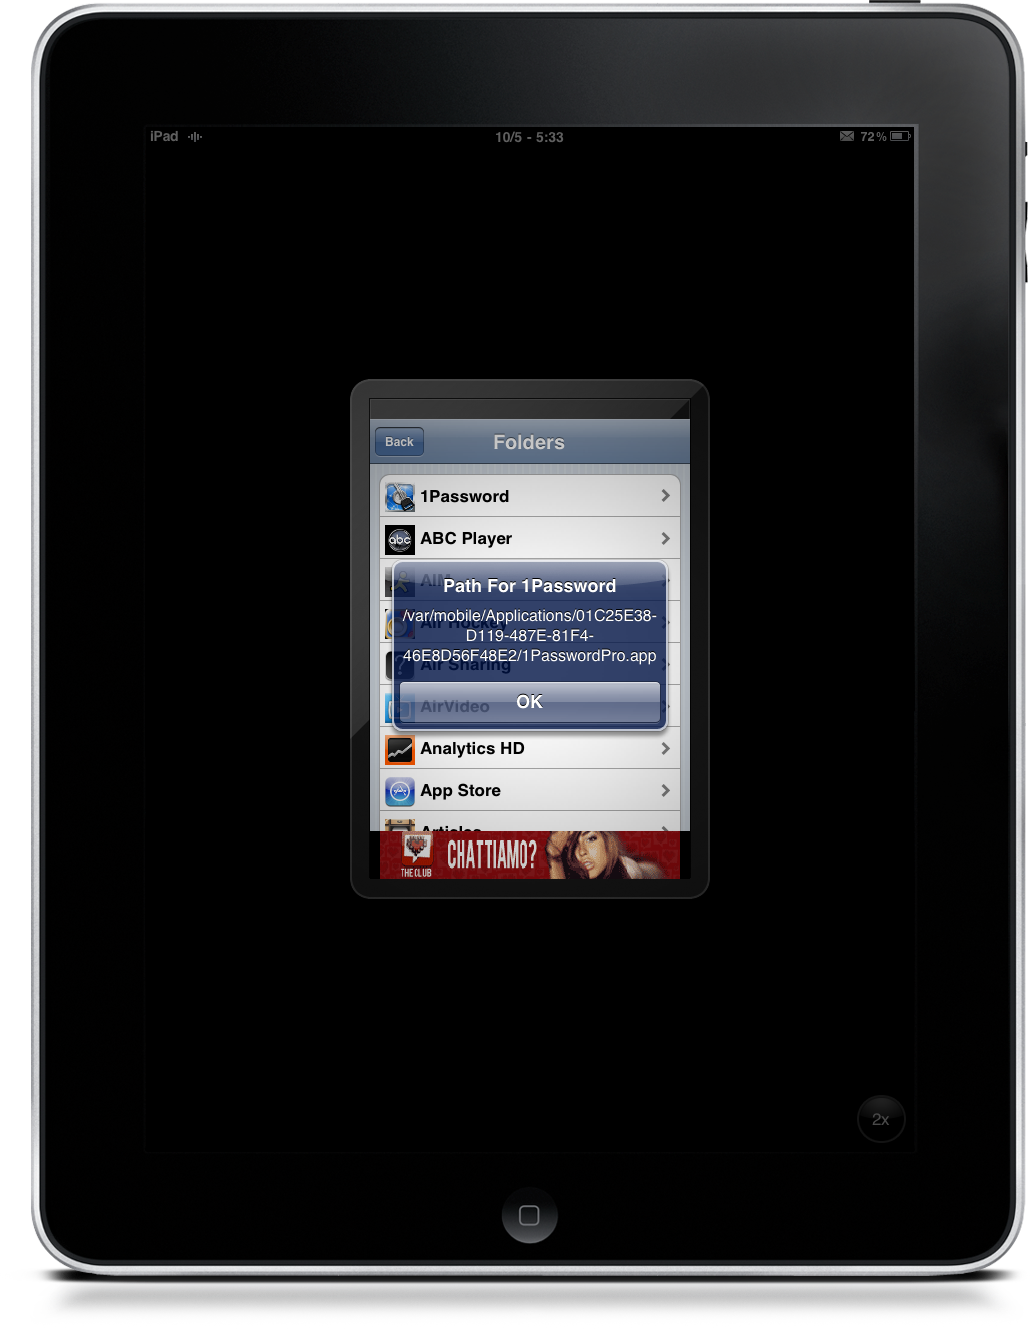
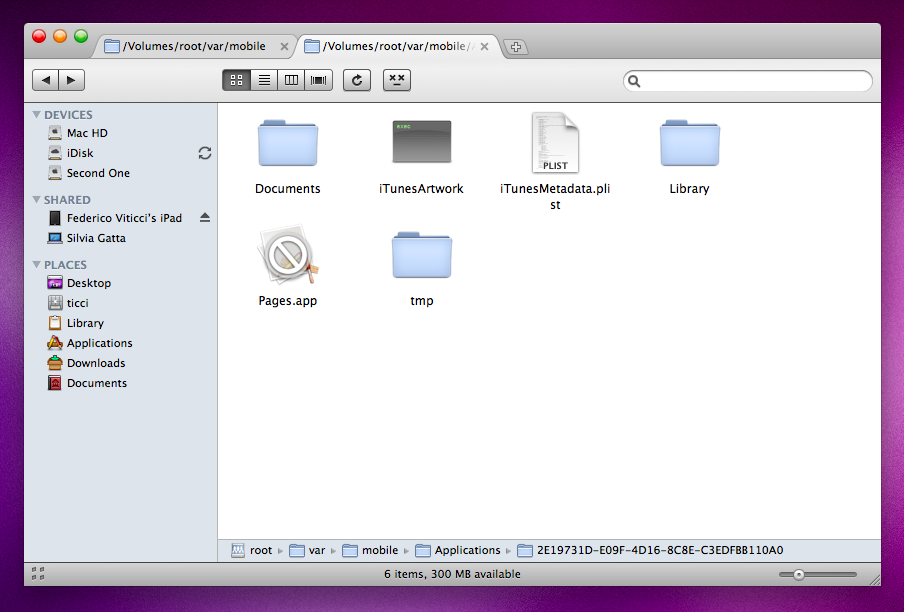
Now, about documents. I have three apps I create documents with: Pages, Numbers and Omnigraffle. Every time I want to take docs out of these apps I either have to do complicated stuff with iTunes or send emails to myself and then save the attachments on the Mac. Now, I have three aliases pointing to the Documents folders of these apps and I just have to copy the files wherever I like. Applications are located as folders into /var/mobile/Applications and each folder has a name like 82367AFF-6182-4C30-BB5D-98F55CCD358E. To find the app you want, you can use (again) SBSettings’ “App Folders” feature which tells you what’s the folder for the app you’re looking for.
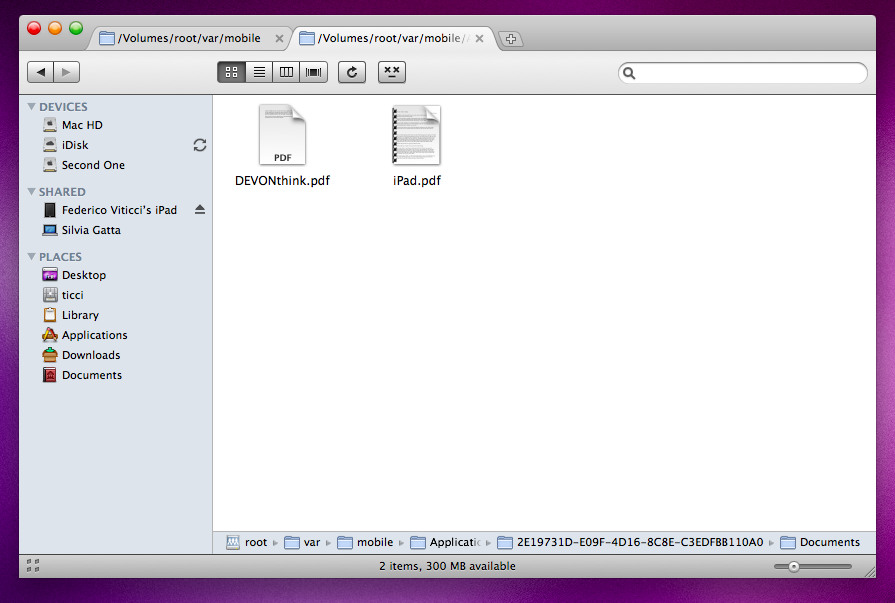
With Pages and Numbers you’ll have to export the documents you’re working on to .pdf / .doc / .numbers (with the sharing button in the main screen) before trying to access them from the Finder, because the apps store them in an encrypted database by default. If you export them though, you’ll be able to find them in a Documents folder inside the app’s folder - ready to be copied. Omnigraffle, on the other hand, stores simple .graffle files so you don’t have to export anything.
So what’s the best practice to access these files on a daily basis? Like I said before, create aliases pointing to the Documents folder inside the app’s main folder, then dump all the aliases somewhere on your Mac and rename them like I did. To create an alias you have to right-click on the folder and select “Make Alias”, then drag it somewhere else and delete the original from the app’s folder.
Having an iPad mounted in the Finder opens a lot of possibilities: imagine custom Automator workflows to backup documents to Dropbox everyday or Applescripts to move files around with just a few clicks. It’s up to you and your creativity. We’ve also recorded a video of the iPad file system, find it below.
If you have further tips or thoughts to share, feel free to use the comments below.


