Since it debuted, Nintendo Switch Online’s utility has been primarily limited to initiating voice chats and other online features in the Switch games that support them. That’s still the core of version 2.0, but the app has been redesigned and adds a couple of nice new features.
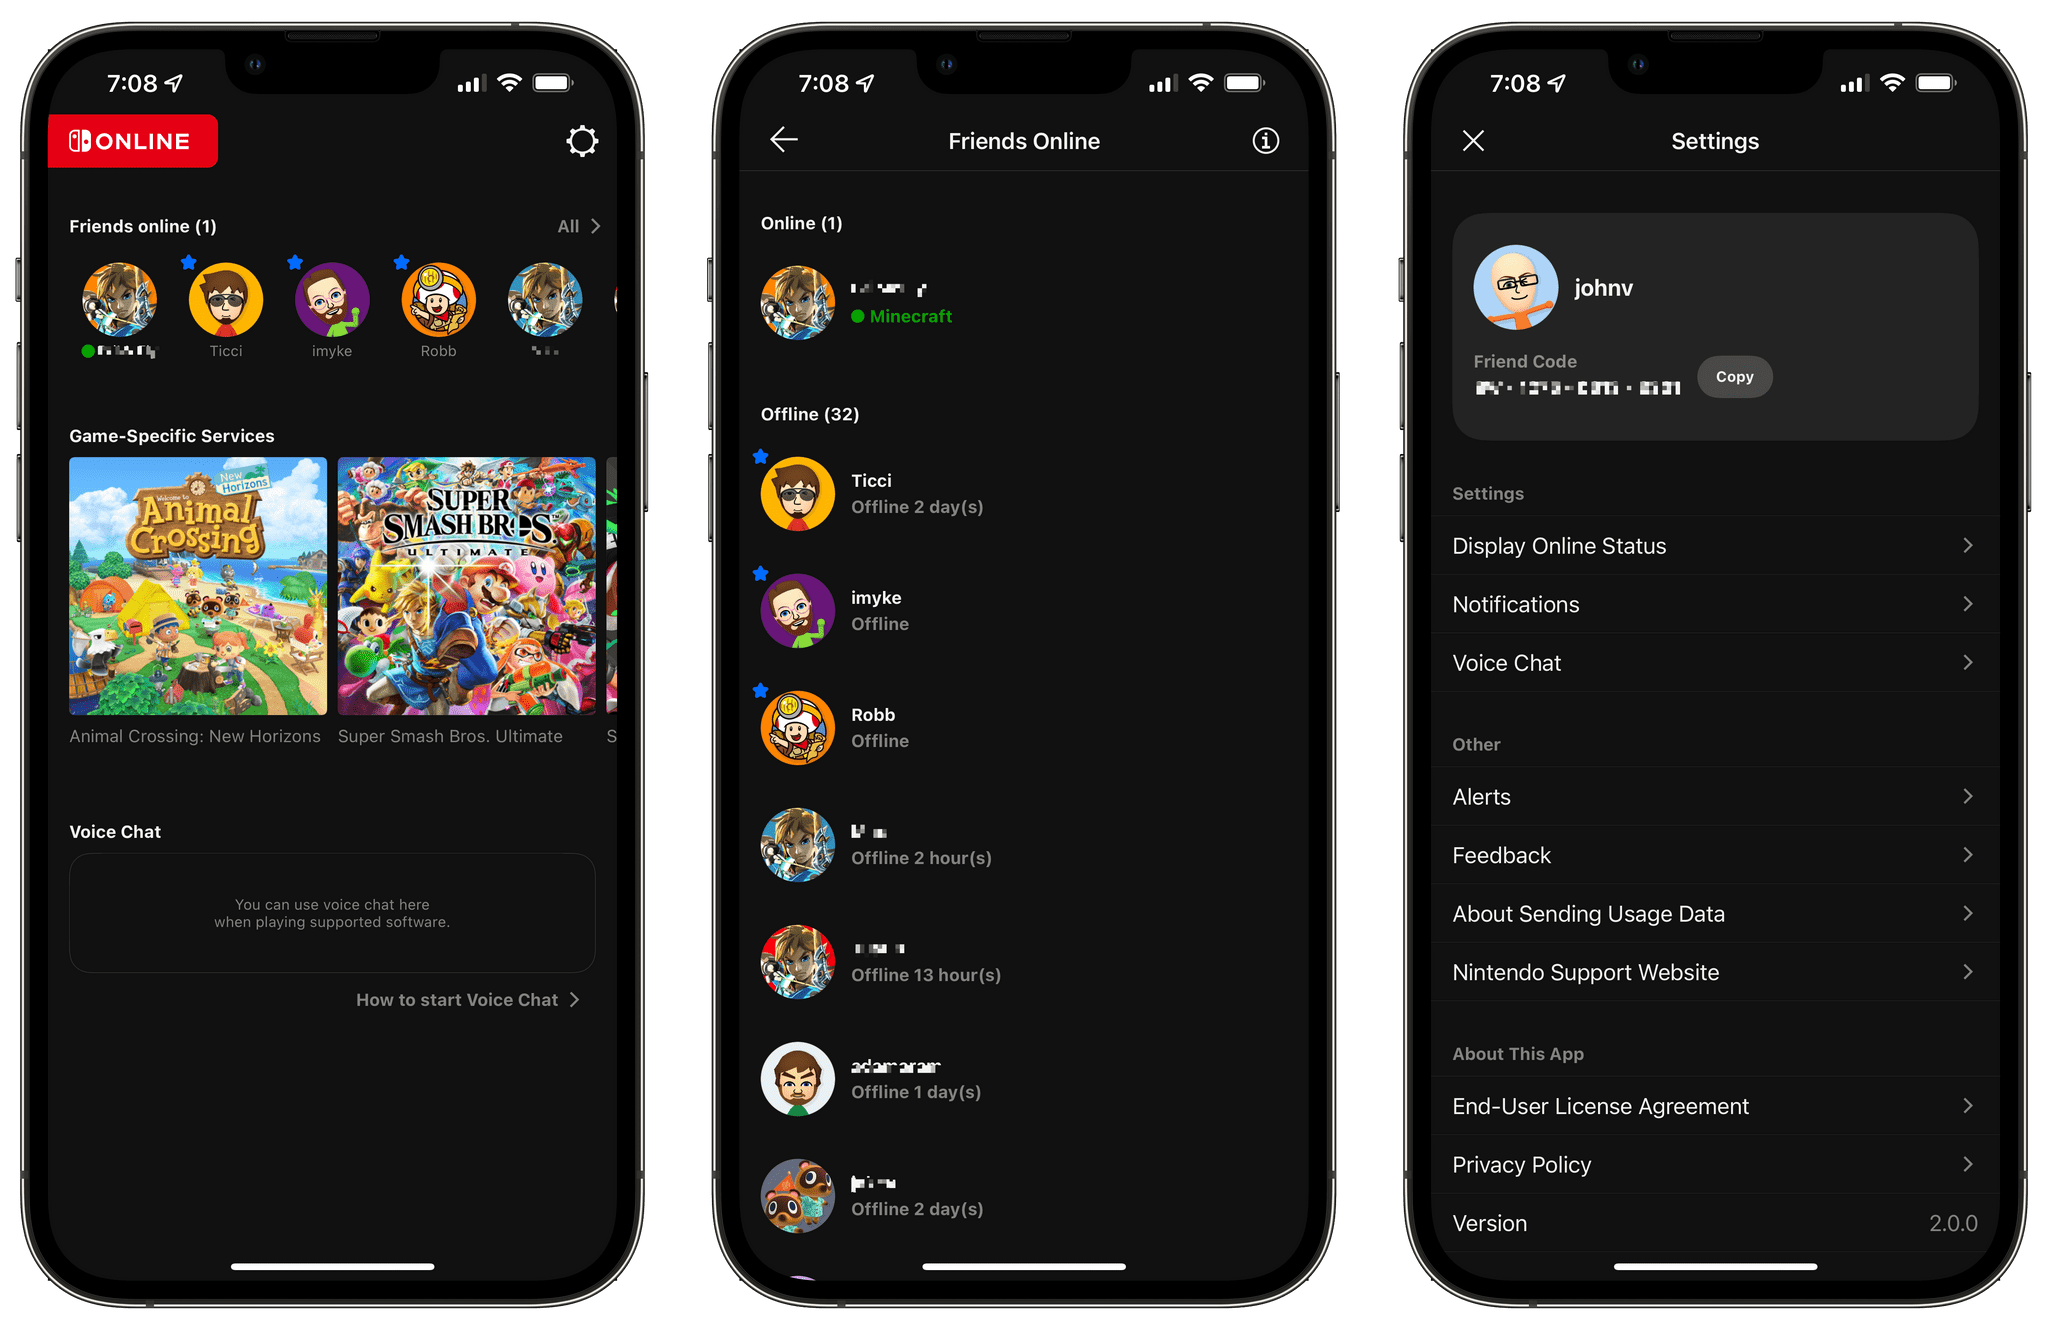
The new design divides the screen into a scrolling row of friends along the top, thumbnails of the games you own that support online services, like Animal Crossing, Super Smash Brothers Ultimate, and Splatoon 2, and the app’s Voice Chat feature. It’s a simple, good-looking design, but the abundance of blank space, if you’re not using voice chat, reveals just how little else the app has to offer.
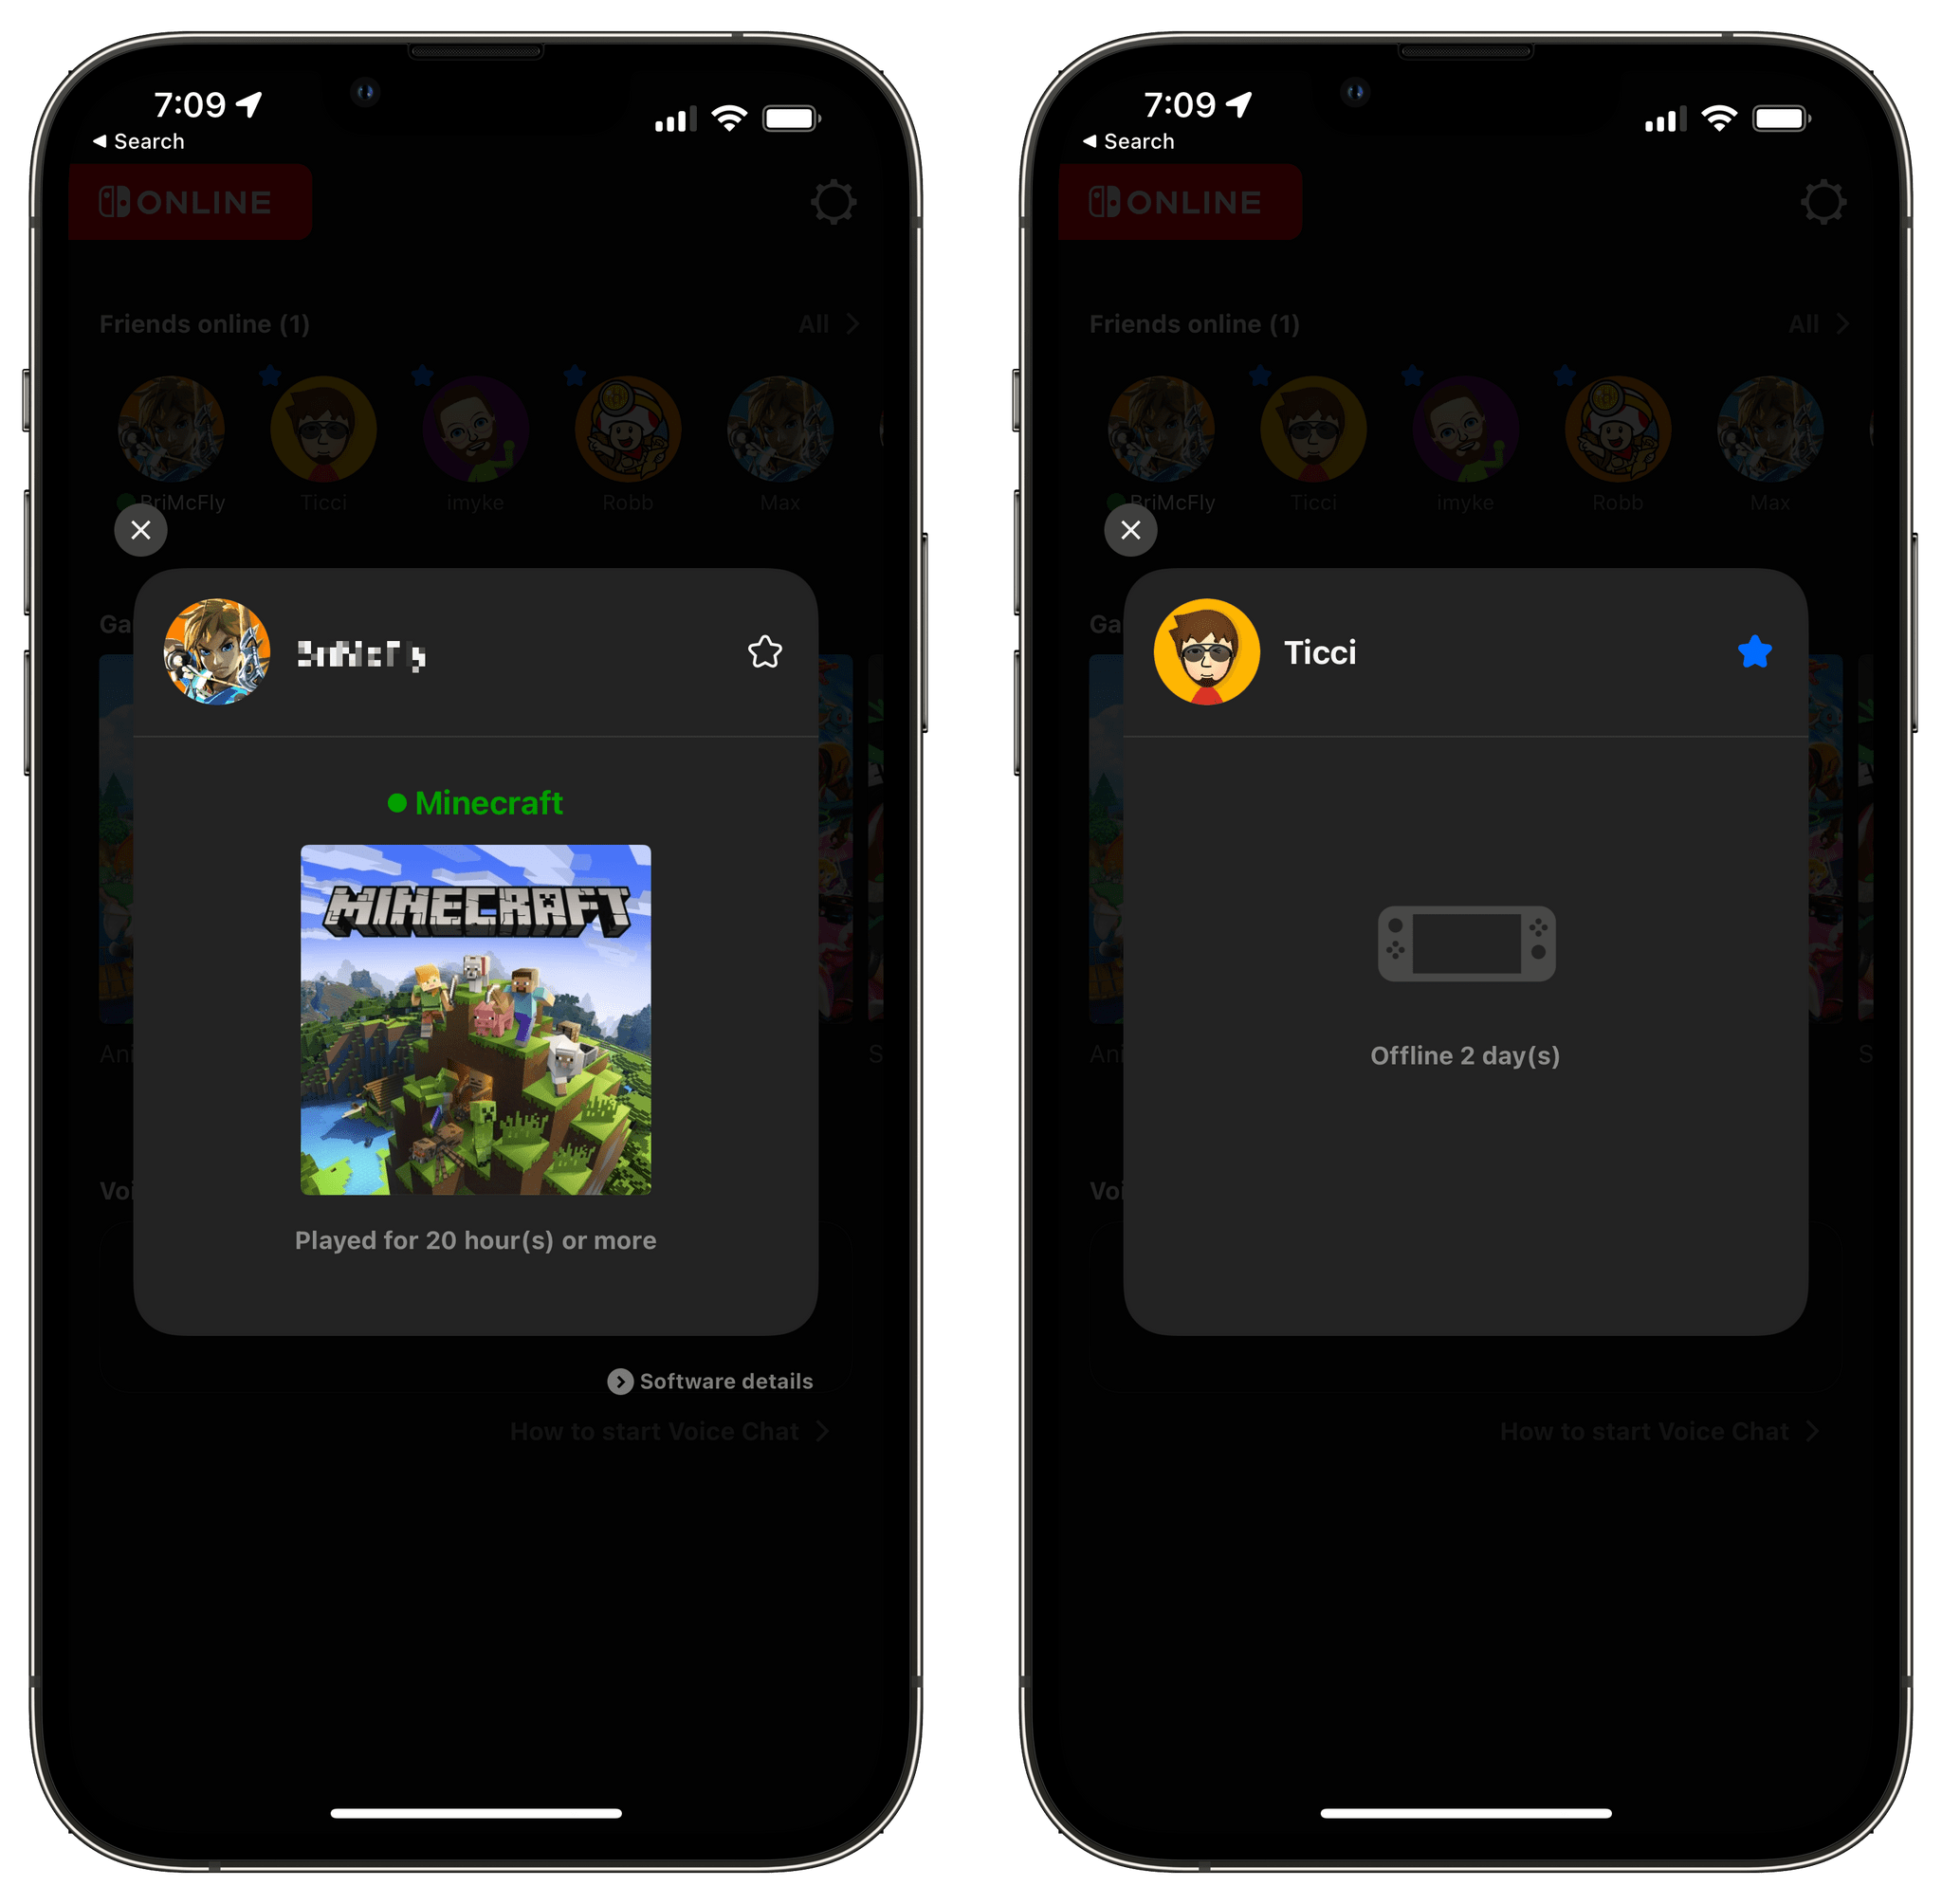
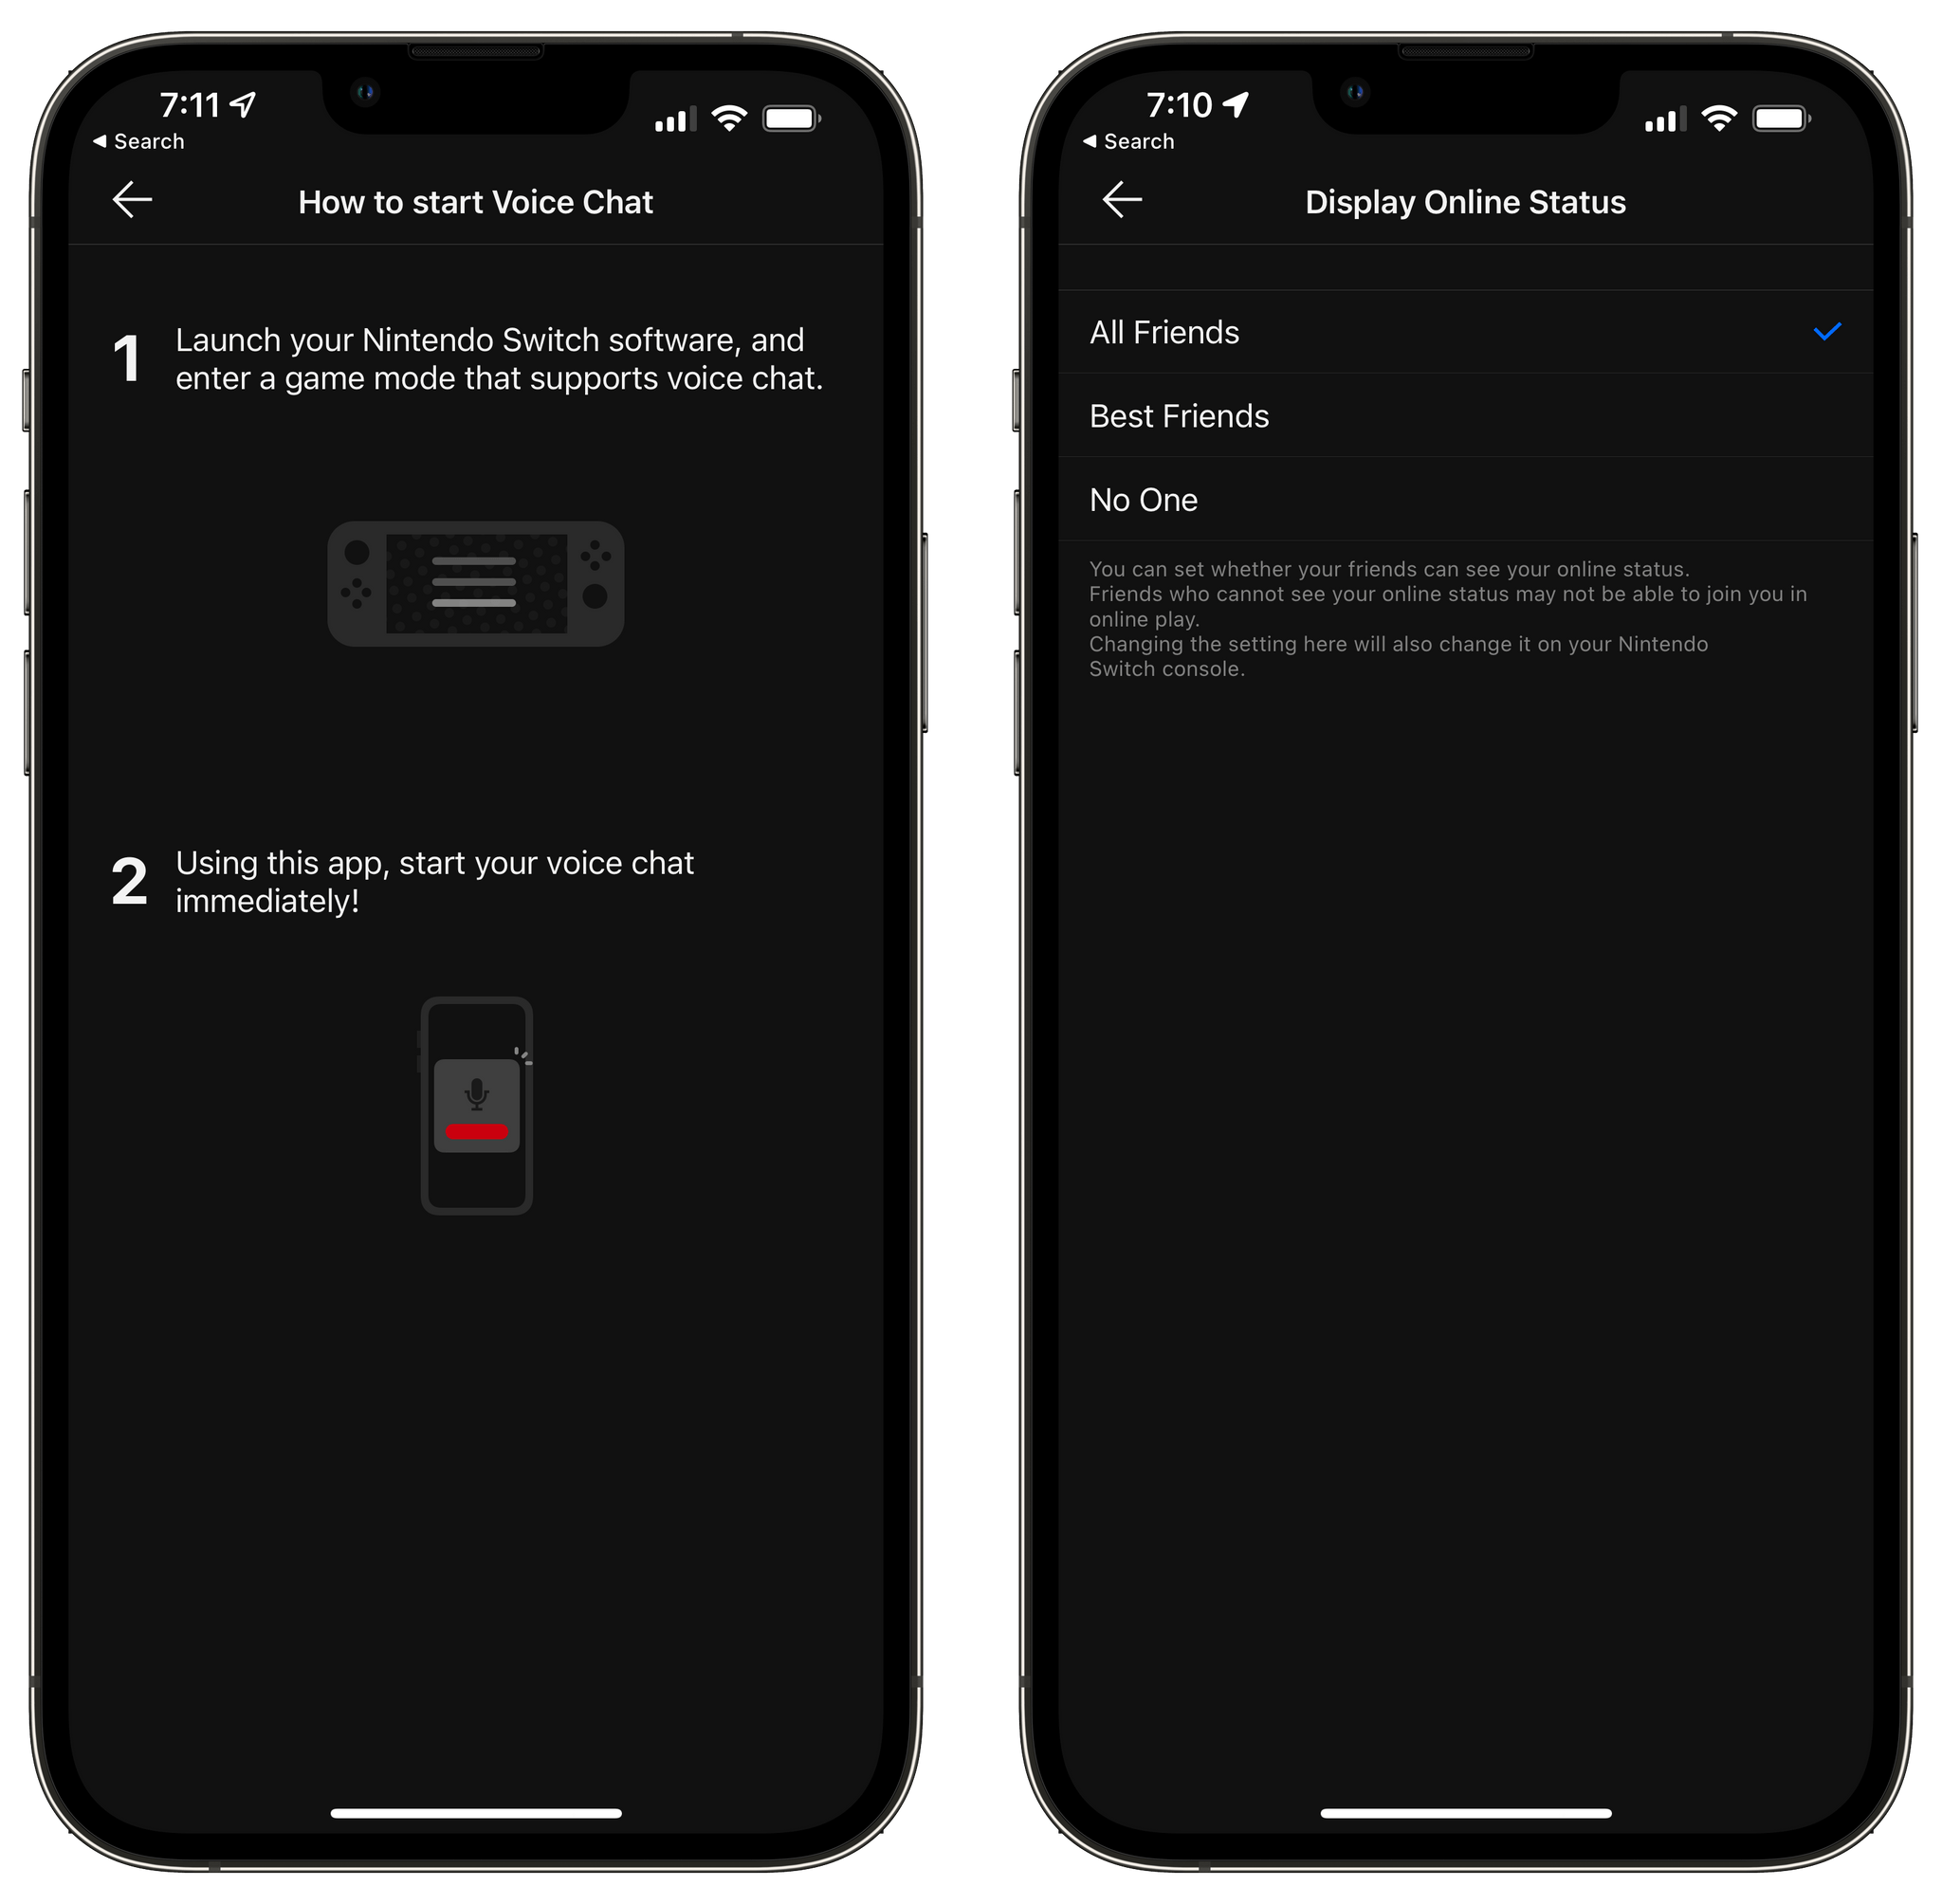
The row of friends indicates who is currently online and who you’ve marked as a ‘Best Friend,’ which pins their Mii avatars to the beginning of your friends list. Tapping on a Mii shows you what someone who is online is playing or when they were last online. The game-specific thumbnails act as launchers for each game’s service, and voice chat is only activated if you first start a game on the Switch in a mode that supports it.
A small but welcome touch is the ability to copy your friend code in the app’s settings. Previously you had to grab your Switch, dig into your profile, and manually copy the information if you wanted to send it to someone. Personally, that’s been a huge drag on how often I share my friend code, so I appreciate the change.
It’s good to see Nintendo Switch Online updated, but it’s still a little disheartening to think that it took the company five years to get to a version 2.0 with such modest feature additions. Still, the update is an improvement, and hopefully, it’s also a sign that Nintendo is prepared to invest more time and effort into the app as a way to enhance the Switch experience.
Nintendo Switch Online is available as a free update on the App Store.