This Week's Sponsor:

PowerPhotos

The Ultimate Toolbox for Photos on the Mac


Posts in tutorials

Extending Evernote: AppleScripts for Chrome, Safari, Instapaper and Alfred

Evernote is a cross-platform note taking solution that is adored by many for its ability to not just store snippets of information but also serve as an external brain. Among the many reasons users are drawn to this product is its extensibility. You may not realize this but Evernote has a very in-depth AppleScript dictionary that you can use to extend the feature set and make it do some pretty neat things you can’t do with it out of the box. I am going to show you how simple AppleScripting can add a few cool features to your Evernote workflow.

Note: These scripts work best when called with a global keyboard shortcut using an app like Keyboard Maestro, FastScripts, or Alfred.

This first AppleScript is used for storing a URL to whatever webpage you are currently viewing and it works with Safari, Chrome, and Chrome Canary. By default Evernote stores the entire webpage including images, navigational menus, and even advertising links. Having a snapshot of a page is great for some situations, but most of the time you just want to grab a link to the site and safely store it in Evernote so it can be easily retrieved. This script will check to see which browsers are running and it will grab the frontmost tab from the browser that is currently active; it’ll then neatly format the information into a note with the proper title and source url, and automatically sync Evernote.

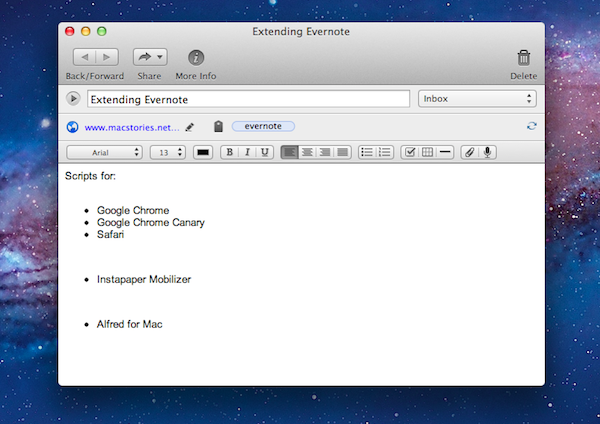
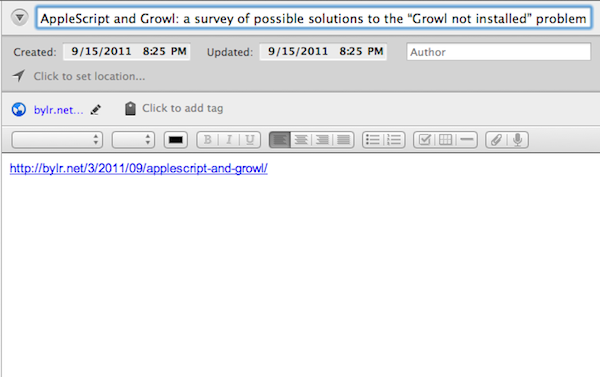
Here is an example of a page I enjoyed and wanted to be able to find again at a later time. Everything is neatly formatted with no extra fluff.

URL to Evernote

URL to Evernote

Here is an example macro to launch it from Keyboard Maestro:

Download the script: Webpage Link to Evernote AppleScript Read more


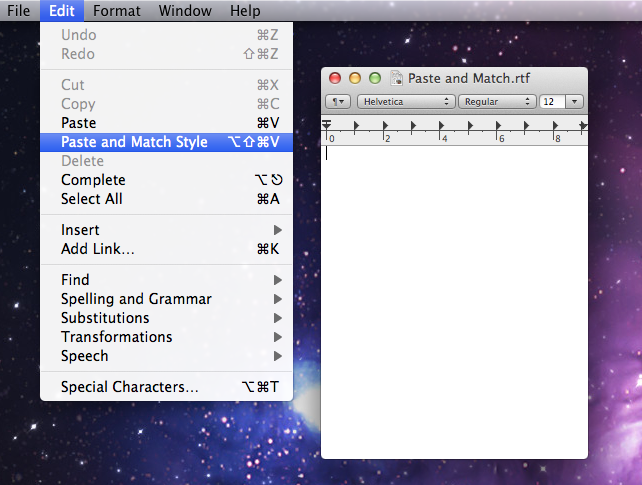
Customize Your Mac’s “Paste and Match Style”

On the Mac, the paste function associated with the CMD + V keyboard shortcut has a well-known side effect: if you’re writing a document and you paste something from your clipboard, the document’s style won’t be automatically matched. Quite possibly a “feature” per Apple’s design choice, since I switched to the Mac I’ve always been annoyed by such “remember every style” behavior, and from the reaction I’ve seen on Twitter, it turns out quite a few people dislike when they end up with weird styles in their outlines or email messages as well.

But, you might argue, there is a way to paste and match style, and that’s represented by the ⌥⇧⌘V shortcut…which requires four fingers to execute, and it’s not always implemented in the same way in third party apps. Chrome, for instance, uses ⇧⌘V, and many other apps follow a similar trend to modify the default shortcut for Paste and Match Style.

In the past few days, I’ve come across some interesting solutions to unify Paste and Match Style with a simpler keyboard shortcut, and make it the default paste action on OS X if you never want to paste with “styles”. This can be particularly handy for writers, who often prefer a plain text environment or a styled one that’s, however, consistent throughout a document. Read more


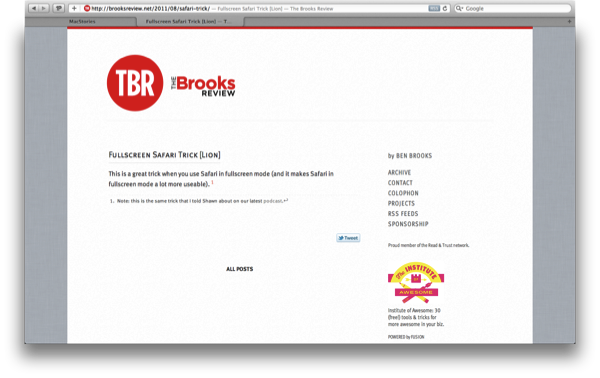
Fullscreen Safari Trick

Fullscreen Safari Trick

When using Safari in Lion’s Full-Screen mode, you can grab the edges of the browser and drag inward to reduce the width, making fluid websites easier to read on wide monitors, while keeping a nice clutter free view.

For as much as I’ve used Safari in Full-Screen mode on the Mac, I’ve never noticed that the cursor changes at the left and right edges of the display to signify that you can resize the webpage. It’s a neat effect, and it almost looks a little 37signals-ish when you have a webpage resized to show the light linen in the background. What’s nice is that the width will remain as you navigate the web — there’s no need to resize per webpage, although the new width isn’t shared between tabs. Hat tip to The Brooks Review for pointing out this clever trick from Finer Things in Mac.

Permalink

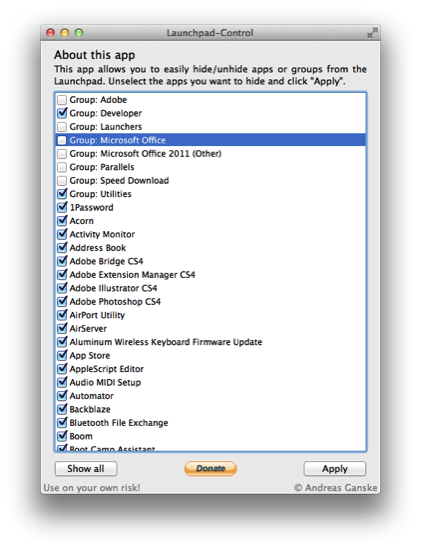
Hide Apps and Folders in Launchpad with Launchpad-Control

A problem I have with Launchpad (and the SpringBoard on iOS) is that while you can rearrange and group apps, sometimes you just want to hide apps or get rid of them completely. This is possible on iOS via a Jailbreak, but how can we hide unnecessary apps and folders in Launchpad on the Mac? Andreas Ganske’s Launchpad-Control is your ticket to greater control.

Launchpad-Control is super simple to use. Download it, unzip the archive, and drag the icon to your Applications folder in your Finder’s sidebar. When you open Launchpad-Control, you’re presented with a list of all the apps displayed in your Launchpad. Simply uncheck the folders or apps you don’t want to see, click Apply, then wait as your dock is killed and comes back into view. When you own open Launchpad, all of the apps you wanted to hide will no longer be active. It’s so simple to use, but fair warning: using this app comes at your own risk!

You can download Launchpad-Control from http://chaosspace.de/. Remember to donate if you find this free utility useful!

[via @ChaosCoder]


Reveal the Dock in fullscreen apps

Reveal the Dock in fullscreen apps

To get to the Dock from a fullscreen app, just move the pointer all the way to the edge where the Dock is pinned, then swipe or move the mouse in the same direction again, as if you were trying to move beyond the edge. The Dock pops right up, with no keyboard commands needed.

I saw question about this directed at @macstoriesnet yesterday, although I didn’t know the trick. This morning Macworld comes through with a simple solution, although their explanation is a little confusing. Here’s the gist: if your dock is on the bottom of the screen, swipe your mouse cursor down twice at the bottom edge of the display. If your dock is at the right of the screen, swipe your mouse cursor right twice. This works even when you automatically hide and show the dock. If you have an app that’s open in another desktop space, you can simply click on its application icon in the dock to jump to that space without initiating Mission Control or swiping between desktops.

Permalink

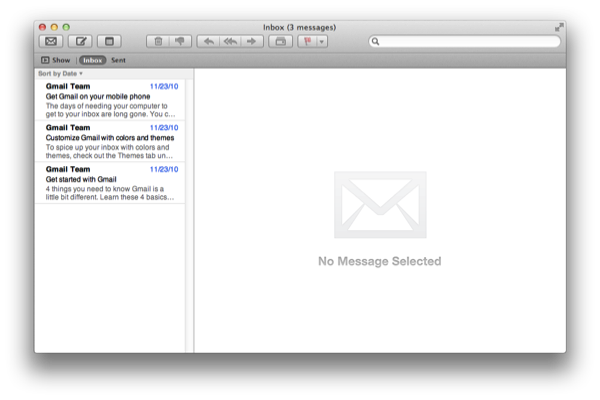
Getting Started with Mail in Lion

Maybe you’re new to Lion (welcome newly acquainted Mac users), or maybe you’re not much of a Mail user to begin with. Well, “Hello From Cupertino, CA”! Much of the hype around Lion has revolved around the iOS-inspired changes made to Mail, which aims to make reading messages, composing email, and navigating through conversations really easy. To do this, Mail likes to hide the Mailbox List, while getting you comfortable with the new Favorites Bar. Lion’s new vertical message list and message-preview pane better make use of wide-screen displays, especially while full-screen. If you’re not familiar with this terminology yet, don’t worry. Grab a cup of coffee, your favorite morning or afternoon pastry, and get ready to set up Lion with your account.

Read more


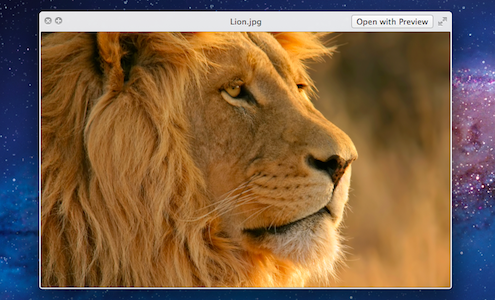
All You Need To Know About Quick Look In Lion, Plus Some Handy Tips And Tricks

We briefly touched upon the improvements to Quick Look in our Lion review last week, speaking of the improvements made to it in broad strokes. But we felt as though it was worth a second look because there have been quite a few improvements, including many that are subtle but really nice touches.

New Look
The biggest change is of course the refreshed look, which Cody described in the review as “painted in a new white lacquer compared to the smokey previews in Leopard and Snow Leopard”. The reaction to this change has been both positive and negative, but broadly speaking we think it’s a good change, it feels cleaner and more refined – gone is that thick and wasteful bar at the bottom of the Quick Look window.

Read more


Miscellaneous Lion Tips and Tricks

Lion is a solid update to OS X and it comes with several new features as we’ve outlined in our review, however there are so many little touches and minor features it is possible some of them will go unnoticed, leaving a user wondering whether something he thought would be possible was removed by Apple. In this post, we’ve collected some of the best tips and tricks we’ve received from our readers and Twitter followers since Lion came out yesterday, as well as stuff that didn’t make it to the review. More will follow throughout the next days, but in the meantime check them after the break.

Note: Part 2 is now online.

Read more


The First Five Things I Do When I Set Up Lion

Whether I’m installing OS X for myself or for another person, there’s always several things I do first before anything else. The steps I take aren’t too different in Lion, and whether you’re getting a new Mac, finding ways to install Lion fresh, or looking to see if you’ve missed anything, let’s take a quick five minute tour of the OS’s settings.

Read more