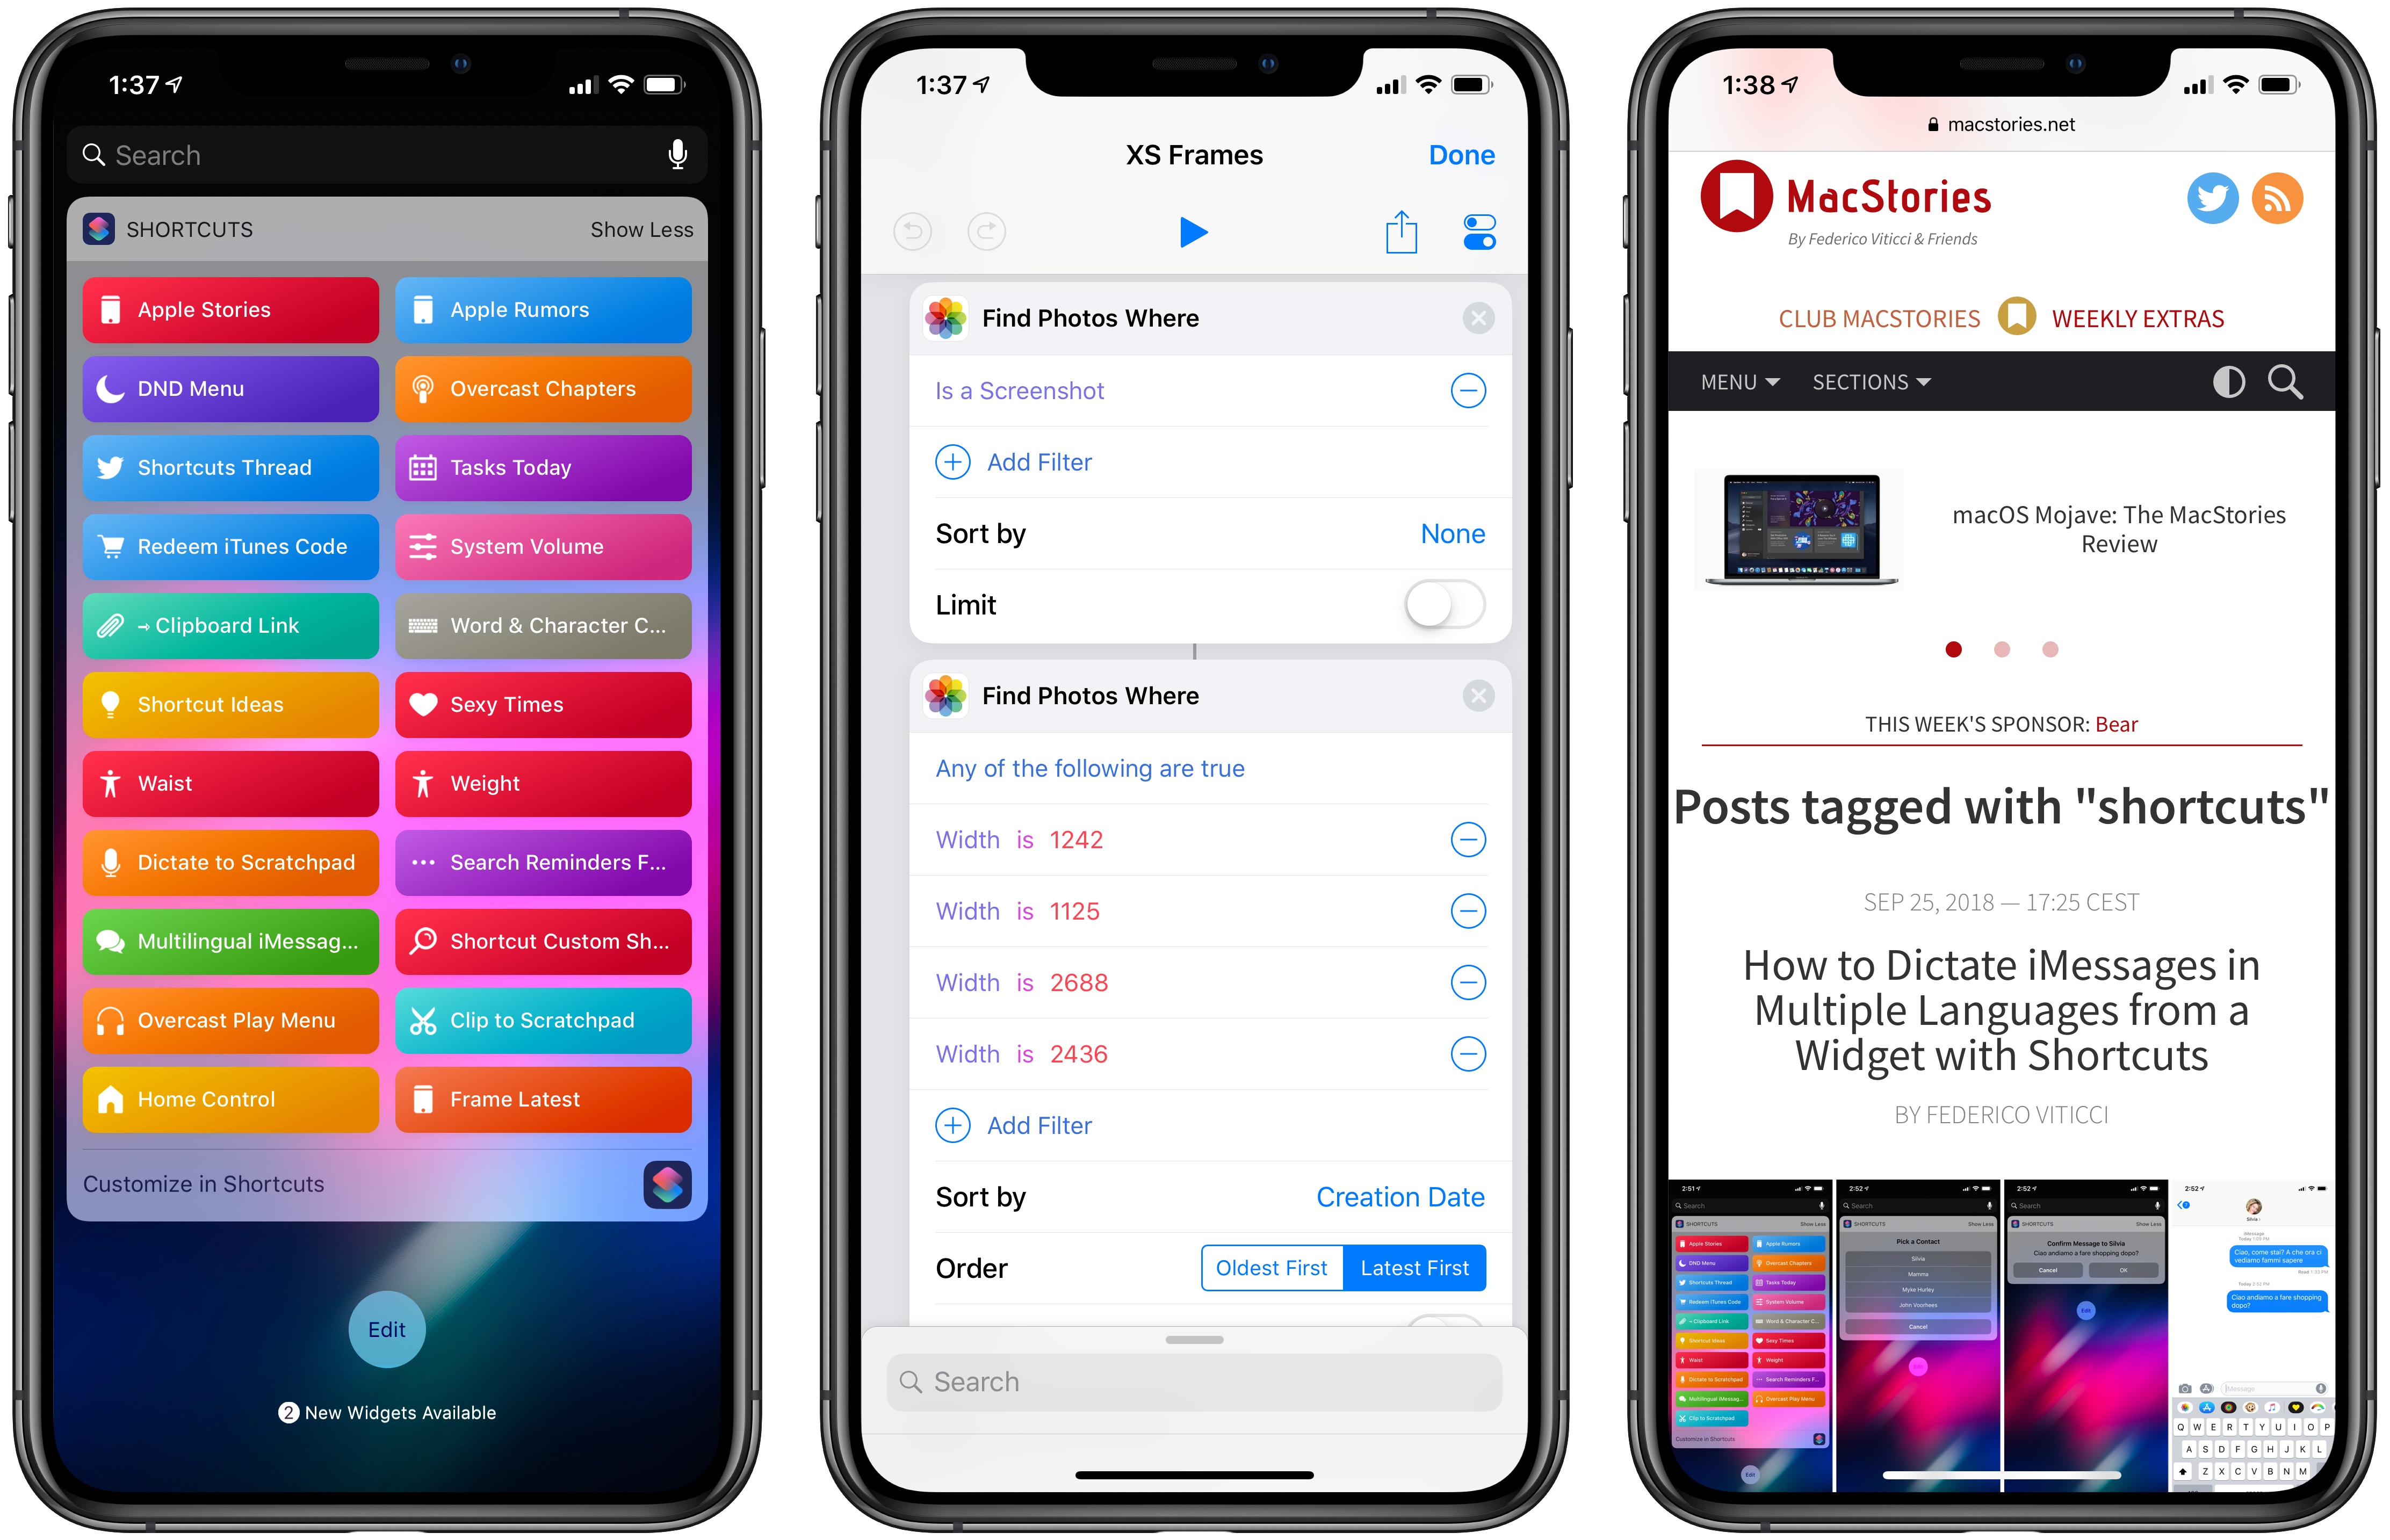
Update 10/10: A newer version of this shortcut, which can apply frames to screenshots taken on multiple Apple devices, is available here.
MacStories readers may be familiar with the way I like to present iPhone screenshots in app reviews and other stories – particularly for “hero” images, such as the one above, I want my screenshots to be contained in device frames that resemble official marketing images from Apple. They’re prettier, and they do a better job at communicating what an app looks like on an actual device. I could create these images manually using apps like Affinity Photo and Pixelmator on iOS, but the process would be slow, boring, and time-consuming. Instead, for years now I’ve been using Workflow and its ‘Overlay Image’ action to get this done in an automated fashion.
With Shortcuts and the new iPhone XS and XS Max, it was time for an update to my old workflow. While I could have kept using the same iPhone X assets for the XS given their physical resemblance, I upgraded to a XS Max this year, which meant that my screenshots wouldn’t have fit the old device frames natively anyway. Fortunately, Apple uploaded official marketing assets for the XS and XS Max a couple of days ago, so with the help of my girlfriend (who’s better at Photoshop than I am) I was able to update my workflow for the new devices and add a few extra options in the process as well.
My new ‘XS Frames’ shortcut supports both the XS and XS Max in portrait and landscape orientations; it’s based on official assets from Apple, but it doesn’t require any configuration on your end because graphics are embedded within the shortcut as base64 text strings; and, in addition to saving framed screenshots into the Photos app, it can also combine screenshots in the same image if you’re dealing with multiple images at the same time (again, just like the hero image above).
The key feature of this shortcut is that it doesn’t require any management on your end. Screenshots are automatically filtered from your photo library, and the shortcut understands whether it’s processing portrait or landscape orientations based on the width of each image. Because assets are encoded inside the shortcut, you don’t have to manually download any templates. You can run the shortcut as an extension when sharing images in Photos or in the Shortcuts app, where it’ll bring up a screenshot picker UI; in my experience, due to memory constraints neither Siri nor the widget were able to successfully execute the shortcut. I recommend running the shortcut in the app to avoid any memory-related issues with extensions.
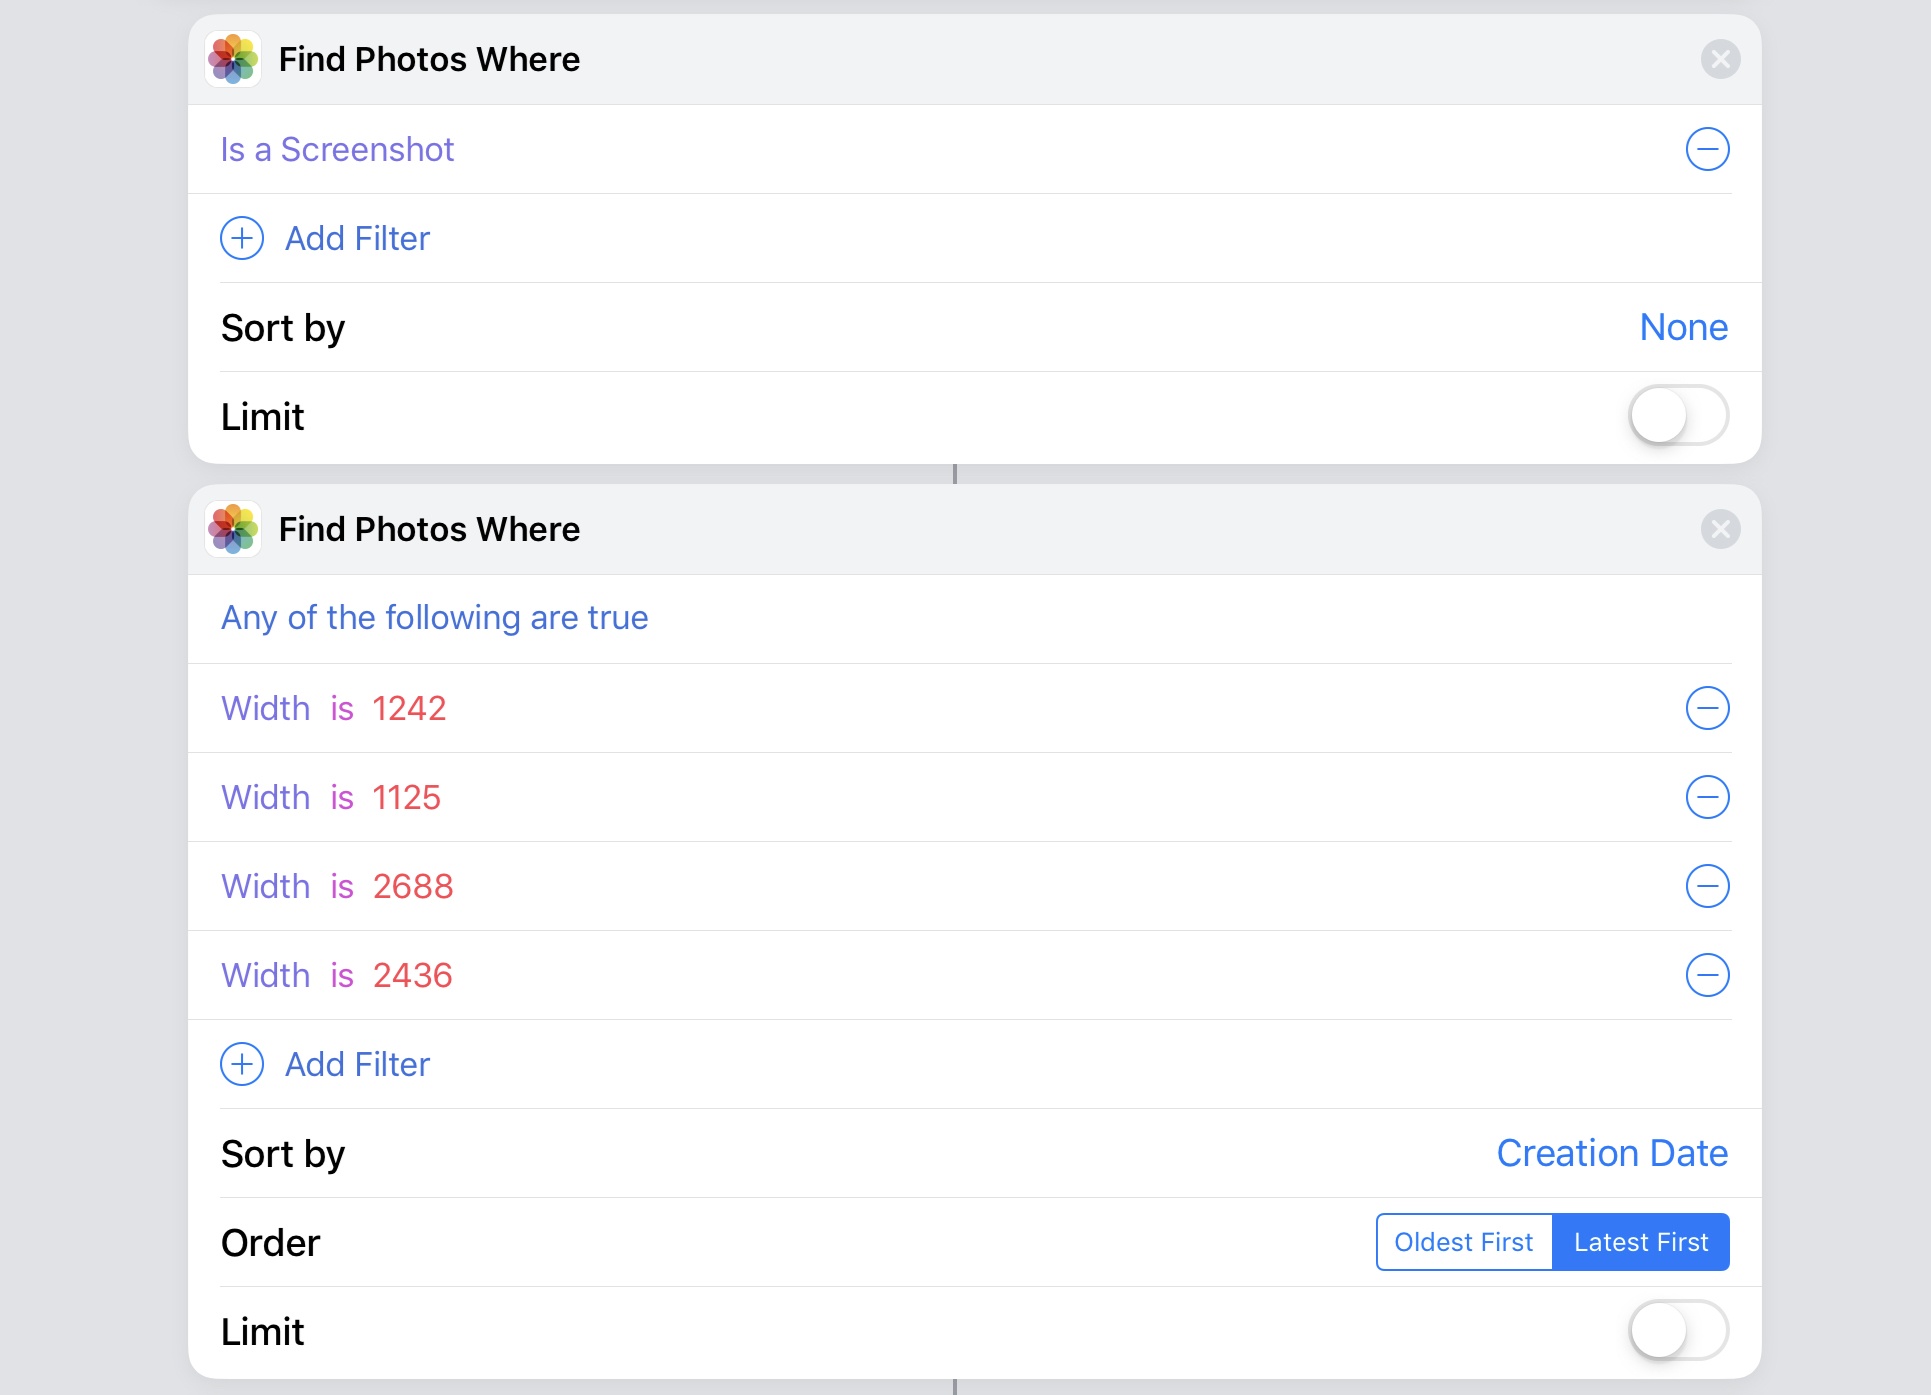
When the shortcut first runs, it checks for images in the input; if no images were passed in the first step, the shortcut is not running within the share sheet in Photos, which means it needs to display an image picker containing XS and XS Max screenshots. This is done using a combination of two ‘Find Photos Where’ actions that filter screenshots and subsequently filter screenshots that also match specific width parameters. In the picker, screenshots are sorted by date (with the newest ones at the bottom, like in Photos) and you can select multiple ones before continuing.
At this point, the shortcut starts a repeat loop for each screenshot chosen at the beginning. You don’t have to care about any of these technical details, but under the hood the shortcut creates a dictionary for each image based on the type of device and orientation using coordinates (x and y values for where to paste a screenshot into a device frame) and the aforementioned encoded assets. I think it’s pretty neat. Screenshots and associated device frames are then decoded, combined, and added to a variable. At the end of the shortcut, multiple framed screenshots are combined in a single composite image, but otherwise the final output is always saved to Photos into the default ‘All Photos’ album.
I tested this shortcut with up to 13 XS and XS Max screenshots at a time, and it worked without issues; in just a few seconds I was able to pick screenshots, frame them, combine them, and end up with hero images I can use in my articles.
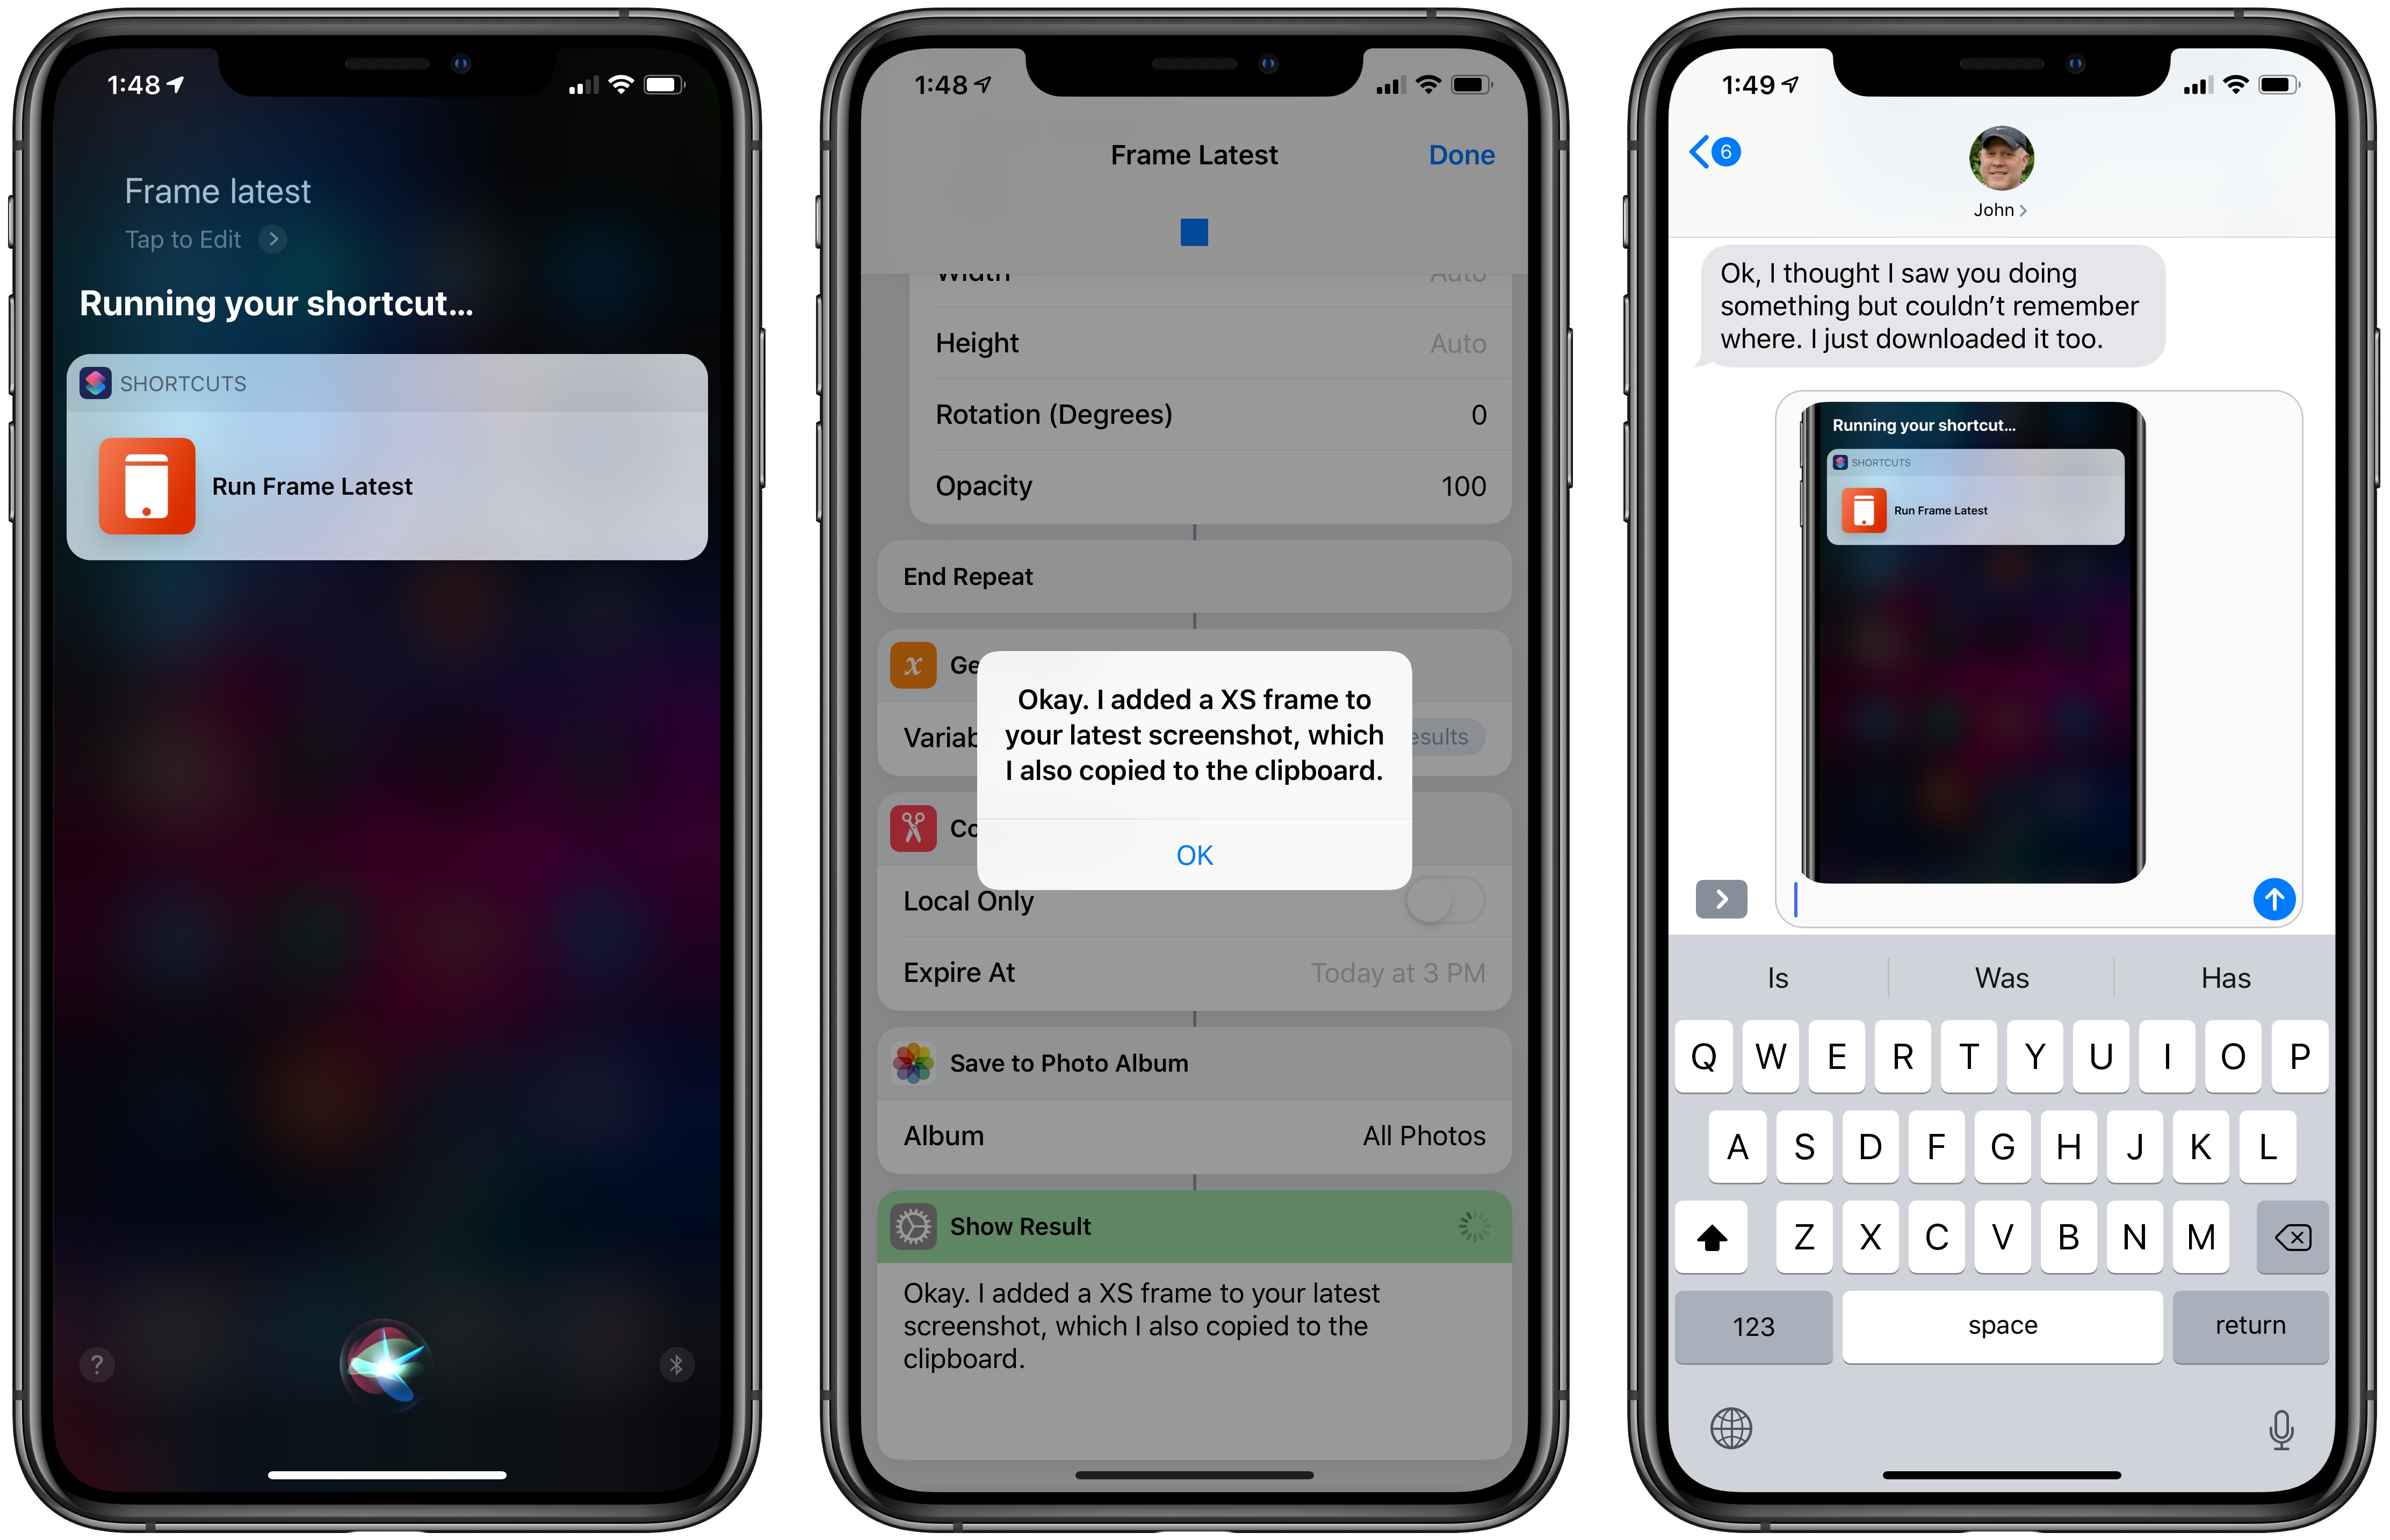
As a bonus, I also created a separate version of this shortcut that frames the latest screenshot you took, saves it into your photo library, and also copies the image to the system clipboard. This can be a nice way to quickly “prettify” a screenshot that you want to share on Twitter or iMessage. You can invoke this shortcut with a Siri phrase or from the widget, but it’ll always open the Shortcuts app to avoid any memory constraints.
Updated shortcuts for the Apple Watch Series 4 and MacBook Pro line are on my list to work on next. In the meantime, I’m going to be using this shortcut to frame all my XS Max screenshots, which you’re going to see here on MacStories as well as the Club. You can download the shortcuts below.

XS Frames
Add device frames to iPhone XS and XS Max screenshots. The shortcut supports portrait and landscape orientations. If multiple screenshots are passed as input, they will be combined in a single image.

Frame Latest
Add an iPhone XS or XS Max frame to the latest screenshot from your library. The composite image is saved into the Photos app and copied to the clipboard.


