iPad Diaries is a regular series about using the iPad as a primary computer. You can find more installments here and subscribe to the dedicated RSS feed.
One of my favorite aspects of working on the iPad is the flexibility granted by its extensible form factor. At its very essence, the iPad is a screen that you can hold in your hands to interact with apps using multitouch. But what makes iPad unique is that, unlike a desktop computer or laptop, it is able to take on other forms – and thus adapt to different contexts – simply by connecting to a variety of removable accessories. The iPad can be used while relaxing on a couch or connected to a 4K display with a Bluetooth keyboard; you can work on it while waiting in a car thanks to built-in 4G LTE, or put it into a Brydge keyboard case and turn it into a quasi-MacBook laptop that will confuse a lot of your friends who aren’t familiar with iPad Pro accessories1. In a way, the iPad is modern computing’s version of Kirby, the famous Nintendo character that is a blank canvas on its own, but can absorb the capabilities of other characters when necessary.
Thanks to its USB-C port, the new iPad Pro takes this aspect of the traditional iPad experience even further by enabling easier connections to external devices that don’t come with a Lightning connector. At this stage, the new iPad Pro does not integrate with all USB-C accessories like any modern Mac would; also, connecting to Bluetooth keyboards has always been possible on iPad, as was interacting with external USB keyboards if you had the right Lightning adapter. But the point is that USB-C makes it easier to connect an iPad Pro to other USB devices either by virtue of using a single USB-C cable or, in the case of USB-A accessories, using existing USB-C hubs from any company that isn’t Apple. Not to mention how, thanks to the increased bandwidth of the USB 3.1 Gen. 2 spec supported by the iPad Pro’s USB-C port, it is now possible to connect the device directly to an external 4K/5K USB-C monitor, which can power the iPad Pro and act as a USB hub at the same time.
We haven’t seen the full picture of built-in USB-C with the new iPad Pro: external drives still aren’t supported by iOS’ Files app, and other peripherals often require app developers to specifically support them. However, I believe the removal of Lightning is already enhancing the iPad’s innate ability to adapt to a plurality of work setups and transform itself into a portable computer of different kinds. For the past few weeks, I’ve been testing this theory with Bluetooth and USB keyboards, a 4K USB-C monitor, USB-C hubs, and a handful of accessories that, once again, highlight the greater flexibility of the iPad Pro compared to traditional laptops and desktops, as well as some of its drawbacks.
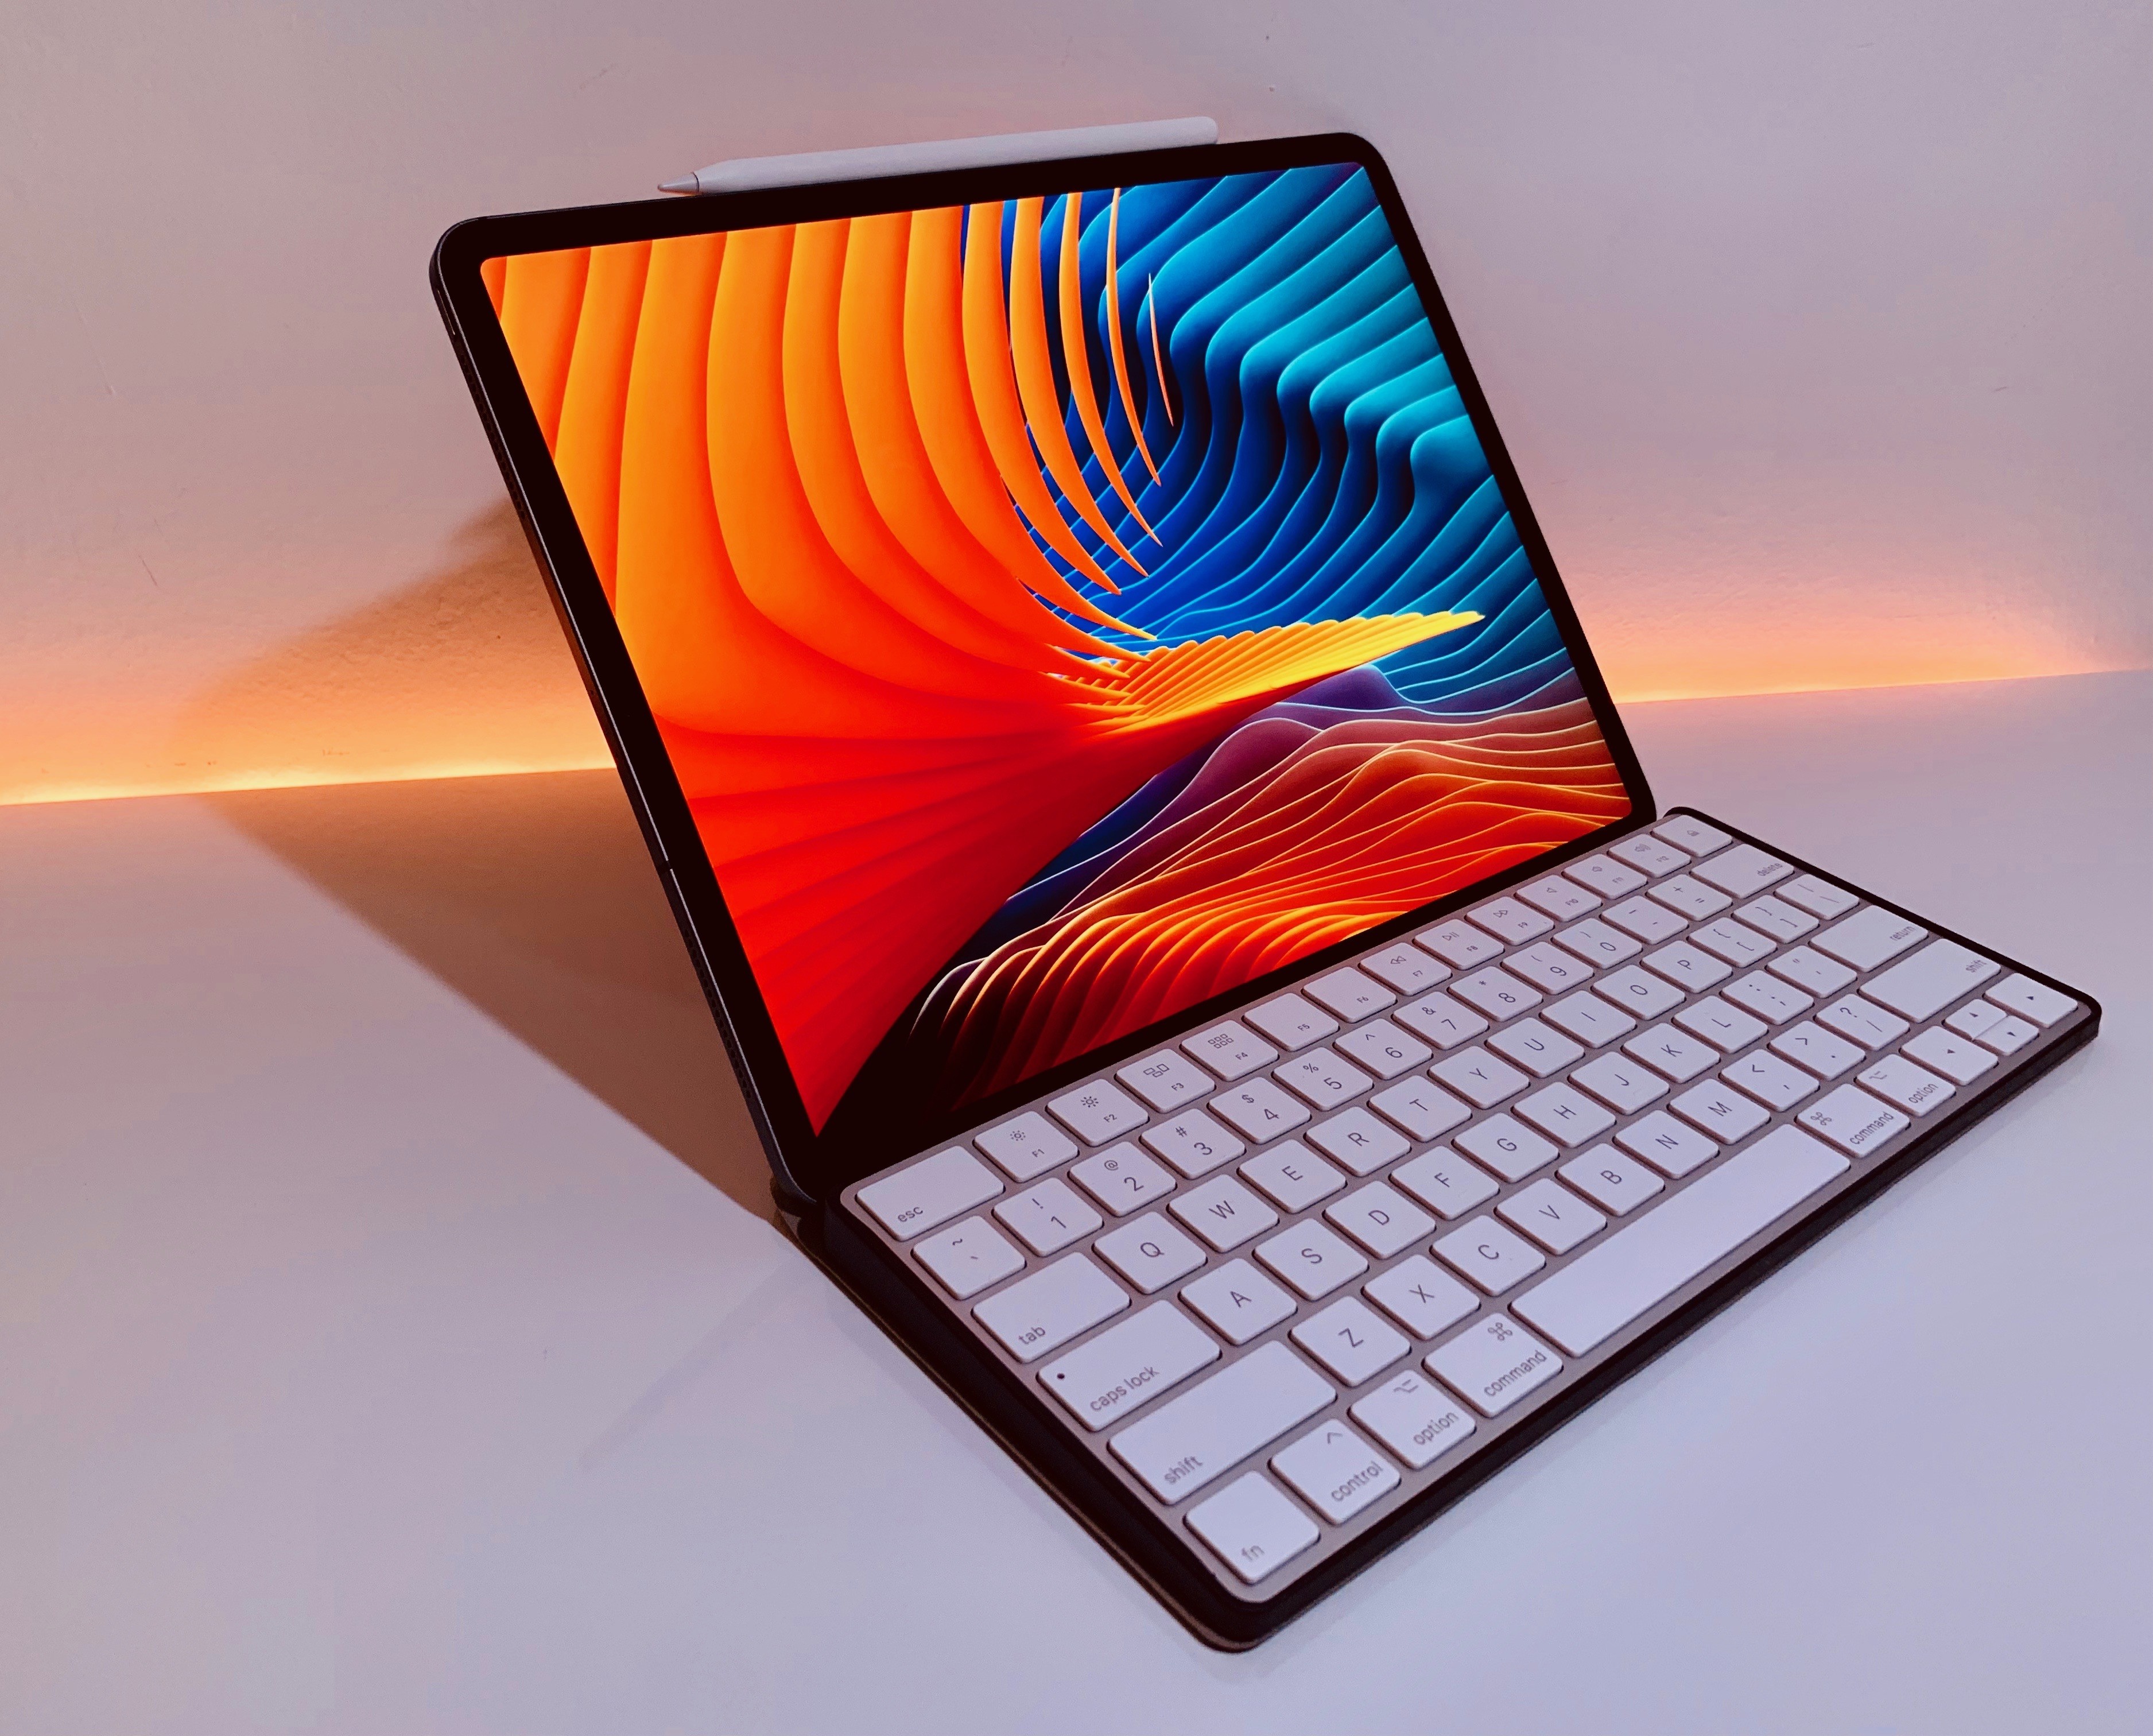
Magic Keyboard + Fintie Cover or Studio Neat Canopy Stand
Despite lacking backlight illumination and the baffling decision to only offer the compact version in white, I’ve always liked using Apple’s Magic Keyboard with the iPad Pro. The keyboard is sturdy thanks to its aluminum chassis; the keys are bigger than the ones on the Smart Keyboard (and are also more spaced out), and I prefer their feel to the Smart Keyboard or the butterfly switches of my girlfriend’s 2017 MacBook Pro. The Magic Keyboard is quiet, lightweight and compact, and, perhaps best of all, it charges quickly thanks to a Lightning port, which means I can use my iPhone charger to top it up every few weeks.
Over the past few years, I have used the Magic Keyboard on and off as my main external iPad keyboard for big projects that involved a lot of typing, such as my look back at the first year of the iPad Pro or my iOS 11 review. The feature I like the most about the Magic Keyboard is its inclusion of F-keys that double as media shortcuts supported natively by iOS. The same keys that can change screen brightness, play audio and skip tracks, or change the volume and mute the speakers on a Mac can perform identical functions on an iPad out of the box.2 As a result, while the Magic Keyboard does not offer the standalone Home and Siri special keys that I appreciated in the old generation Brydge keyboard case 3, it is a solid option overall if you want to work from an iPad and control iOS without having to touch the screen as often as you would with a Smart Keyboard.
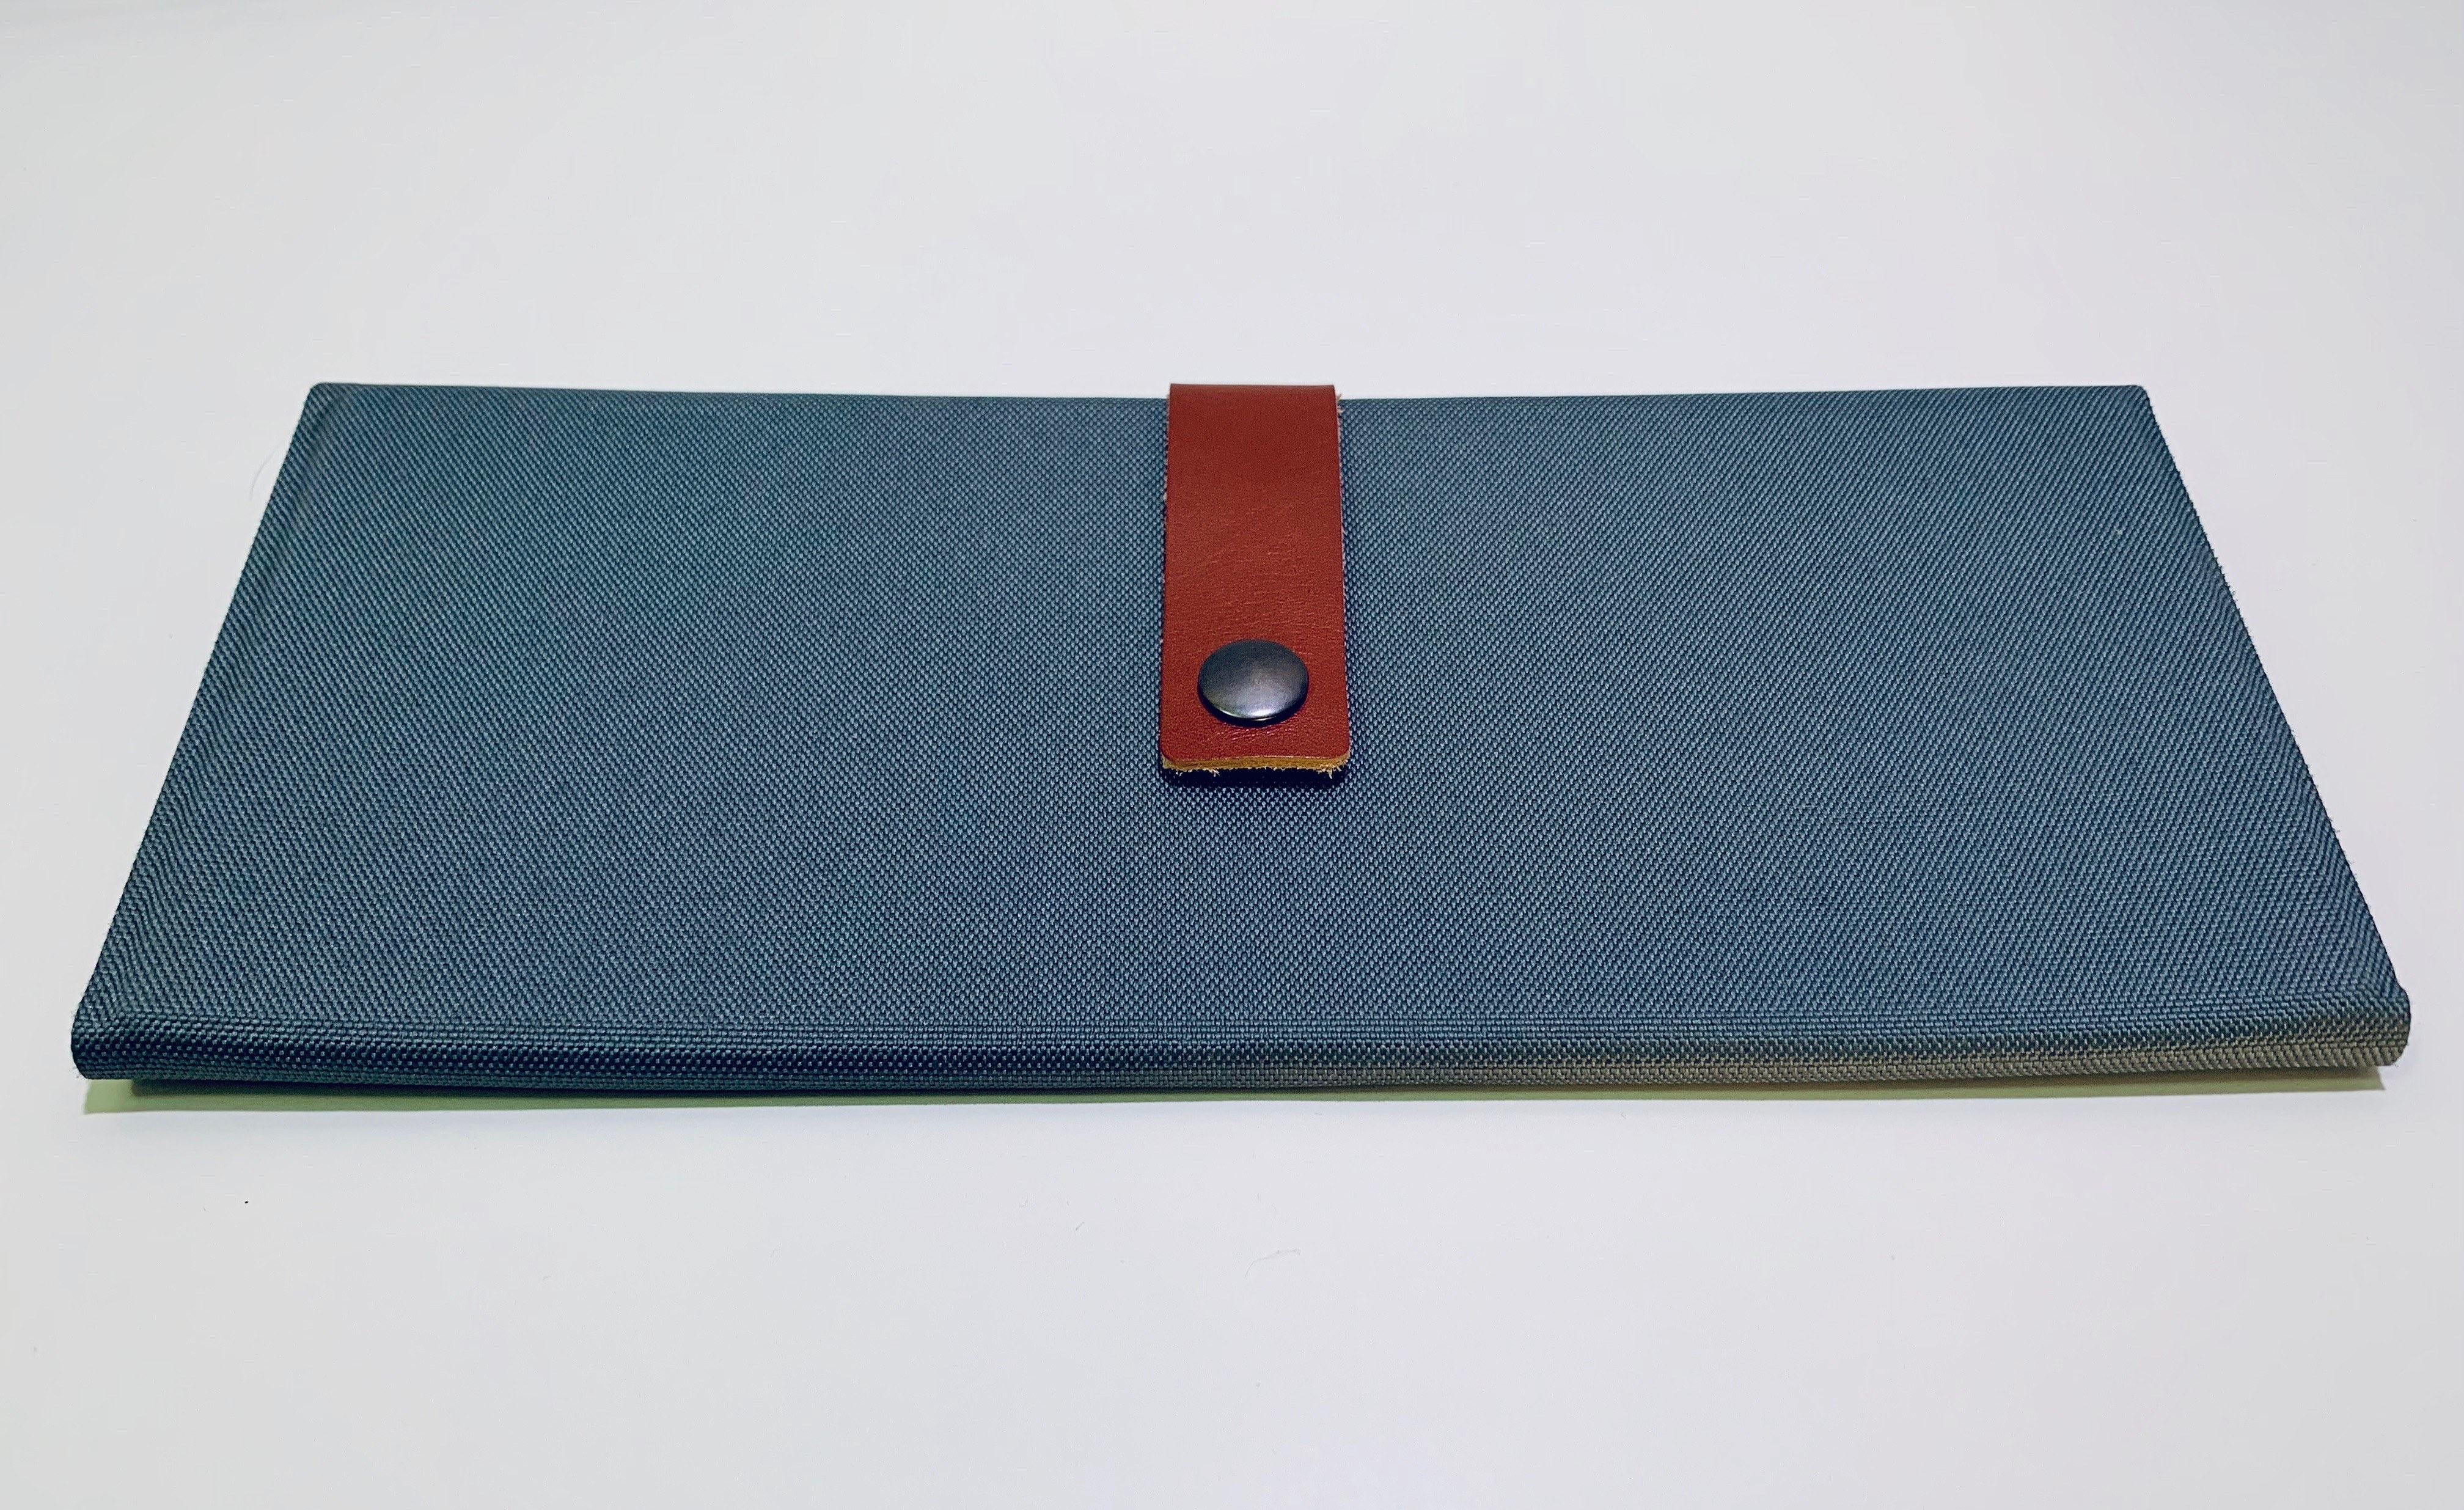
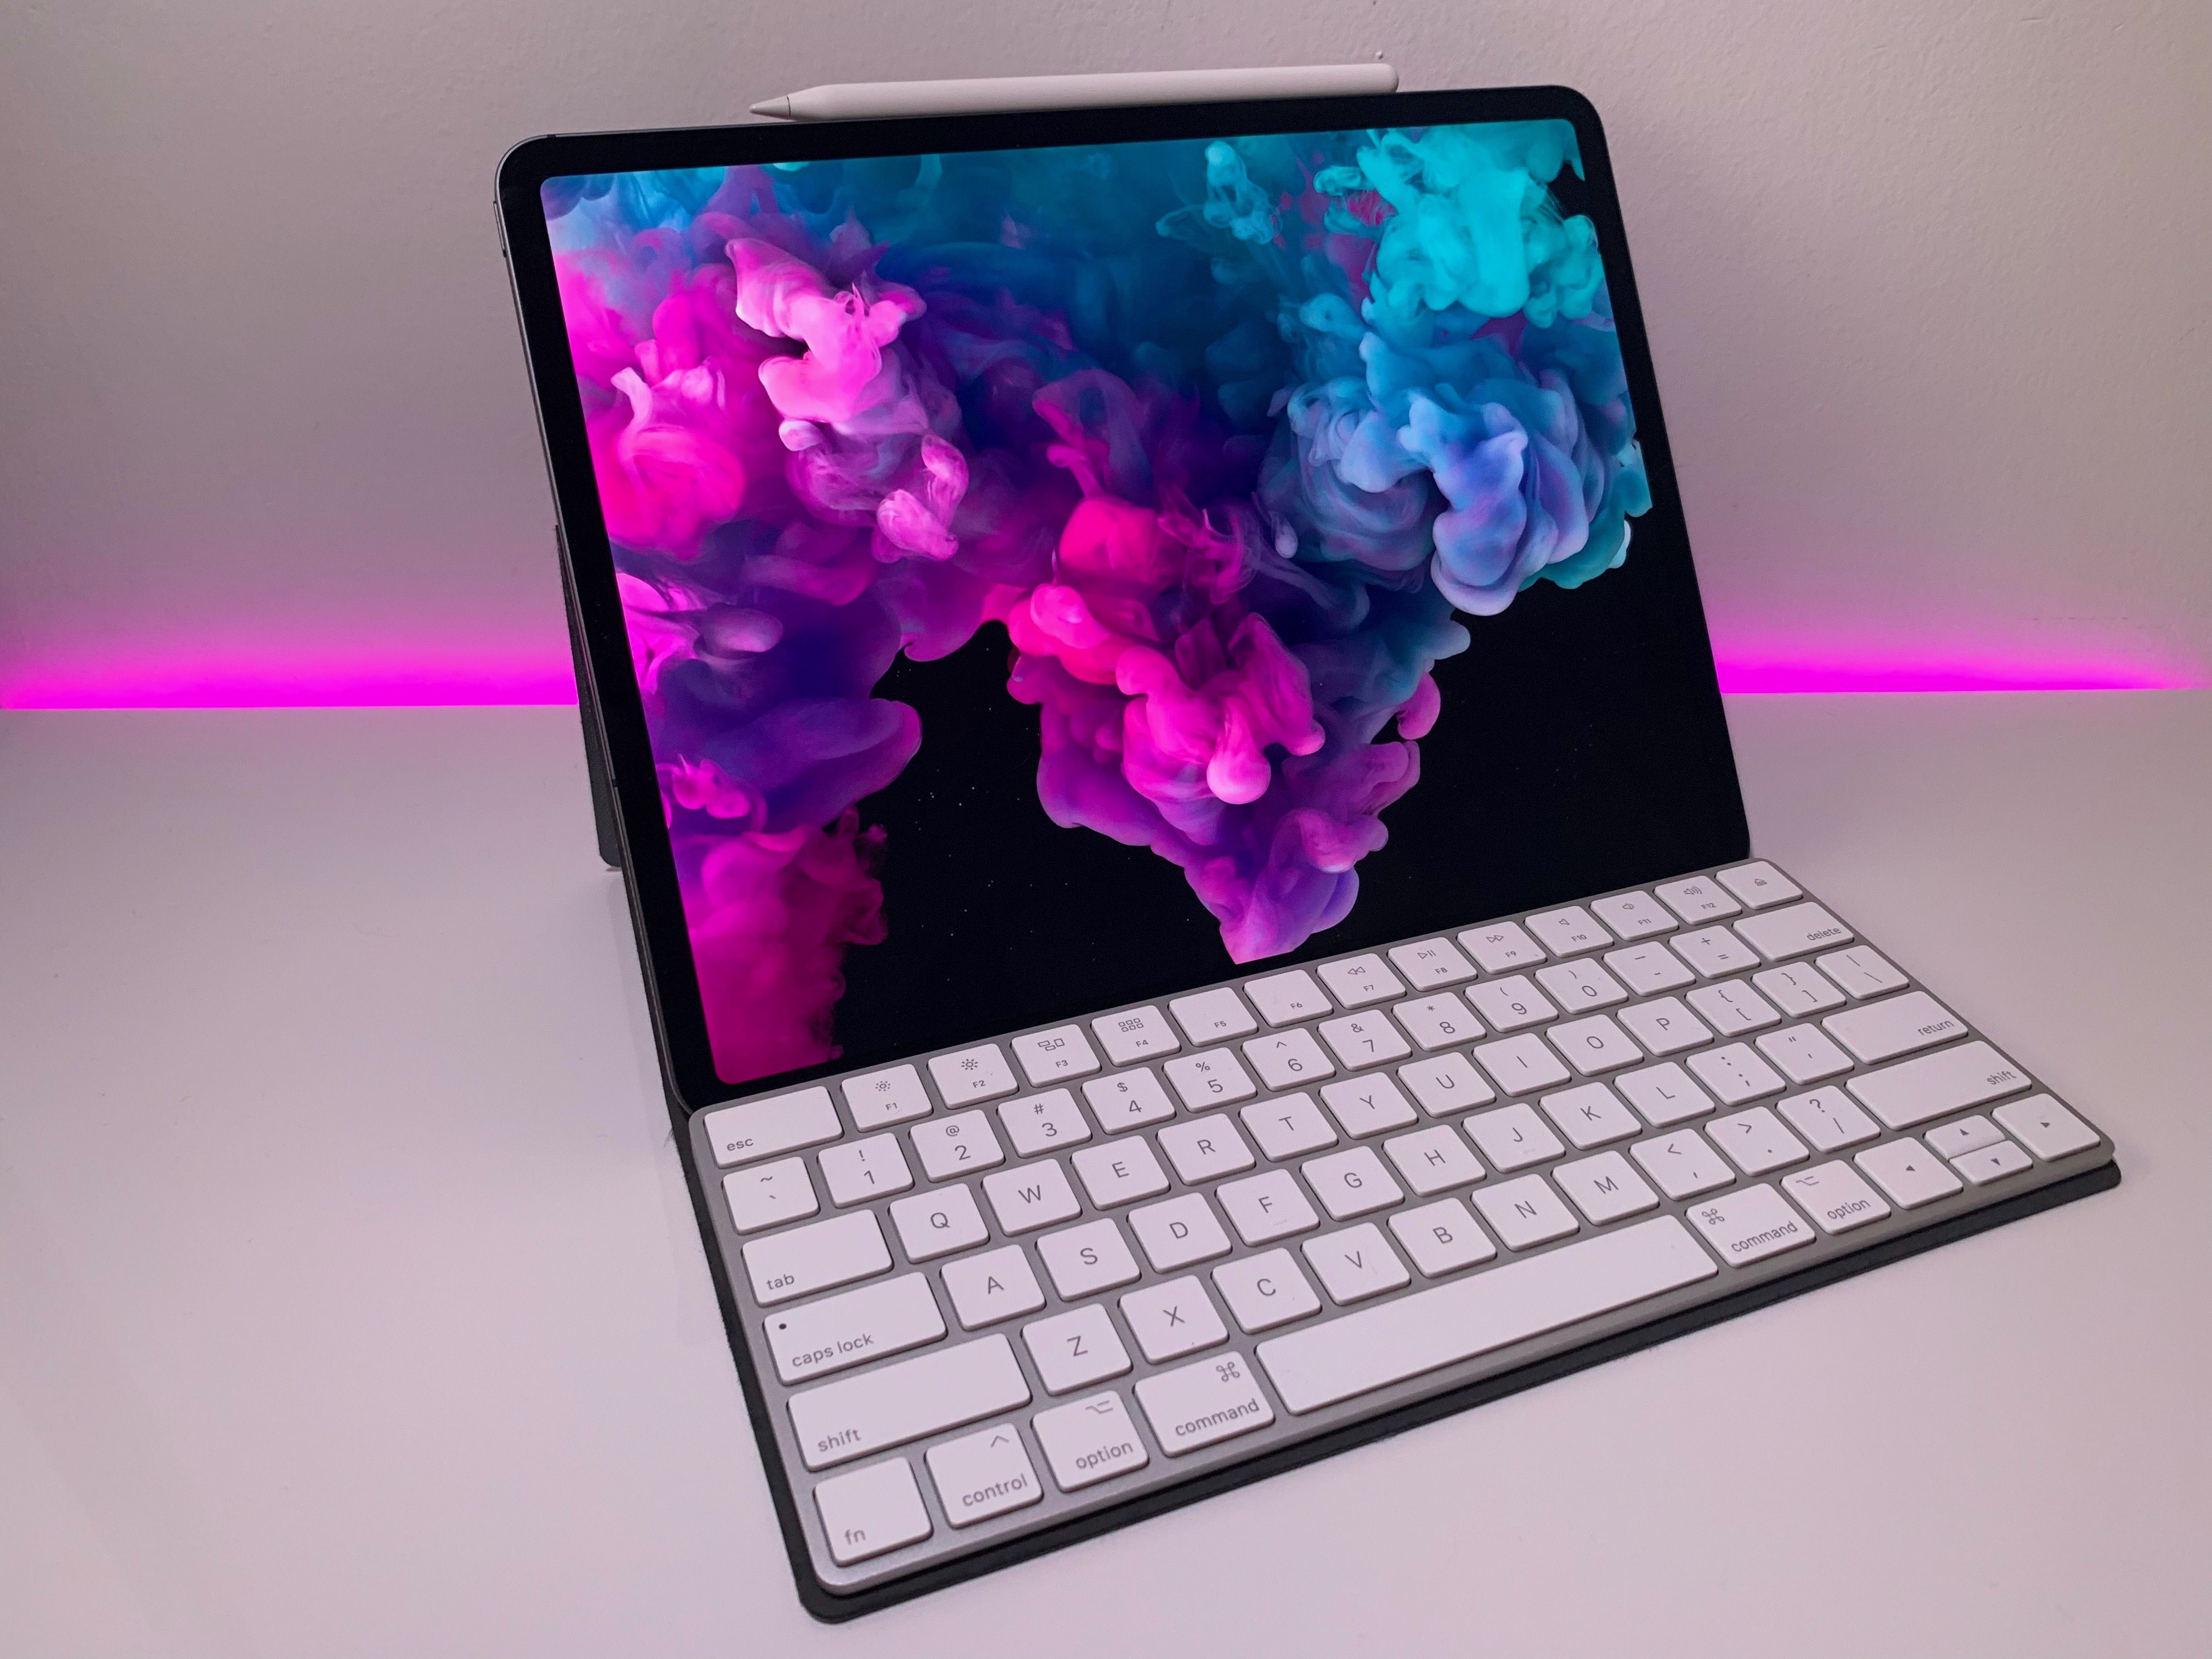
For the past couple of years, I have used the Studio Neat Canopy as a carrying case for the Magic Keyboard and stand for the iPad Pro while typing. The Canopy is based on an ingenious idea: it holds the Magic Keyboard in place thanks to micro-suction pads4, and it unfolds into a “tent” structure that creates an ideal angle to use the iPad at a desk. The Canopy itself is lightweight and has that rustic Studio Neat aesthetic that makes it feel like it was lovingly handcrafted.
Having gone through two Canopy units myself (a first prototype that was kindly sent to me two years ago by the folks at Studio Neat, and a new one I bought earlier this year), I have come to understand the things I like about it as well as its issues. The Canopy is durable, but because of its fabric material, it is going to pick up grease and dirt over time if, like me, you sometimes work with your iPad at the kitchen table. That’s not a big deal, but it’s something I’ve noticed in two years. Also, while the Canopy is compatible with the new iPad Pros and doesn’t prevent access to the home indicator for swipe gestures, its viewing angle is slightly too steep for me when typing at a desk. I wish the Canopy had more than one button to keep the closing latch in place to offer more viewing options for desk usage.5
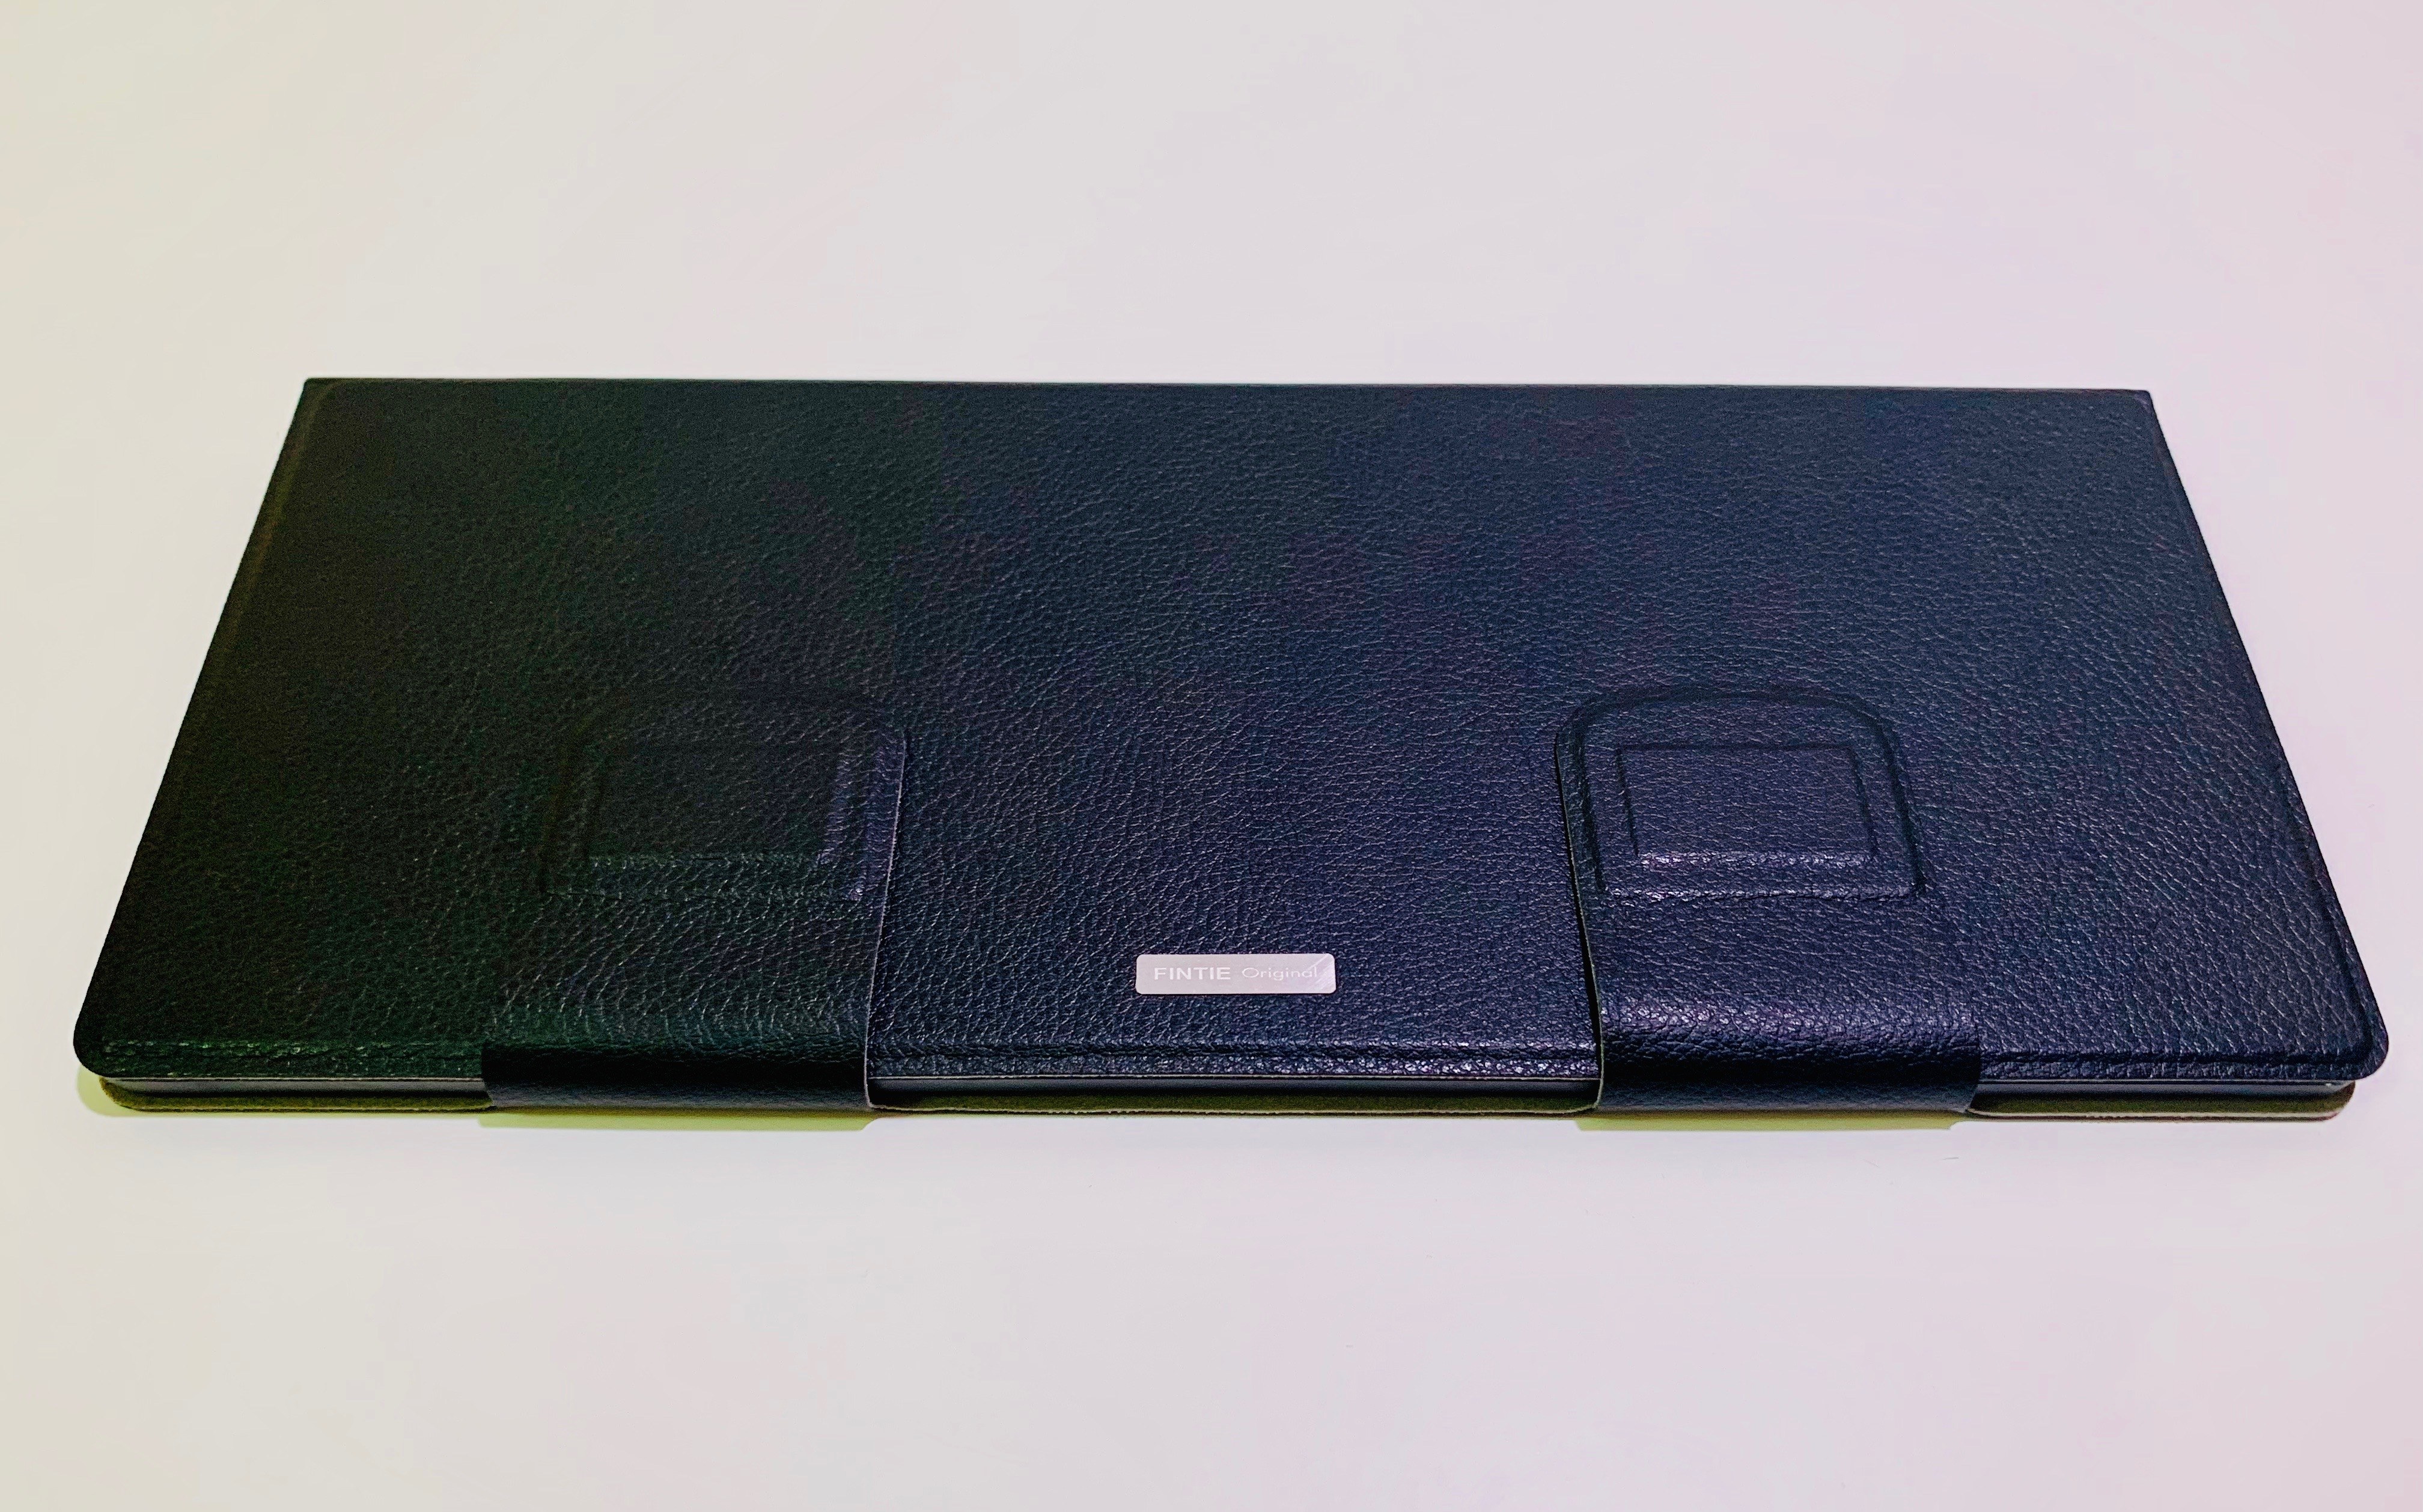
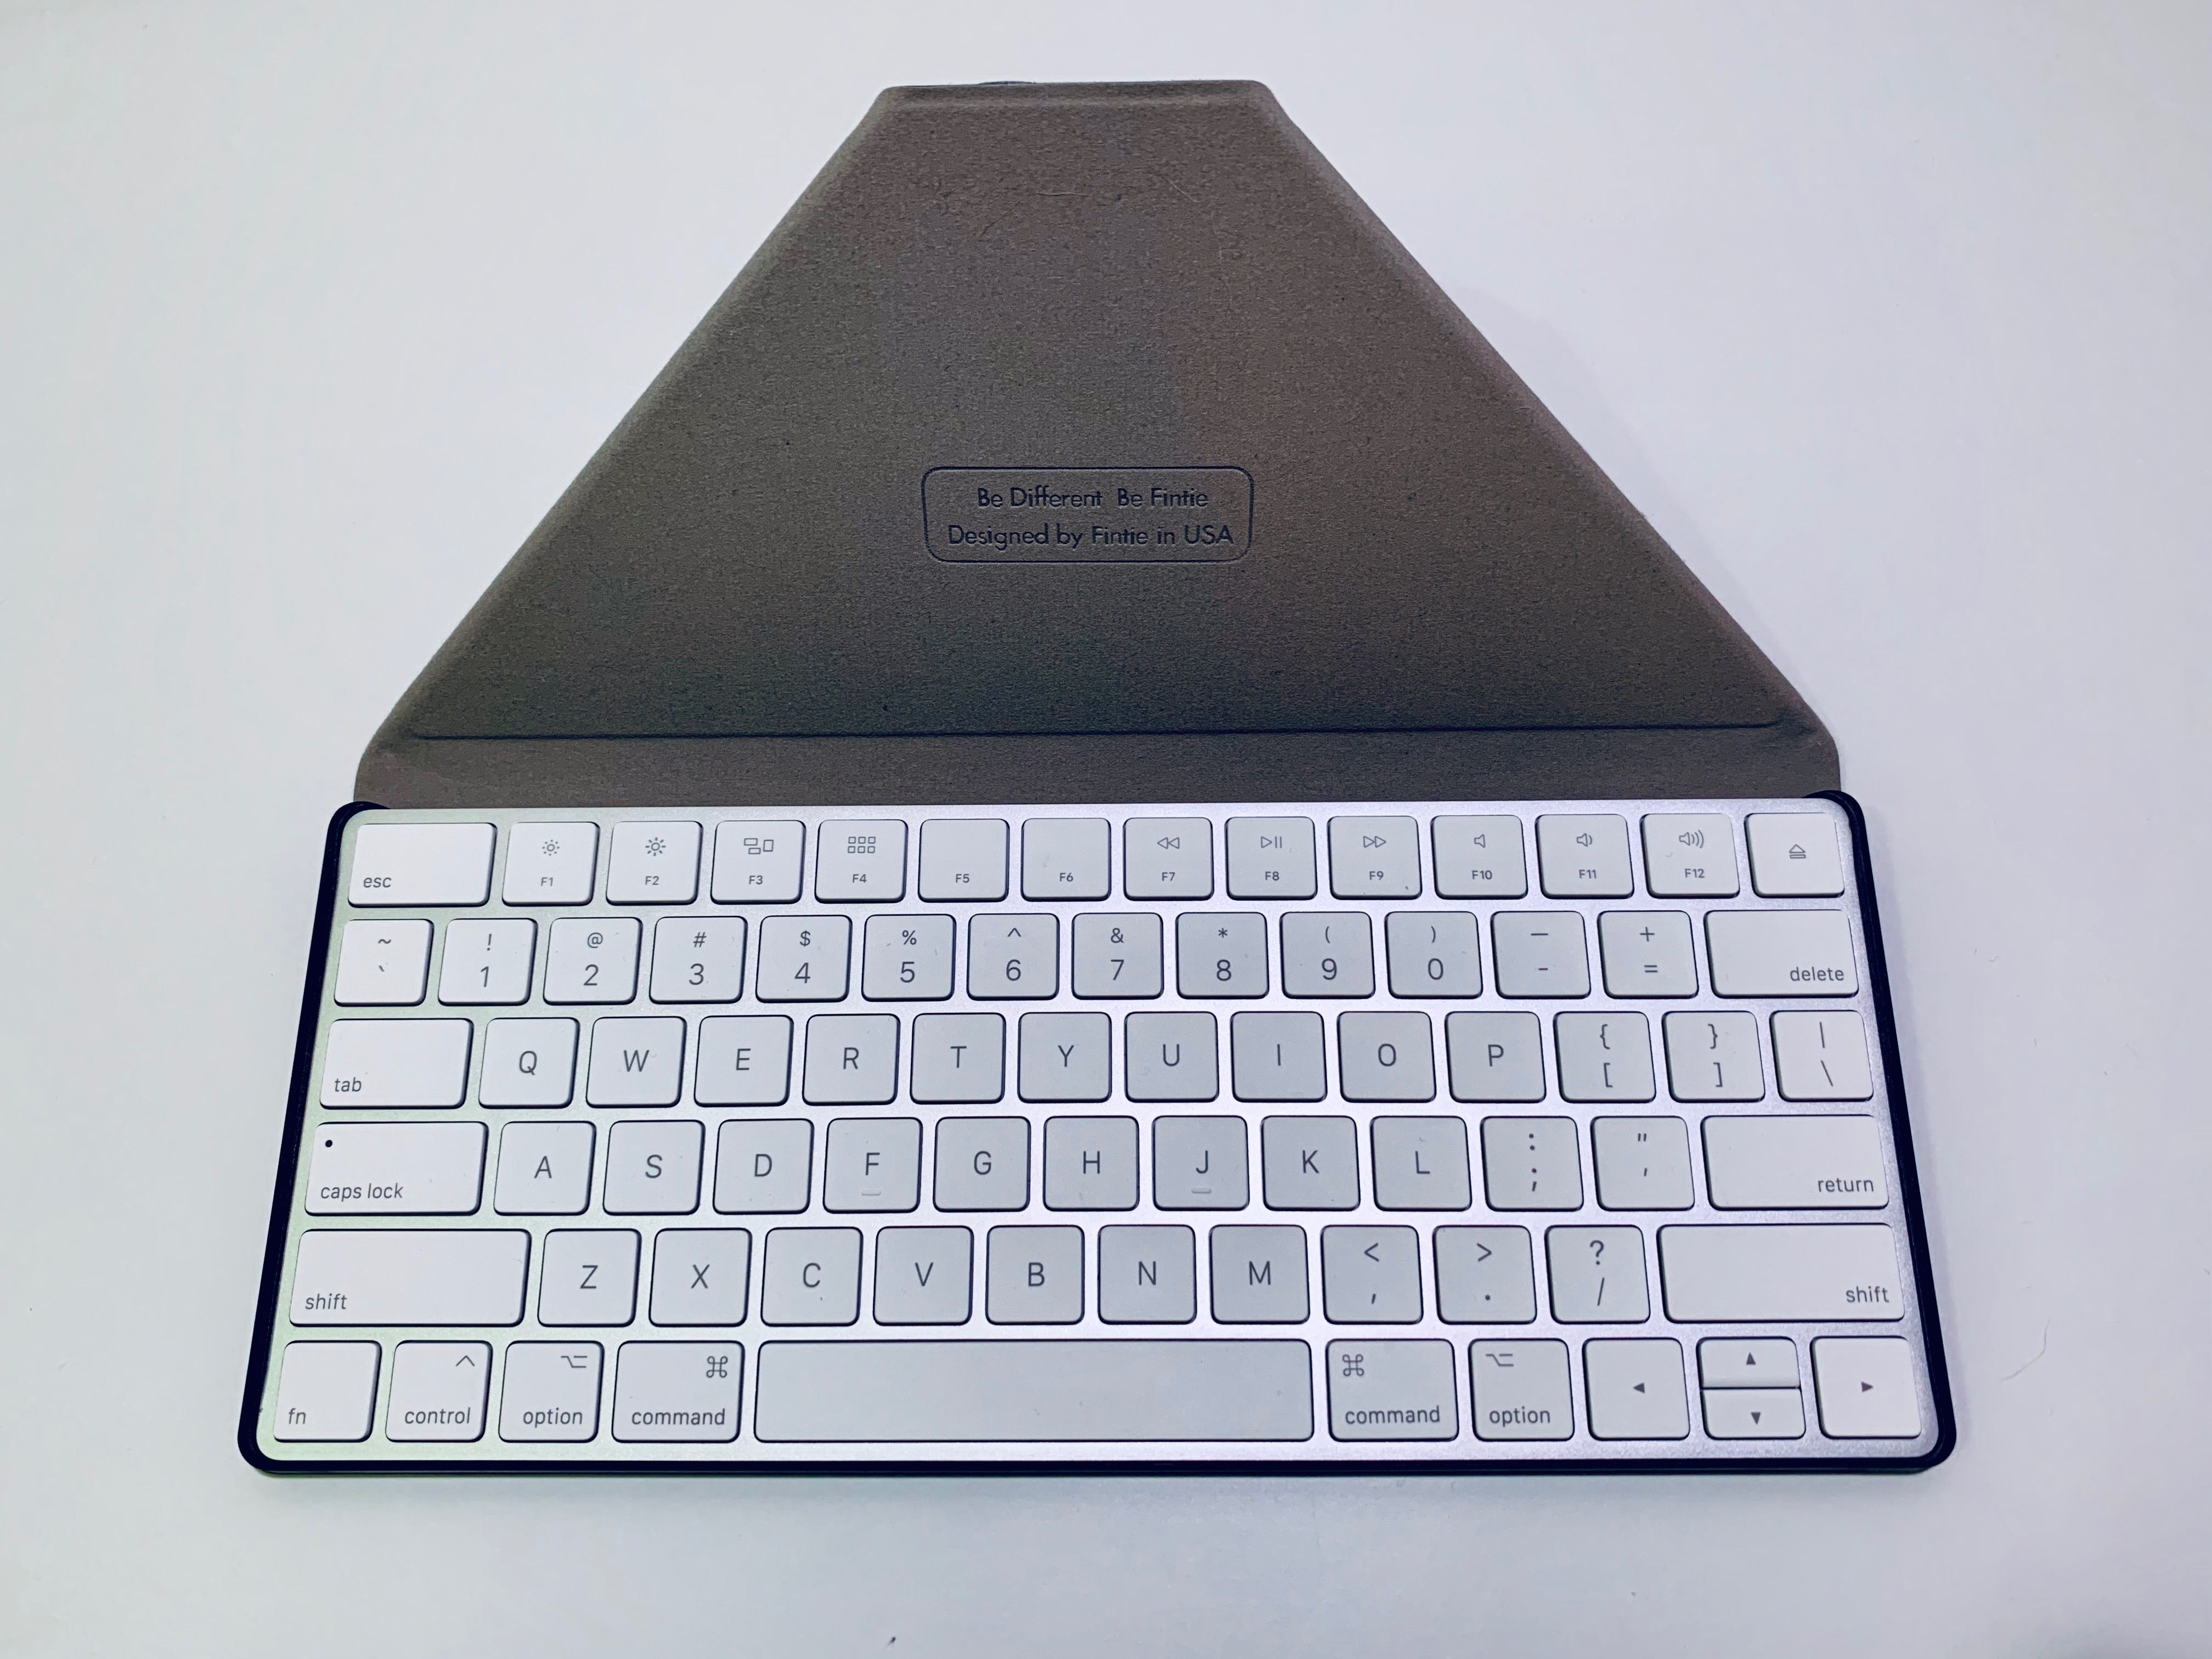
Out of curiosity, a few weeks ago I was looking for alternatives to the Canopy and I came across Fintie’s Magic Keyboard carrying case and iPad stand. This product borrows from the Canopy’s concept but improves upon it in key ways. First off, it comes in multiple colors (including black) and its exterior is made of a leather-like material that is easy to clean and looks more stylish than the Canopy. Inside, the Fintie case is covered in microfiber lining, which keeps the keyboard protected and clean.
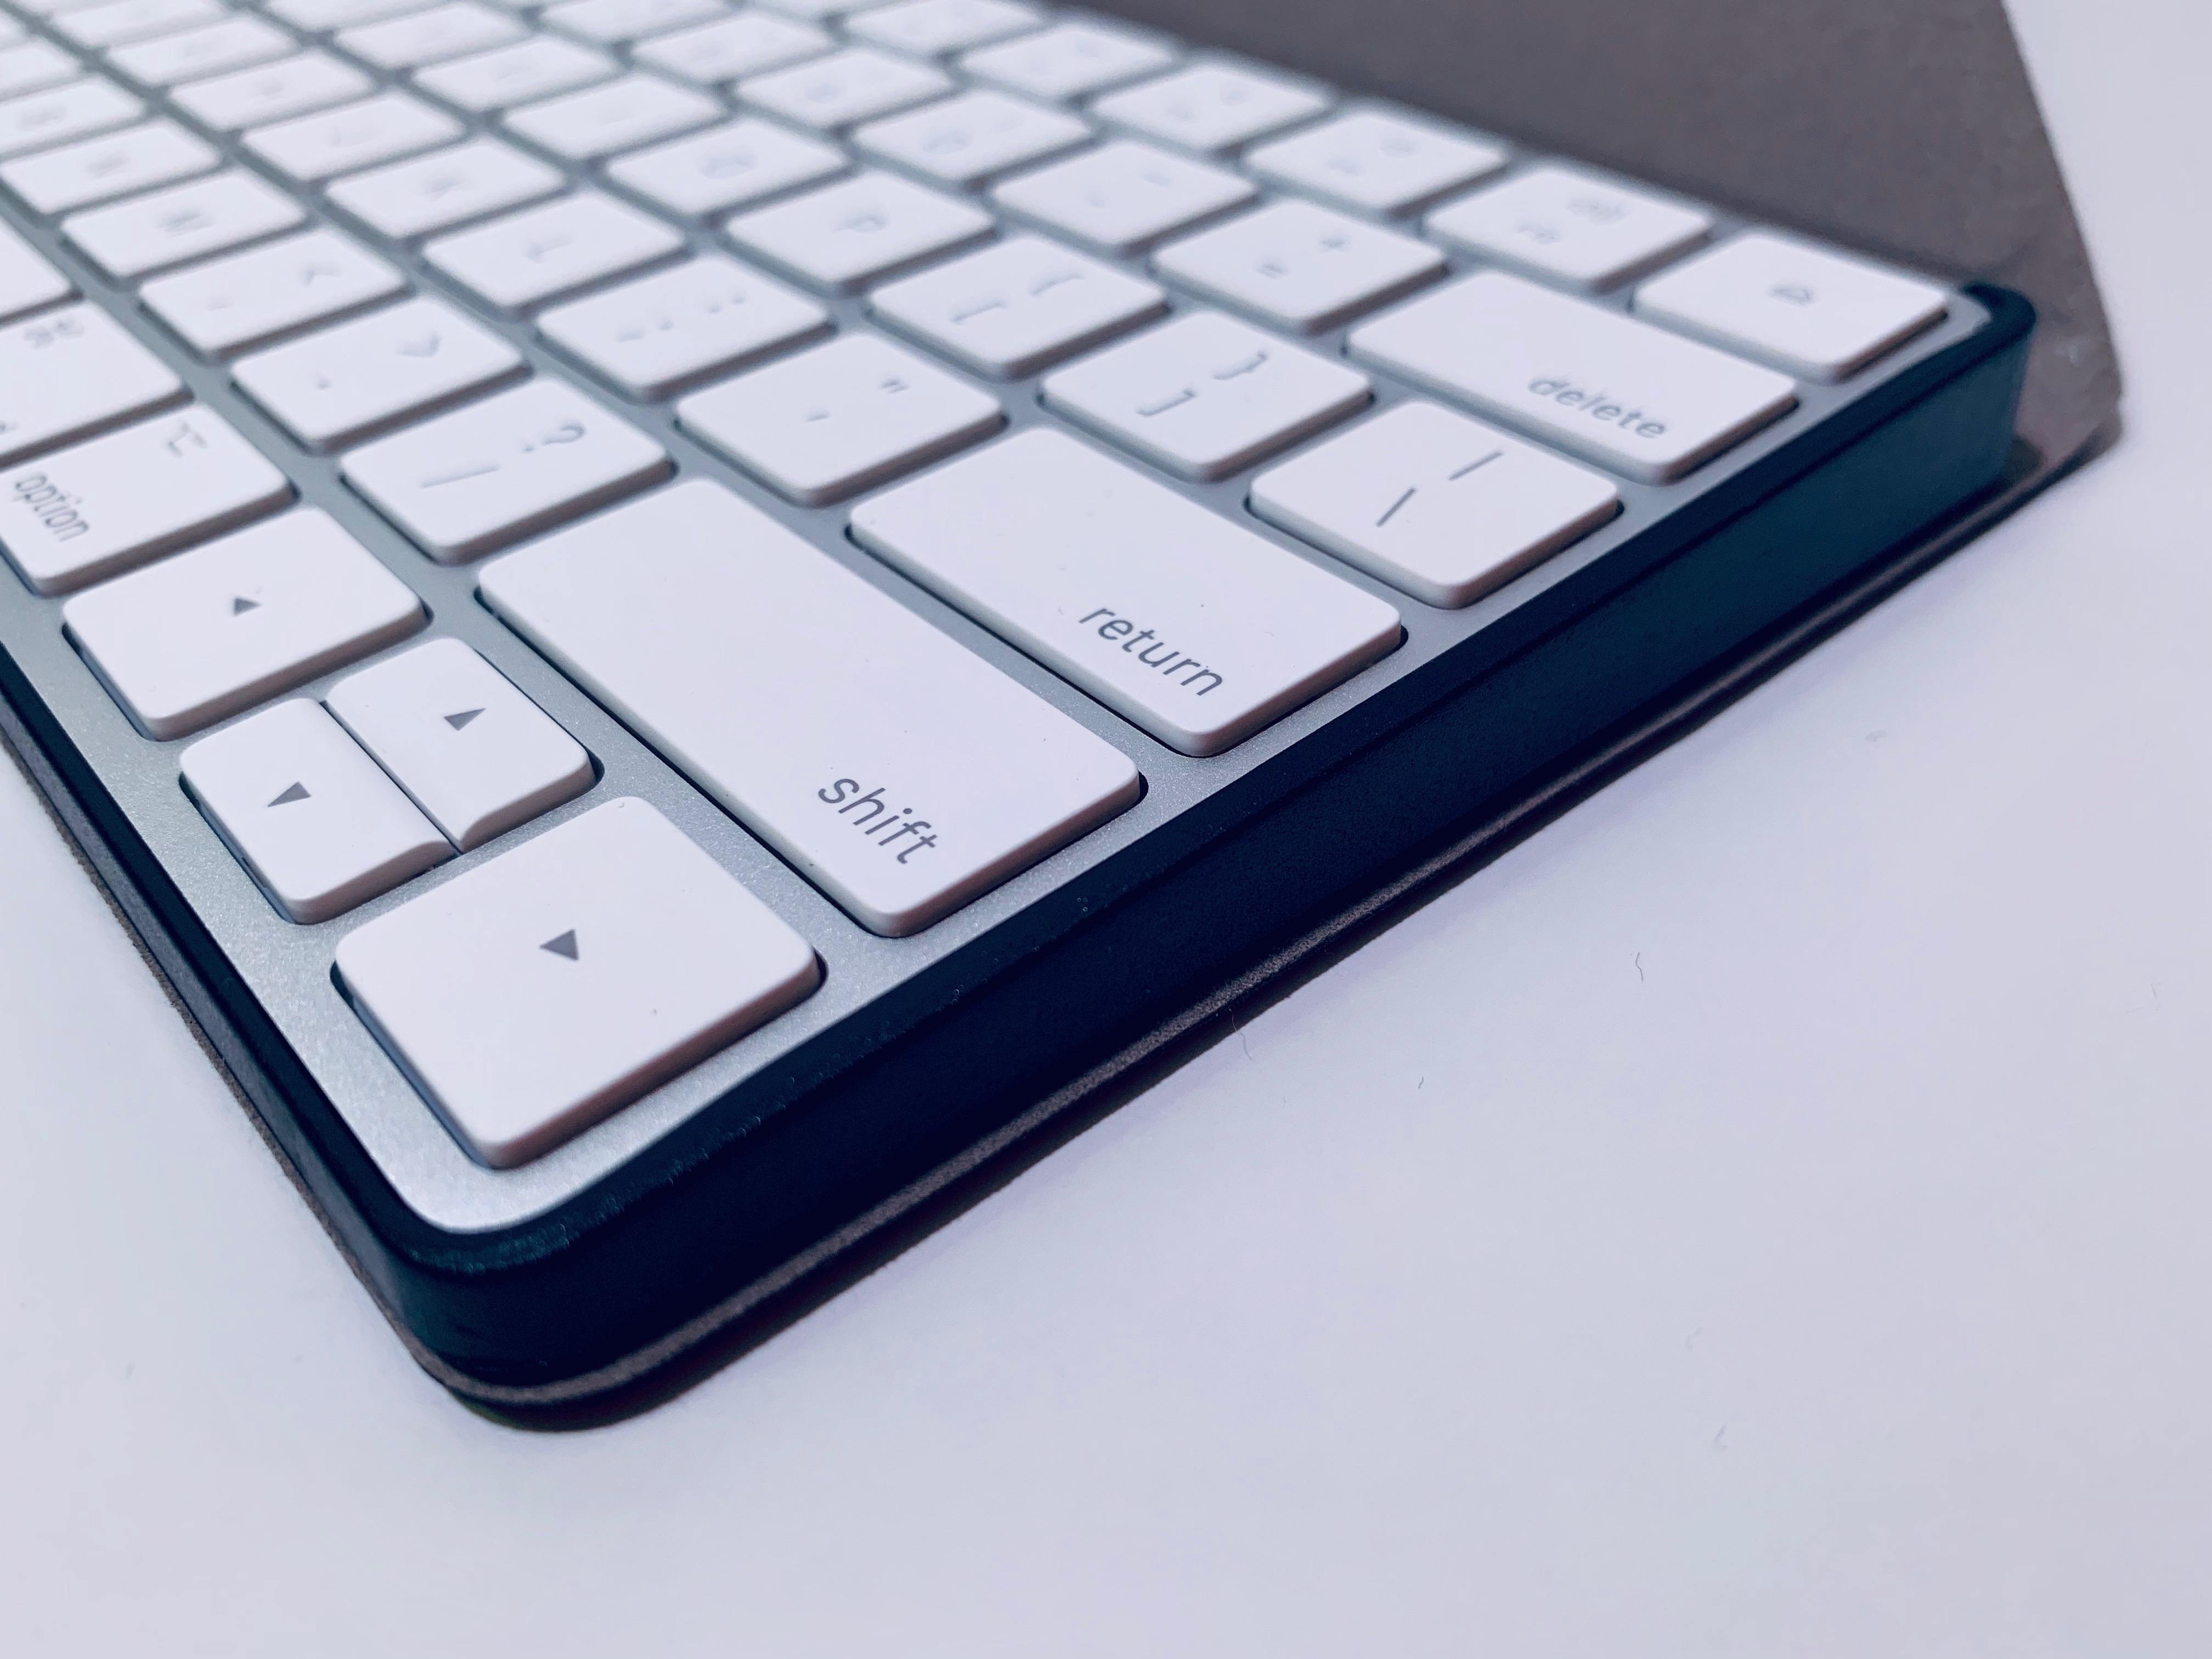
To hold the keyboard in place, the Fintie case uses a hard plastic shell designed to house the latest generation Magic Keyboard. In my experience, the Magic Keyboard was never accidentally removed from the plastic shell (which doesn’t get in the way of pressing keys) but is still easy enough to detach by pulling somewhat strongly from one of the corners. There are no adhesives or suction cups involved in the process.
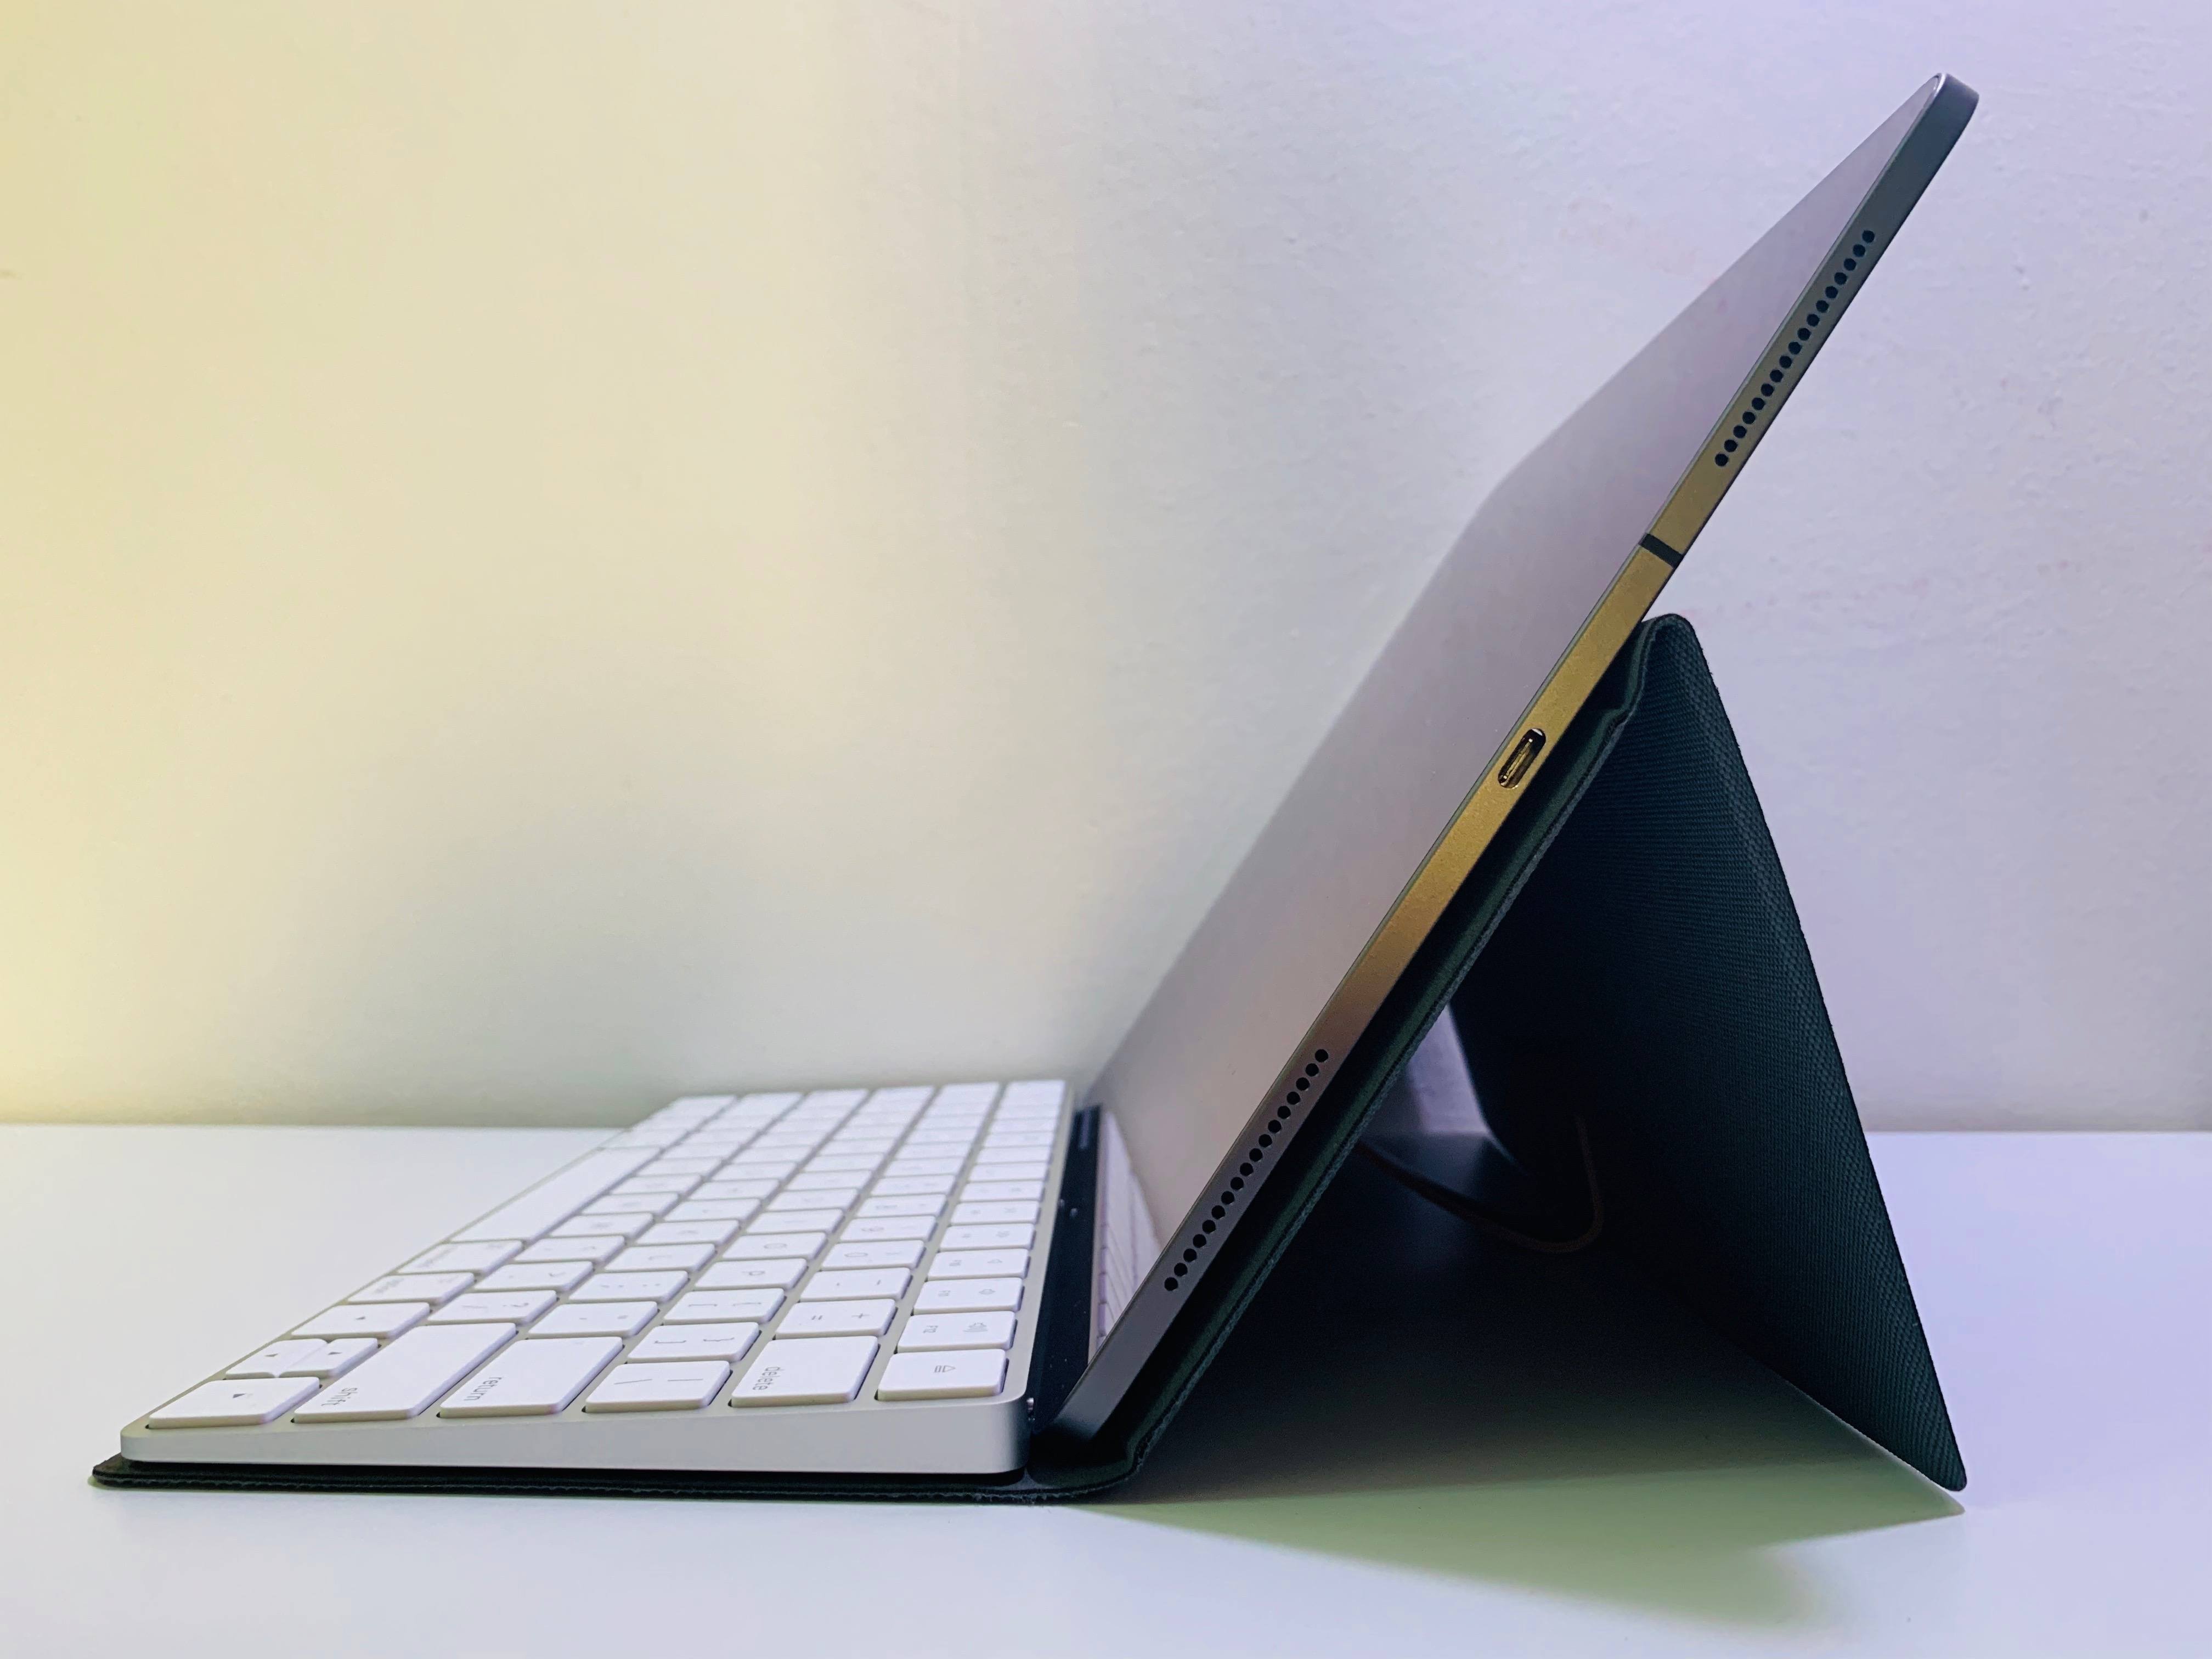
The Fintie case uses a magnetic closure to set up a stand for the iPad, which, like the Canopy, you place in front of the Magic Keyboard in landscape mode. The case features two tabs, each with a magnet in it, which attach to the top cover when the case is closed. When you open the other side of the cover, it folds into a trapezoid shape with the two tabs attached to each other via a magnetic connection, creating a stand for the back of the iPad to rest on.
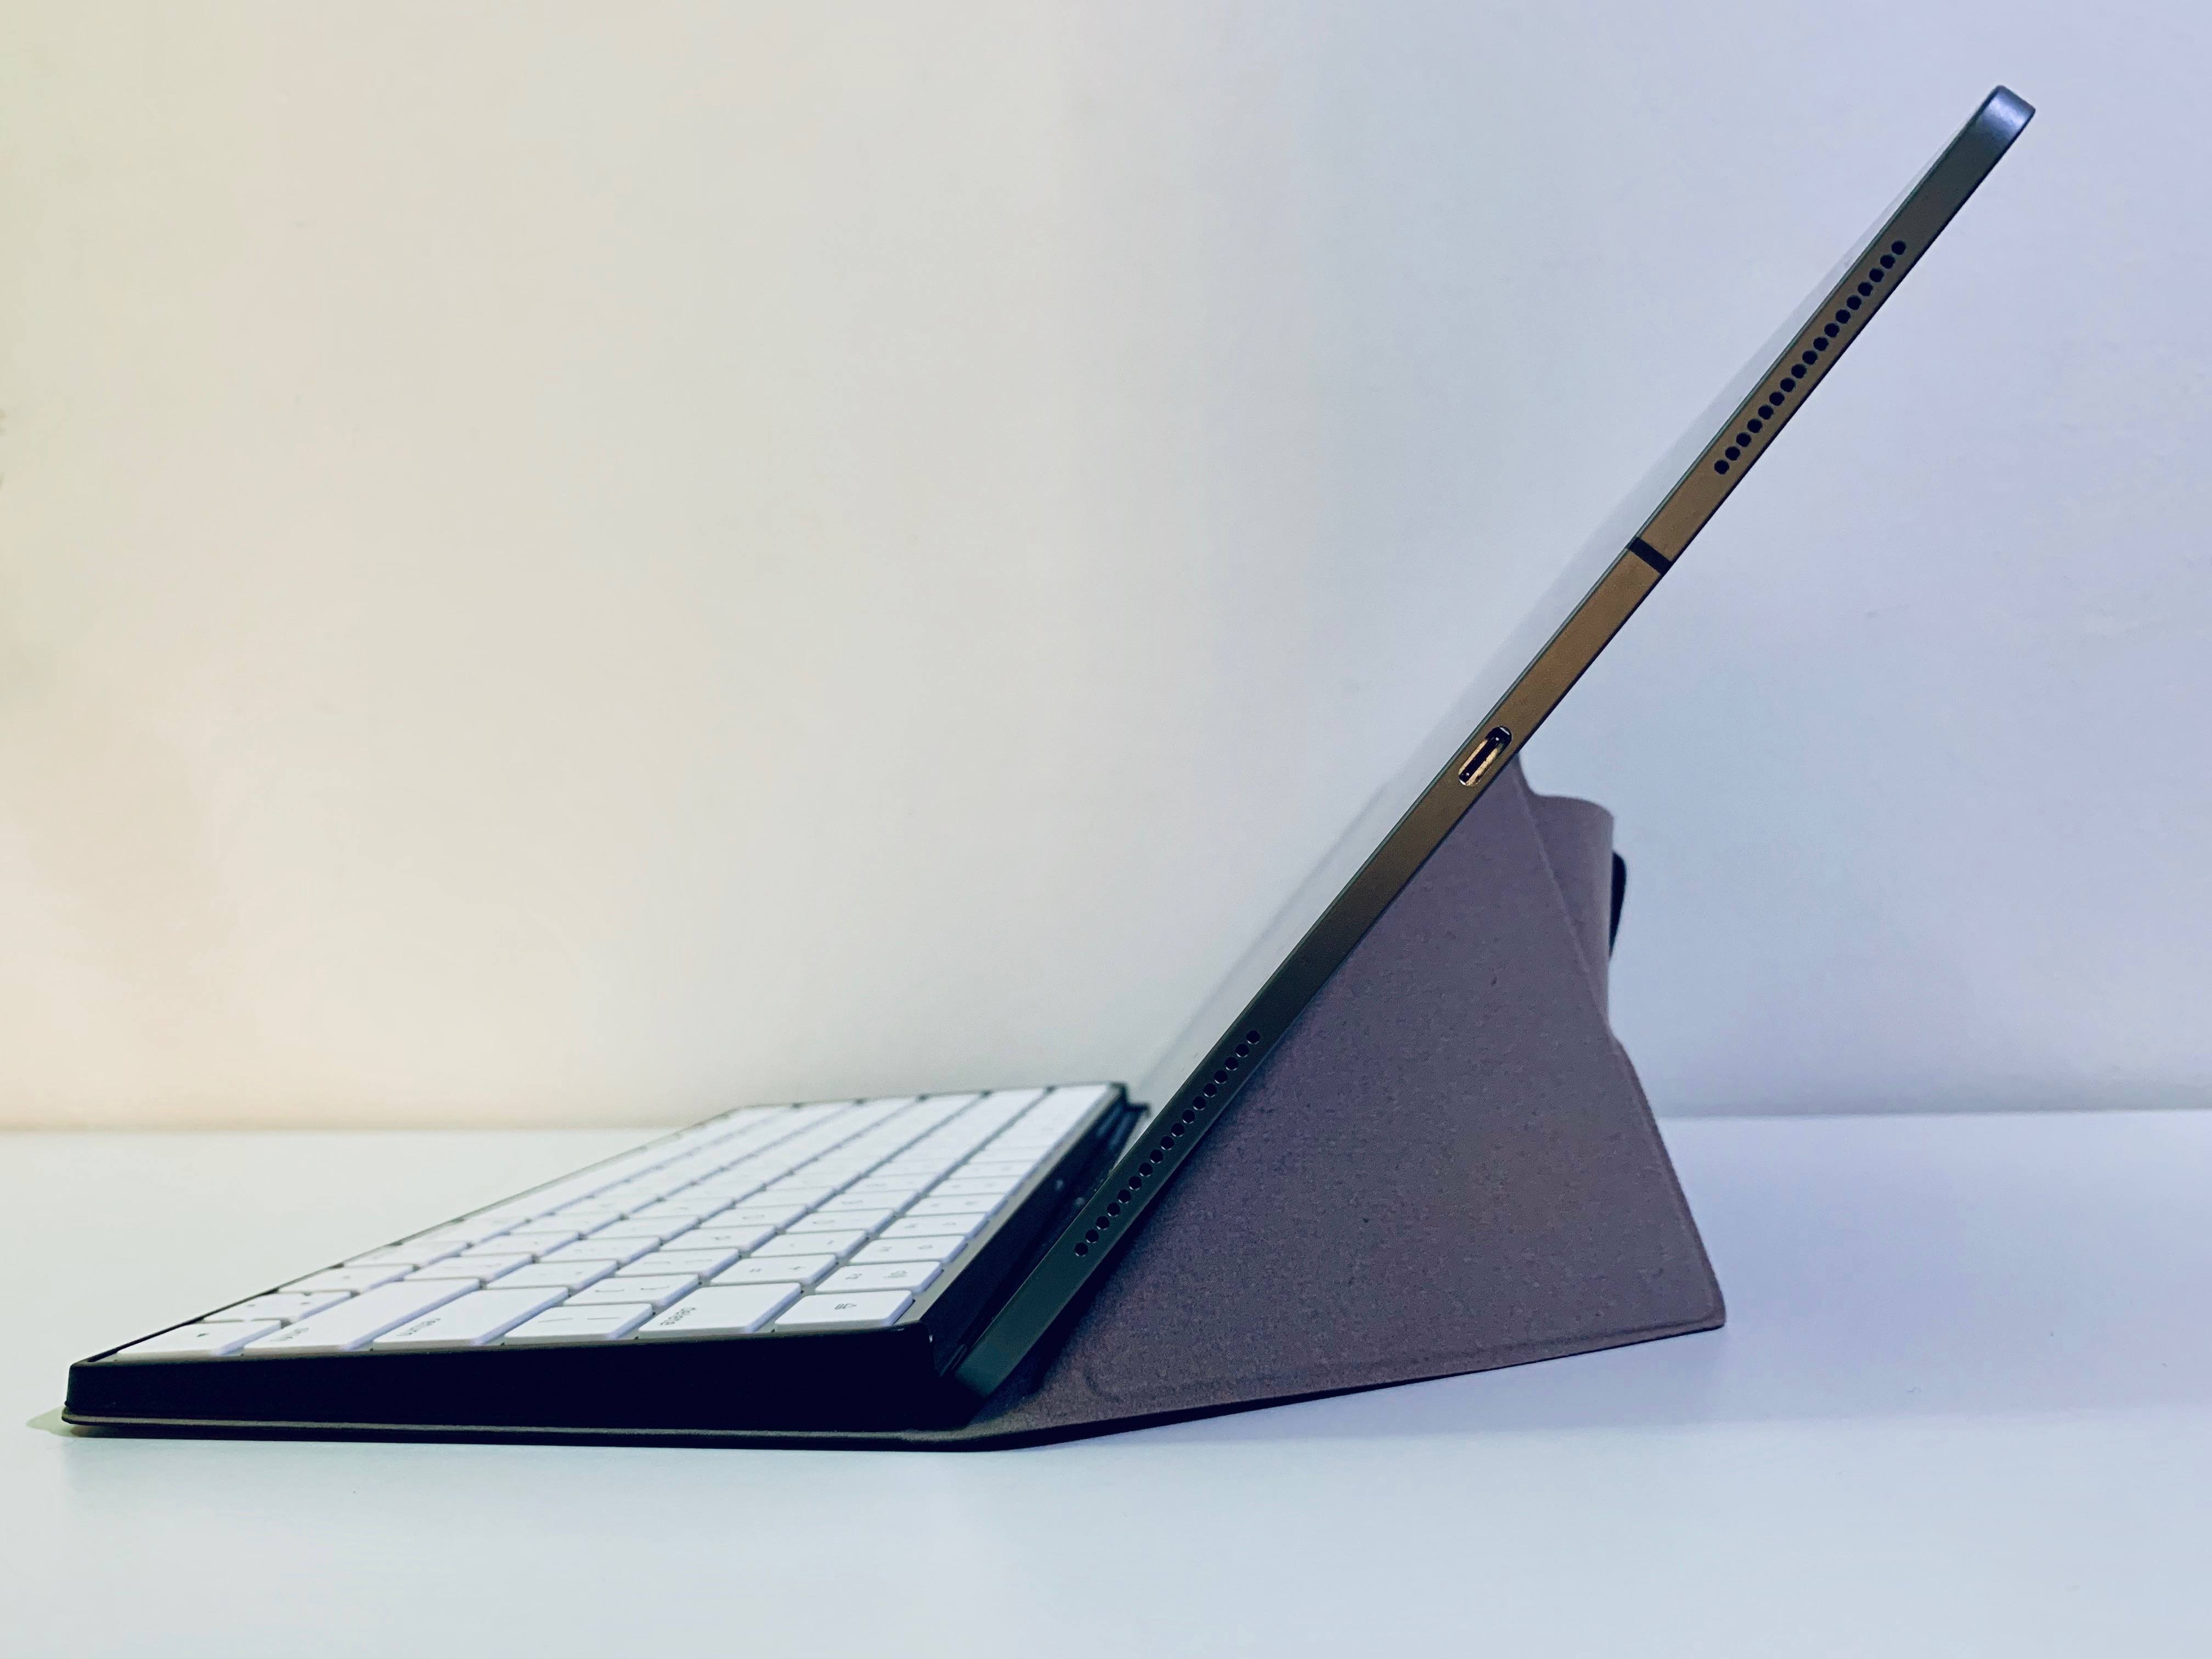
Thanks to this design, I find opening and closing the Fintie case to be easier and faster than the Canopy. Also, the magnetic connection feels stronger than the button that holds the Canopy’s strap in place, which has occasionally opened for me, causing the iPad to fall flat on my desk. More importantly, the Fintie stand has a better viewing angle for typing at a desk than the Canopy – as you can see from the picture below, it’s not much of a change, but it makes a difference when typing for several consecutive hours on an iPad.
If I had to point out a single detail I didn’t like about the Fintie carrying case, it would be that it makes the Magic Keyboard’s power button slightly harder to access due to its placement next to one of the corners of the plastic shell that holds the keyboard. However, considering the price difference between the Canopy ($40) and the Fintie case ($13), that’s a small design trade-off I’m willing to accept. Going forward, I will be using the Fintie case and stand to carry the Magic Keyboard around and type on my iPad Pro at a desk; I prefer its viewing angle, it’s easier to fold, and it looks nicer next to other black and Space Gray hardware on my desk.
Magic Keyboard via Lightning to USB-C
Given the Magic Keyboard’s built-in Lightning port and the iPad Pro’s adoption of USB-C, I was curious to see whether the keyboard would treat a wired connection as an instant pairing request like it does on a Mac.
I connected my iPad Pro to the Magic Keyboard using one of Apple’s old USB-C to Lightning cables. The good news is that you can type with a Magic Keyboard connected to an iPad Pro in wired mode, and the keyboard will also charge in the process. The slightly worse news is that in wired mode the Magic Keyboard’s media shortcuts don’t work. This means you won’t be able to hit the F-keys in the top row to pause audio or adjust the volume. It doesn’t seem like connecting the iPad and keyboard with a cable initiates the same pairing mode that is supported on the Mac – you’ll still have to pair the keyboard to the iPad via standard Bluetooth.
I’m not sure why a wired connection prevents media shortcuts from working, but it’s good to know you can at least do basic typing and charge the Magic Keyboard at the same time with a single USB-C cable and no adapters in the middle.
Matias Mini Tactile Pro Keyboard
I don’t remember when it happened exactly, but at some point in the past two years I tried typing one of my articles on a mechanical keyboard and instantly fell in love with the feel of it.
This may sound strange coming from someone who’s long professed his admiration for Apple’s flat and thin and minimal laptop keyboards, and it’s hard to describe in an article without actually testing one, but I genuinely believe that typing on a good mechanical keyboard makes me a faster typist and reduces strain on my hands and wrists. As someone who tends to produce longform pieces and take copious notes about all kinds of topics on a weekly basis, moving from “flat” keyboards (Smart Keyboard, Magic Keyboard, other laptop keyboards, etc.) is a night/day difference. Yes, mechanical keyboards are ridiculous in that they tend to look like the keyboards your parents used to type on in the 80’s (because that is kind of the point), and they are loud due to their clicky nature, but if physical feedback is what you’re after when typing, a great mechanical keyboard can easily become one of your setup’s crown jewels.
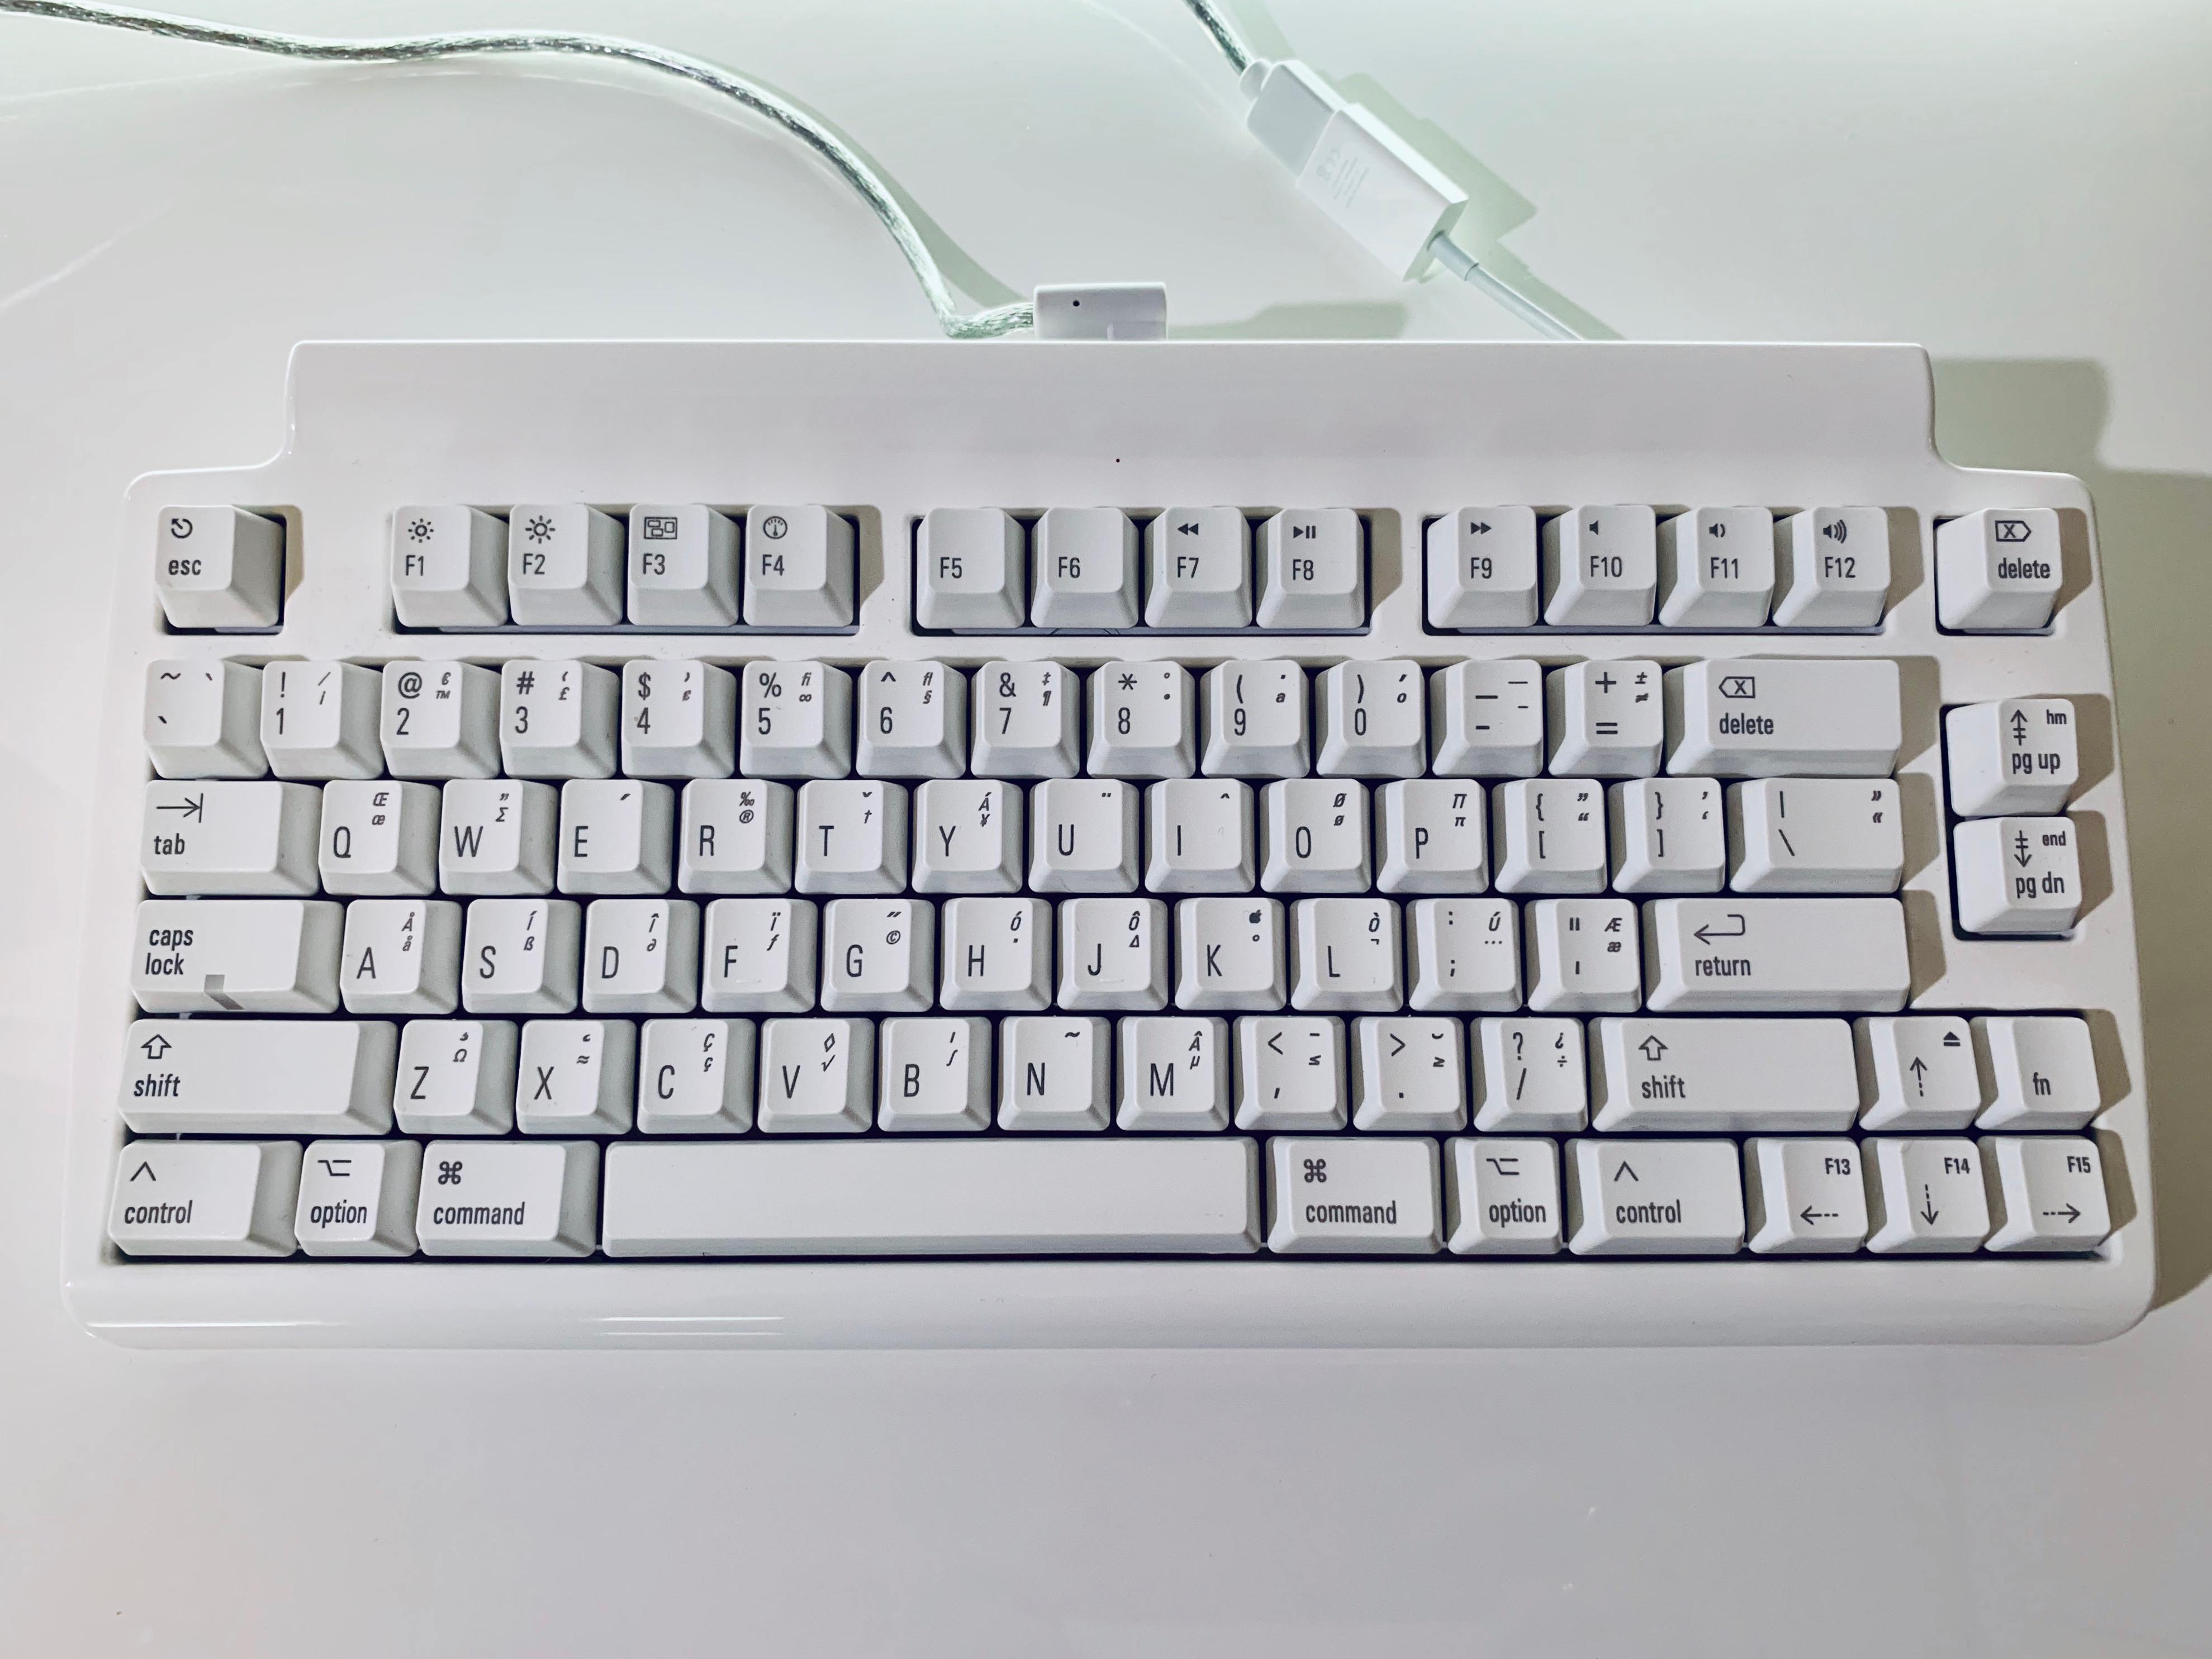
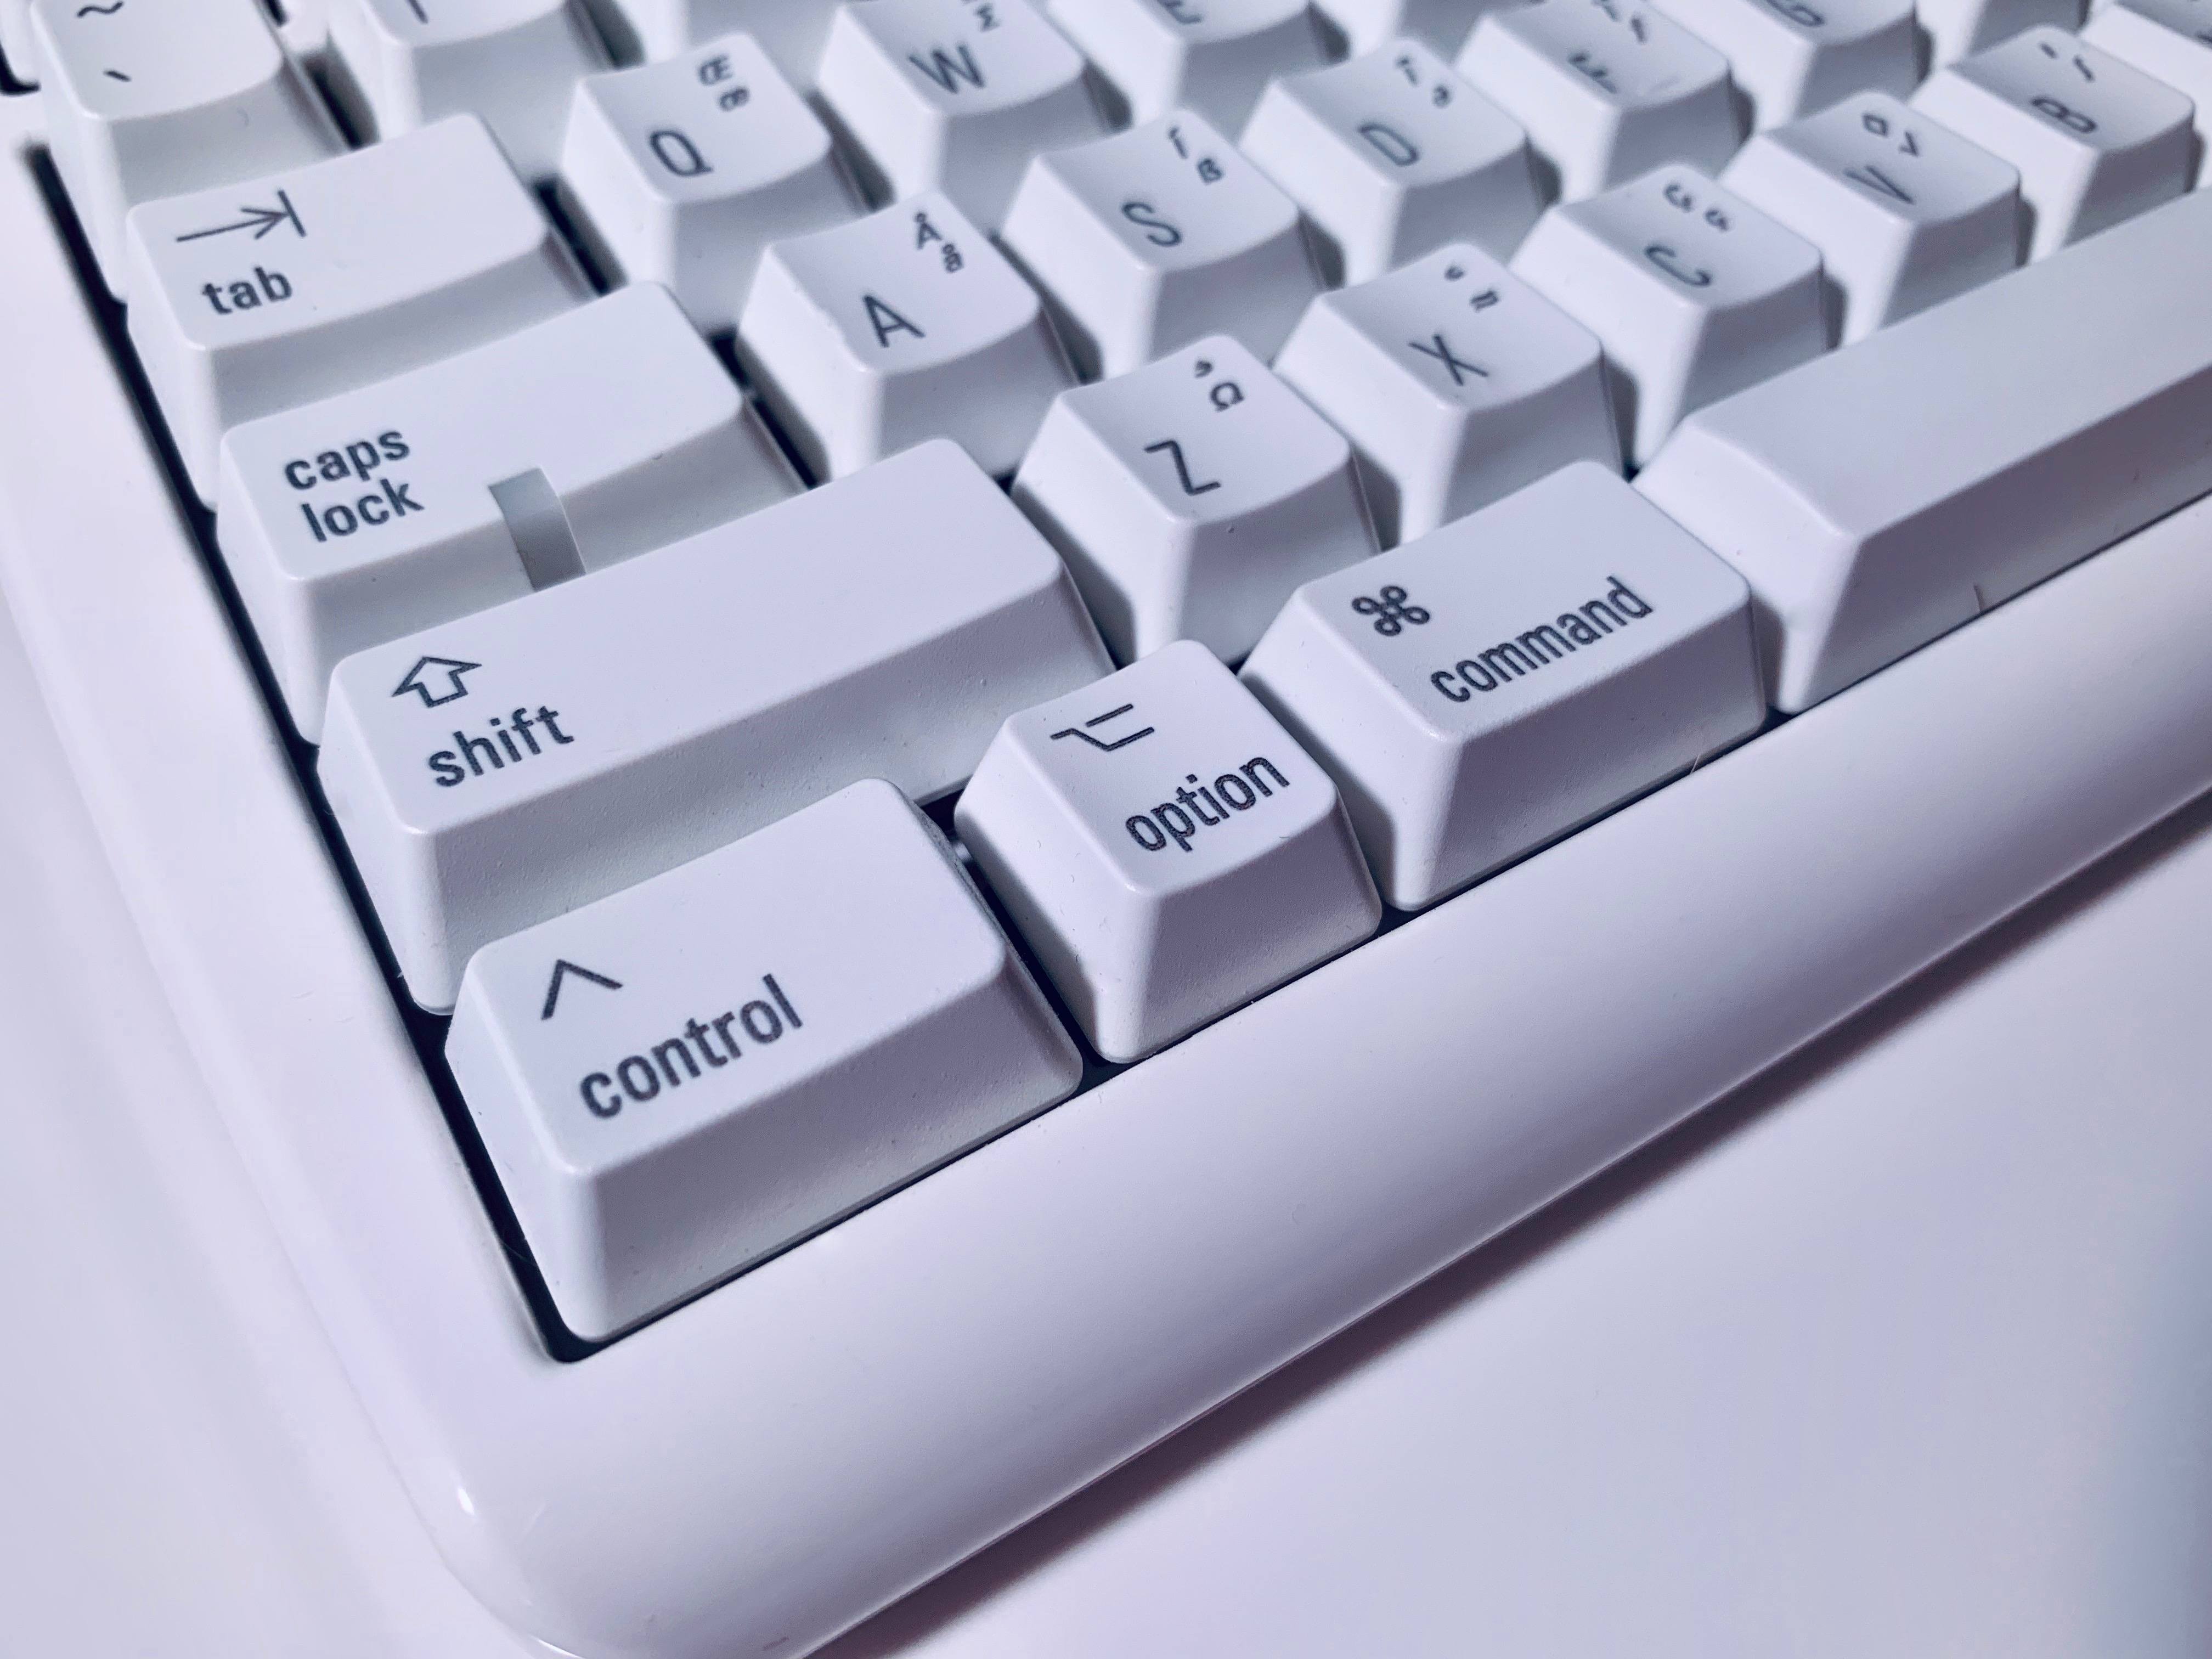
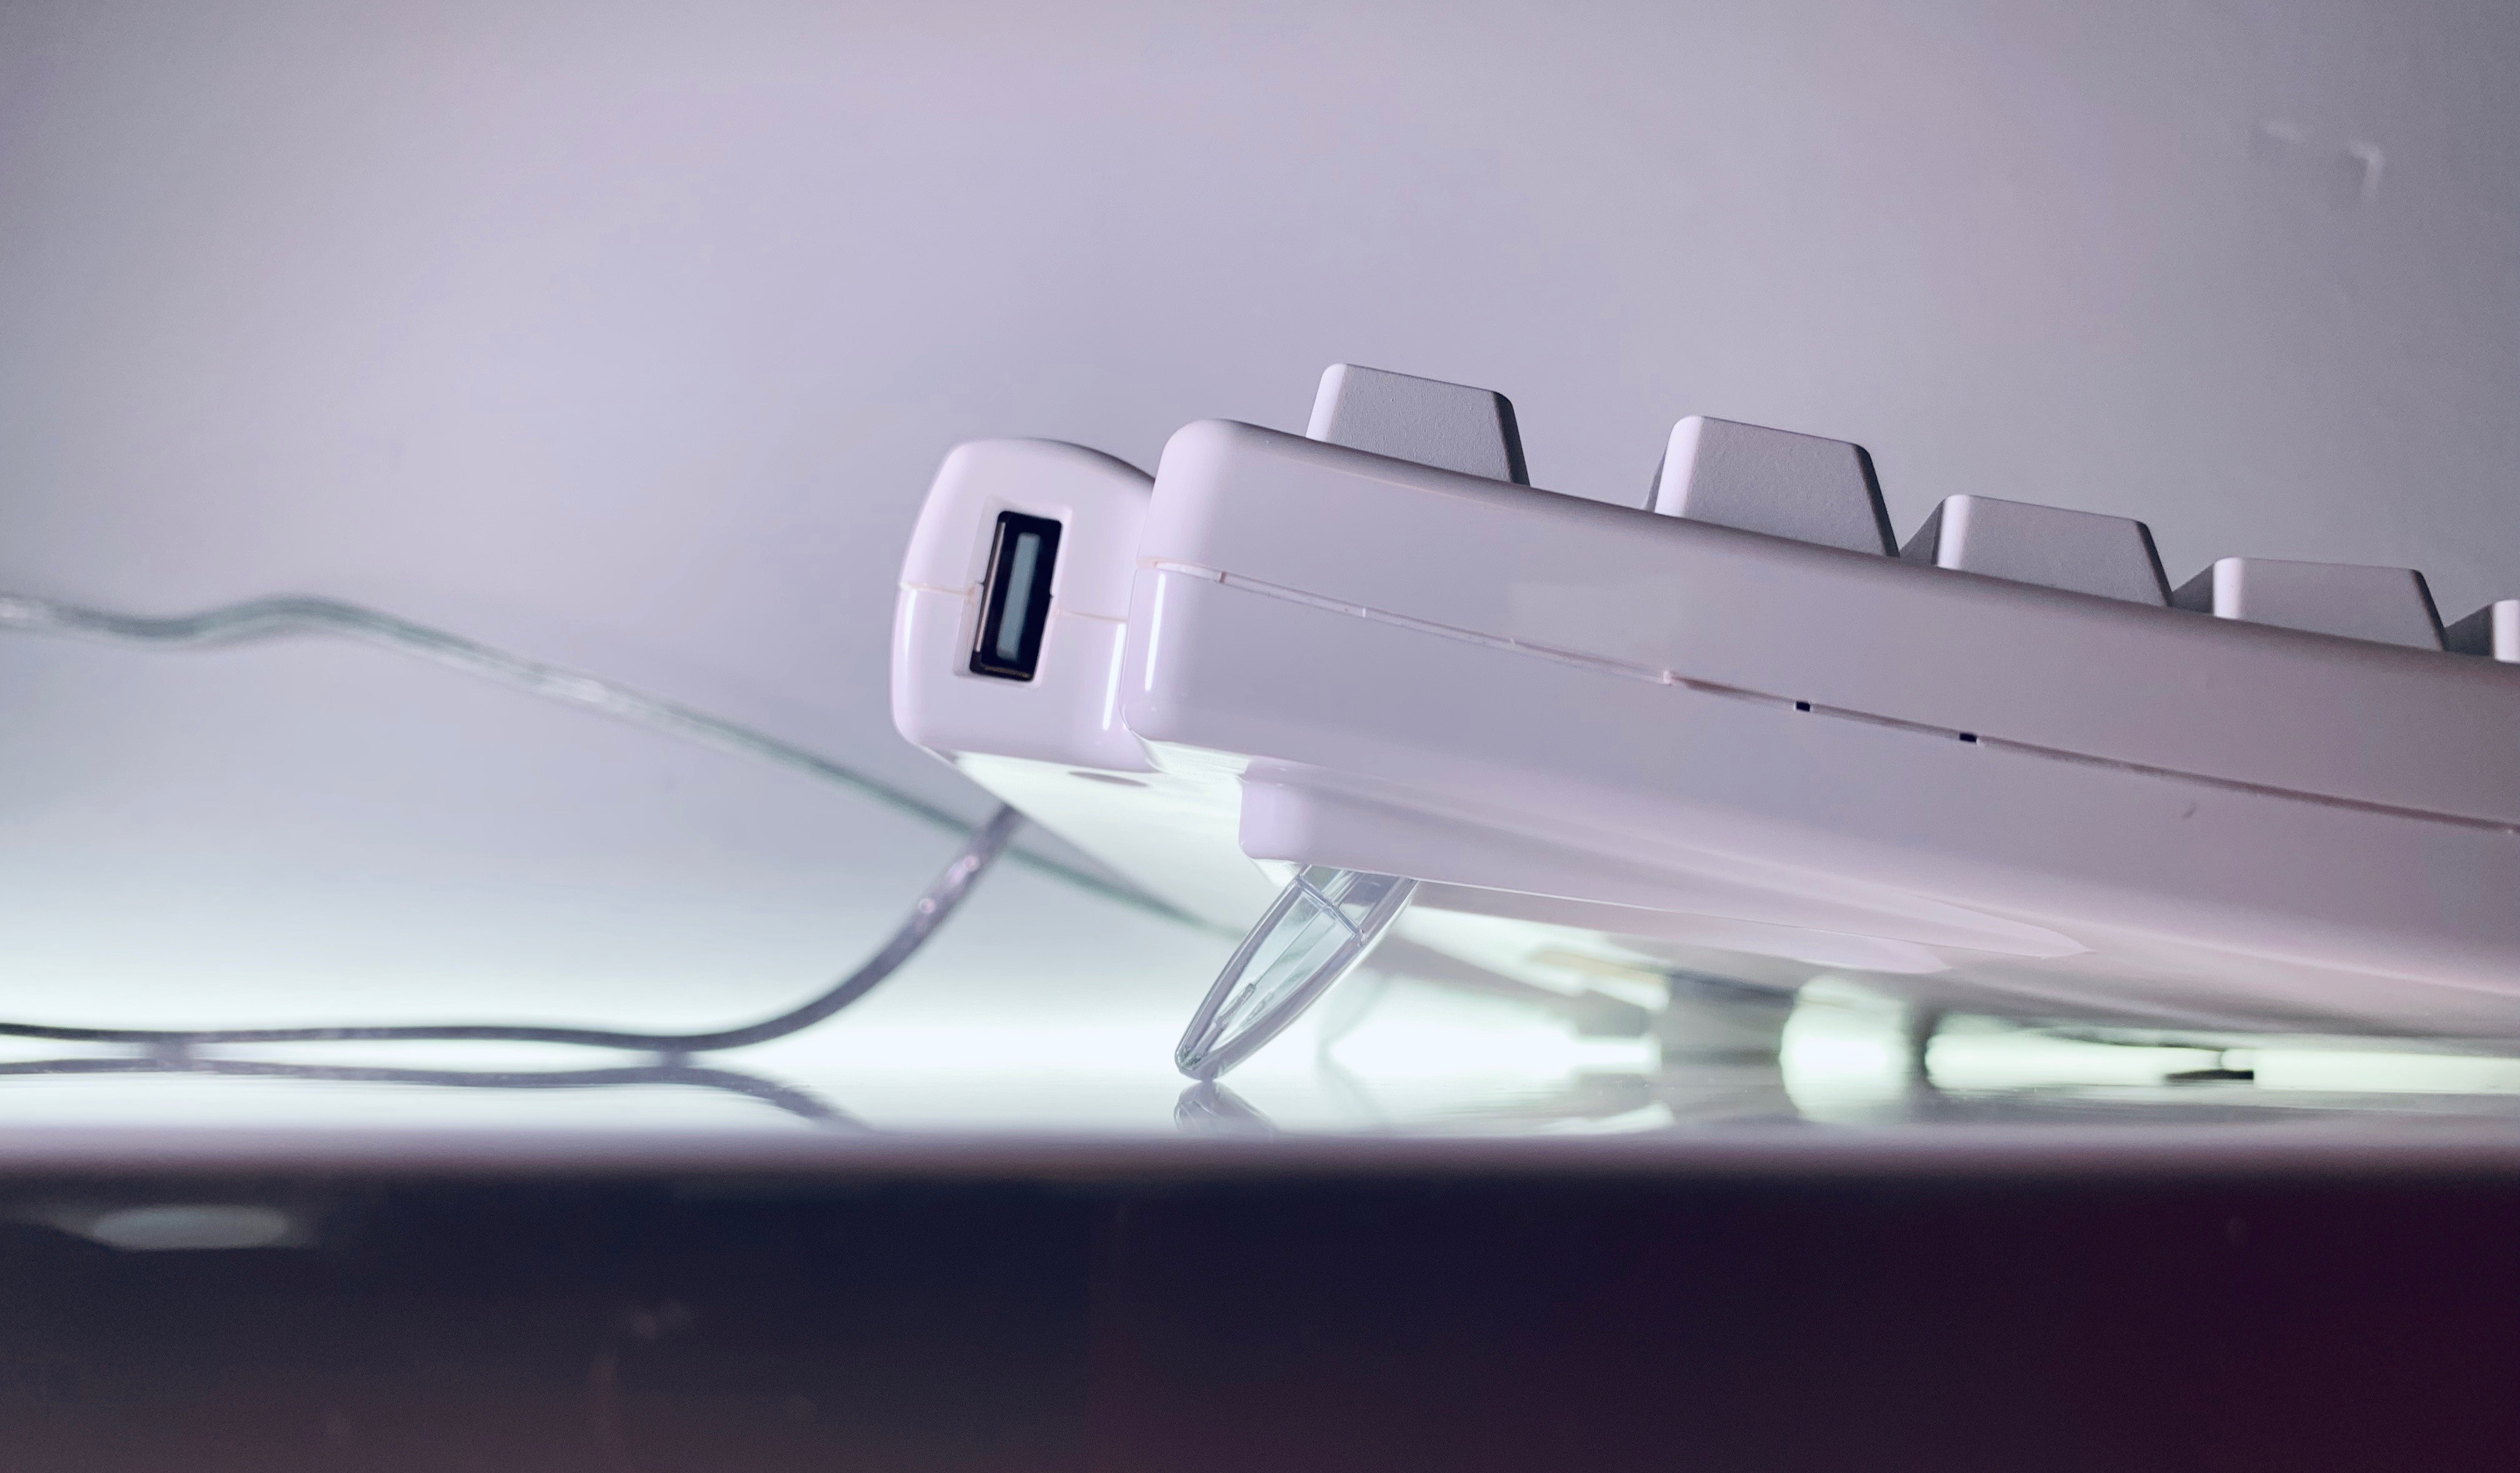
As soon as Apple announced that the iPad Pro was going to feature a USB-C port, I knew it was time to put in action a plan that was inspired by Jason Snell’s experiments with the previous generation iPad Pro. I had done my research on mechanical keyboards for Mac users, so I knew that I wanted to get a Matias Mini Tactile Pro for Mac with a US English layout. This Matias keyboard connects via USB-A to a computer, comes with additional USB-A ports to act as a hub at USB 2.0 speeds, and is designed specifically for Mac users. The keyboard features classic Apple keys such as Command, Option, and Control, plus it supports the same media keys found on the Magic Keyboard with the option to revert them to standard F1-F12 functionality with a Fn modifier key.
Before I describe how I’ve been using the Matias keyboard with the 2018 iPad Pro, let me share some context on why I chose this keyboard.
Besides its Mac-first layout, the Mini Tactile Pro uses Matias’ popular mechanical key switches, which aim to be a “faithful recreation” of the popular Alps switches. Unlike linear switches, the Matias switches come with a click leaf – a folded metal spring that rests inside the switch and protrudes towards the slider. I am oversimplifying this, but, essentially, when a key is depressed, the leaf clicks; press hard enough, and the mechanism snaps back, providing the clicky and tactile sensation that you can’t get on other flatter keyboards. As the folks at Matias put it, these switches “were born to click”. They’re loud (but they’re not echo-y thanks to Matias’ modifications to the original Alps switch design) and are effectively designed for people who can appreciate the sound of a vintage typewriter. Having grown up with my dad, who was a newspaper journalist with an Olivetti typewriter, I think I’ve always been naturally inclined to appreciate this sound. My girlfriend hates this keyboard, but she puts up with me.
I absolutely love the feel and sound of the keys in the Mini Tactile Pro. It is, by far, the most satisfying keyboard I have ever typed on in nearly 10 years of MacStories. But there’s more to this keyboard than the Alps-inspired switches and Mac-specific keys. The keytops are sculpted, which means that your fingers can naturally rest in the middle of a key and quickly slide to other keys as it’s easier to feel their position. The keyboard is compact (it’s not that much wider than the 12.9” iPad Pro) and it has two small plastic feet at the bottom that you can open to raise the keyboard slightly if you want to have a steeper typing angle (I do).
Furthermore, the symbols aren’t simply printed on the keycaps, they’re laser-etched – basically burned into the plastic itself with a laser. Thanks to this technique, the symbols do not deteriorate over time, as is often the case with keyboards where the symbols are merely printed on plastic. All these little details, combined with anti-ghosting technology (the keyboard will not drop characters if you’re a really fast typist because each key has its own diode) and exquisite tactile feel make the Mini Tactile Pro one of my favorite nerdy purchases in a while. I’m typing more quickly with this keyboard, my fingers and hands feel better after long sessions, and its sound is just fun to hear. I want to try more mechanical keyboards in the future, but I’m very satisfied with the Mini Tactile Pro already.
Now, typing with a heavy plastic keyboard designed to act like it’s 1984 again while using the non plus ultra of modern iOS hardware may feel a bit…anachronistic. Or odd, to say the least. But thanks to USB-C on the new iPad Pro and iOS’ built-in support for wired USB keyboards, everything is surprisingly intuitive and flexible at the same time. Let’s go over some of my favorite configurations.
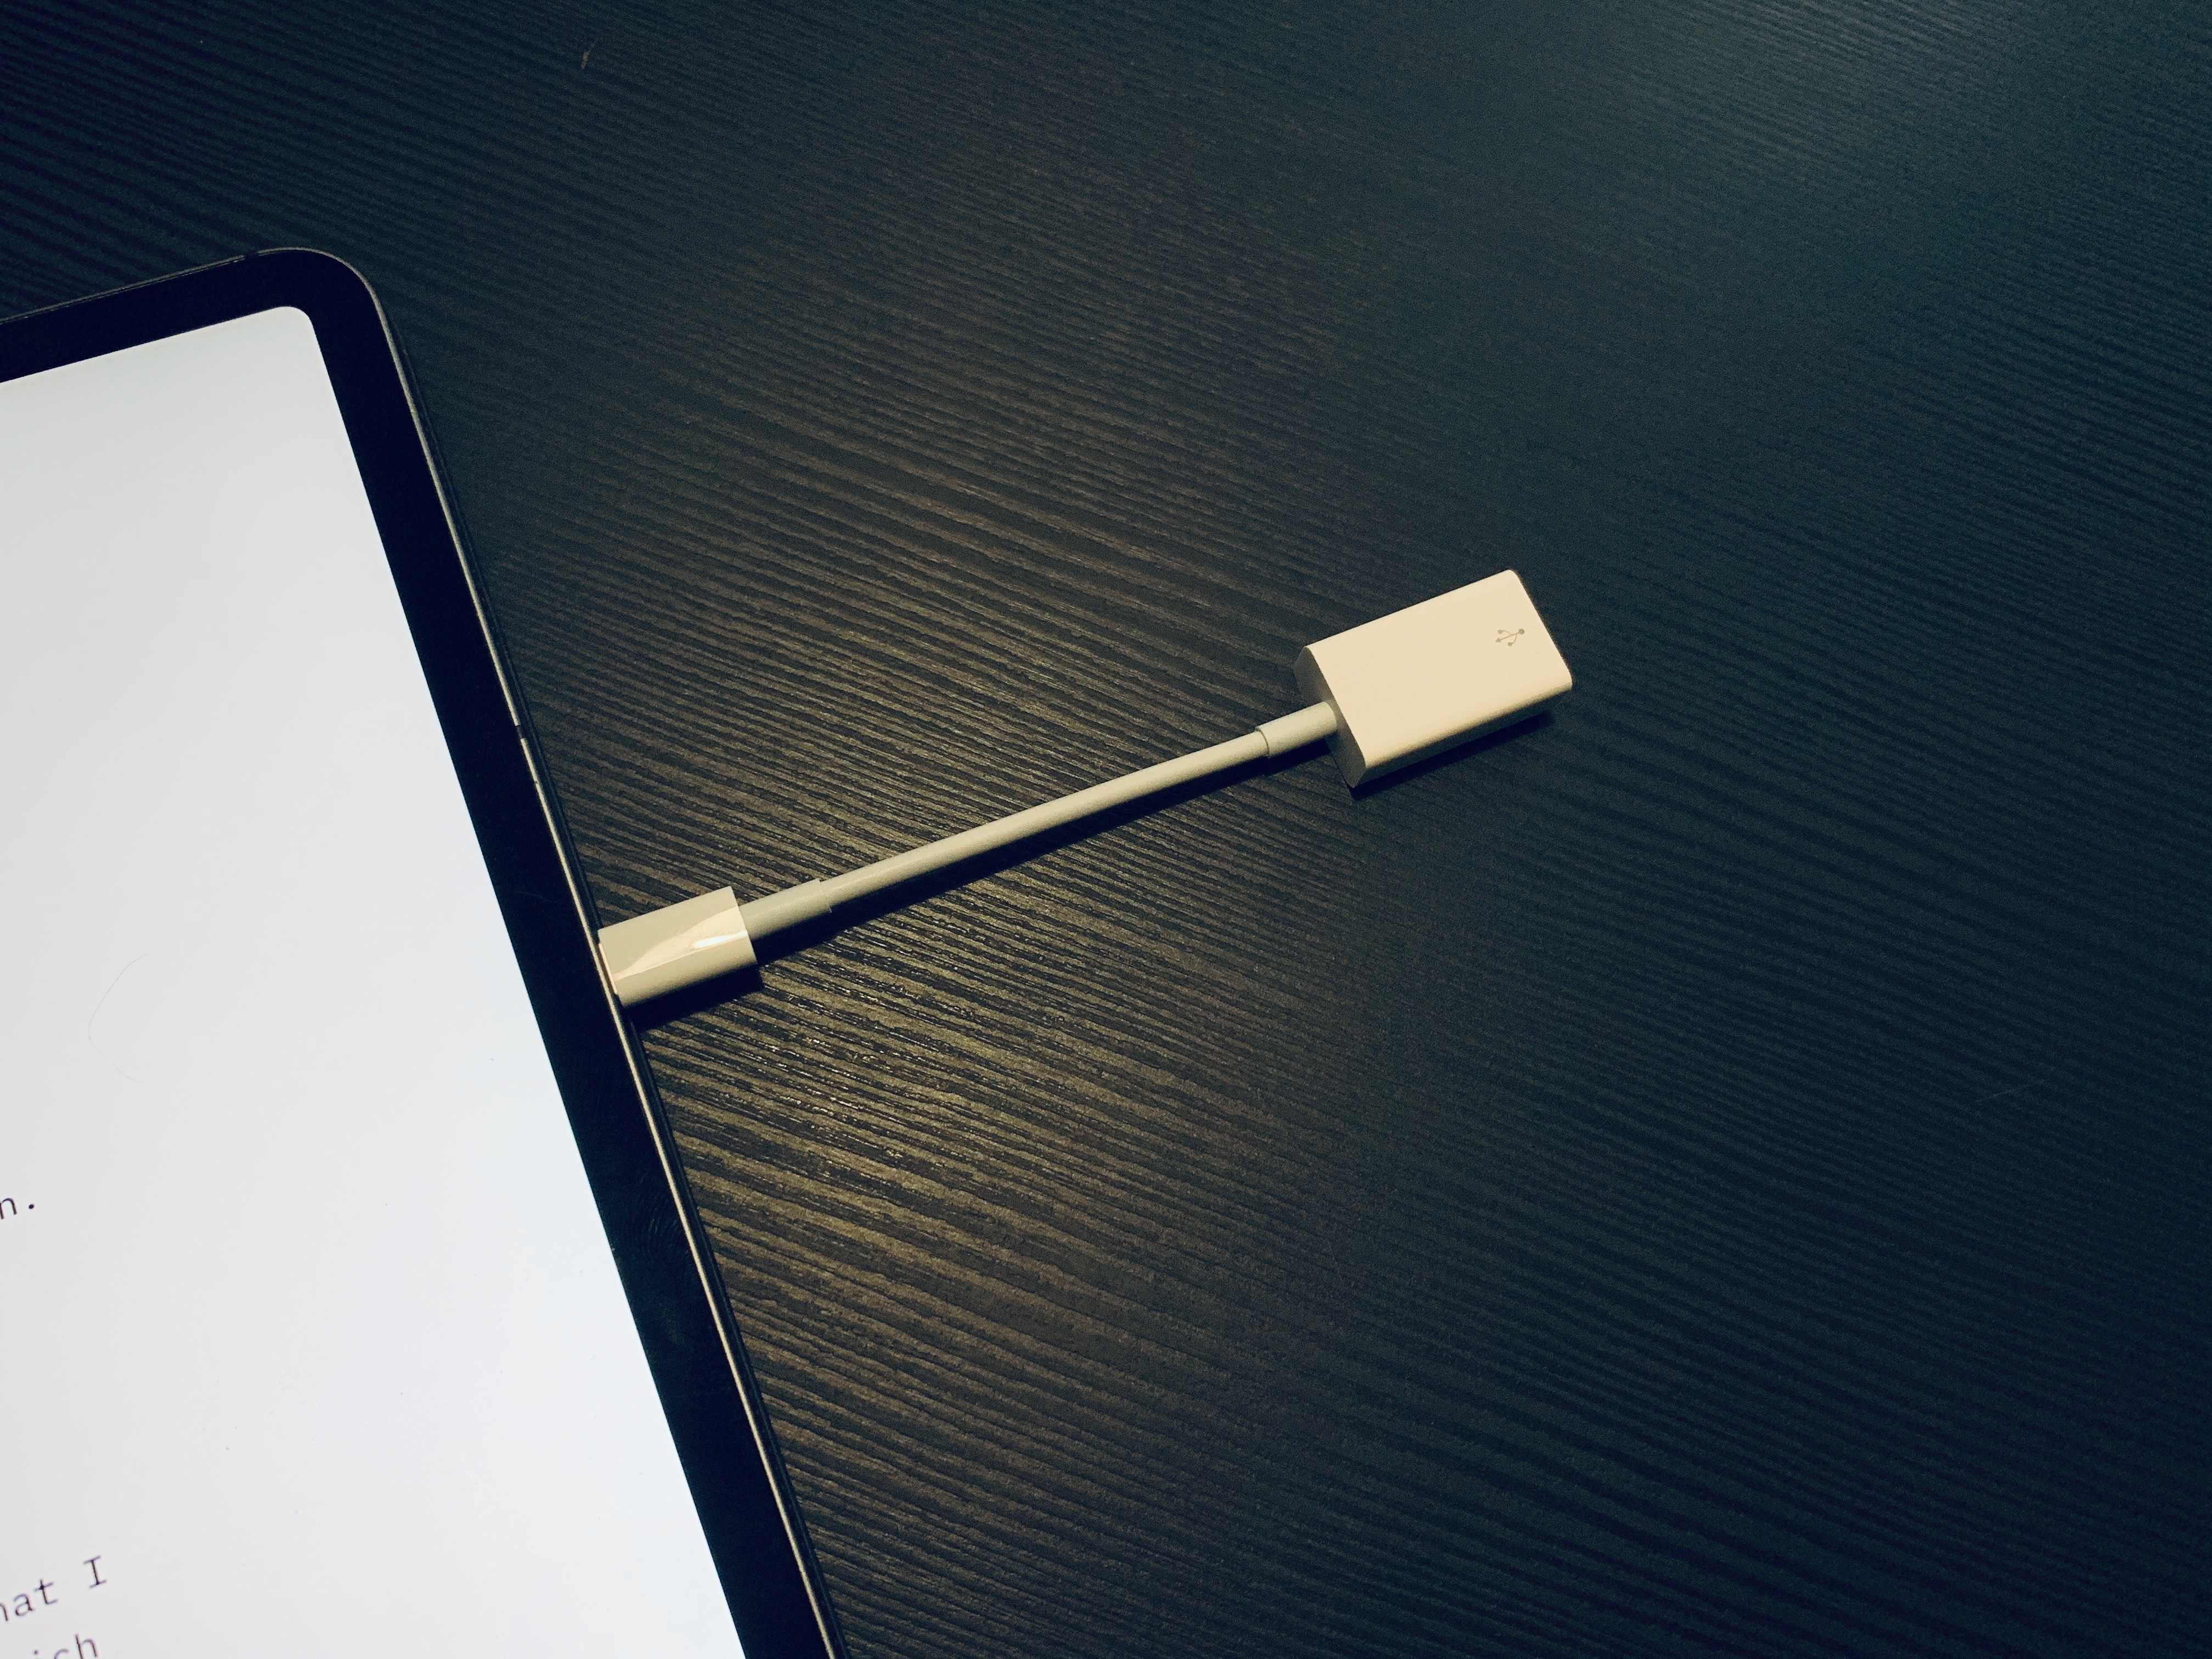
Apple USB-C to USB-A Adapter
This is the basic dongle that Apple sells to connect USB-A accessories to USB-C devices. It does not support power passthrough as it doesn’t have an additional USB-C port for power delivery, but the iPad Pro can output 7.5W of power via its USB-C port, which is enough to power the Mini Tactile Pro when connected via USB through this adapter.
Besides the fact that you can’t charge an iPad while using this dongle, I haven’t noticed any issues when typing with the Matias keyboard in this mode. From a physical standpoint, however, the setup is not ideal: if you prop up the iPad Pro with a Smart Folio in “media mode”, the thick Matias keyboard will cover the lower edge of the iPad’s screen, preventing you from easily swiping on the home indicator unless you create a wide gap between the keyboard and the iPad in upright position. Which brings me to…
Viozon Vertical Stand
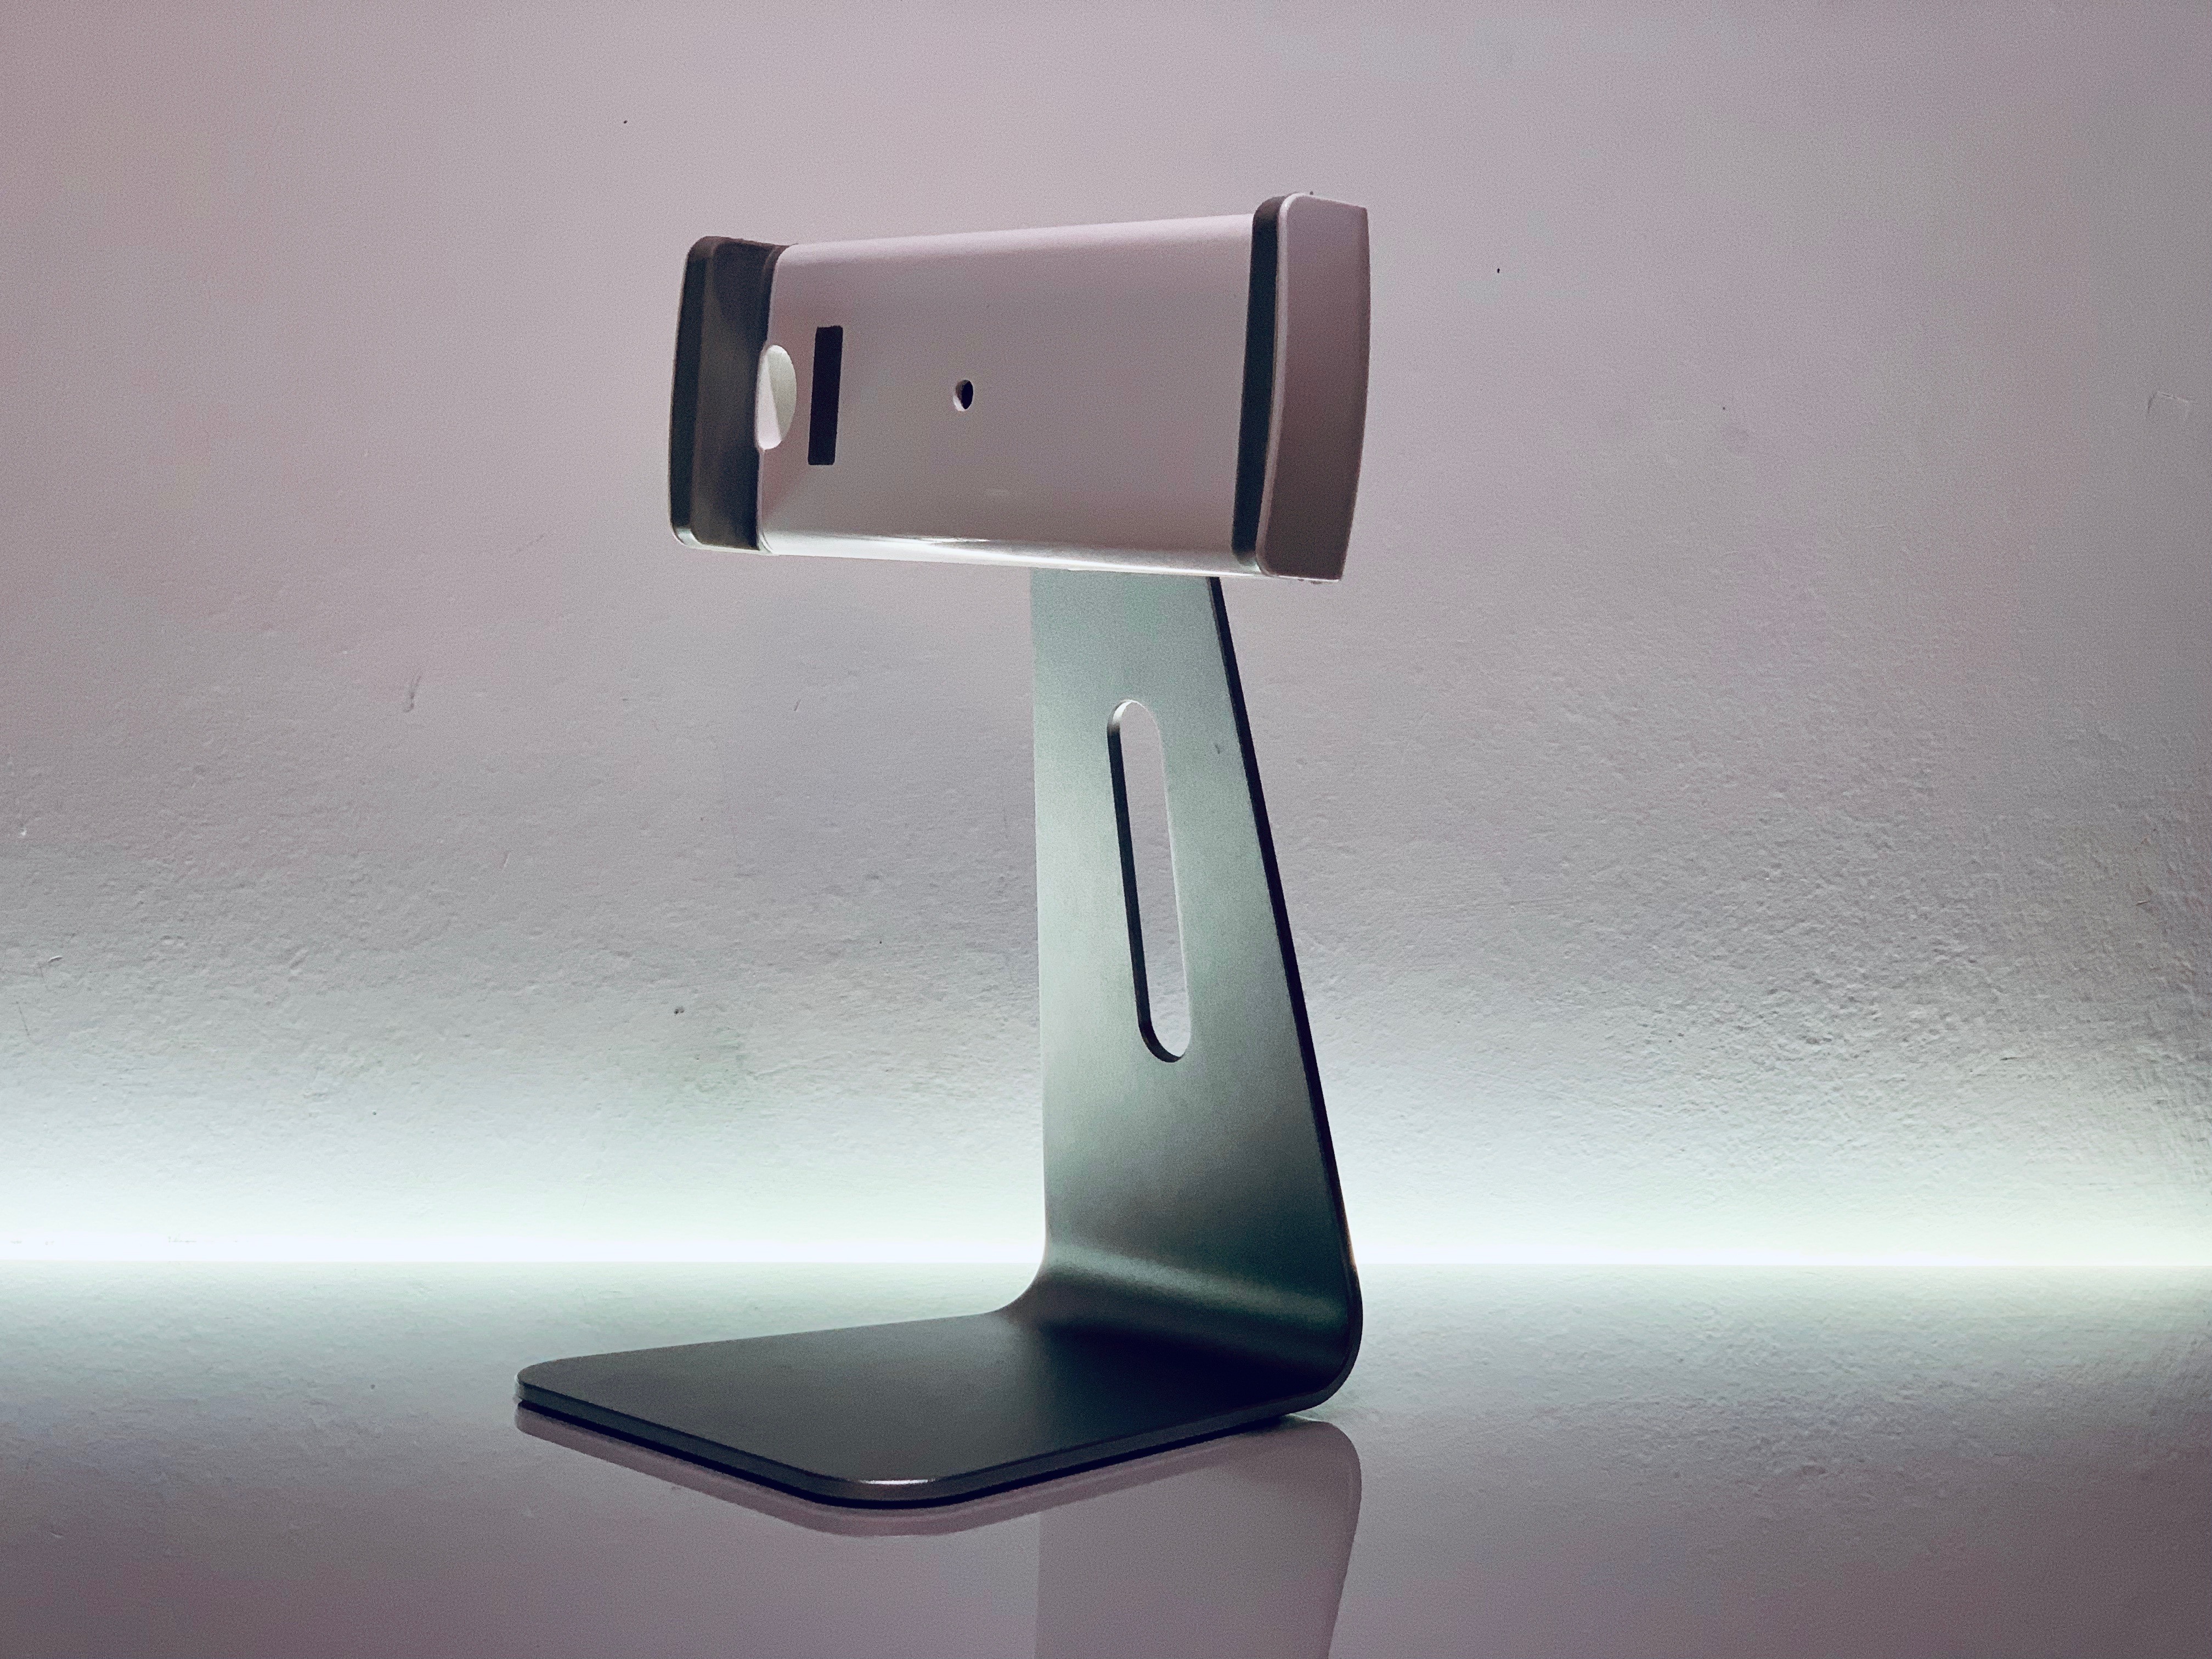
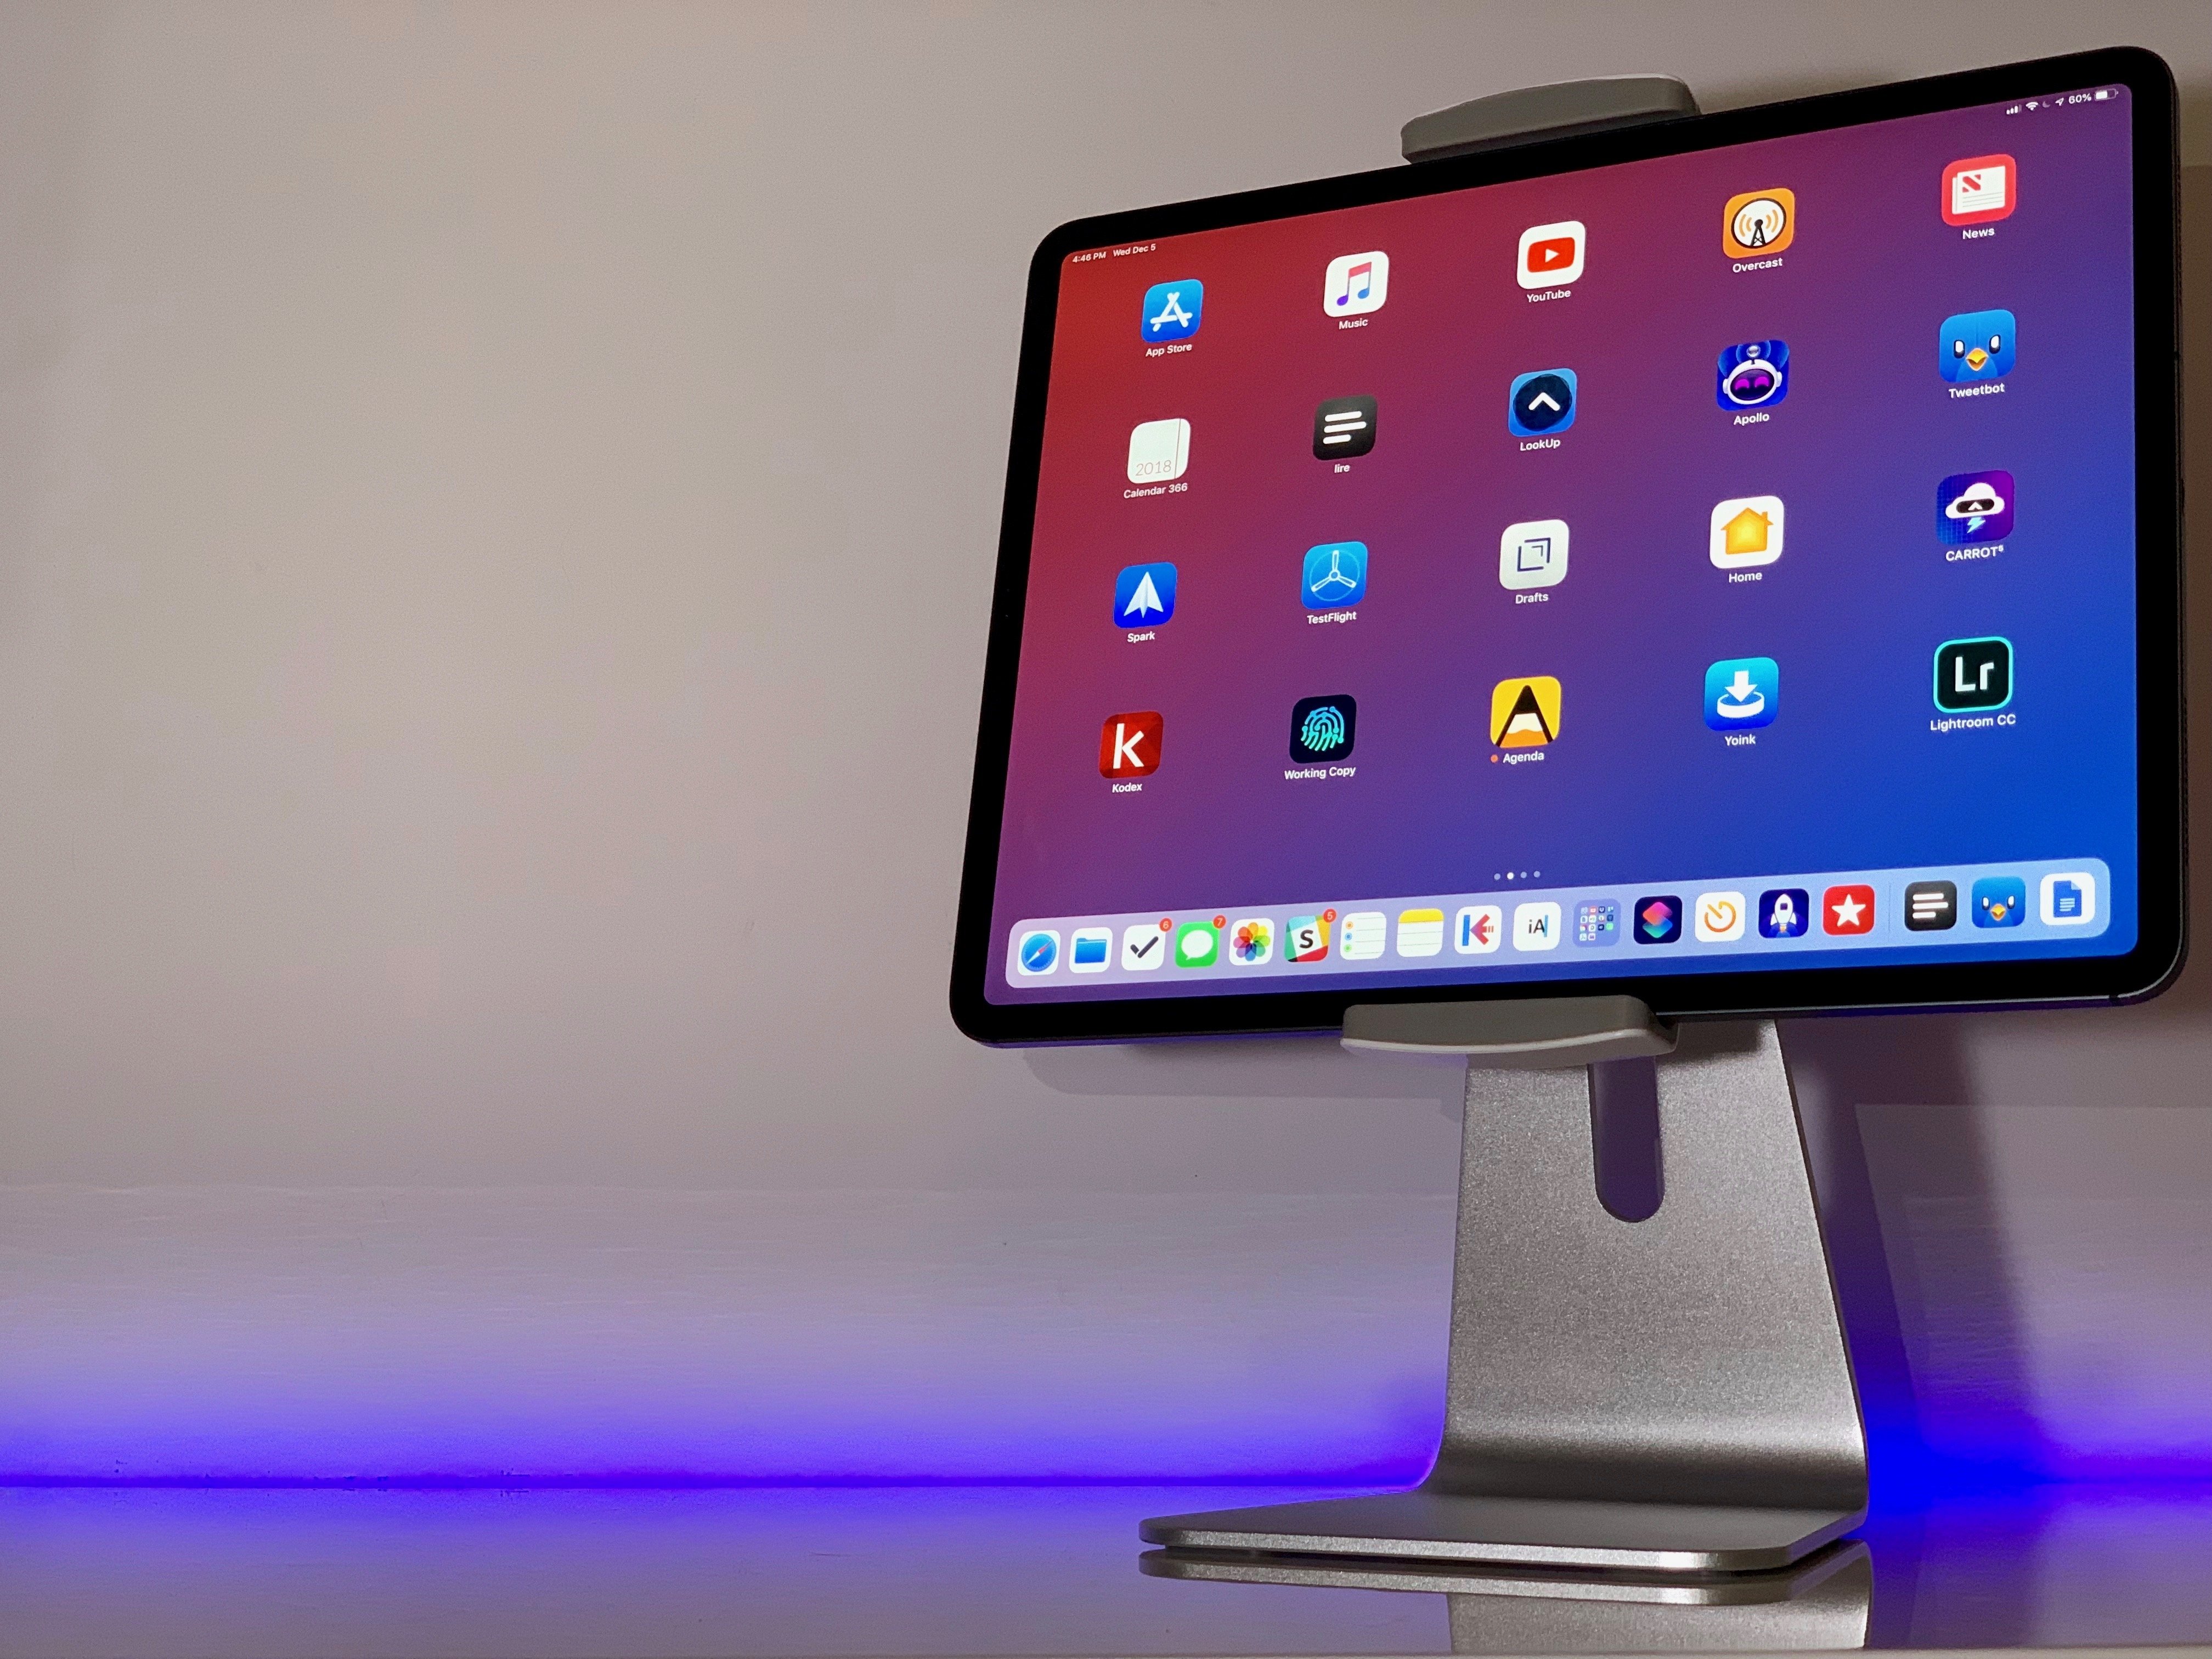
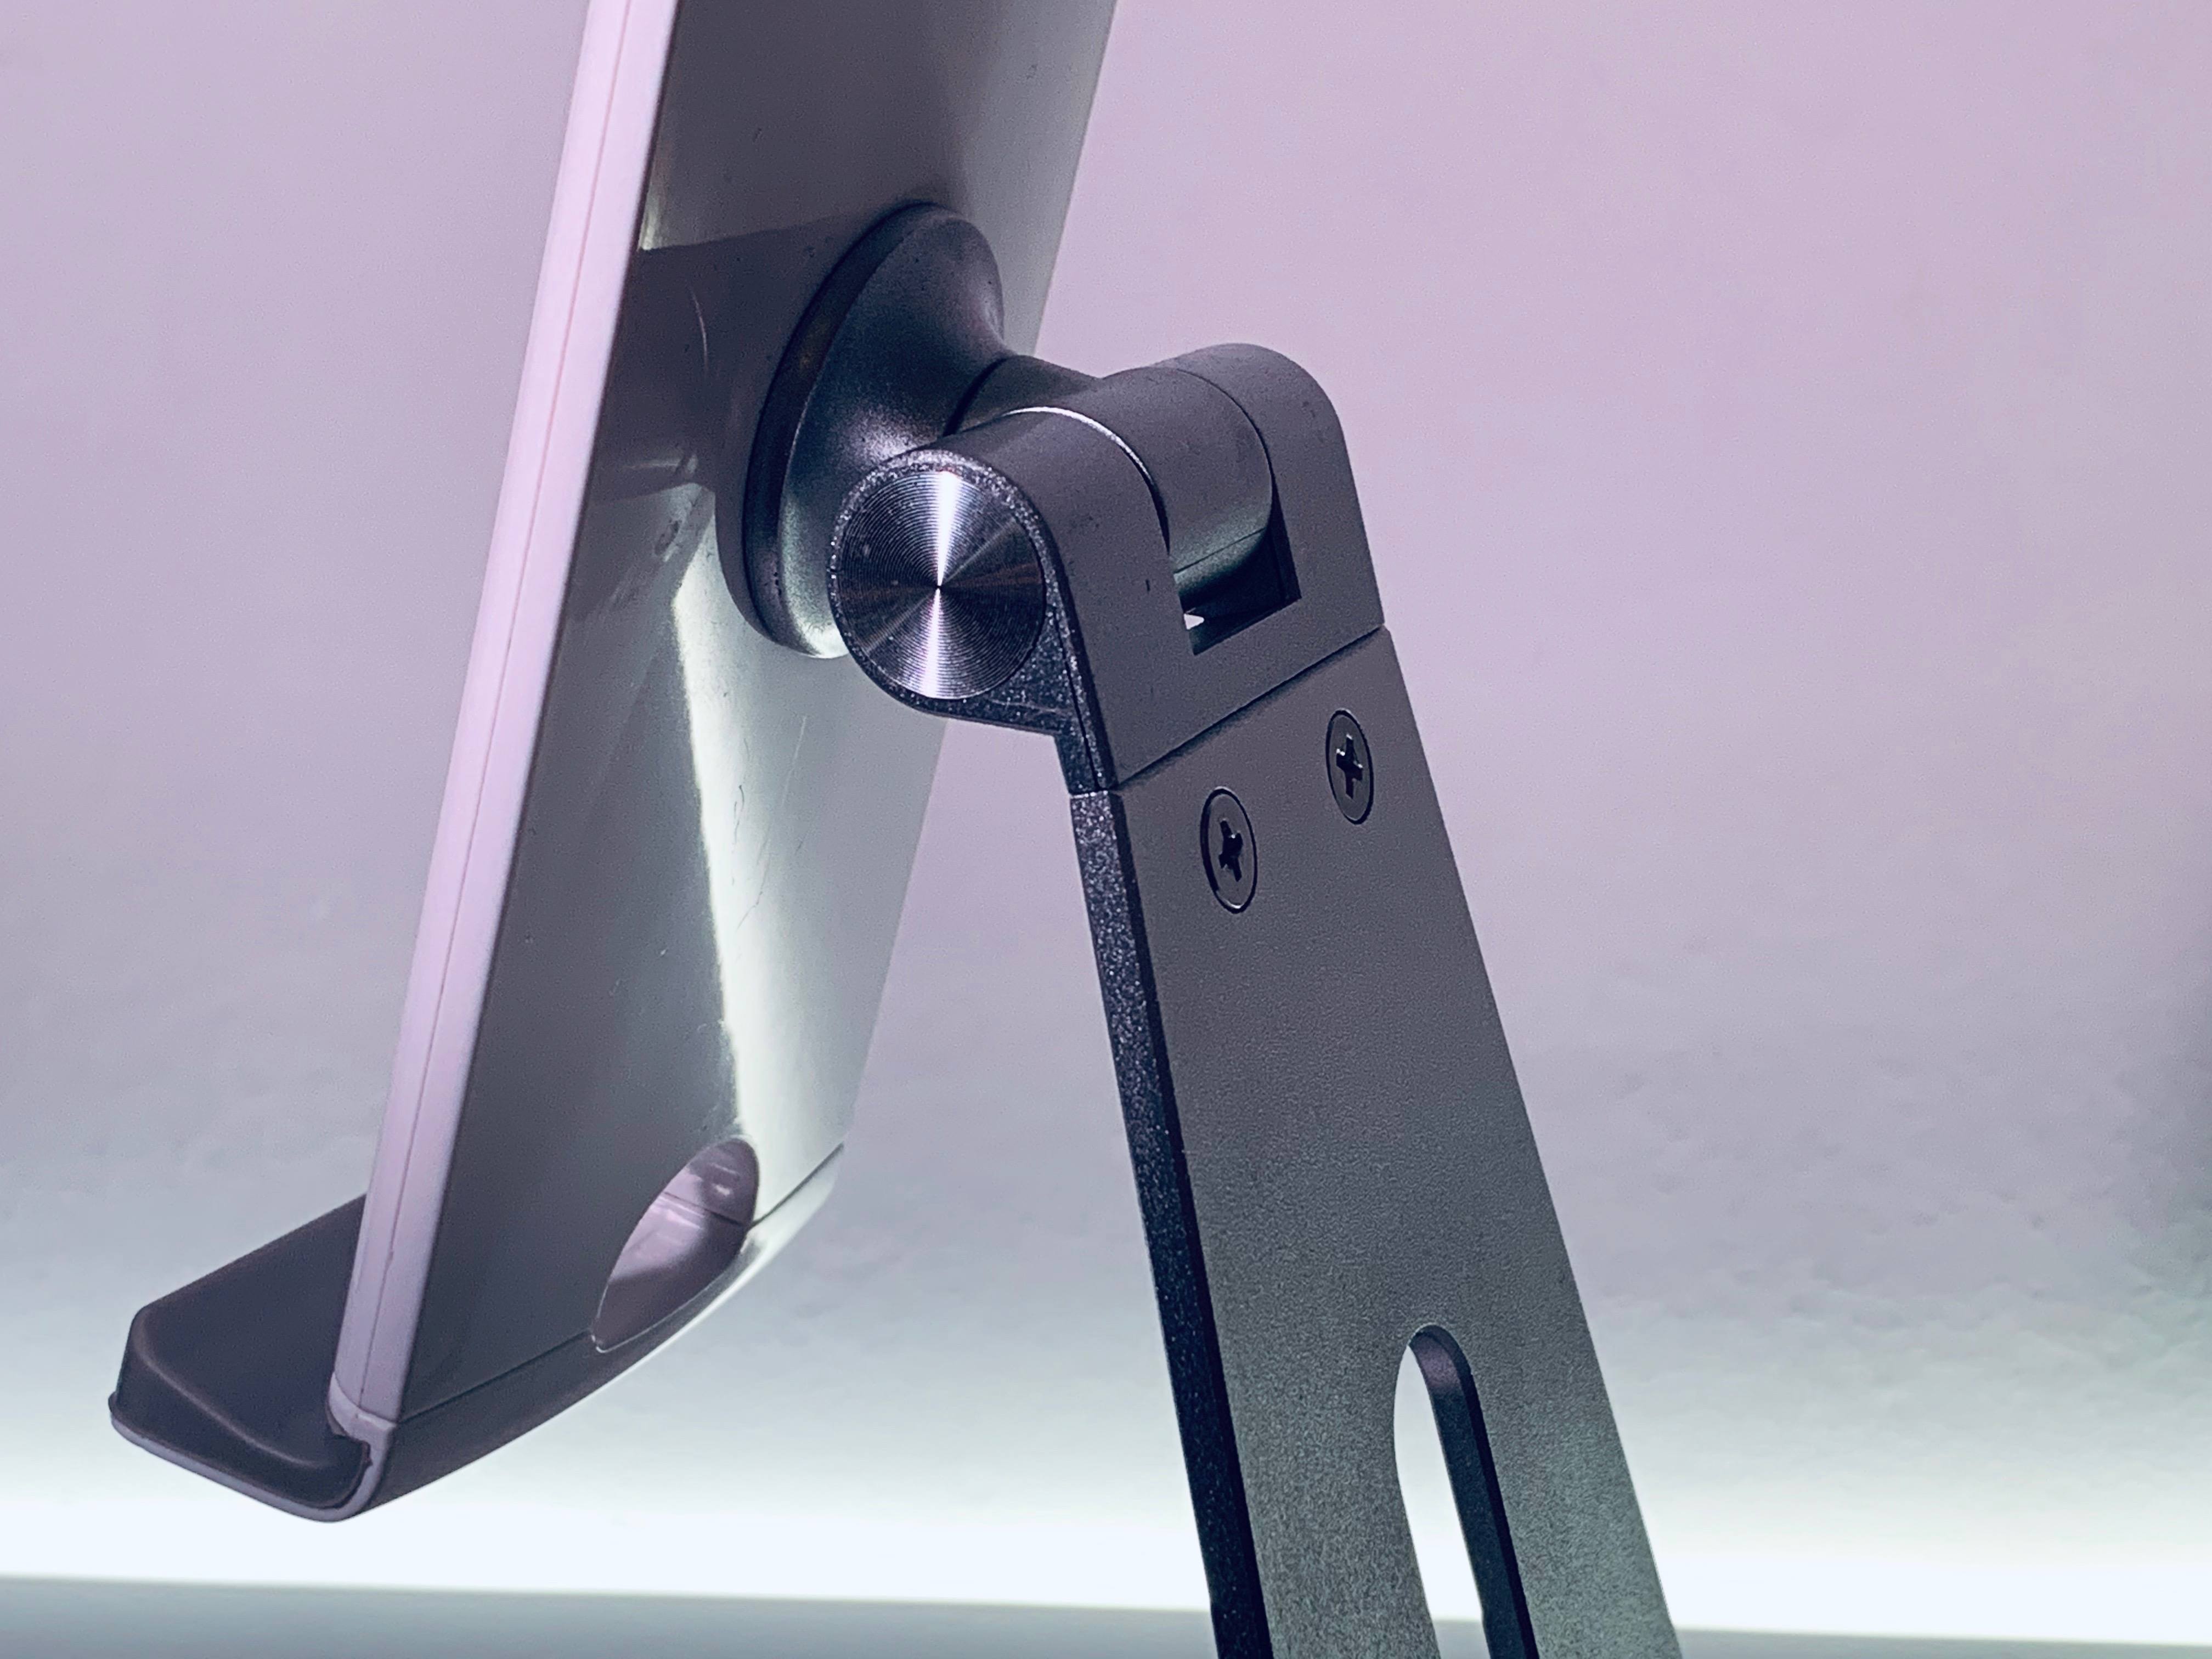
This was another Jason Snell recommendation that I have been using with my iPad Pro for the past year, and which is compatible with the 2018 iPad Pros. The Viozon stand looks like a mini-iMac foot made of aluminum, with a weighted base that prevents it from tipping over. At the top, the stand has a hinge attached to an adjustable plastic arm that hooks onto two sides of an iPad in portrait mode. The arm applies just enough pressure to each side to keep the iPad secure, but doesn’t damage it because the attachment points are covered in rubber.
When the iPad is placed into its cradle, you can rotate the hinge however you want, so you can use the iPad in vertical or horizontal orientation. The benefit of this approach, of course, is that the iPad will be elevated to your line of sight, so you won’t be staring down at a display sitting on a table, which can cause neck and shoulder strain injury over a long period of time. While I wouldn’t mind having an even higher stand (if you have recommendations, please send them my way), I like how the Viozon stand lets me use an iPad almost like I’d use an external display with a keyboard sitting underneath it.
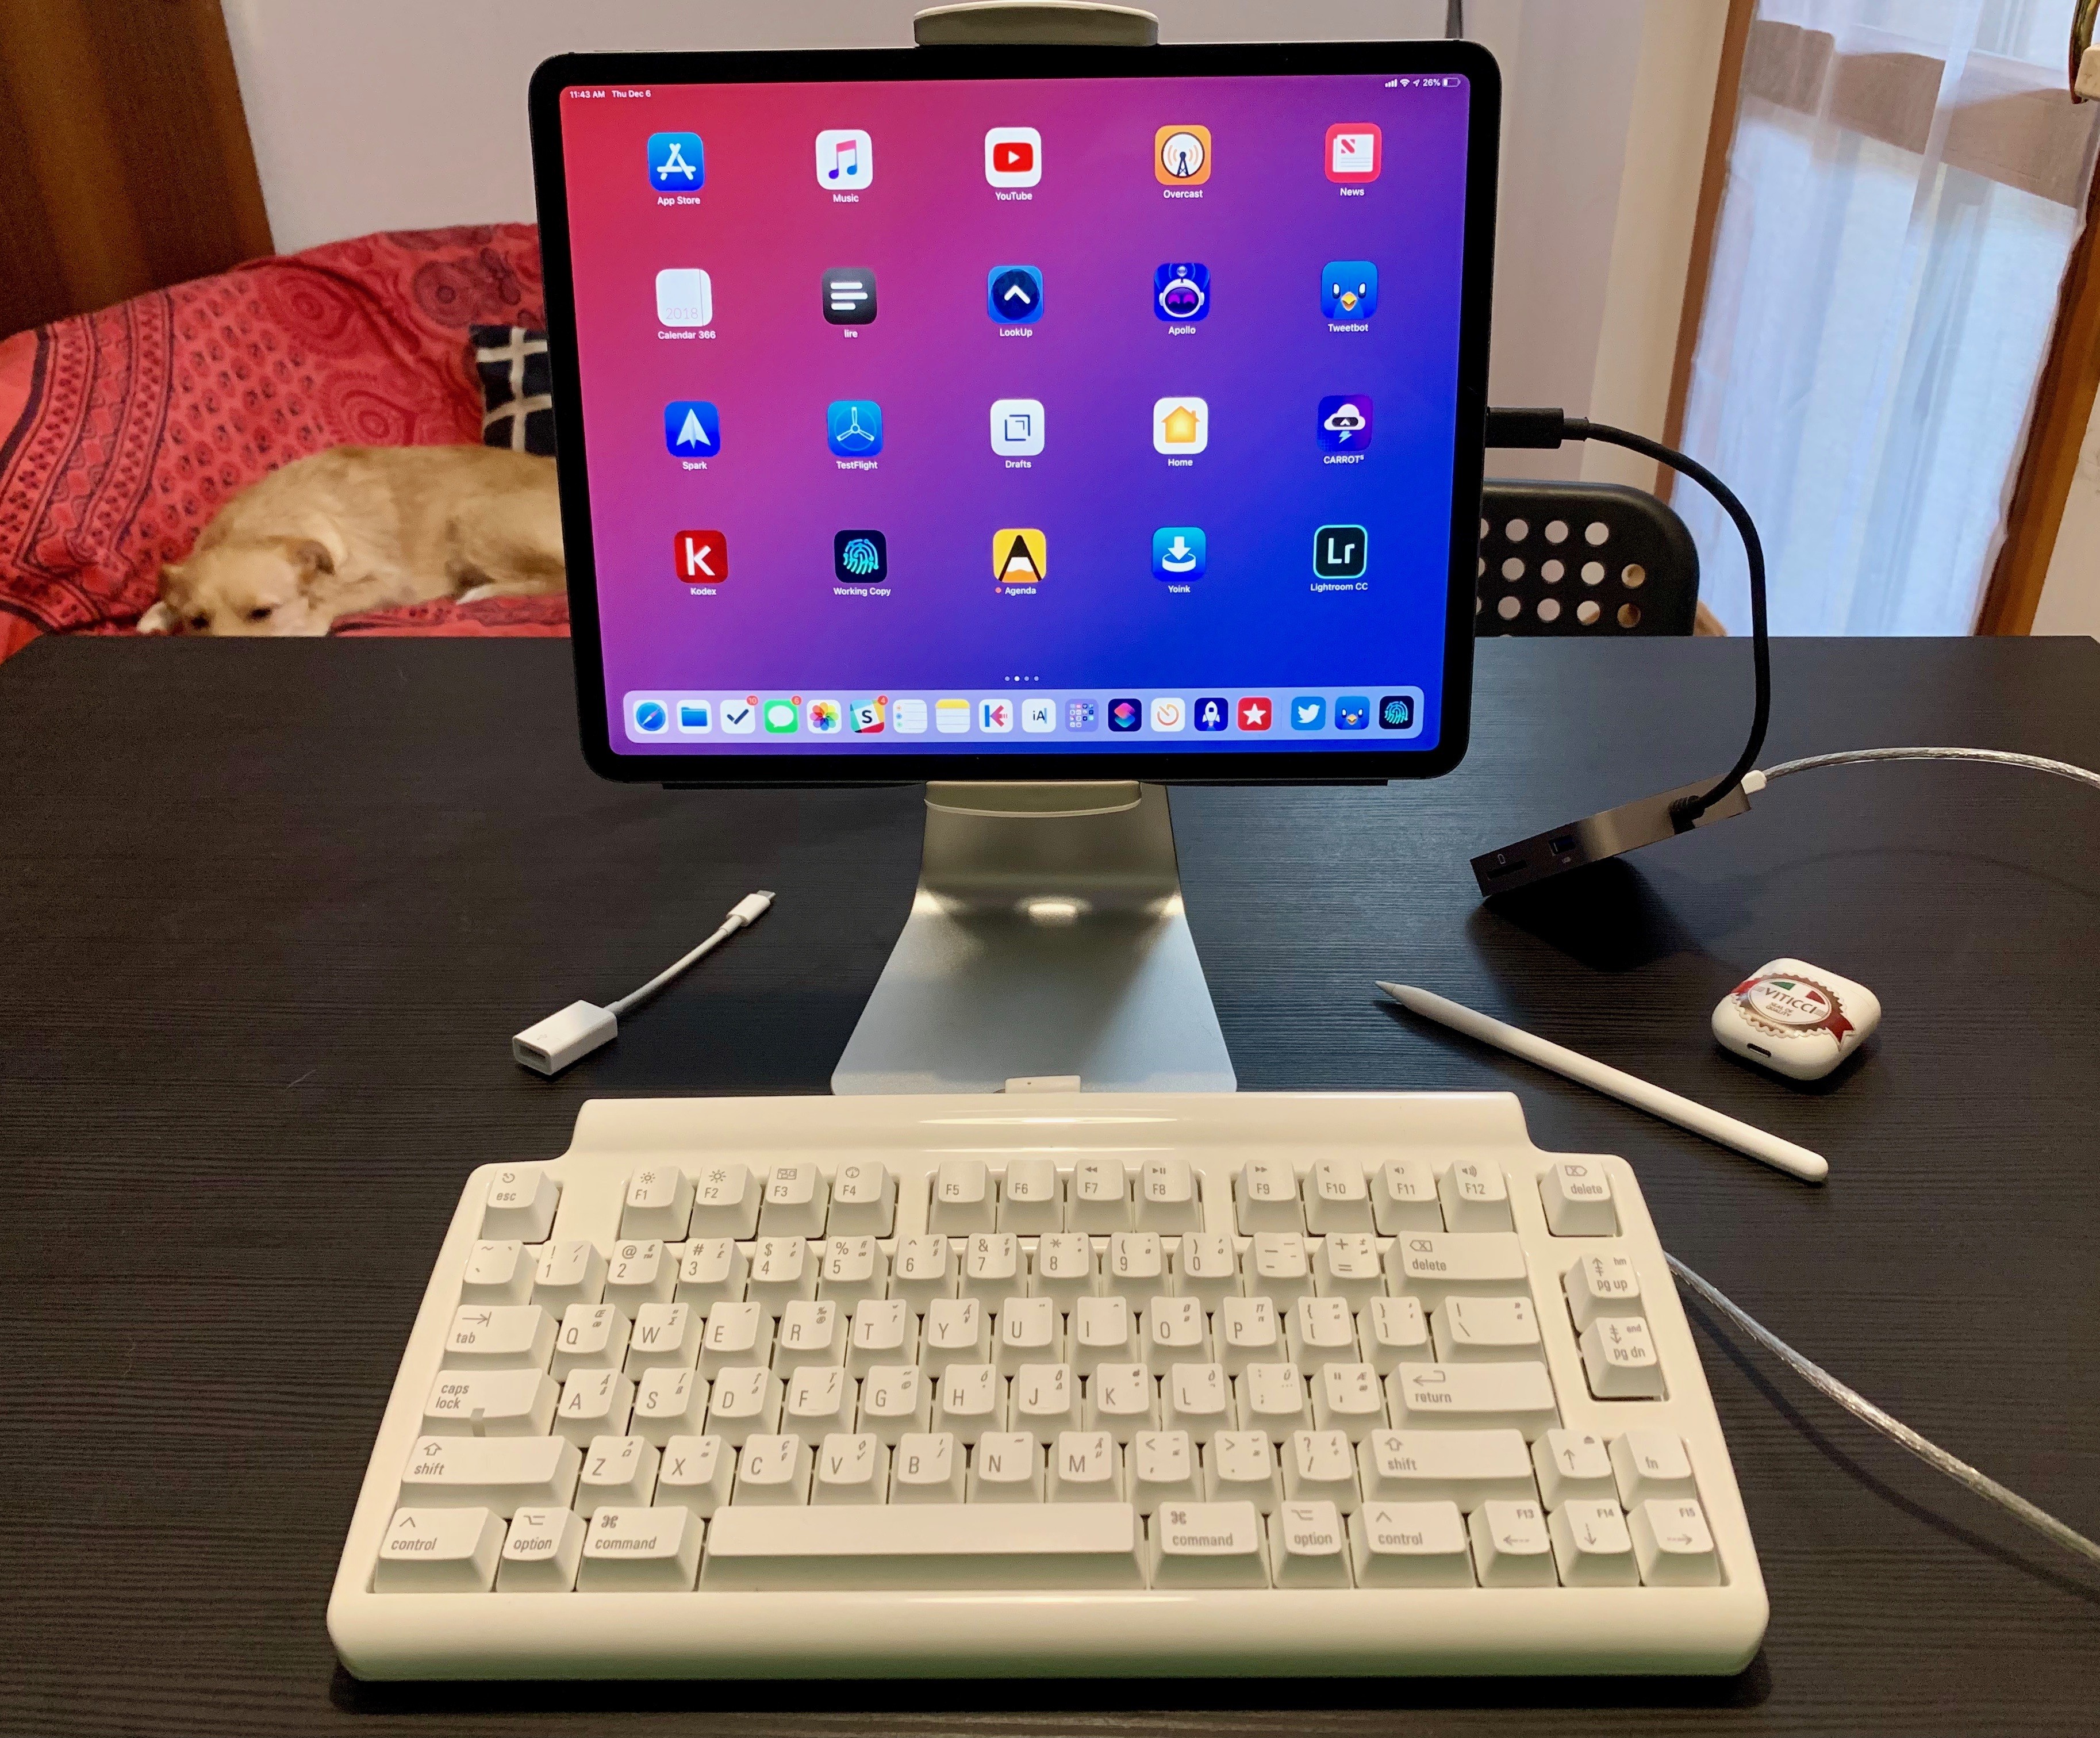
This is indeed my favorite setup when I want to work at the kitchen table: the iPad Pro in landscape mode inside the Viozon stand, and either the Magic Keyboard or Mini Tactile Pro below it. The viewing angle provided by the stand is much better than just propping up the iPad with a Smart Folio, and I find interacting with iOS via touch to be easier because tappable elements are in front of my eyes with no keyboard in the way.
iOS has a long way to go in terms of being able to fully control it from an external keyboard, but this configuration strikes a good balance of physical comfort, typing performance, and portability. When I’m done typing or just want to change context for a bit, I can remove the iPad from the stand, disconnect the keyboard’s cable, and sit on the couch for a while to continue working with the same apps, but different ergonomics. That wouldn’t be as easy with a desktop computer.
Charging and USB-C Hubs
Assembling a modular desktop-like iPad setup at a desk or kitchen table begs an obvious question: what about charging?
When I’m using a Magic Keyboard, that is not a concern as the keyboard connects via Bluetooth and I can run a two-meter Apple USB-C cable from the wall (where it’s plugged into an Apple 60W charger). The only thing I have to be mindful of is my two dogs bumping into the cable.6 This becomes a problem, however, if I want to use my Matias USB keyboard and charge the iPad Pro at the same time.
As I mentioned above, Apple’s USB-C to USB-A adapter doesn’t feature a second USB-C port for power delivery. I could use Apple’s own Digital AV Adapter (which Silvia owns), but while it supports USB power delivery (at 60W) and USB 3.1 Gen. 1 transfer speeds, it’s limited to two ports (the USB-C one is for charging only), and I wanted to find something a little more versatile. I had to turn my attention to third-party USB-C hubs, and even though I am not 100% convinced this is the best option for the next couple of years, I have found something that works for now.
If you look on Amazon, you’re going to find dozens of USB-C hubs and docks that support a variety of USB-A, USB-C, and HDMI ports. I’ve spent days looking and testing different options, and, to my knowledge, none of the popular USB-C hubs support USB 3.1 Gen. 2 transfer speeds (supported by the iPad Pro) or HDMI output with 4K @ 60Hz and Dolby Vision – the latter launched yesterday with a new adapter from Belkin. I’m going to spend more time on this topic in a future installment of iPad Diaries about USB-C, but in short:
- Ideally, to future-proof my iPad Pro as much as possible, I wanted to find a hub that supported USB-C power delivery, USB-C ports with USB 3.1 Gen. 2 transfer speeds (10 Gbps), standard USB-A ports (also at 3.1 speeds), and HDMI output with 4K @ 60Hz;
- In practice, most existing hubs (which are MacBook Pro hubs, not specifically designed for the iPad Pro yet) support power delivery up to 60W but don’t come with USB 3.1 Gen. 2 transfer speeds; some of them support USB 3.1 Gen. 1 (5 Gbps transfers as opposed to Gen. 2’s 10 Gbps). Some of them include support for 4K output @ 60Hz (without HDR10 and Dolby Vision), but most of them are stuck on 4K @ 30Hz. Most of them feature a variety of SD, microSD, and headphone ports that I personally don’t care about. Very few of them have built-in Ethernet. All of them tend to look somewhat ugly or uninspired.
You may be wondering why USB 3.1 Gen. 2 is such a big deal when the iPad Pro cannot even interact with old USB 2.0 drives for now. Again, for me it’s all about buying for the future and knowing that I have USB-C hardware capable of supporting power delivery and the fastest speeds whenever iOS will be ready for them. Plus, I like doing research and buying the best option I can find.
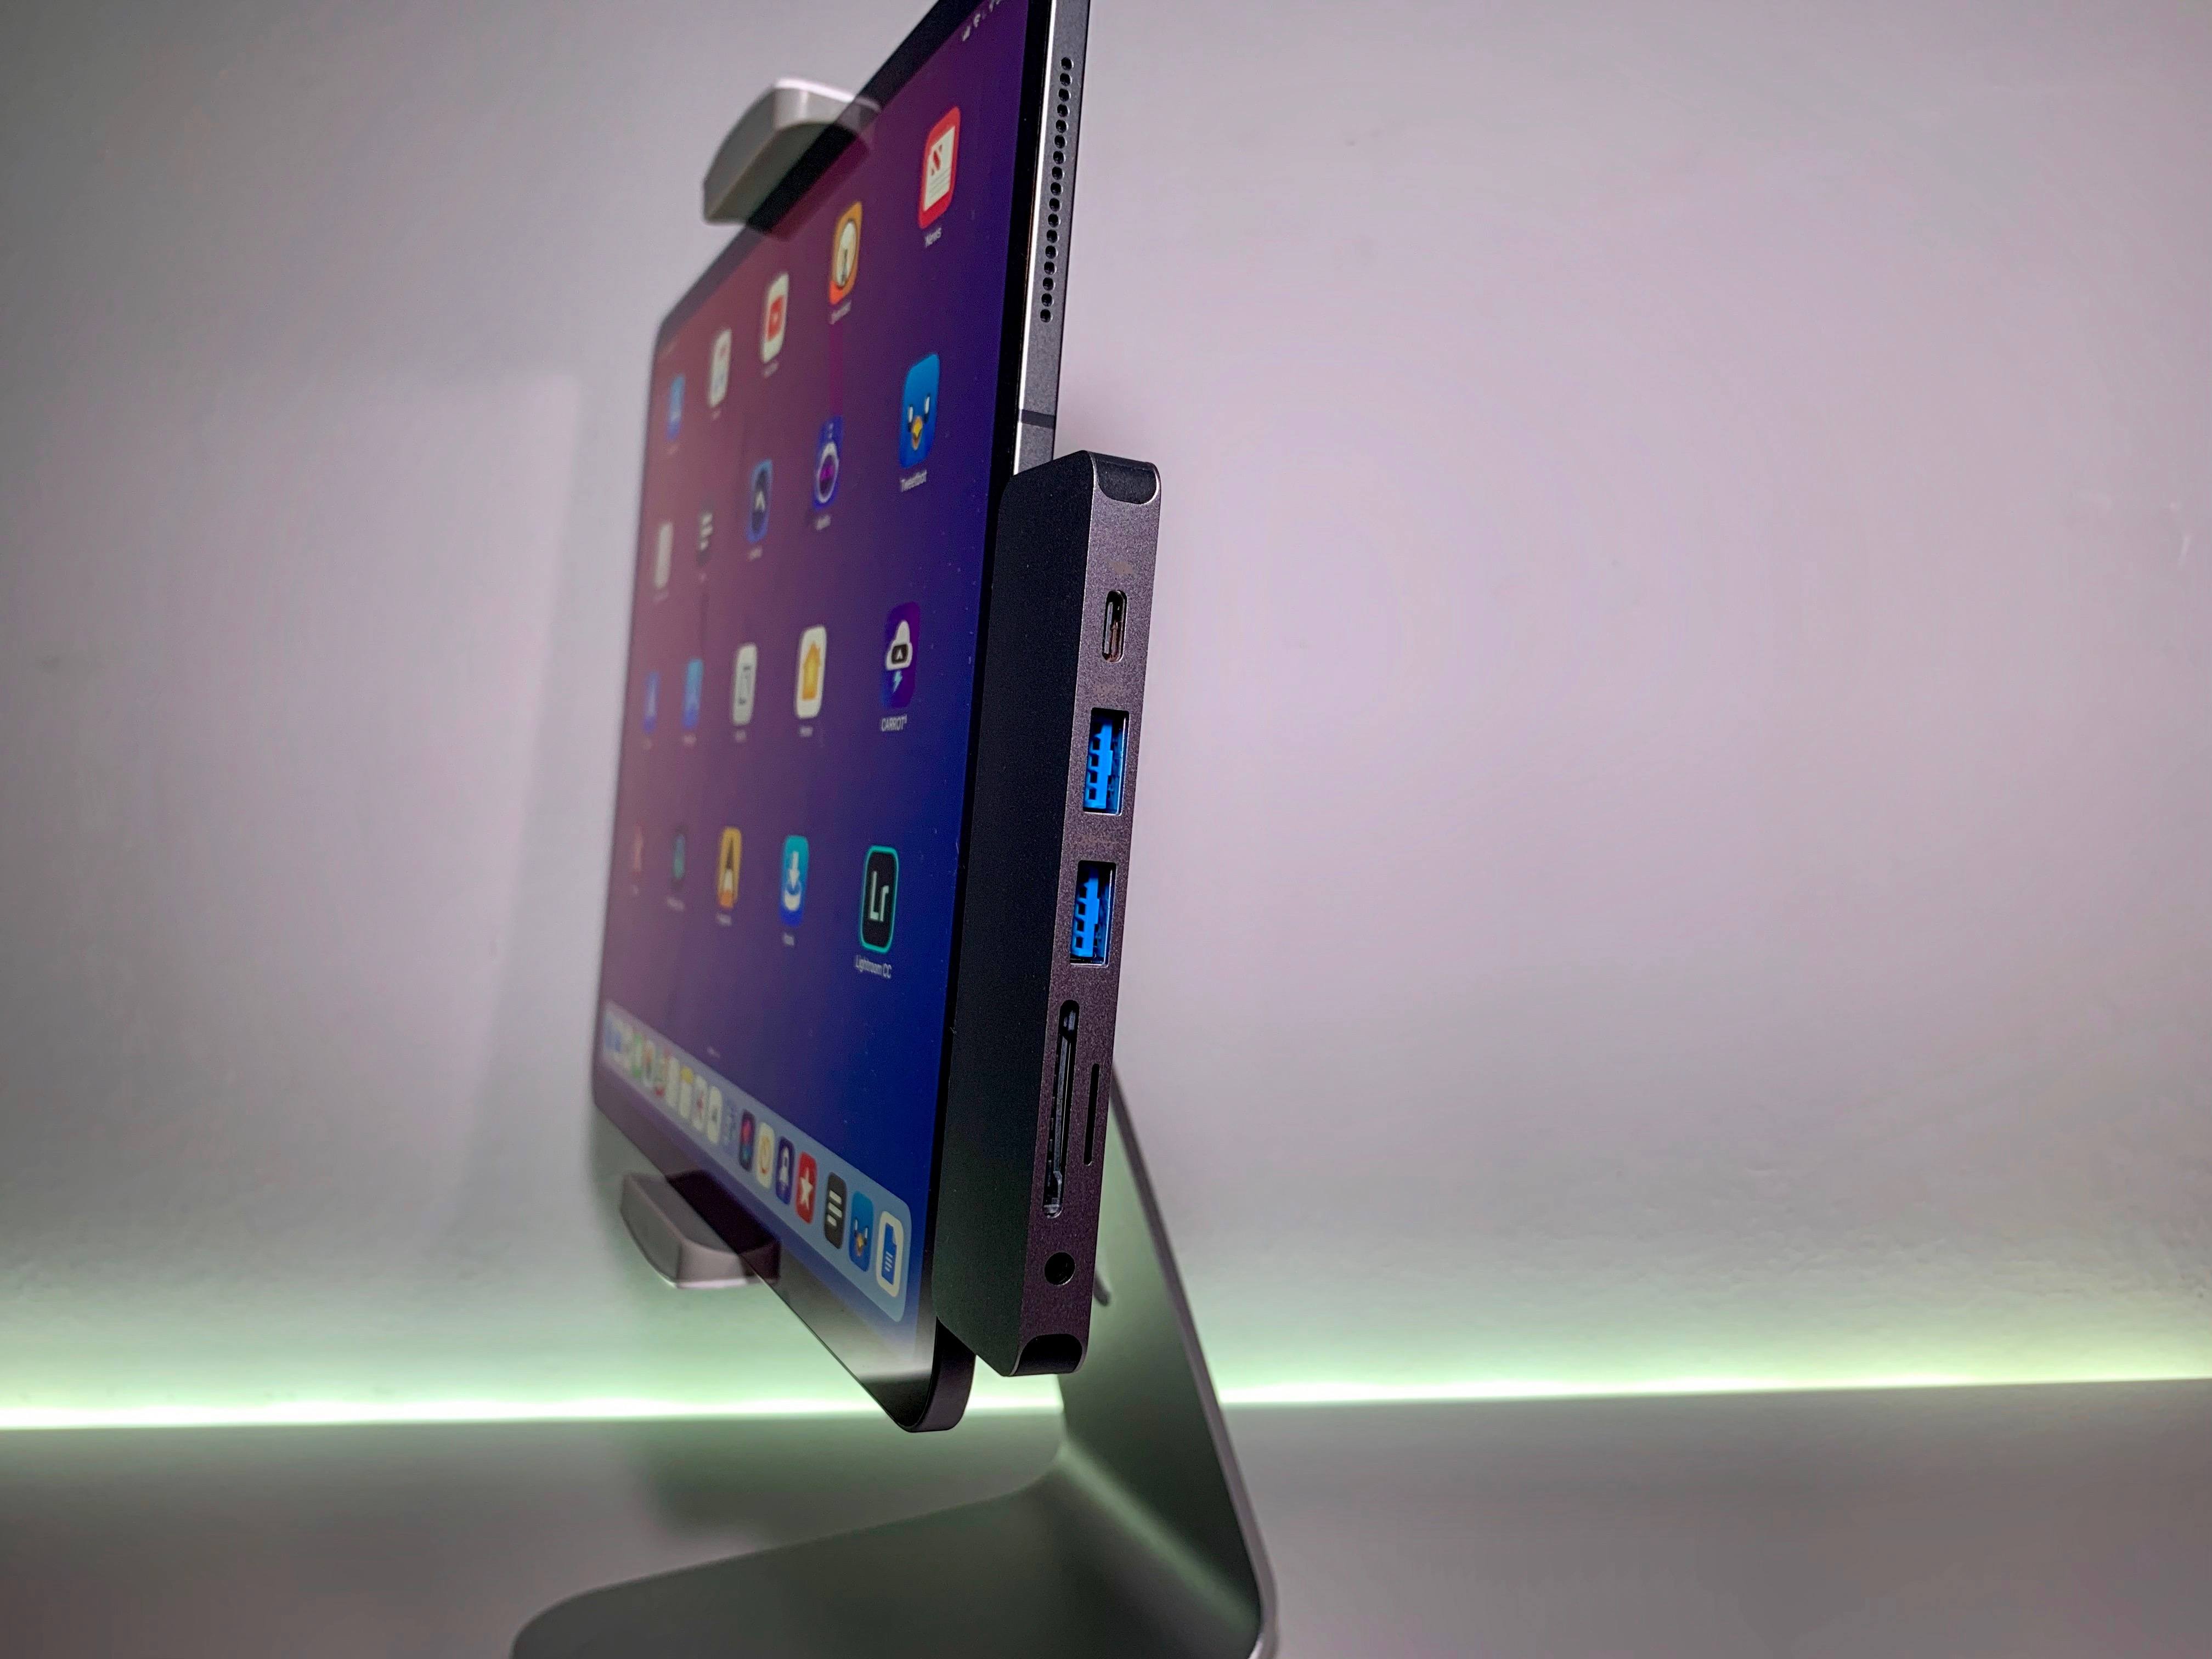
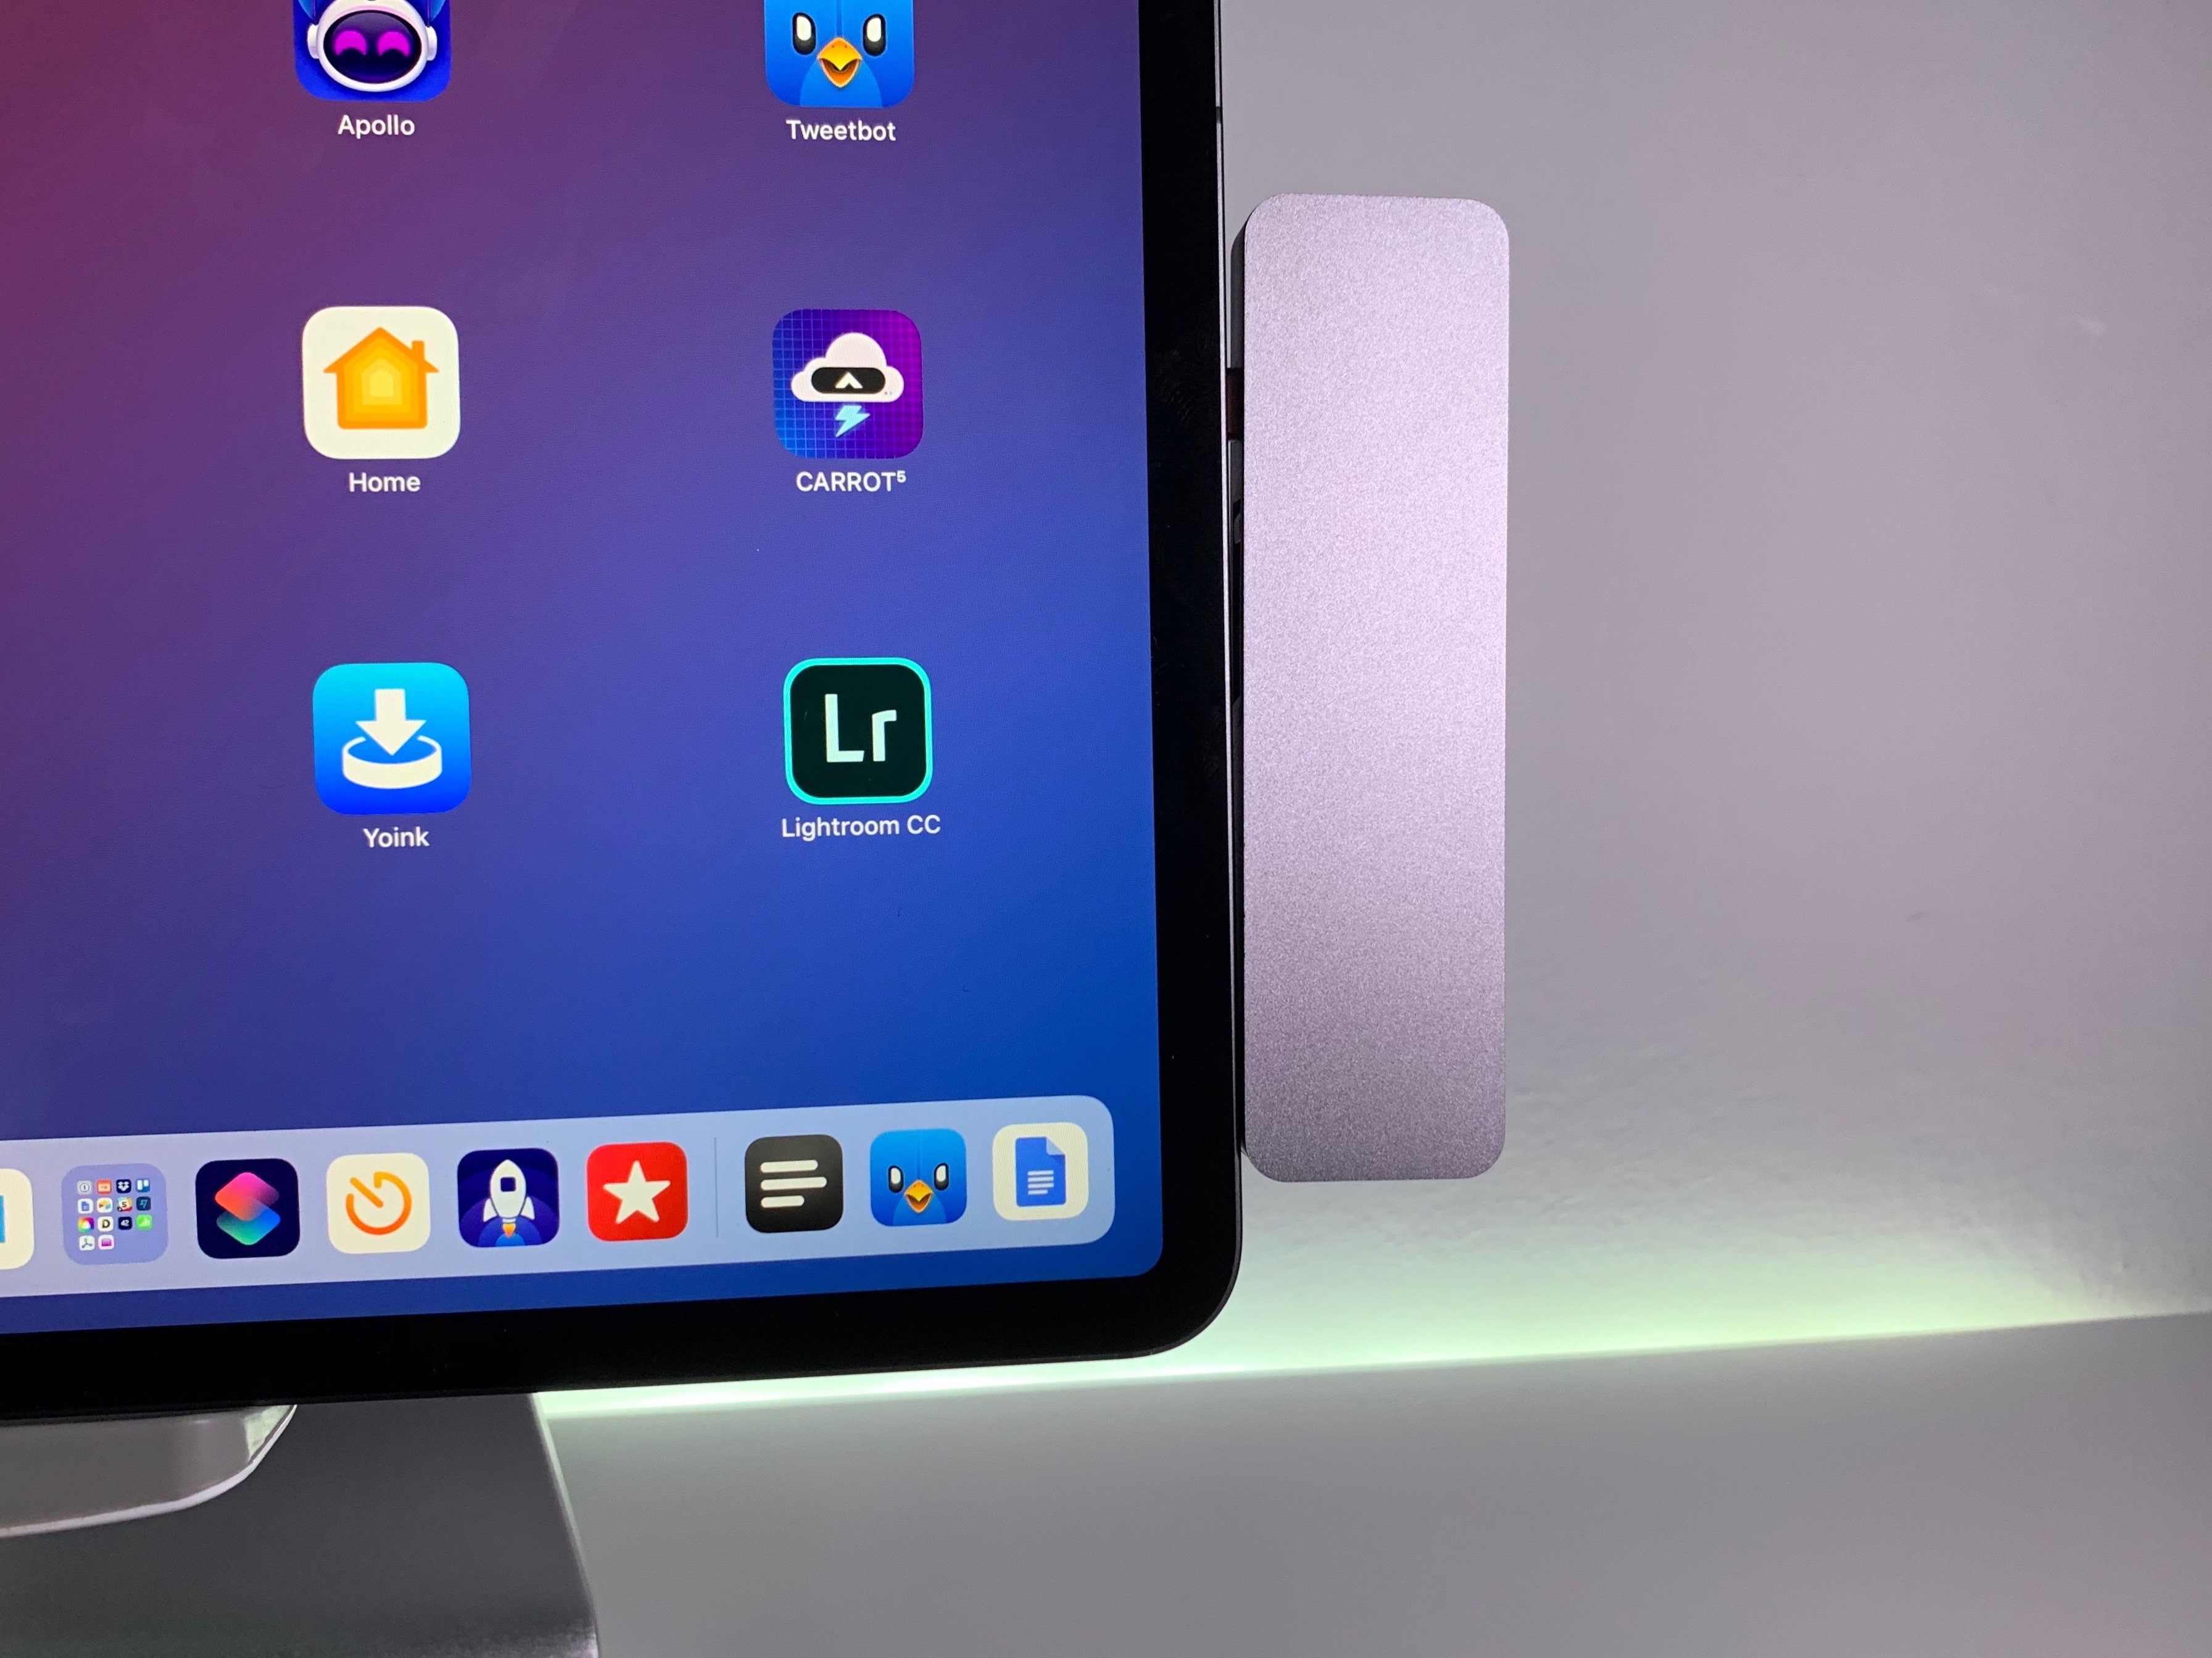
When I first started looking into USB-C hubs, my first thought was that I wanted something that could snap to a side of the iPad by connecting to its single USB-C port and sitting flush along one of the edges. I remembered that Hyper made one of these hubs for the MacBook Pro – again, accessory makers haven’t shipped iPad Pro-specific hubs yet – so I started looking on their website and came across the HyperDrive Solo 7-in-1. Unlike their other USB-C hubs that feature two adjacent USB-C connectors for the MacBook Pro, the Solo has one USB-C connector and is short enough to be placed on a side of the 12.9” iPad Pro without protruding from the top or bottom.
From a specs perspective, the Solo hub didn’t tick all my requirements, but it was close enough, and I figured that the elegant, Apple-like design could make up for slightly outdated ports. The Solo hub turns a single USB-C port into seven ports featuring:
- HDMI video output at 1080p @ 60Hz or 4K @ 30Hz
- USB-C with power delivery
- Two USB-A ports at USB 3.1 Gen. 1 speeds
- SD and microSD card readers
- Audio jack input
Again, not perfect, but close enough, so I decided to get one from Amazon and test it with my iPad Pro and various accessories.
Unfortunately, I cannot recommend this Hyper hub to iPad Pro owners because it is clearly designed for laptop use and I shouldn’t have assumed it was going to work well with the iPad Pro.
For whatever reason, the Solo’s USB-C connector doesn’t perfectly attach to the iPad Pro’s USB-C port, leaving a 1mm gap in between the device and the hub. As a result, the hub sort of wobbles when touching the iPad’s display, giving the impression that it is going to snap off if you don’t pay close attention to it. More worrisome, though, is the fact that even when the hub wasn’t moving the USB-C connection was not reliable enough – I found myself having to push the connector into the port to keep receiving power from the charger and for the iPad Pro to see the USB keyboard connected to the hub. The connector in the hub feels flimsy when attached to the iPad and doesn’t inspire a lot of confidence.
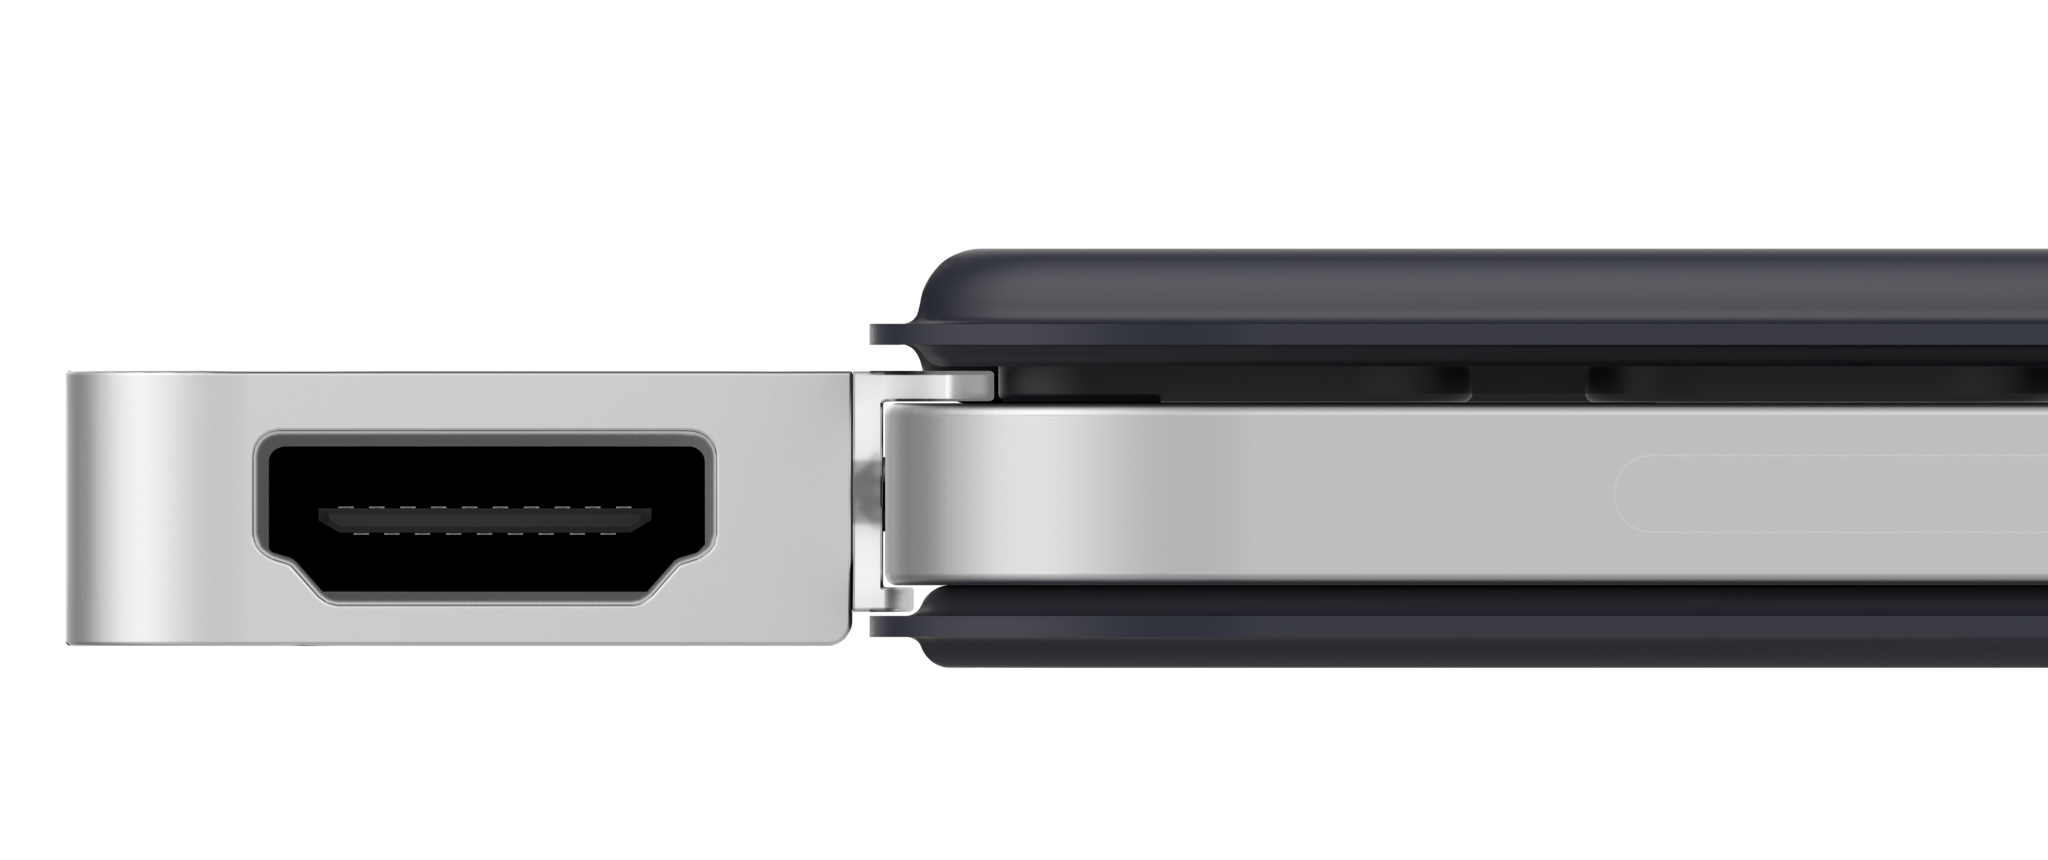
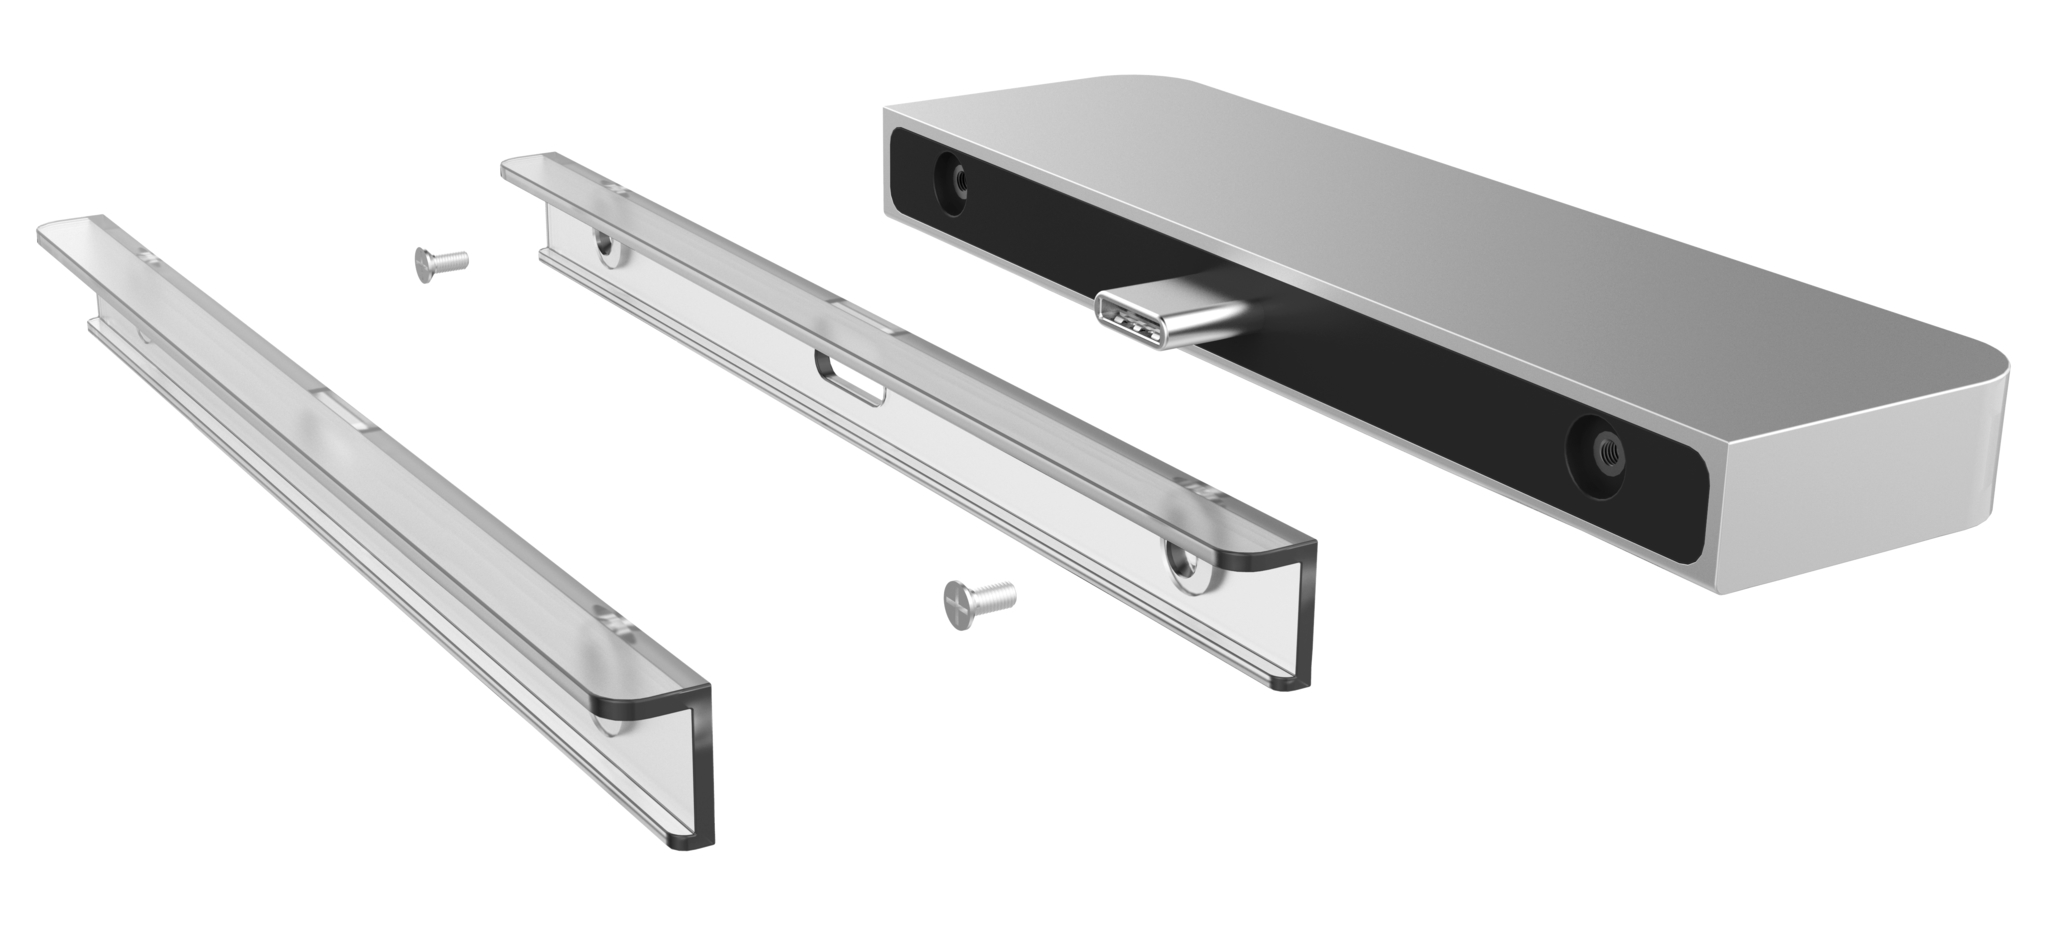
Again, I’m responsible for assuming that a USB-C hub designed for laptops and desk use was also going to work well with an iPad (but you can understand why I made that assumption) and I’m sure that this accessory works well when implemented for its intended use case. I’m also fairly certain that Hyper itself is aware of the difference between USB-C hubs for MacBooks and iPads: their upcoming iPad Pro-specific hub, set to launch in the near future, will come with a “removable and replaceable translucent C-shape grip made of soft polycarbonate and ABS material [that] securely holds the USB-C hub in place without blemishing the iPad Pro surface”. It looks like a clip made of two parts that you need to screw together to keep the hub more closely attached to the iPad:
After looking at Hyper’s pictures for the new hub’s attachment, I guess I should have expected to run into the issues I encountered when trying to use a snap-on MacBook hub with the iPad Pro. Lesson learned. That said, for science, I’m going to order their iPad Pro hub and report back as soon as possible.
So, at least for now, it looks like the best option for iPad Pro owners interested in a USB-C hub is to get one with a short USB-C cable. There are plenty of options on Amazon and I recommend checking out the Wirecutter’s guide for an overall roundup of the best picks.
OWC Travel Dock
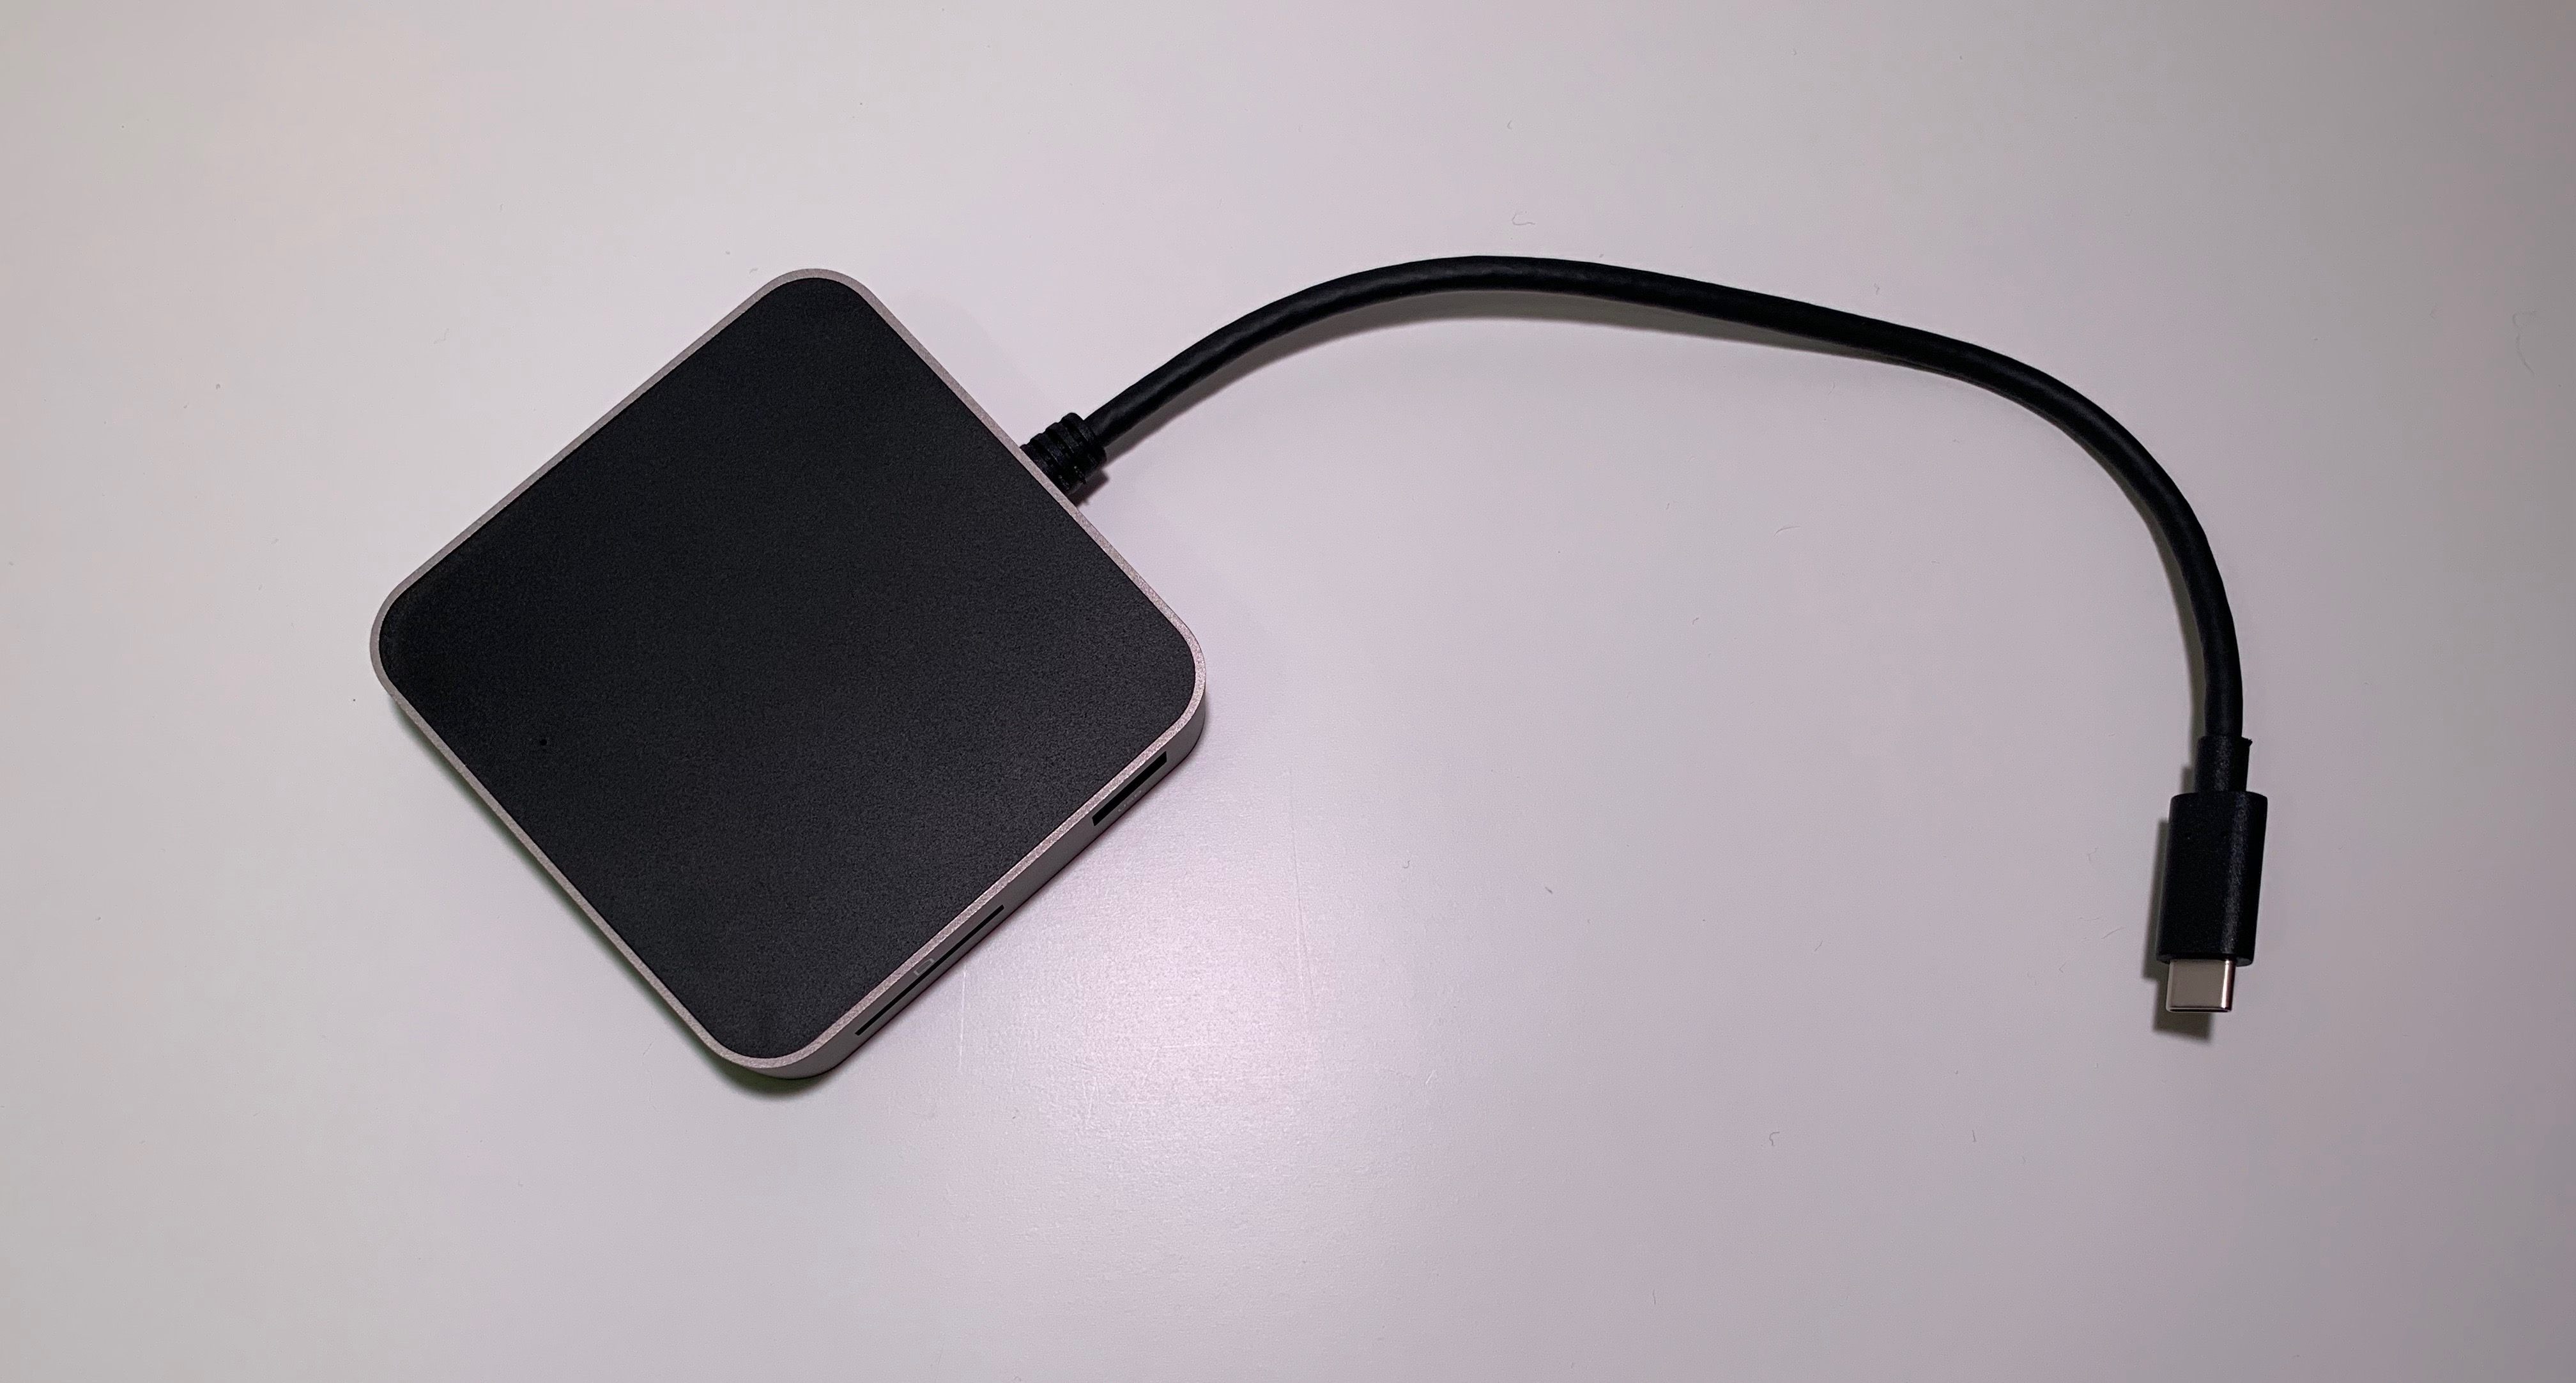
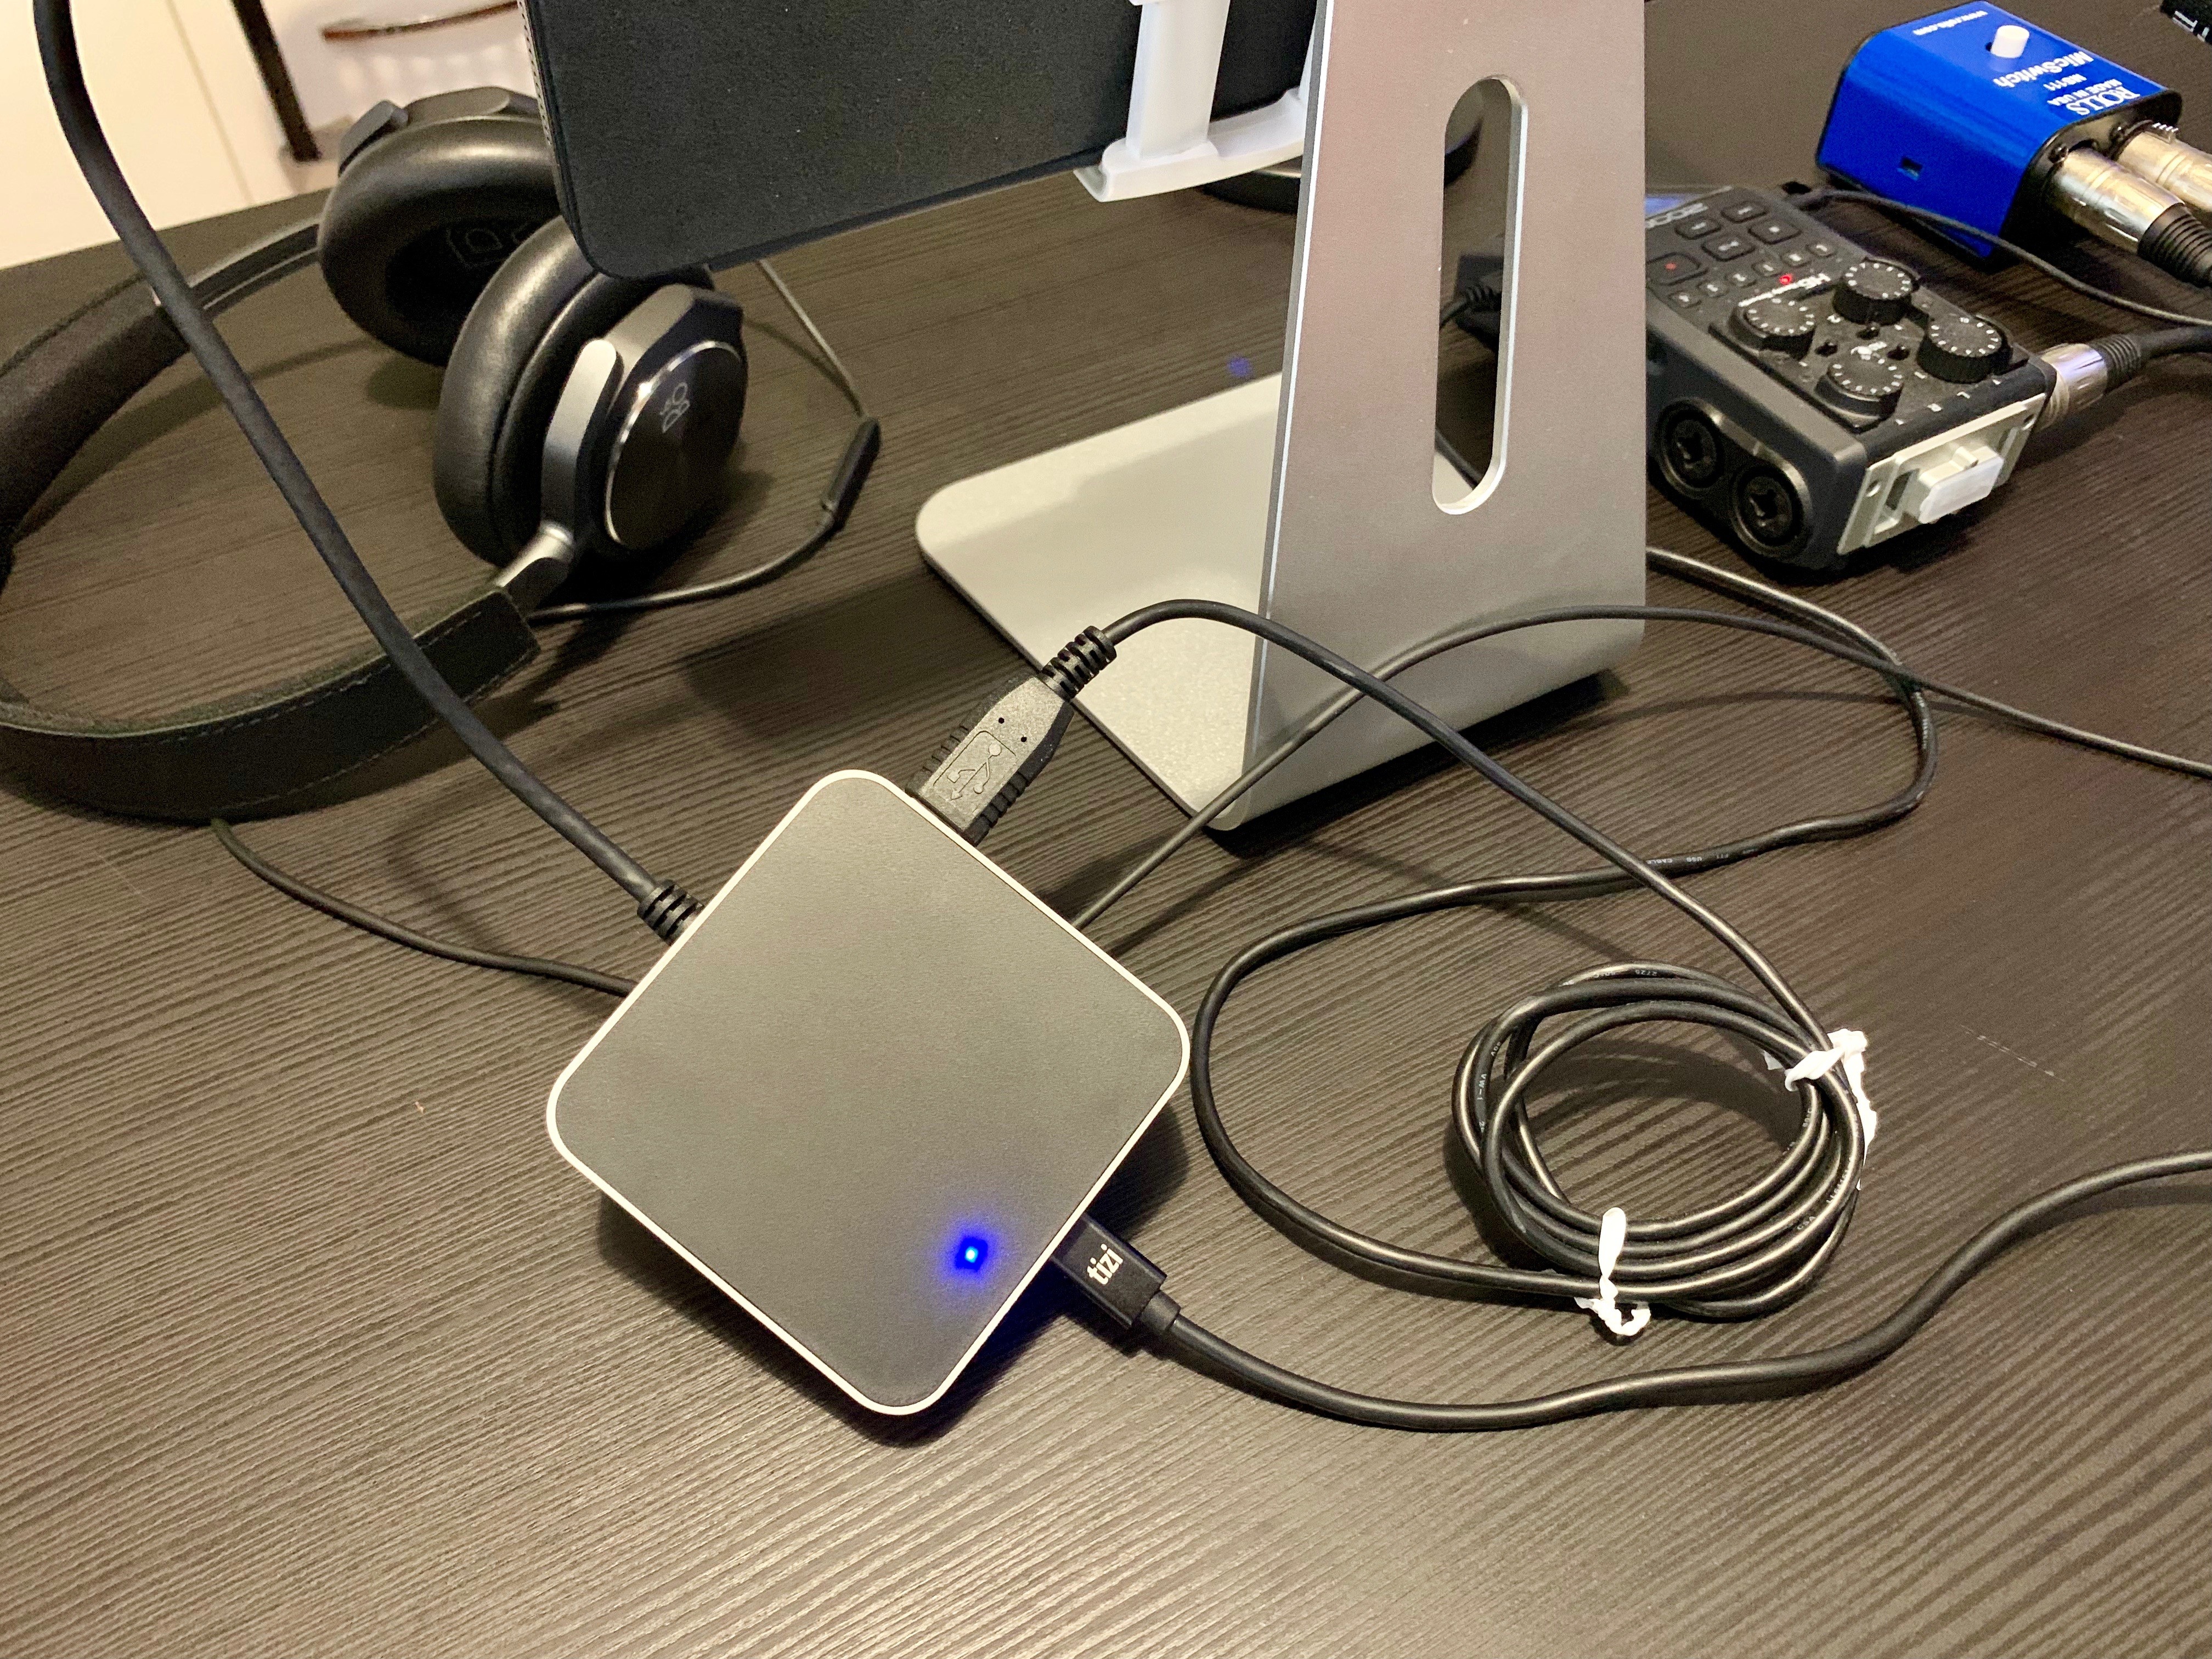
Coincidentally, just as I started researching USB-C hubs for the new iPad Pro last month, the folks at OWC were kind enough to send me a review unit of their USB-C Travel Dock, a small puck that, via a short USB-C cable, can be attached to a modern Mac or 2018 iPad Pro and extend its I/O capabilities.
The Travel Dock is a lightweight square-shaped accessory weighing 91 grams and measuring 3.2-by-3.2 inches. While it’s limited to USB 3.1 Gen. 1 speeds, the dock supports USB-C power delivery up to 60W and brings the convenience of five extra ports in a compact form factor. The Travel Dock is equipped with one USB-C port, two USB-A ports (all USB ports are compliant with USB 3.1 Gen. 1), one SD card reader (compatibile with UHS-II), and one HDMI 2.0 port that supports 4K resolution up to 4096 x 2160 @ 30Hz.
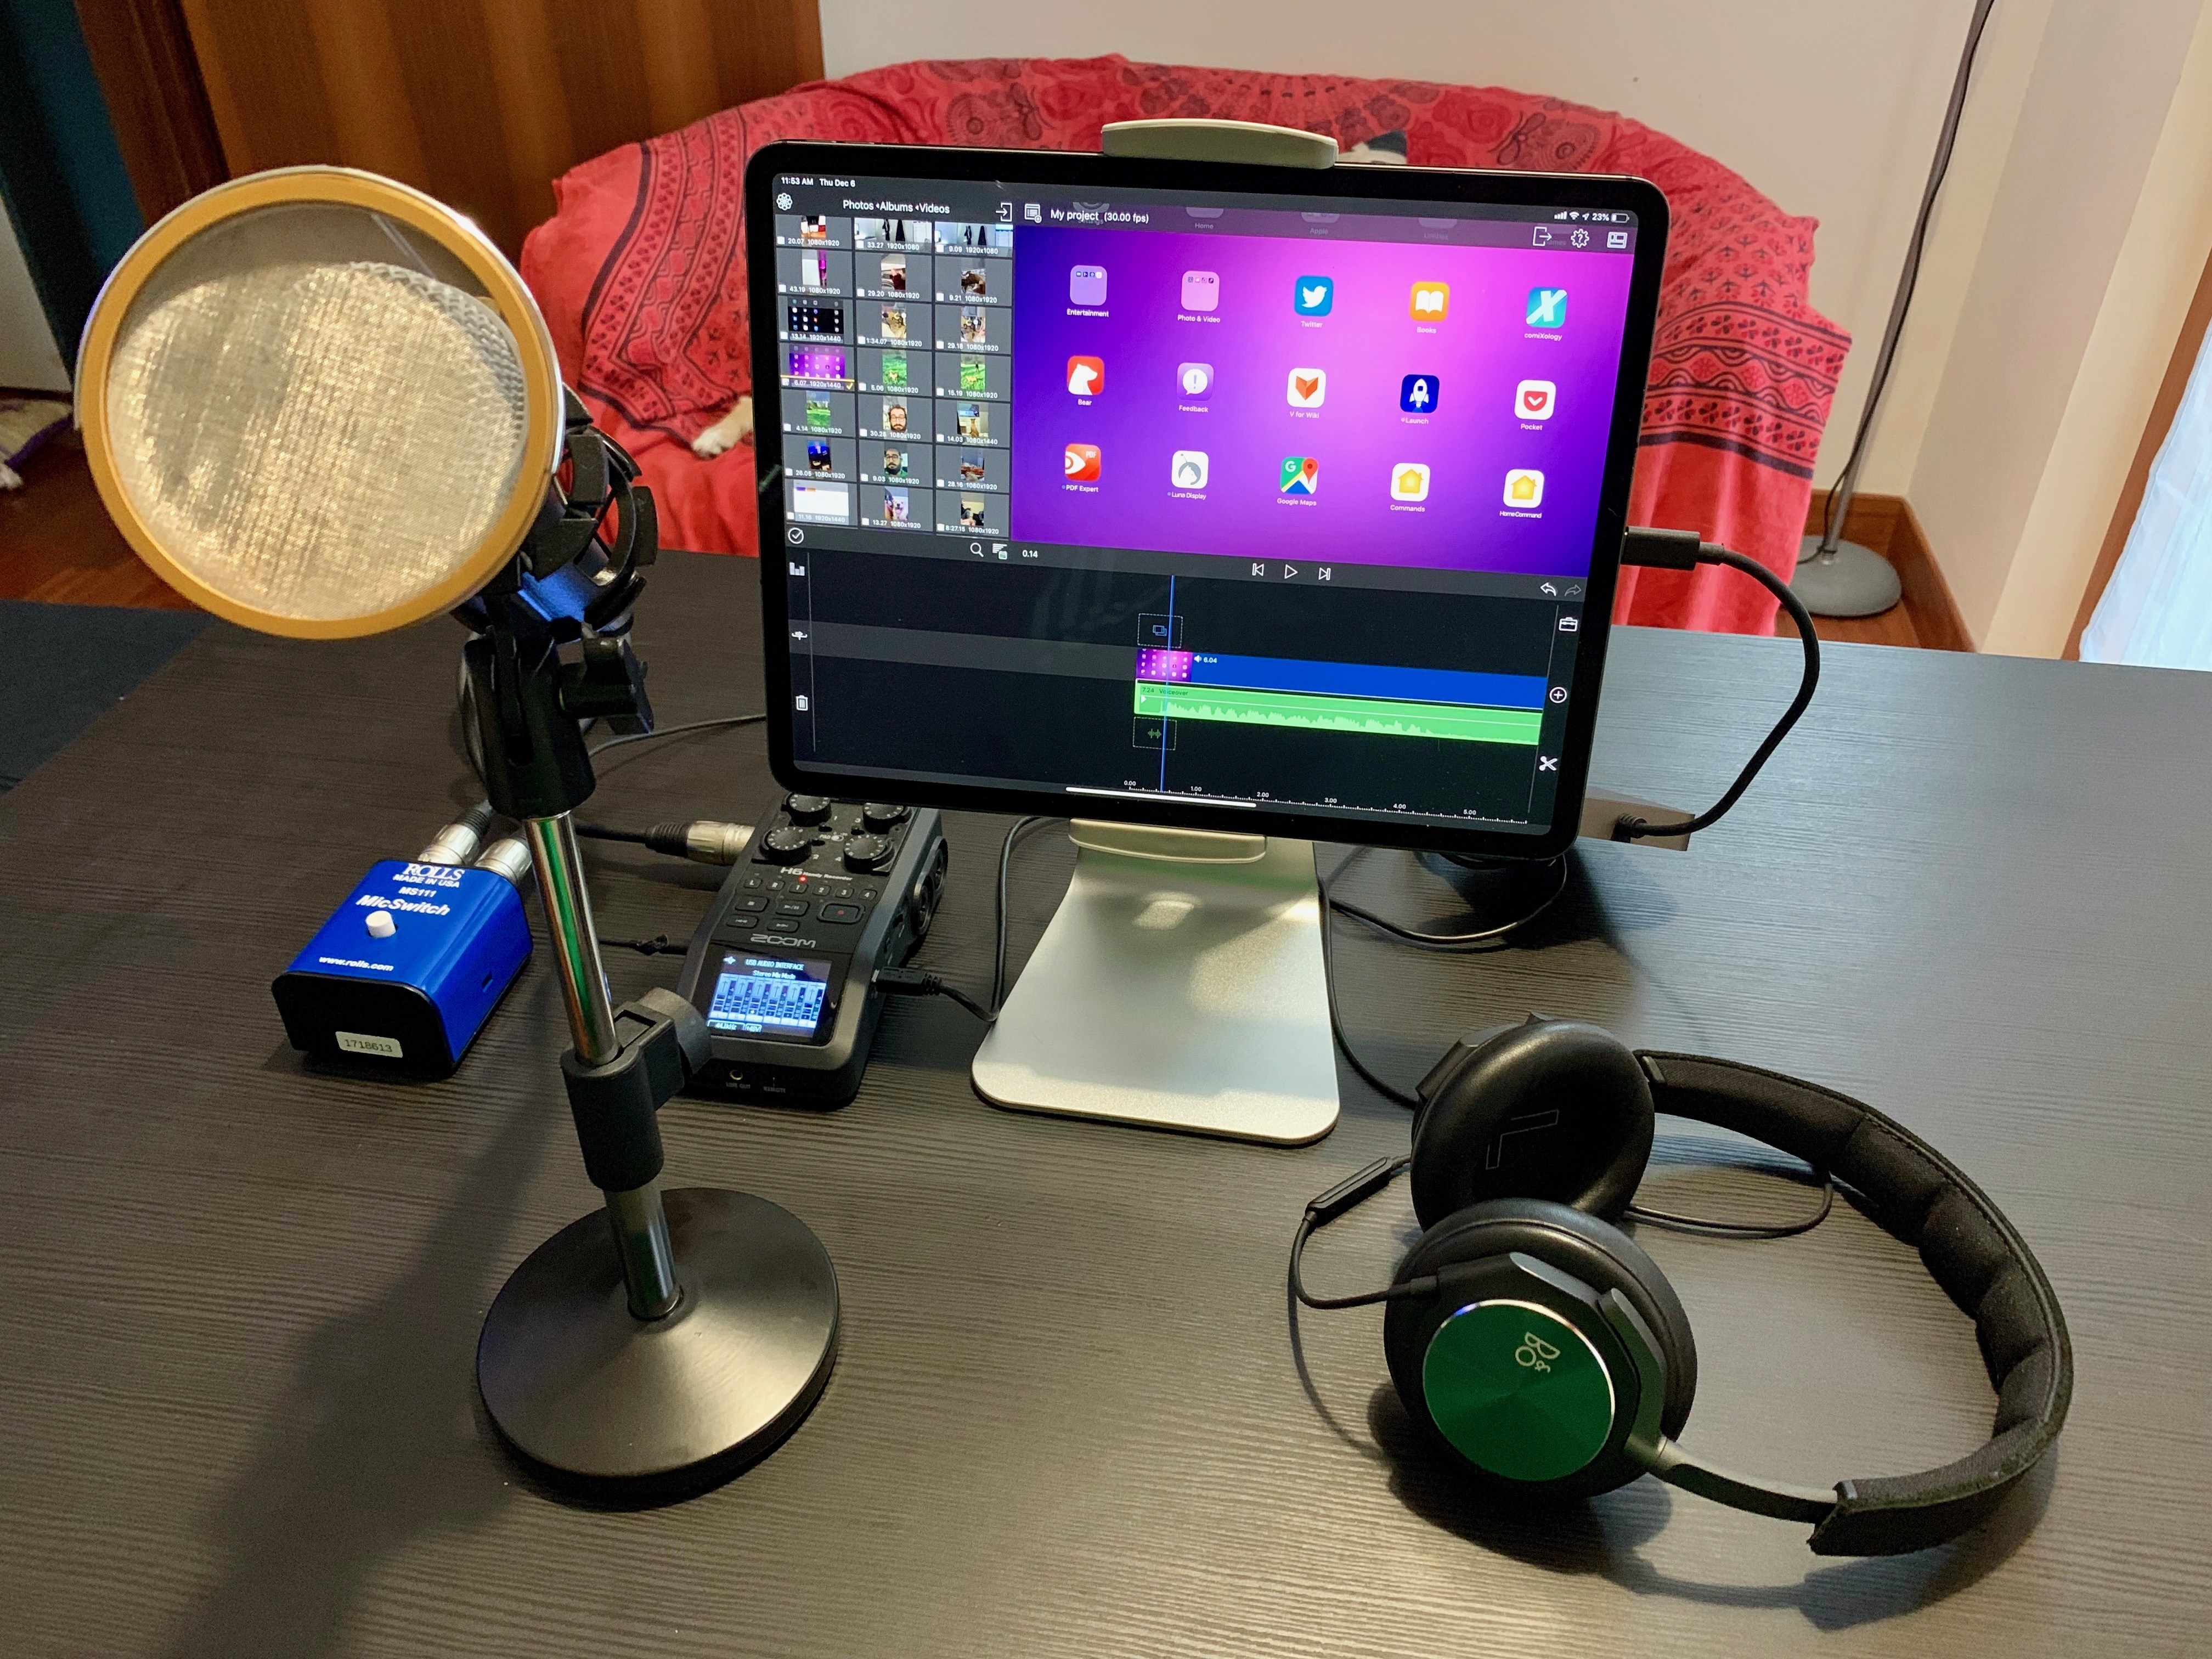
While these specs could be improved, given the current limitations of USB access on iOS, I believe the Travel Dock strikes a great balance of portability, fast-enough USB speeds, price ($29 for the holidays), and versatility. While I would have liked to see a slightly longer USB-C cable, support for 4K @ 60Hz over HDMI, and USB 3.1 Gen. 2 speeds, the portable design of the Travel Dock allows me to use the accessory with my Mac mini7 at my desk but, more importantly, with my iPad Pro whenever I need to plug in more than one USB device, such as a keyboard and a microphone.
There are times when I’m writing at the kitchen table and want to charge my iPad Pro while also typing with the Matias keyboard. With the Travel Dock, I can connect the Matias keyboard via USB-A to the hub and keep the iPad Pro charging by plugging the cable of my 60W adapter into the dock, then connect the dock to the iPad via USB-C. This was possible with Lightning adapters before, but I wouldn’t have had the freedom to use any of my existing USB-C chargers and cables (the same ones my girlfriend uses for her MacBook Pro), nor would I have had the option to use the same dock with a Mac as well.
While USB-C is a confusing, fragmented spec – and Apple should probably have done a better job at explaining the differences between charging, data transfers, and Thunderbolt 3 – once you take the time to understand what you can and cannot do with it, you’re rewarded with the freedom to use the same accessories across multiple platforms. The real divergence between the Mac and iPad’s adoption of USB-C ultimately lies in how software takes advantage of it, which is why I hope Apple is seriously considering growing the iPad Pro’s USB capabilities in future iOS updates. I’d love to be able to plug my external USB-C SSD drive into an iPad someday, or to use my H6 audio interface to record separate audio channels like I can on my Mac mini. The hardware is all there, but the software isn’t ready yet.
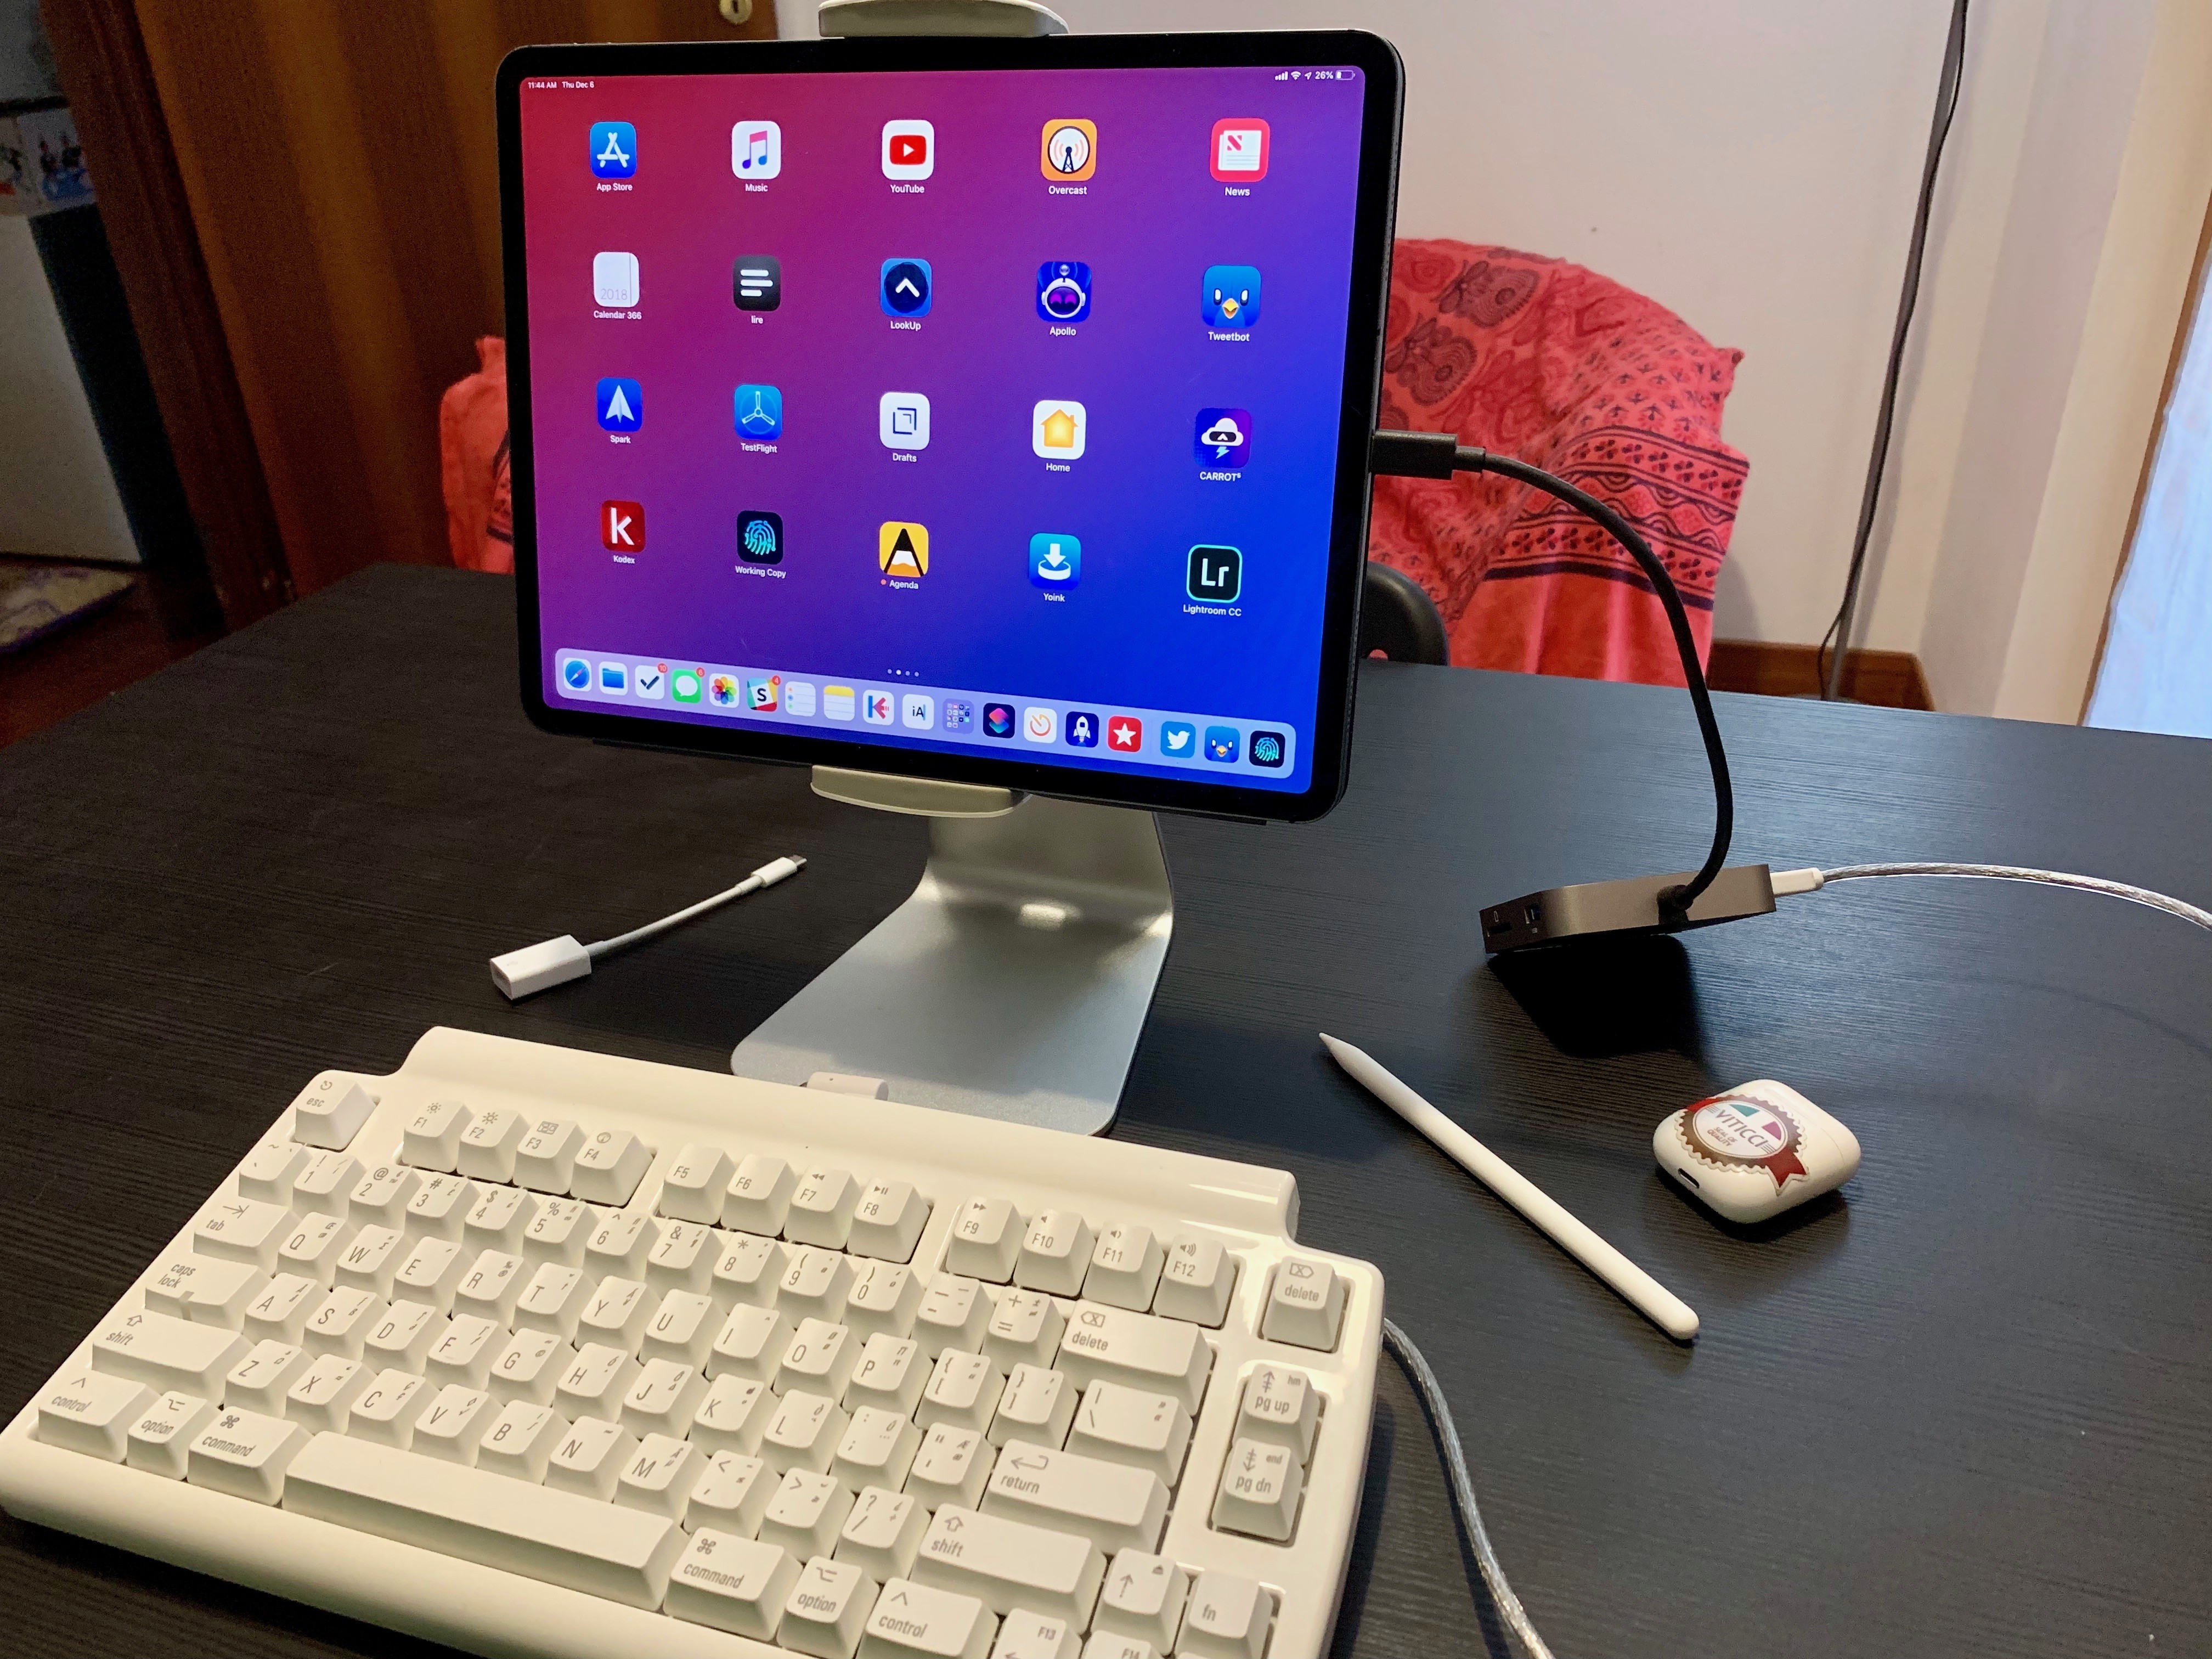
I’m going to keep using the OWC Travel Dock to extend the iPad’s inputs beyond its single USB-C port. It’s not perfect: I’d love to have a portable dock that supports USB 3.1 Gen. 2 and a longer built-in cable so that the dock wouldn’t hang off the iPad when I’m using it at a desk with a keyboard and the Viozon stand, as pictured above. For now, this is the best option I’ve found that works well for my sometimes quasi-desktop, sometimes portable use of the iPad Pro.
Using the iPad Pro with an External Display
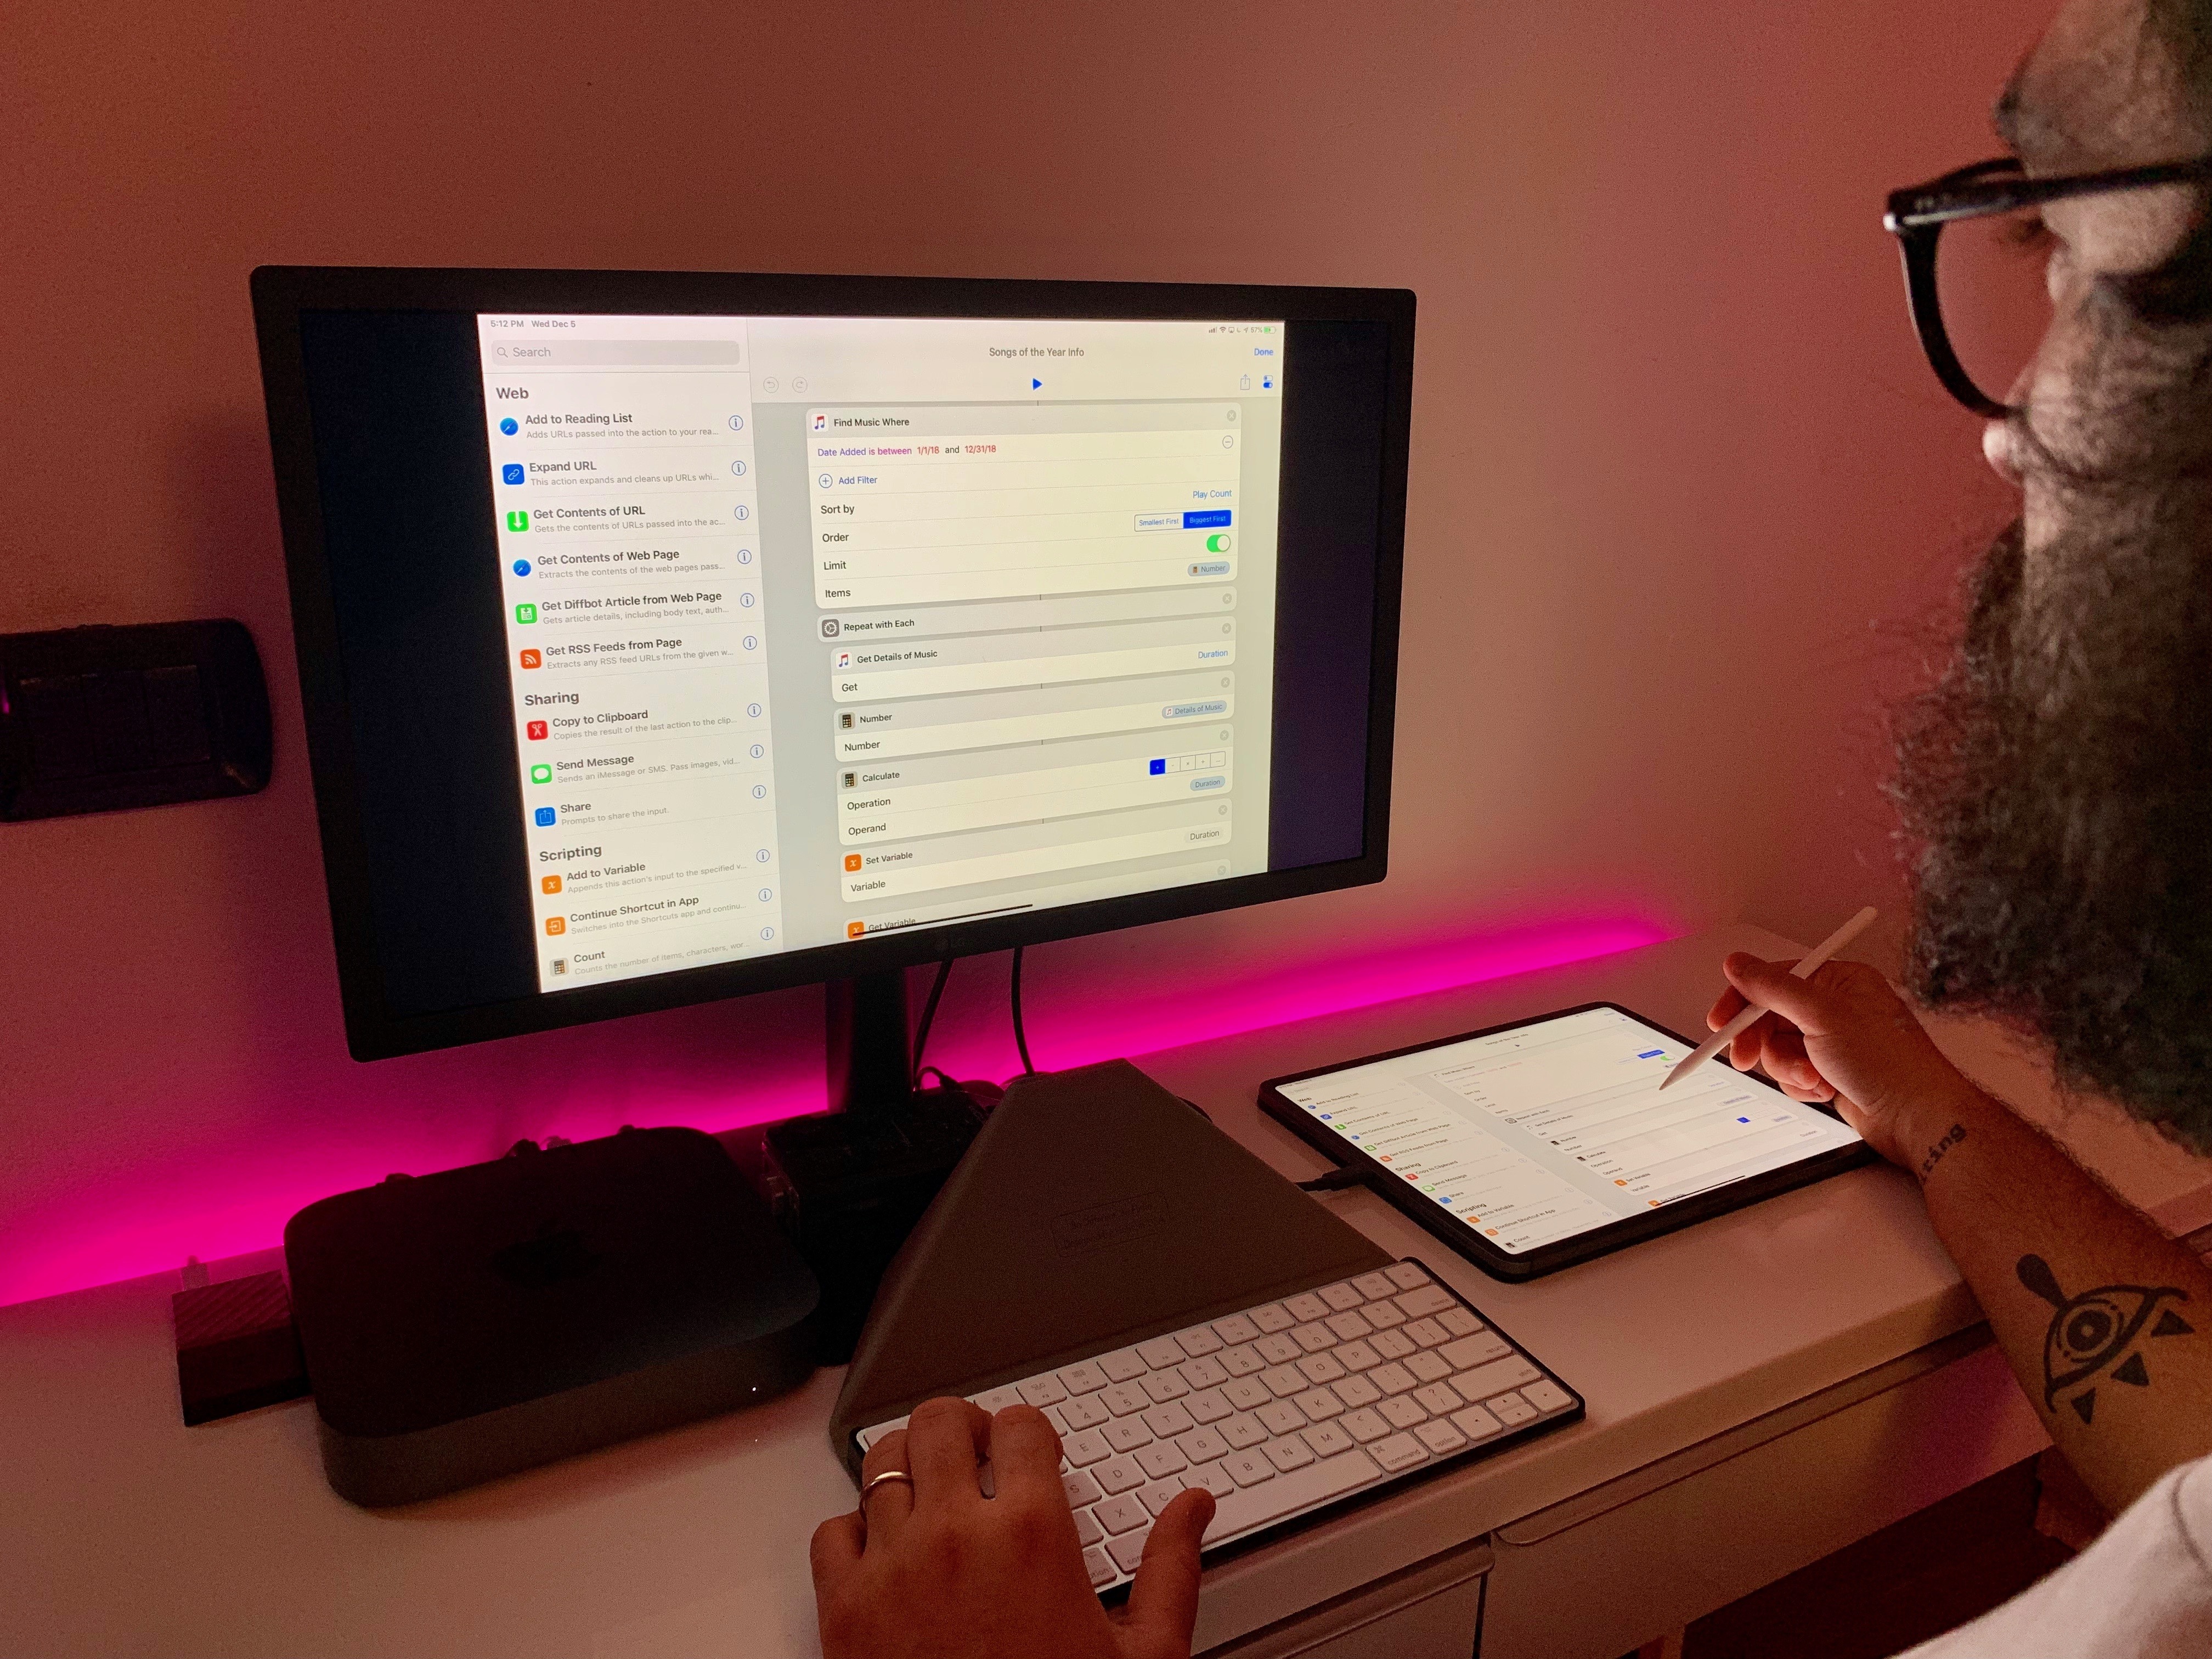
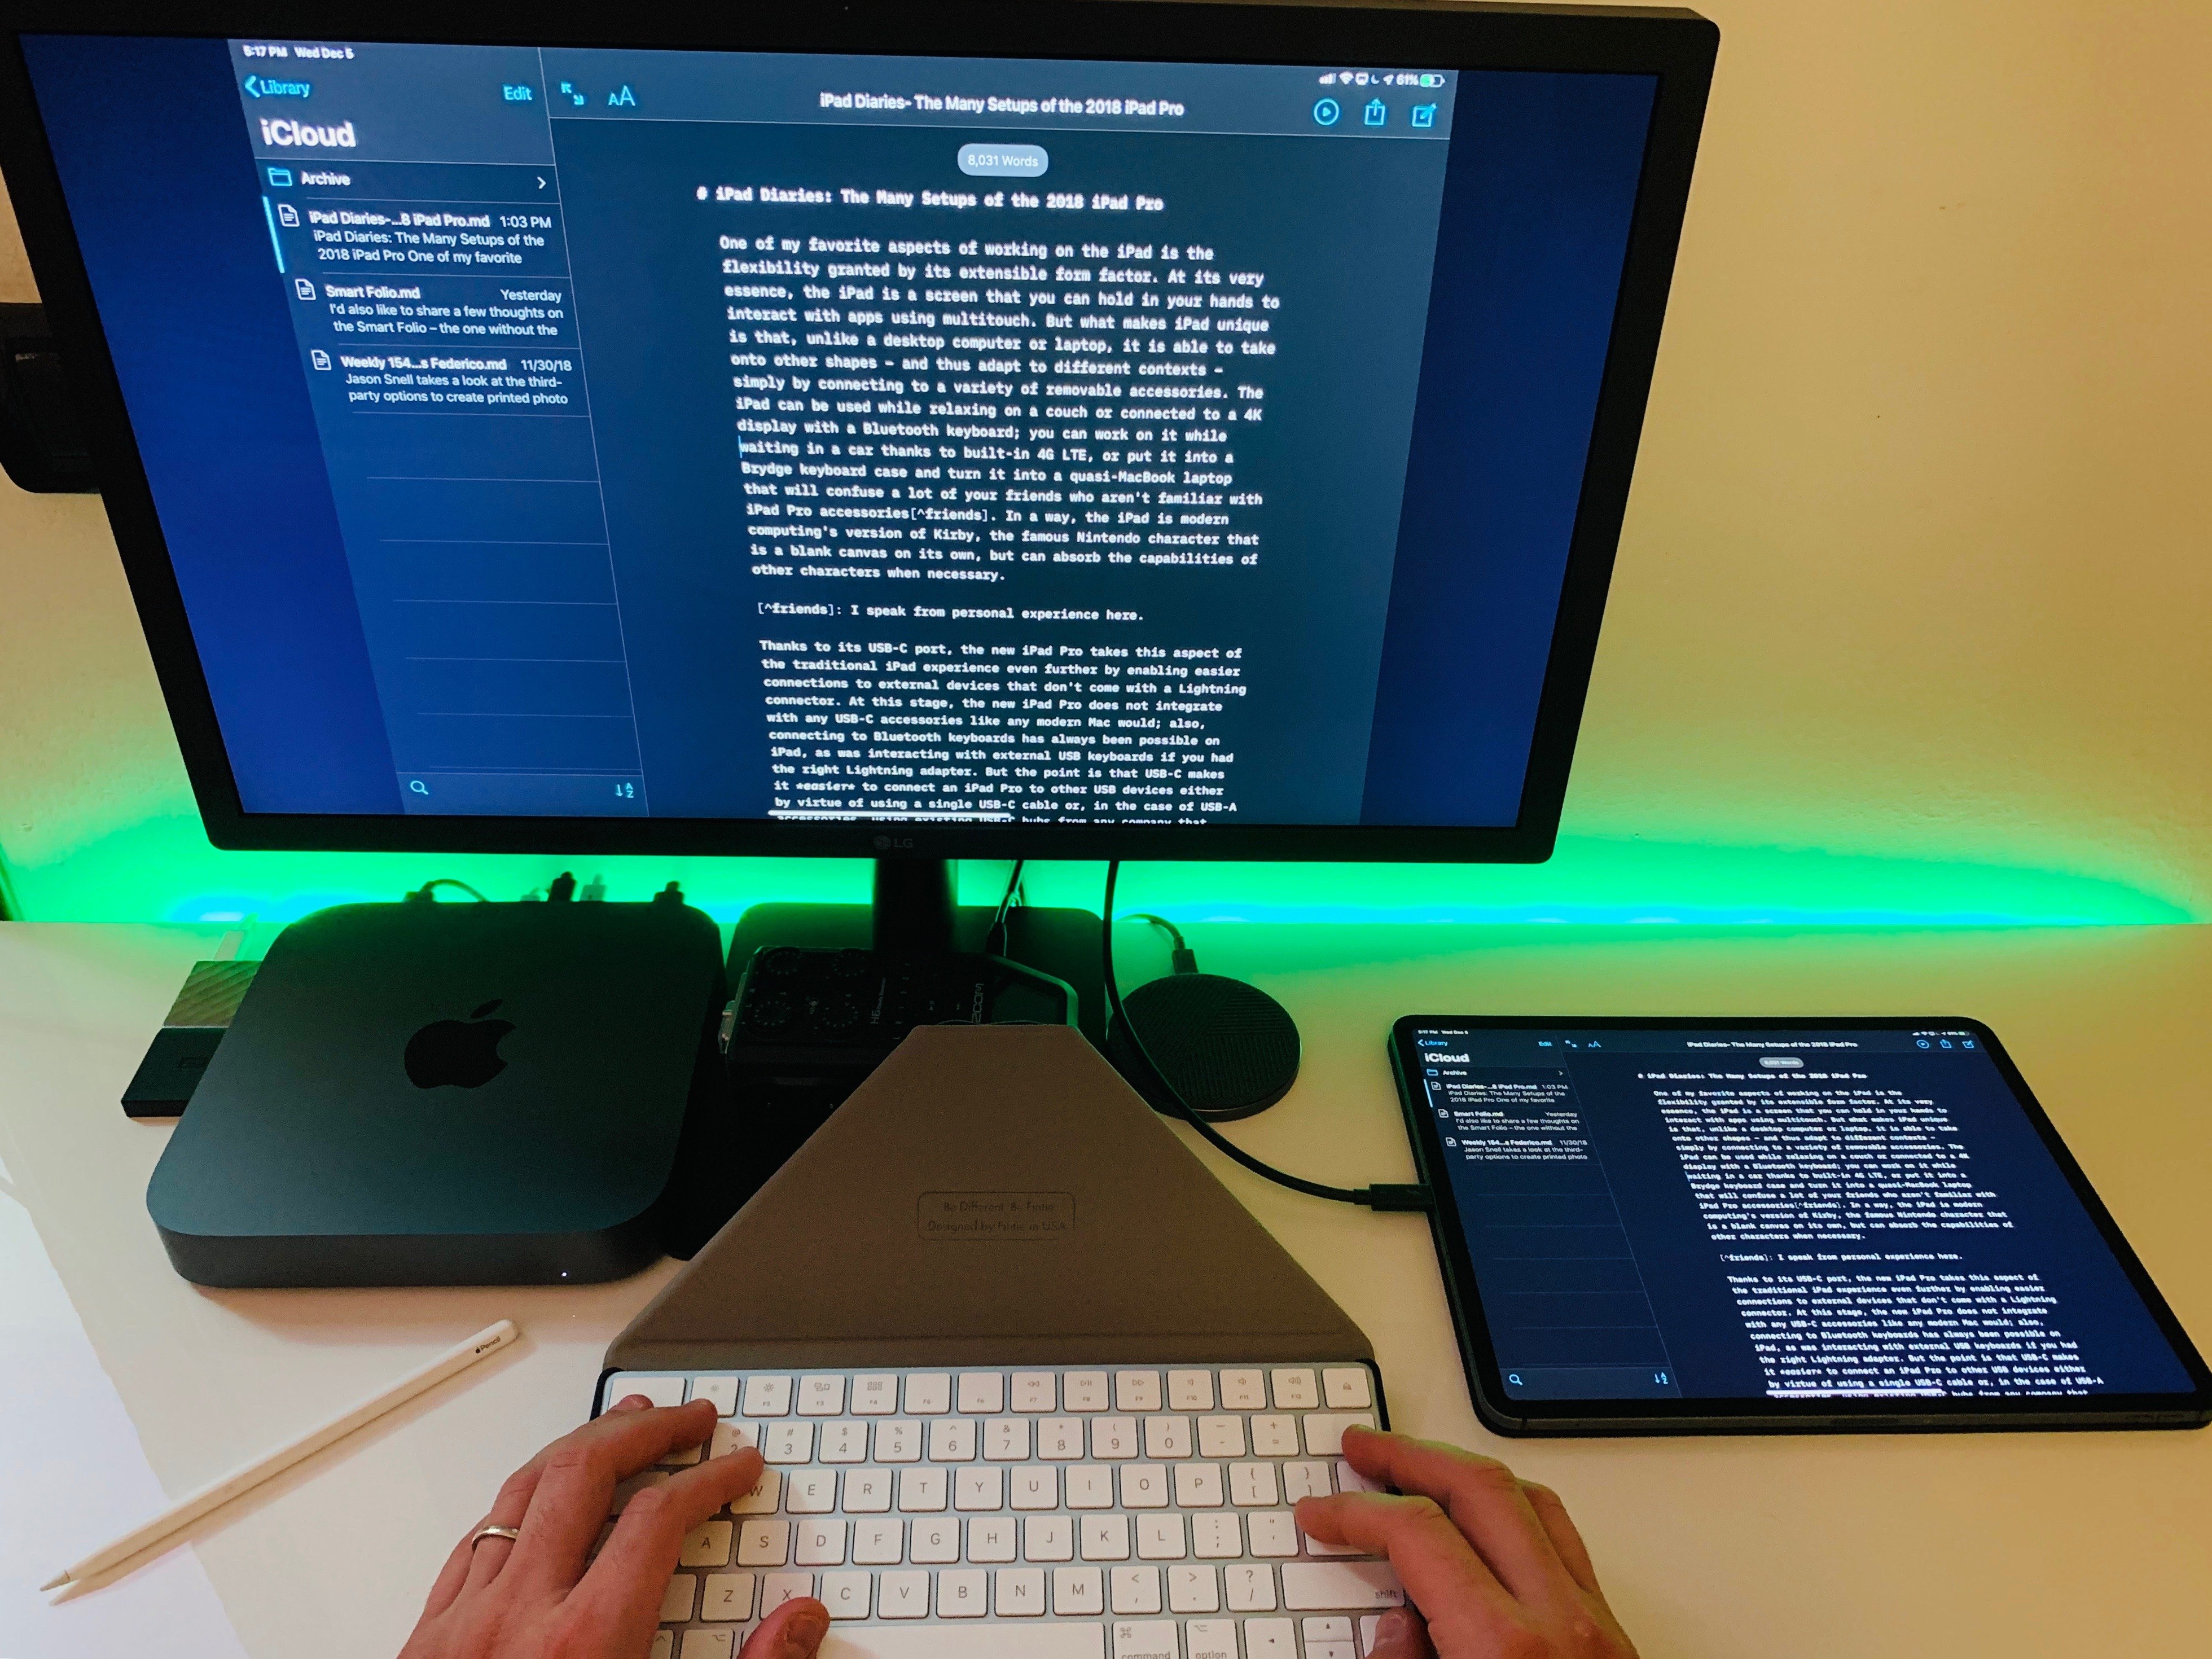
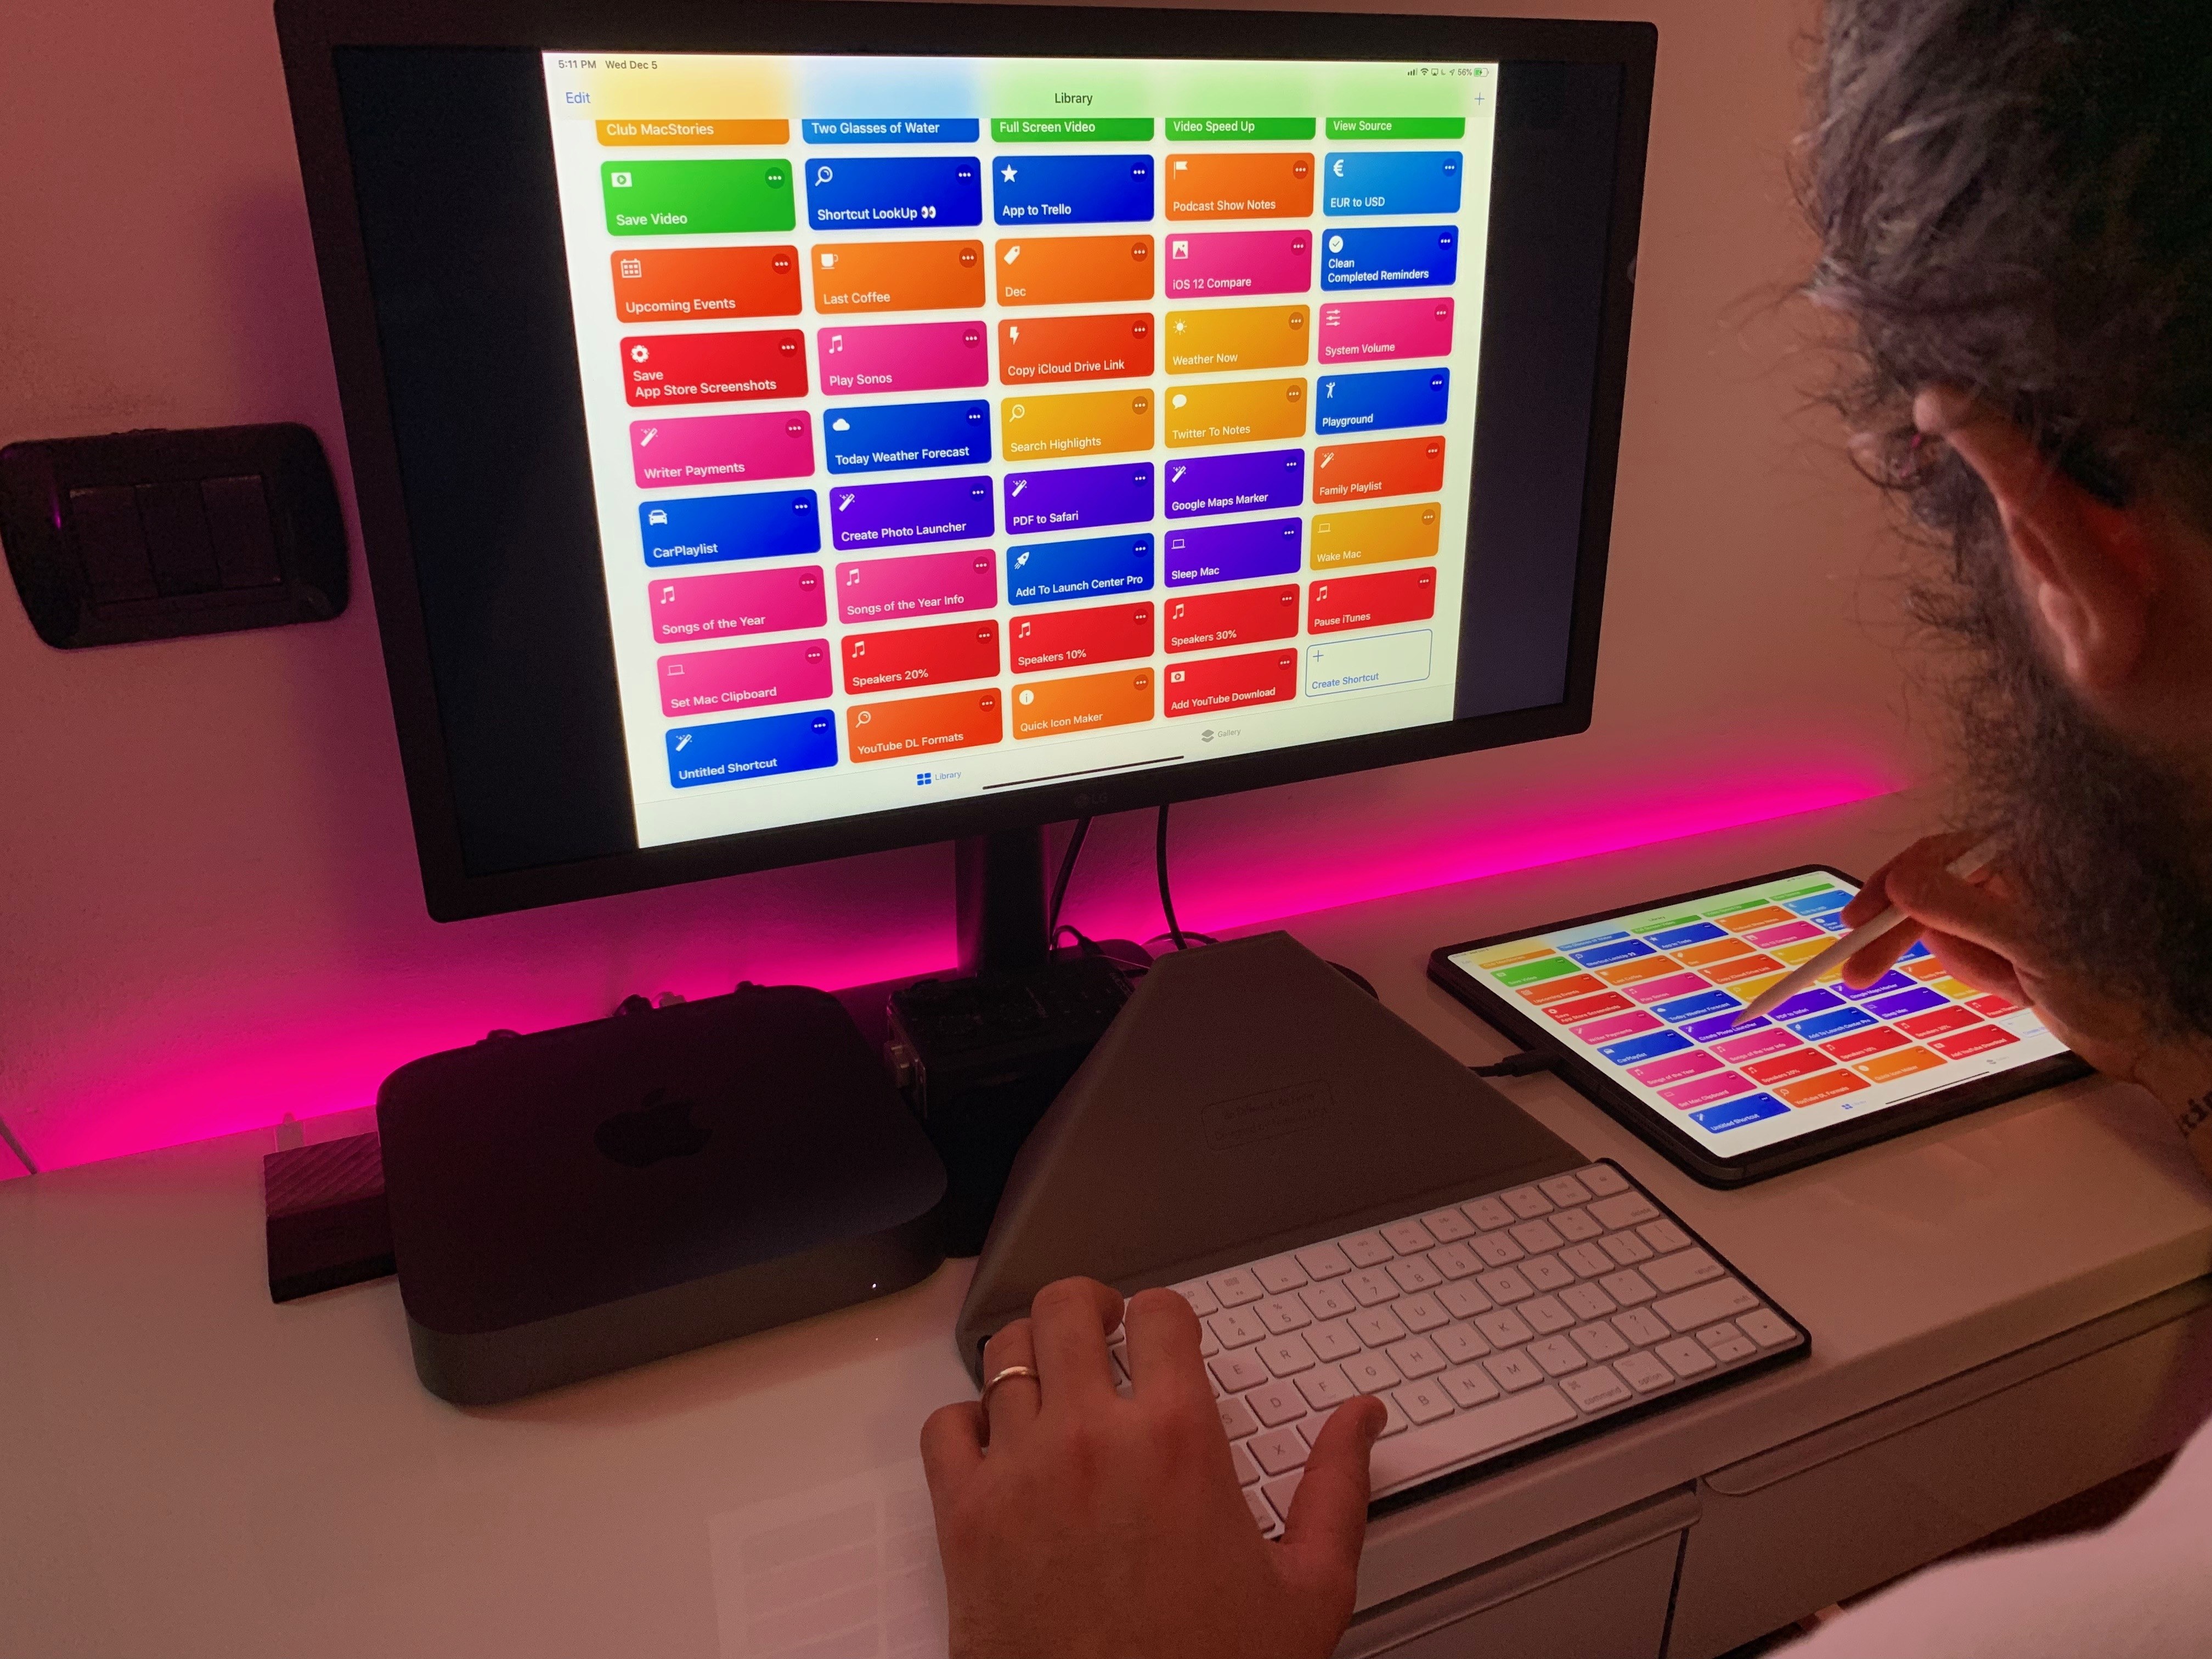
Lastly, I’d like to cover how I’ve been using my iPad Pro alongside the LG UltraFine 4K display that I bought for my new Mac mini last month.
As I mentioned on AppStories and Connected over the past few weeks, I chose to buy the 4K version of the UltraFine instead of the newer 5K version because the older 4K unit is a USB-C monitor (with DisplayPort over USB-C), while the 5K is a Thunderbolt one. The connector looks the same – it’s a USB-C plug – but USB-C and Thunderbolt are different specs and the iPad Pro does not support Thunderbolt. Again, I think Apple should have communicated this better: saying that the iPad Pro supports “up to 5K external displays” implies that the LG UltraFine 5K, which Apple sells in its own store, is supported, but it isn’t, and 5K displays based on DisplayPort over USB-C are hard to find.
I went with the UltraFine 4K for two reasons:
First, I strongly believe that the future of iPad should be a self-contained computer that can transform from a tablet into a full-fledged workstation depending on what you need to work on. A piece of glass that can be a tablet with cellular connectivity, a laptop with a built-in keyboard, or a “desktop” computer that puts iOS on the big screen. A compatible USB-C display is the first step to start building that future.
Second, while I could have bought another display and used it as an external monitor for the iPad via HDMI adapters, I didn’t want to run into latency-related issues that have always affected how iOS needs to encode video-out signals to H.264 over Lightning. Due to its limited bandwidth, Lightning cannot send raw HDMI data through the HDMI adapter, generating latency and causing various video artifacts that have frequently been observed by many in games or other high-performance apps with video-out support. USB-C, on the other hand, can send a native, lossless signal over a compatible cable, with the added benefit of power delivery to charge an iPad from the display and treating the display itself as a hub for other downstream USB devices. As I mentioned in the first article of this series, one of my goals over the next year is to use the iPad Pro as a workstation for video and photo editing as well as a console for graphically intensive games; thus, finding a compatible USB-C display that tapped into the iPad Pro’s native support for the USB 3.1 Gen. 2 spec was an obvious choice.
Using an iPad Pro with an external display is far from an ideal experience at this point due, again, to limitations of iOS.
Essentially, iOS mirrors the same content you see on the main iOS device to the bigger screen, but app developers can integrate with the barebones external display API (which has existed since 2012) to show different content on the iOS device and the external display. Adding a secondary display to an iPad, whether wirelessly or via cable, doesn’t work like on a Mac, where you get a second desktop and more room for different app windows; on iOS, the system just mirrors what is already on screen, projecting the primary interface to an external monitor. While some app and game developers have done the work to show full-screen content on an external display when an iPad is connected (e.g. VLC and Real Racing 3), most of the time you’ll be looking at an enlarged, pillarboxed version of the iPad’s UI because, by default, iOS doesn’t optimize the interface to fill the screen. And, of course, forget about being able to use an external pointing device to control the iOS UI on the bigger screen: the iPad can mirror its UI to a 4K display, but you can’t connect a mouse or trackpad and control the mirrored UI “remotely” – you’ll always have to touch the screen of the iPad if you need to select UI elements.
Apple has a lot of work to do if they want to turn this glorified presentation mode into proper external display support for the iPad Pro. Despite all these shortcomings and limitations, however, I’ve found myself increasingly sitting down at my desk and working (or playing games) with my iPad Pro connected to the UltraFine 4K. Let me explain why, and how.
Even if iOS’ external display support is limited and stuck to six years ago, I love seeing iOS apps on a large 21.5” display with crisp resolution and a 60Hz refresh rate (the UltraFine supports 4K @ 60Hz over a single USB-C cable). I particularly like writing and editing pieces in iA Writer on the big screen or catching up on RSS and Twitter via lire and Tweetbot. For single tasks that require focus without using Split View, iOS on an external display allows me to work as usual, but without the neck or eye strain involved with looking down at a 12.9” display for several hours. When I don’t need to multitask but just want to write for a few hours in iA Writer, having the app on a bigger display is not functionally different than having it on the iPad, but everything is larger and easier to see – and I can still have access to all my other iOS apps, notifications, and shortcuts because I’m not using a Mac.
With this kind of setup, navigating iOS with an external keyboard is paramount – I want to limit the number of times I need to reach out and touch the screen as much as possible. In this case, even though it still needs to grow, iOS has better support for external keyboards than it does for external displays. I can ⌘-Tab to other apps, ⌘-Space to open Search and select apps with the arrow keys, change views in Tweetbot and scroll tweets, and format text in iA Writer using keyboard shortcuts. And that’s not to mention all the other document shortcuts for text selection and manipulation that are supported by iOS but have never been officially documented by Apple. For instance, did you know that text views in most third-party iOS apps support the following keyboard commands?
- Command-Return: Toggle text editor focus.
- Command-B: Boldface the selected text, or turn boldfacing on or off.
- Command-I: Italicize the selected text, or turn italics on or off.
- Command-U: Underline the selected text, or turn underlining on or off.
Option-Delete: Delete the word to the left of the insertion point. - Control-H: Delete the character to the left of the insertion point. Or use Delete.
- Control-K: Delete the text between the insertion point and the end of the line or paragraph.
- Command–Up Arrow: Move the insertion point to the beginning of the document.
- Command–Down Arrow: Move the insertion point to the end of the document.
- Command–Left Arrow: Move the insertion point to the beginning of the current line.
- Command–Right Arrow: Move the insertion point to the end of the current line.
- Option–Left Arrow: Move the insertion point to the beginning of the previous word.
- Option–Right Arrow: Move the insertion point to the end of the next word.
- Shift–Command–Up Arrow: Select the text between the insertion point and the beginning of the document.
- Shift–Command–Down Arrow: Select the text between the insertion point and the end of the document.
- Shift–Command–Left Arrow: Select the text between the insertion point and the beginning of the current line.
- Shift–Command–Right Arrow: Select the text between the insertion point and the end of the current line.
- Shift–Up Arrow: Extend text selection to the nearest character at the same horizontal location on the line above.
- Shift–Down Arrow: Extend text selection to the nearest character at the same horizontal location on the line below.
- Shift–Left Arrow: Extend text selection one character to the left.
- Shift–Right Arrow: Extend text selection one character to the right.
- Option–Shift–Up Arrow: Extend text selection to the beginning of the current paragraph, then to the beginning of the following paragraph if pressed again.
- Option–Shift–Down Arrow: Extend text selection to the end of the current paragraph, then to the end of the following paragraph if pressed again.
- Option–Shift–Left Arrow: Extend text selection to the beginning of the current word, then to the beginning of the following word if pressed again.
- Option–Shift–Right Arrow: Extend text selection to the end of the current word, then to the end of the following word if pressed again.
- Control-A: Move to the beginning of the line or paragraph.
- Control-E: Move to the end of a line or paragraph.
- Control-F: Move one character forward.
- Control-B: Move one character backward.
After years of working on the iPad, I’ve grown accustomed to using these shortcuts with the Smart Keyboard and Brydge keyboard, but they are especially useful when you’re working at a desk and would like to always keep your hands on the keyboard. I believe that Apple should take a look at what Cultured Code has done with keyboard control in Things 3.6 and implement similar ideas to control the entire iOS interface (including multitasking) from a keyboard, but it’s also likely that the iPad already supports more shortcuts than you imagine.
At my desk, some days I prefer to plug the Matias keyboard into the UltraFine (via a USB-C adapter) and use it with my iPad Pro in hub mode, some days I just type with the Magic Keyboard over Bluetooth while looking at the display with the iPad next to me. Some days I start writing in the kitchen with the Viozon stand and Matias keyboard and, after a few hours when the iPad needs charging, I move to the bedroom and keep writing on the iPad connected to the UltraFine. Other days I just move to the couch and edit articles with the software keyboard. I’m always free to choose the setup I prefer without switching apps, devices, or platforms.
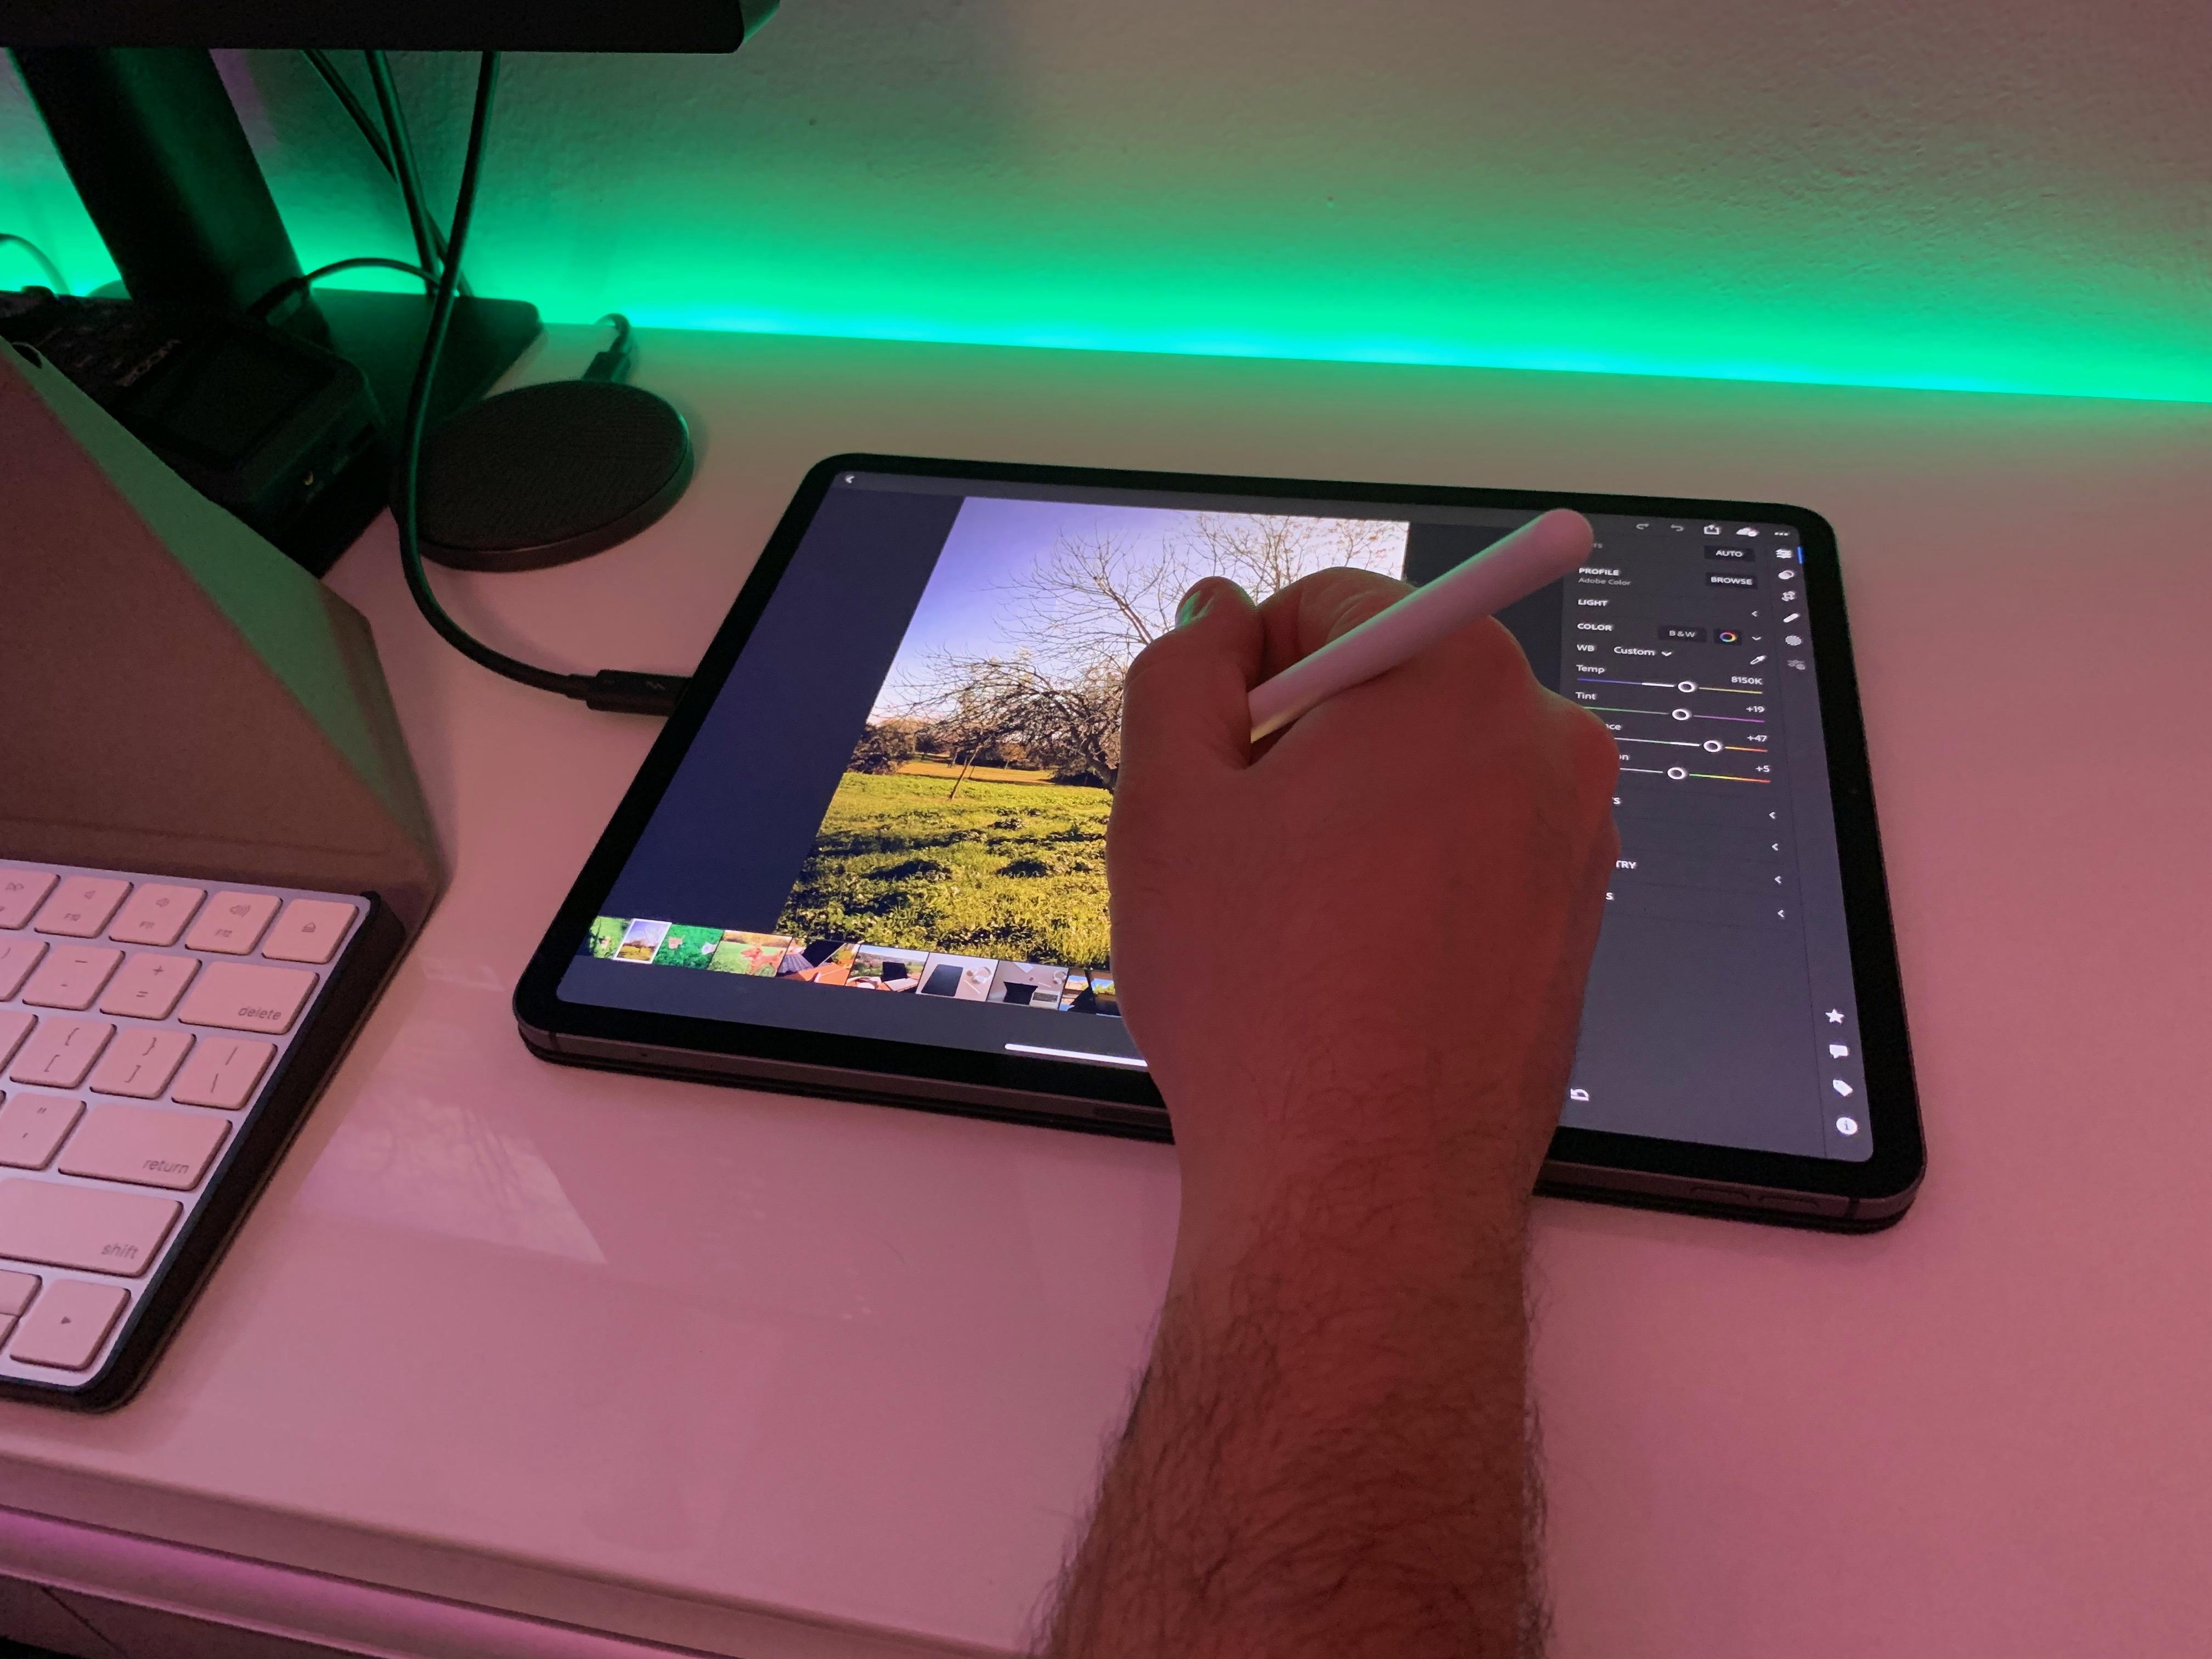
Speaking of the iPad next to me on my desk, something I’ve recently started doing is using the iPad as a “trackpad” for what’s on the big screen thanks to the Apple Pencil. Using a Cable Matters USB-C cable that supports USB 3.1 Gen. 2 and video, I can keep the iPad flat on the desk, next to the display, but also close to where I’d rest my hand when using a trackpad. Then, while looking at the UltraFine, I can scroll lists in apps, tap UI elements, or, say, make edits in Lightroom using the Pencil on the iPad Pro. It’s sort of like using a Wacom tablet, but the iPad is also a computer with its own display, so I can glance down at it when needed. The downside of this approach is that Face ID won’t work unless I hunch over the display.
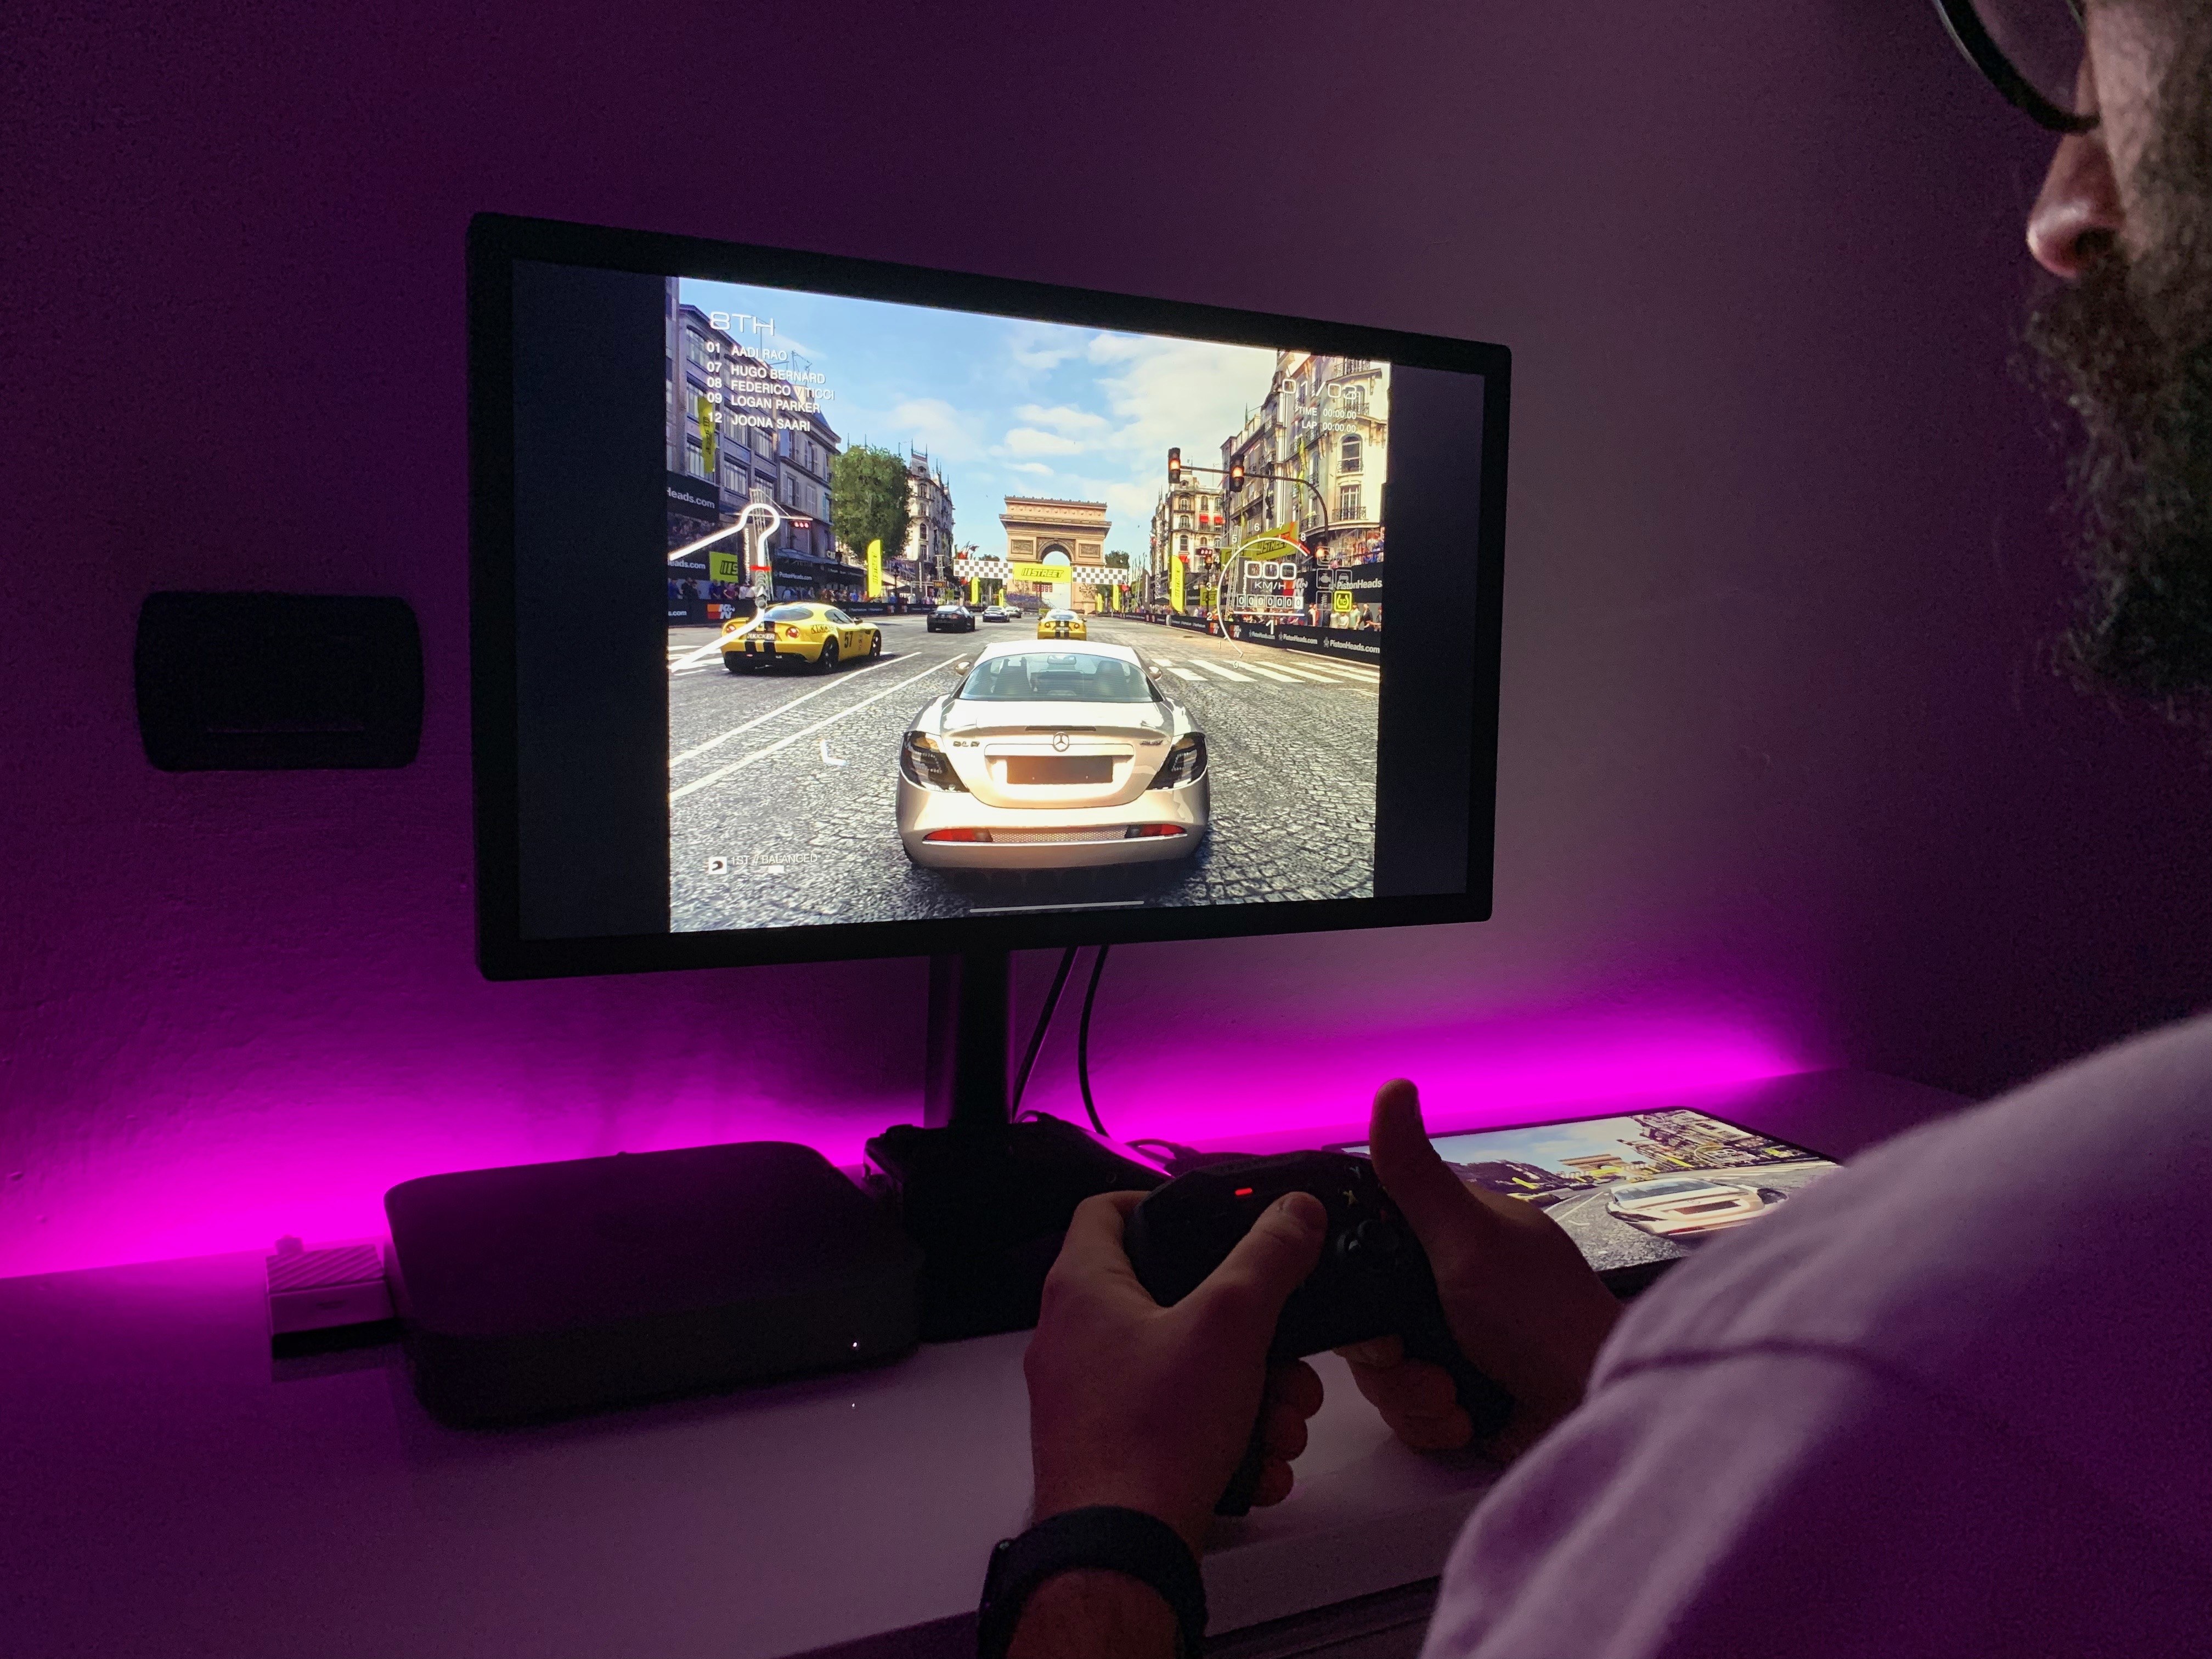
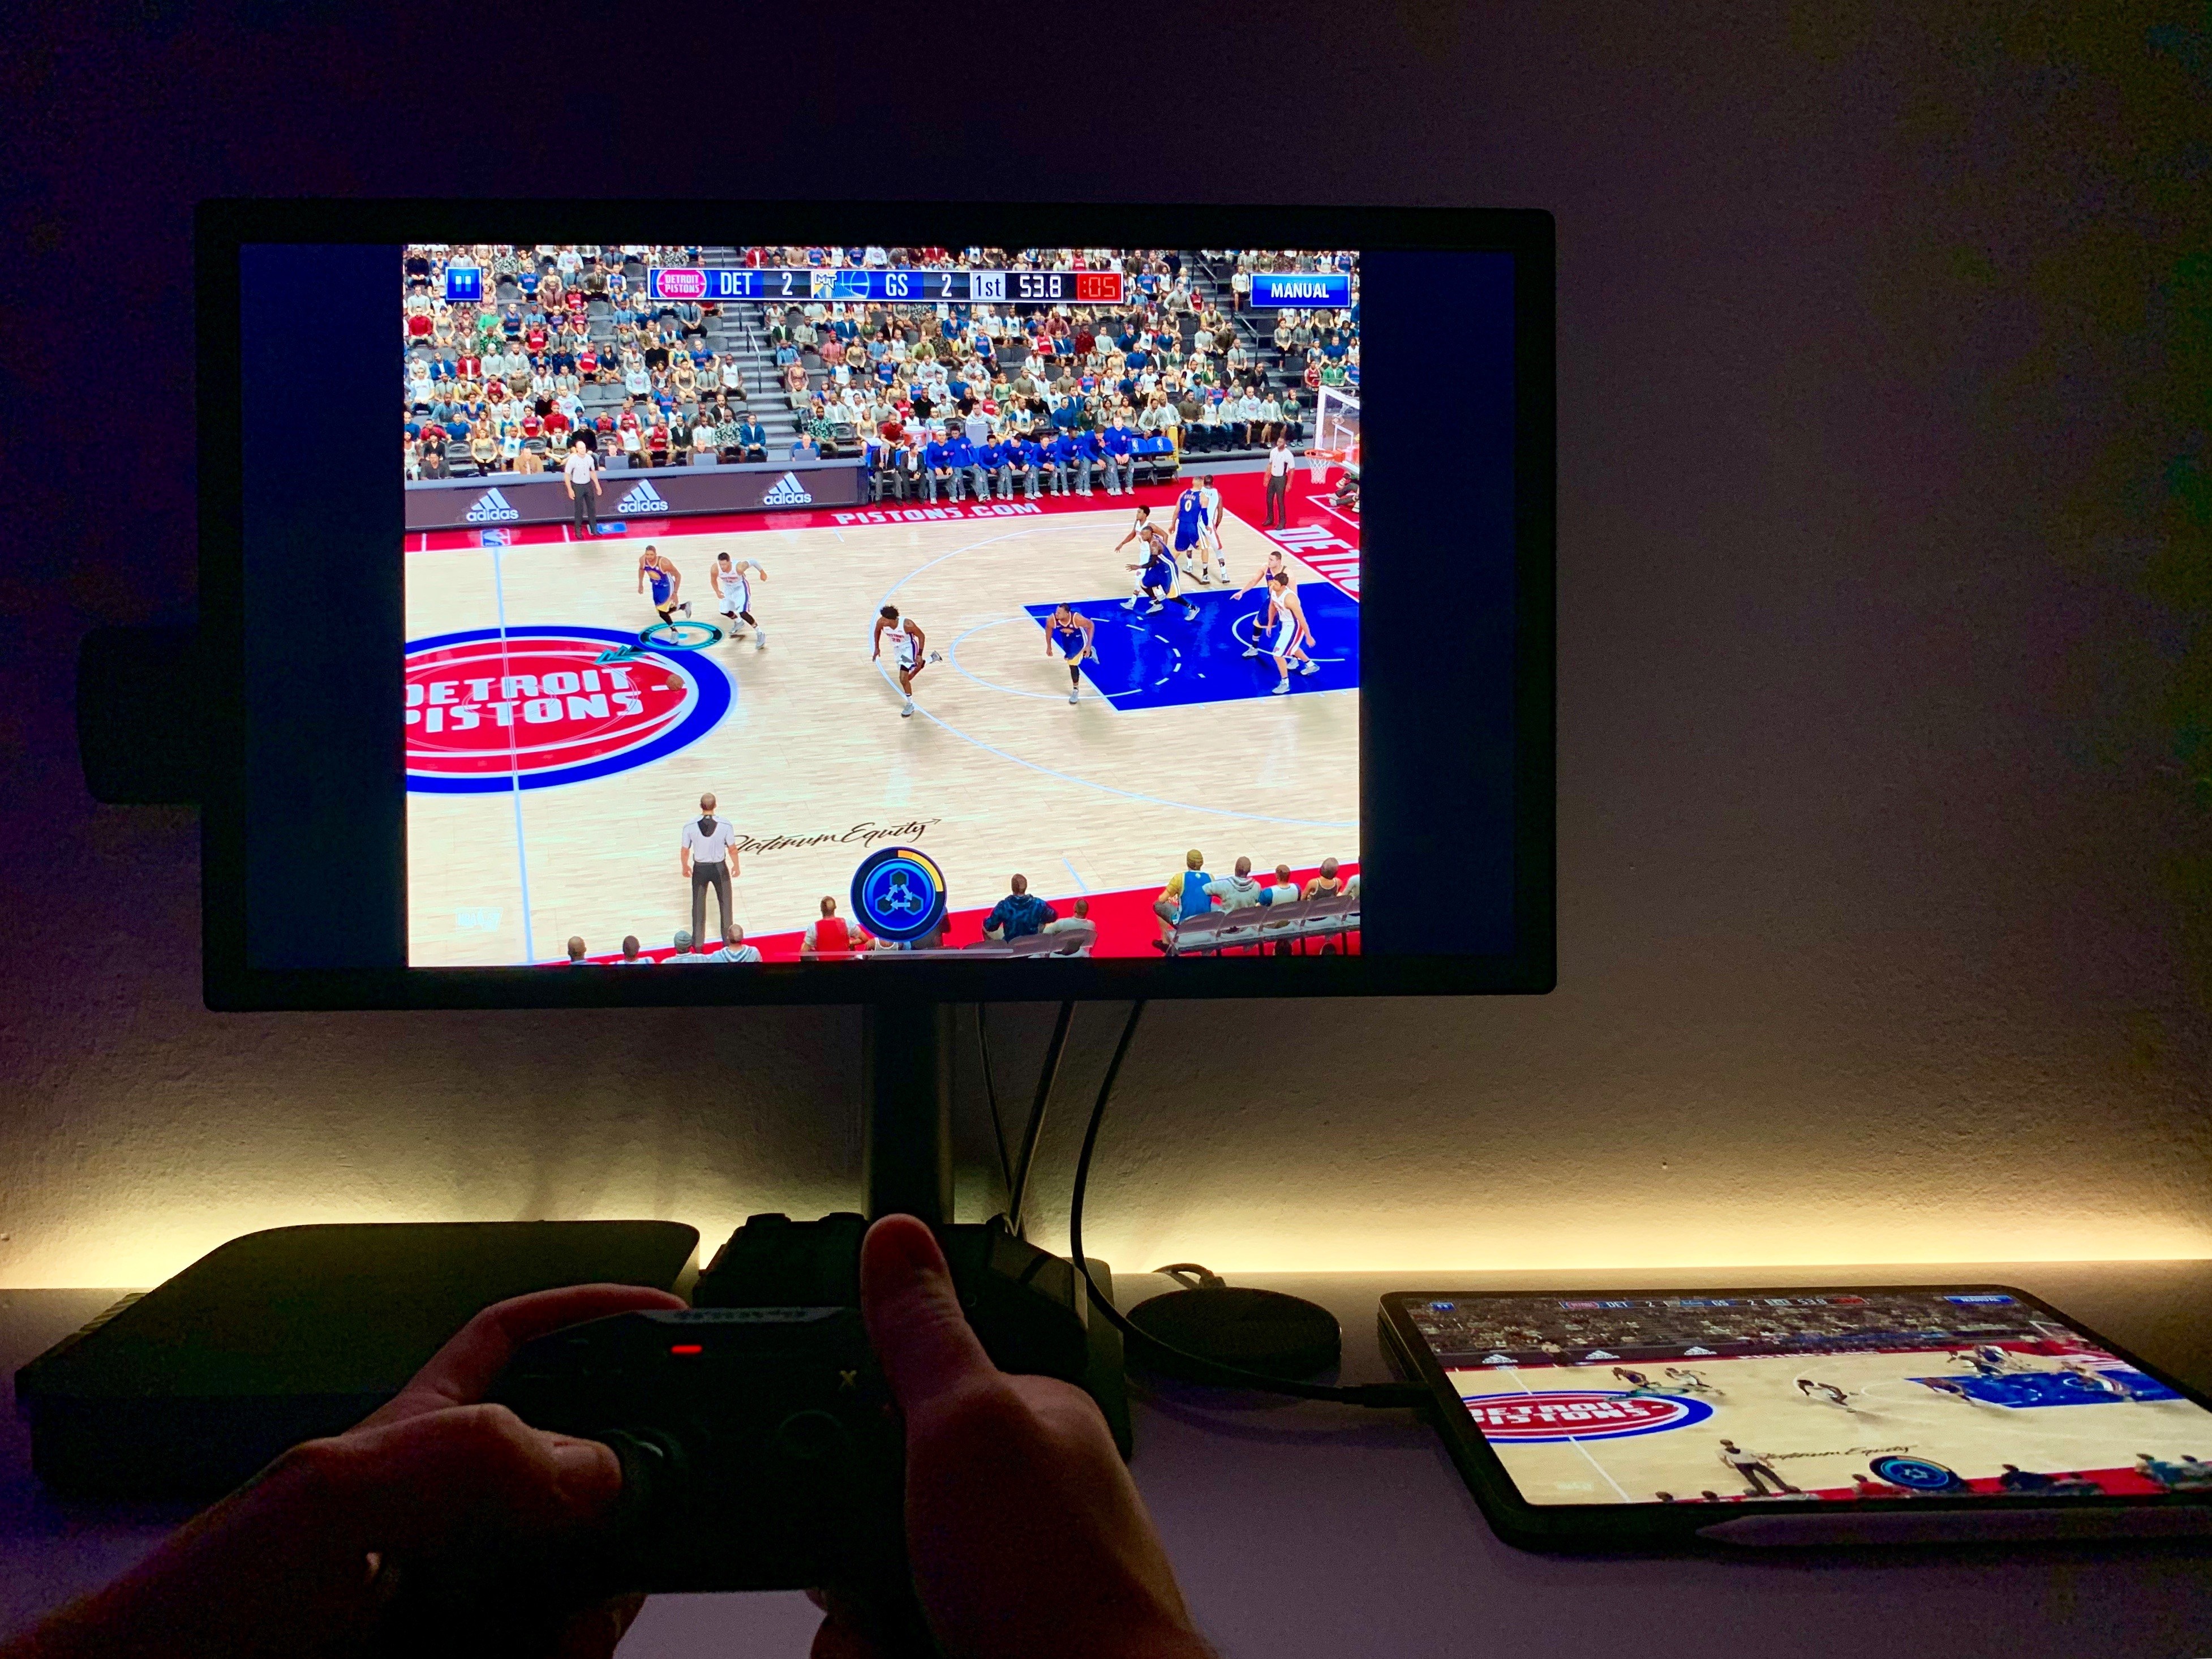
In addition to writing, reading, and editing photos with the Apple Pencil and Lightroom, I’ve also been playing iPad games on an external display. This is a lovely experience if the game you want to play supports MFi controllers – I wouldn’t recommend holding the iPad in your hands and using touch controls while the game is being mirrored with a cable to an external display. So while playing Fortnite at 60fps on a large display may not be an option at the moment (until Epic adds support for MFi controllers), games that integrate with external controllers look fantastic and play great over USB-C.
In my tests, I’ve played the excellent Grimvalor, GRID Autosport, Real Racing 3, and NBA 2K using a Nimbus SteelSeries controller, and I didn’t experience any lag or image artifacts thanks to USB-C. While I wouldn’t describe the graphics of these games as Xbox One S-level (as Apple claimed for NBA 2K at their October event), GRID and NBA 2K are getting close to that kind of graphical performance and, most of all, they run on a lightweight tablet without a spinning drive or fan. Audio is passed through to the UltraFine and, in the case of Real Racing 3, the game runs in full-screen (without black bars) on the external display because EA implemented iOS’ second screen APIs.
I’m used to playing games with my Nintendo Switch, PS4 Pro, and Xbox One X on a 55” LG OLED TV, so playing on a much smaller LCD panel is obviously a downgrade, but for quality iOS games that I can’t get on consoles – and yes, there are a few of them – this setup is a comfortable alternative to playing directly on the iPad Pro’s display. If anything, the biggest drawback I’ve noticed so far is that most games haven’t been optimized for the new iPad Pro’s screen, and it’s going to take a while for developers to fully unlock the graphics capabilities of the A12X SoC. I’m looking forward to Feral’s adaptation of Tropico, and I hope we’ll continue seeing more console-class games such as GRID and Grimvalor find their way to iPad Pro in the future.
Until Apple ships a full-fledged external display API for iOS with support for multiple app columns, pointing devices (if only for accessibility purposes), and separate workspaces, I’d like to see developers make the best of what we have now by updating their iPad apps with support for second-screen mirroring and the 2018 iPad Pro’s more powerful hardware.
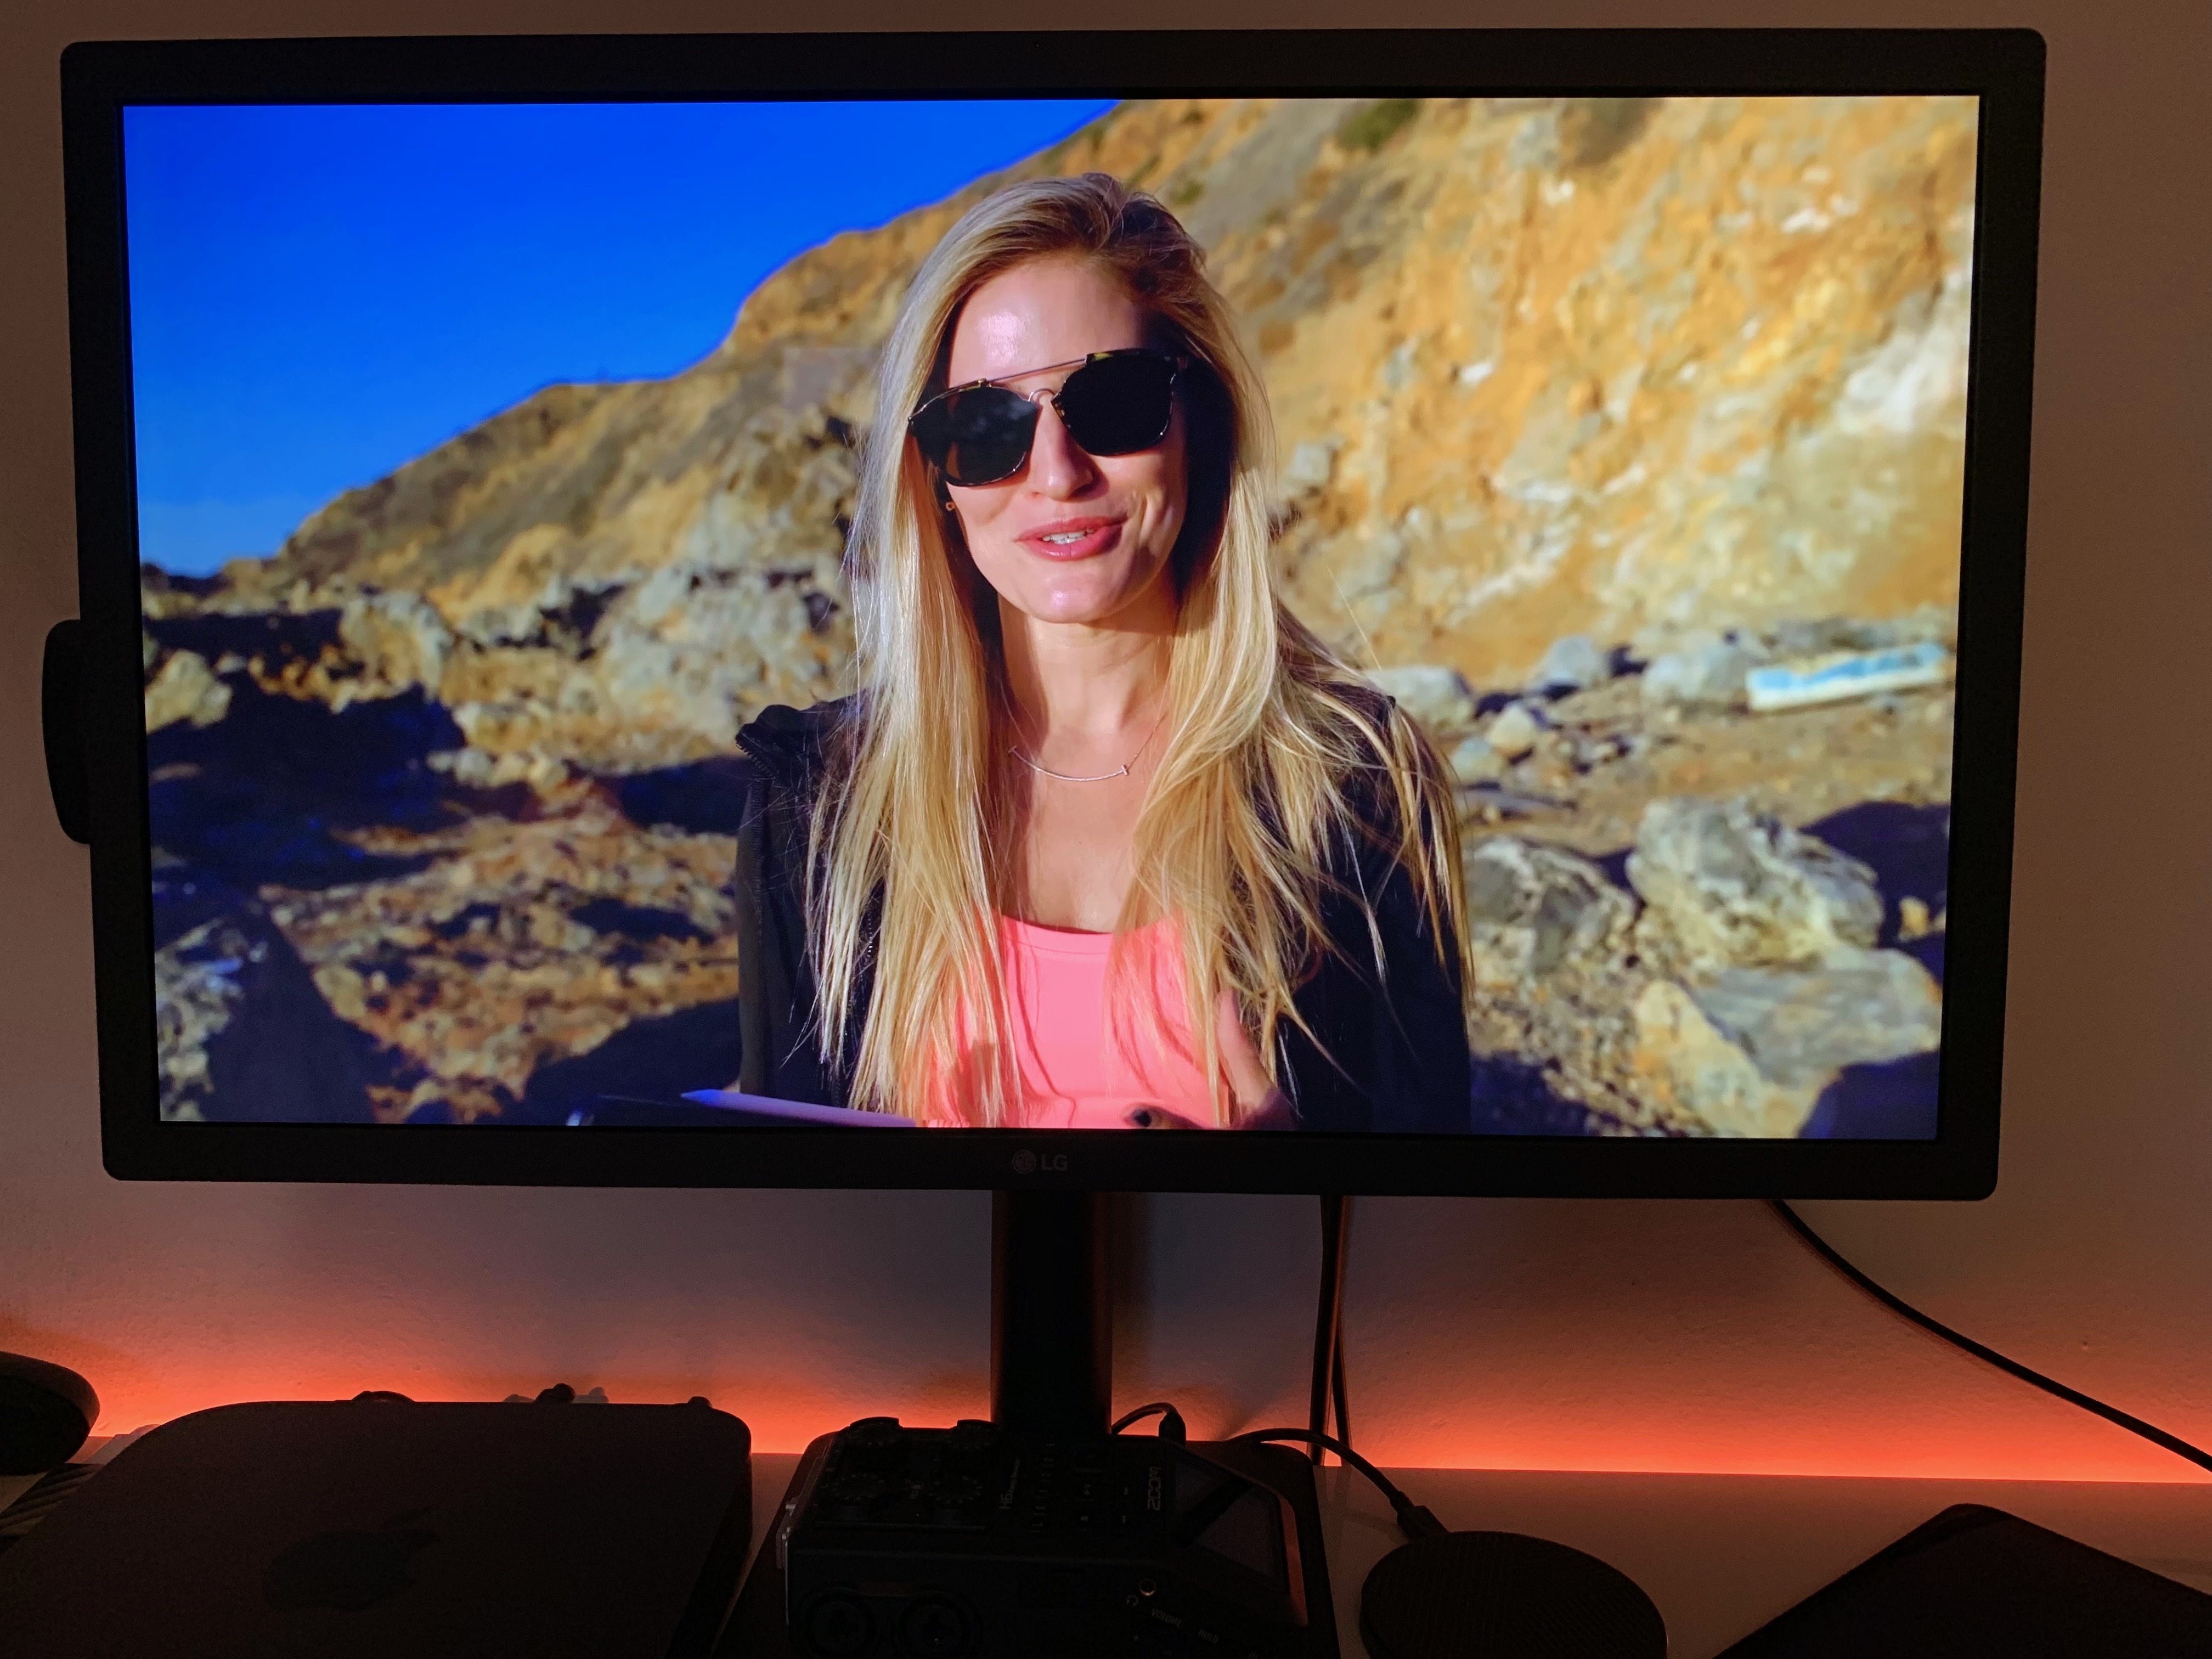
VLC, for example, fully supports native video-out mode and has no trouble playing a 4K video by filling the entire UltraFine 4K. My 4K YouTube videos downloaded to Dropbox with youtube-dl look glorious with this system.
I’d love to see Markdown text editors add support for an idea proposed by John Sundell a while back – having a text editor on the iPad and a real-time HTML preview on the big screen. I want to see Apple support second-screen mirroring with more of their own apps; I’d like to play more games that have been updated with enhanced graphics for the iPad Pro and full-screen mirroring for external displays.
The combination of USB-C and external displays have the potential to turn the iPad Pro into the dream of professional portable computing – a single piece of glass that turns into a workstation when docked, with support for high-resolution displays, fast data transfers, and connected peripherals. While I’ve been enjoying what is already possible today, this vision is only partially realized, and I hope it won’t stay this way for years to come.
A Future of All Inputs
My last few weeks with the new iPad Pro have been characterized by a recurring theme: the freedom to experiment with different setups and accessories. A multiplicity of input systems, form factors, and work contexts that don’t turn the iPad into something it isn’t, but rather add to it to make it more versatile and, ultimately, useful. Some of these ideas were possible before, but everything has been greatly simplified and made more powerful or flexible thanks to USB-C.
It’s in the iPad’s nature to be a hybrid machine that can adapt to the context you’re using it in. This concept has been true since the days of the first iPad with the weird-looking keyboard dock, was reimagined by Apple in 2015 with the Smart Keyboard and Pencil, and is now reaching into classic desktop territory thanks to USB-C. Whether I’m using a Bluetooth keyboard and an aluminum stand or a 4K display with a wired USB keyboard and game controller, one thing’s for certain: flexibility and user customization have always been at the very core of the iPad experience. The new iPad Pro takes both principles further than they’ve ever been, adopting traditional computing ideas and rethinking them for a new era.
But this process isn’t complete, and likely won’t be for a while. We need to wait for another part of Apple to catch up to a transformation of the overall iPad story that is abundantly clear at this point, yet still unfinished. We need to wait for the iPad’s software to accept and welcome what its hardware has become.
- I speak from personal experience here. ↩︎
- The F3 and F4 keys, which are dedicated to Mission Control and Launchpad on macOS, respectively, haven’t been associated with the multitasking app switcher on iOS, but that’s a limitation I can accept. ↩︎
- iOS supports a ⌘-H shortcut to go back to the home screen, but it can’t be used to invoke the multitasking app switcher. ↩︎
- Which can hold onto the bottom of the keyboard but don’t leave any glue residue when removed. ↩︎
- And I wish it had multiple color versions as well because I’m not a fan of the gray and brown mix, but that’s an issue I have with other Studio Neat products too. I love their docks, for instance, but I wish they came in more colors than brown because they don’t fit the modern style of our apartment at all. ↩︎
- I miss MagSafe and I wish Apple made a new version of it based on USB-C, but I digress. ↩︎
- My Mac mini is connected to an UltraFine 4K display, which doesn’t have any USB-A ports, which means I can’t connect my old USB drives directly to the display acting as a hub. I could plug the drives into the back of the Mac mini, but I don’t want to move it from its position on my desk where all the cables are neatly managed. With the Travel Dock, I can just connect the extra hub to the UltraFine via USB-C, then plug USB-A drives into the dock. It works just fine. ↩︎


