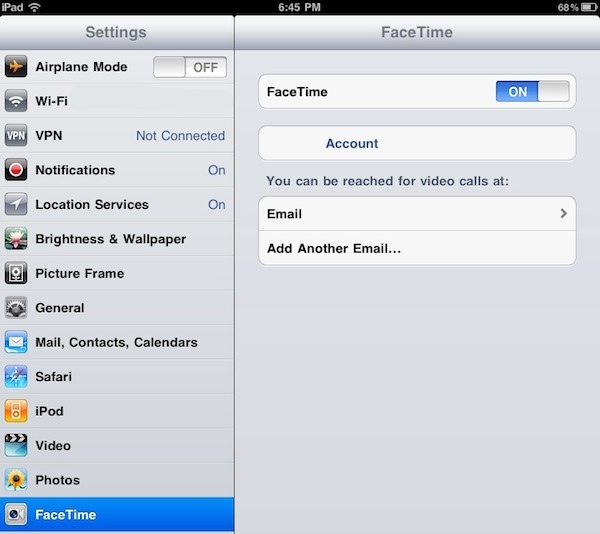
So I just got my iPad 2, and right after restoring from an iPad 1 backup and syncing all my apps, I wanted to try FaceTime on it. Mainly to test the quality of the cameras (they do decent videos, but they’re not really that great) and the FaceTime application itself, I immediately set up a new email account to use with the iPad 2.
FaceTime on the iPad asks you to create a new email address on first launch; however, you can further tweak your settings, Apple ID and available email addresses in the Settings app under “FaceTime”. In this tab, I logged in with my Apple ID and assigned a new email – different from the ones I use on my MacBook Pro (Apple ID) and iMac (2nd email address). On the iPad, I set up a third email so I can make sure calls are always routed to the right device. I noticed that the verification process failed at first (I didn’t get any email from Apple), so I deleted the email address, entered it again and waited for the confirmation email. After a few minutes, FaceTime was correctly functioning on my iPad 2.
With FaceTime up and running, I wanted to give a shot to an old trick we first covered in October: auto-answering FaceTime calls on a Mac. Why would you want to do that? Simple: to turn your desktop computer into a remote monitoring tool for when you’re not around. Stuff like remotely checking on your room or home office. I leave my computers always on most of the times I have to go out, so it’s not a big deal for me. Plus, I think it’s just neat that you can fire up your iPhone or iPad 2 while on the go to call your Mac and automatically see what’s going in front of the iSight without needing a person to hit the Confirm button.
In October we saw auto-answering FaceTime calls on a Mac was possible through a custom AppleScript app; this tutorial posted by Mac OS X Hints provides a better way to set up “automatic invites” using a few Terminal strings. And yes, it works with the FaceTime app sold in the Mac App Store.
To assign the iPad 2 to the list of contacts that won’t need a confirmation, type the following command in Terminal:
defaults write com.apple.FaceTime AutoAcceptInvitesFrom -array-add [email protected]
Replace “[email protected]” with the email address you configured in the iPad’s FaceTime settings. You can add as many phone numbers or emails as you want by simply repeating this command in Terminal, and if you want to clear the list the string is:
defaults delete com.apple.FaceTime AutoAcceptInvitesFrom
Like I said, it works perfectly with the iPad 2 and any other iOS device. Also: the iPad 2 can really initiate FaceTime calls while connected to an iPhone’s Personal Hotspot. It worked quite smoothly for me, although I look forward to testing it in areas with stronger reception here in Viterbo.


