Editing photos on the iPad should be a pretty big thing. After all, it eliminates the need to carry a 4.5LB laptop, and the iPad’s screen offers a great editing interface over that of a netbook. While it’s debatable whether your smudgy fingers can make more accurate changes than a good ol’ fashioned Wacom pen or even the mighty mouse, I’d have to say the iPad is perfect for quick edits on the go. Today, we’ll be looking at PhotoForge, an iPad app specifically designed to mark up fussy photos.
PhotoForge offers photographers a rather intriguing editing experience. Any edits you make to the original photo don’t actually change anything. Instead, you basically work on a mask that allows you to easily erase, draw, and recolor your image without fear of any permanent ruin.
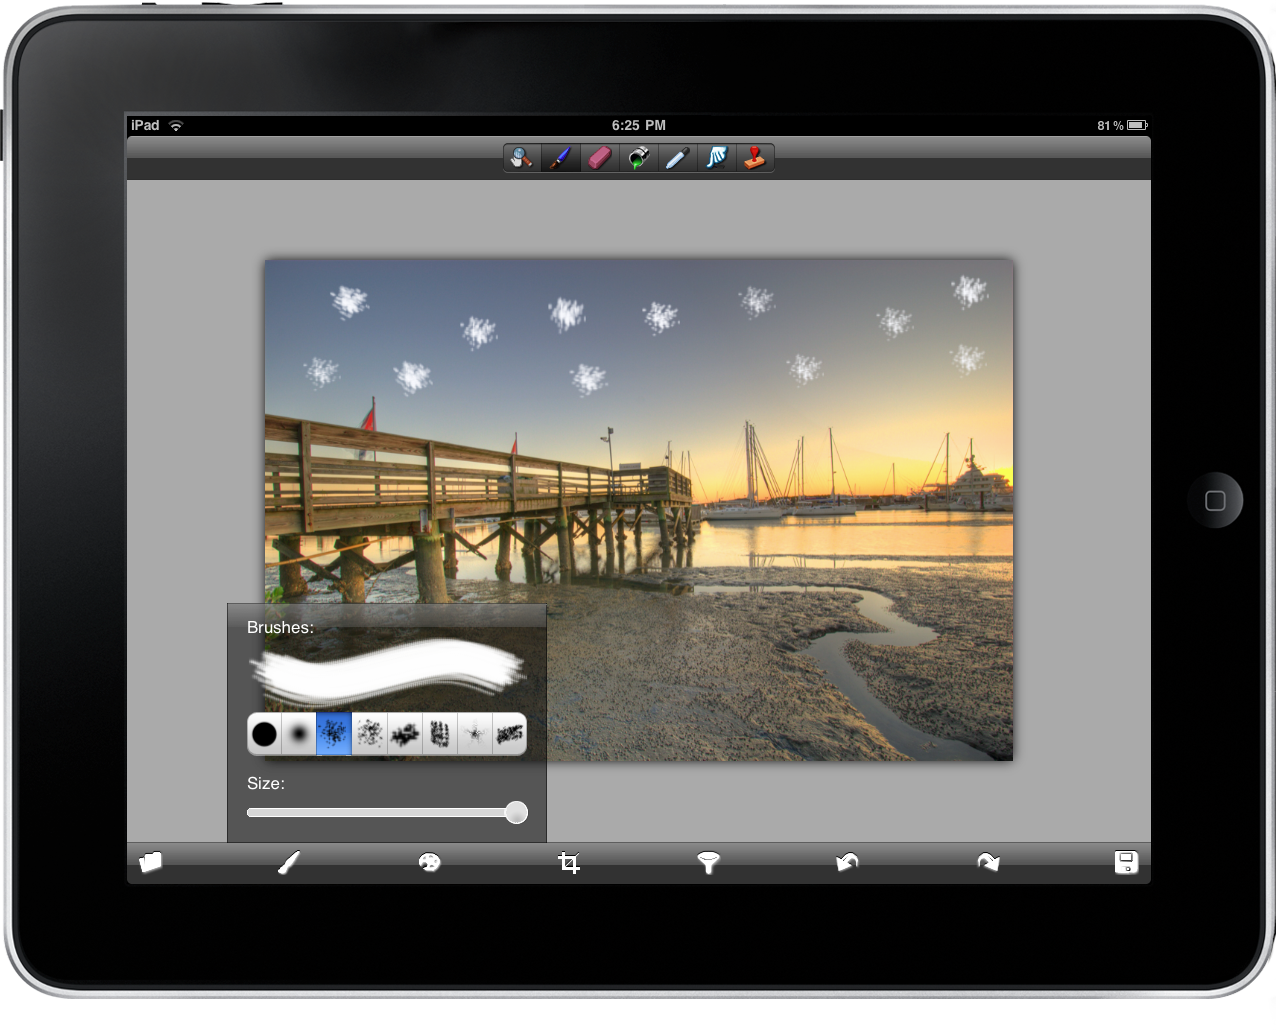
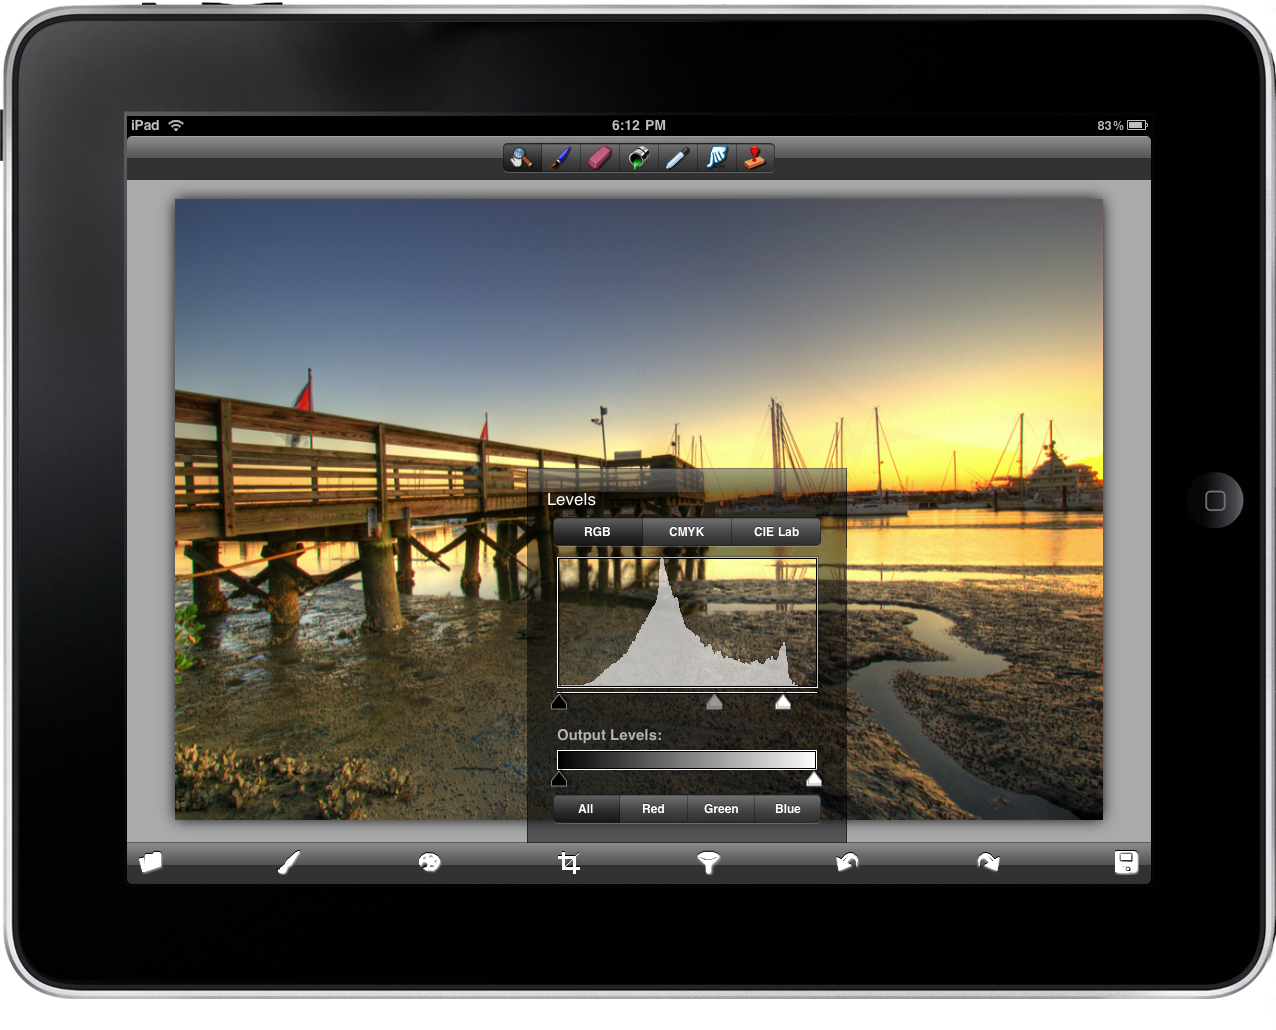
Interacting with the editing tools themselves is different, and initially took me by surprise. With tools overlaid across the top and bottom of your iPad (no matter the orientation), it’s easy to switch between level adjustments, brushes, or anything else in your kit. However, these tools disappear as soon as you interact with your photo, and reappear after a set amount of inactivity. I initially thought it was strange that I couldn’t call my tools on command, but it was something I got used to.
The one tool I couldn’t master with PhotoForge was the stamp tool. I don’t know if my finger wasn’t always being registered by the iPad, or if I simply failed to execute the use of the tool properly, but I couldn’t quite get what I wanted. Maybe you’ll have better luck with it. However, I did think the “eye dropper,” or color picker, was particularly neat. It not only gives you the ability to view pixel-perfect colors, it selects that color on the color palette for you.
As far as brushes go, I do wish the maximum brush size I could create was a bit bigger. I felt quite limited drawing on a rather large photo (in a poor attempt to create stars). I also wish one could change the scatter of the brush so I could increase width and decrease density. At the same time, I felt the options available were convenient enough, and the accompanying color palette made it easy to set opacity and get the right colors.
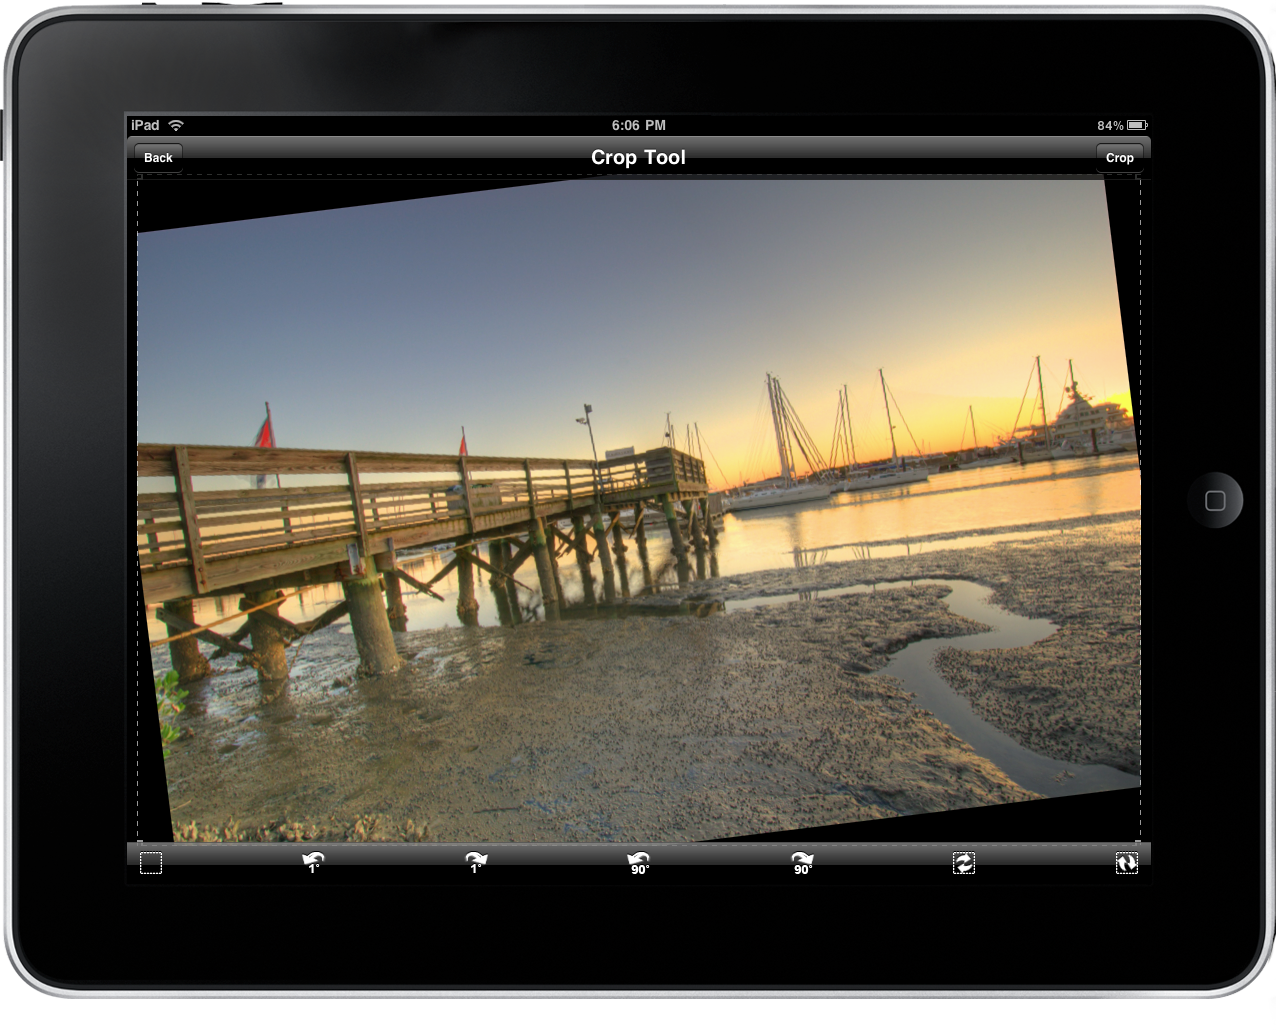
Cropping images works through a series of buttons and a draggable box that allows you to select a predefined area. Sometimes I wished I could rotate using a two-fingered twist, but the current implementation works great nonetheless.
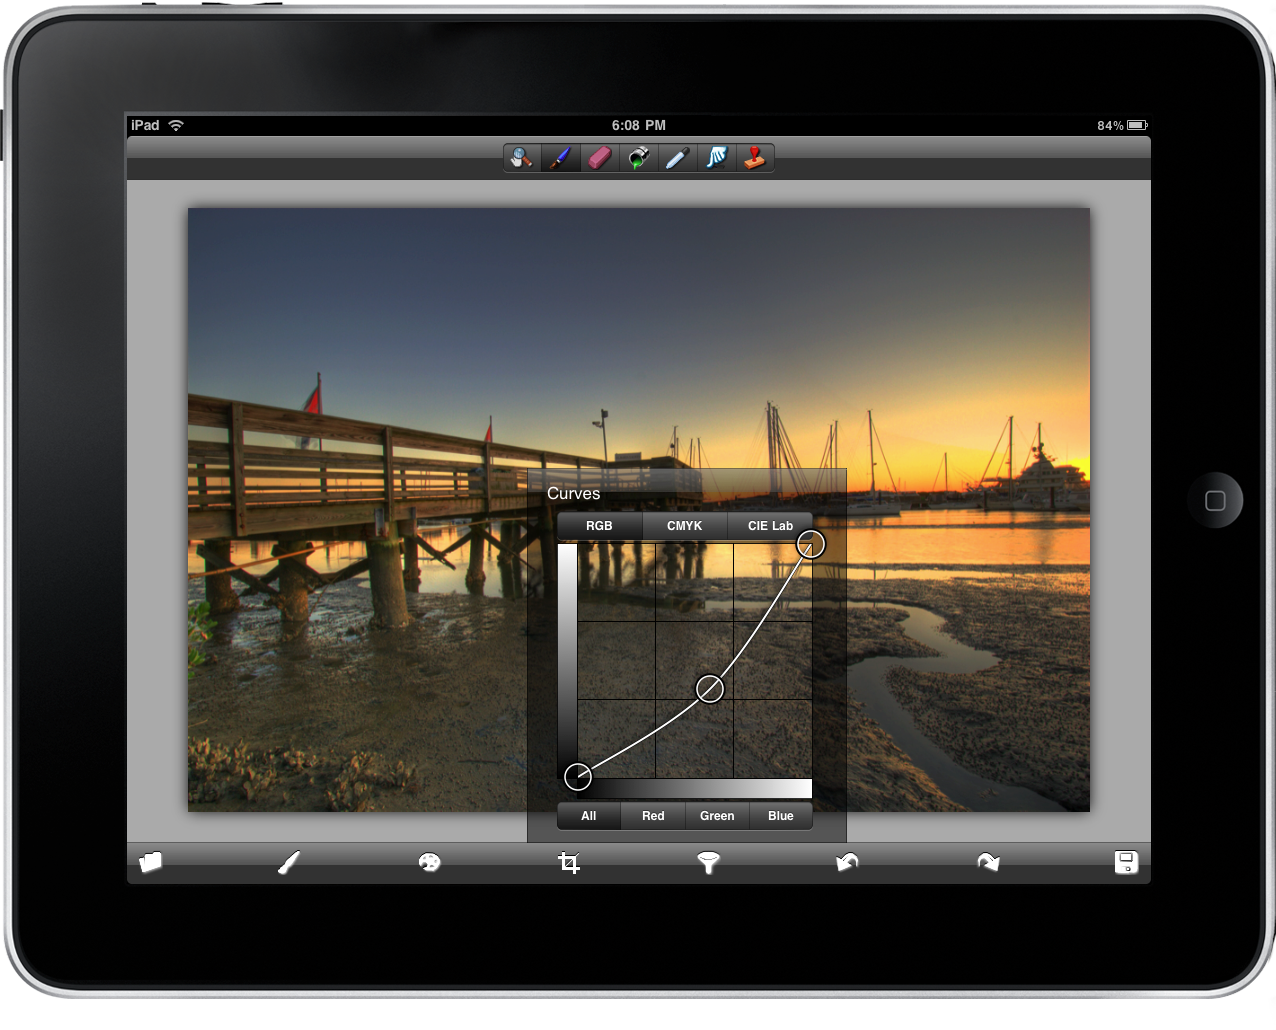
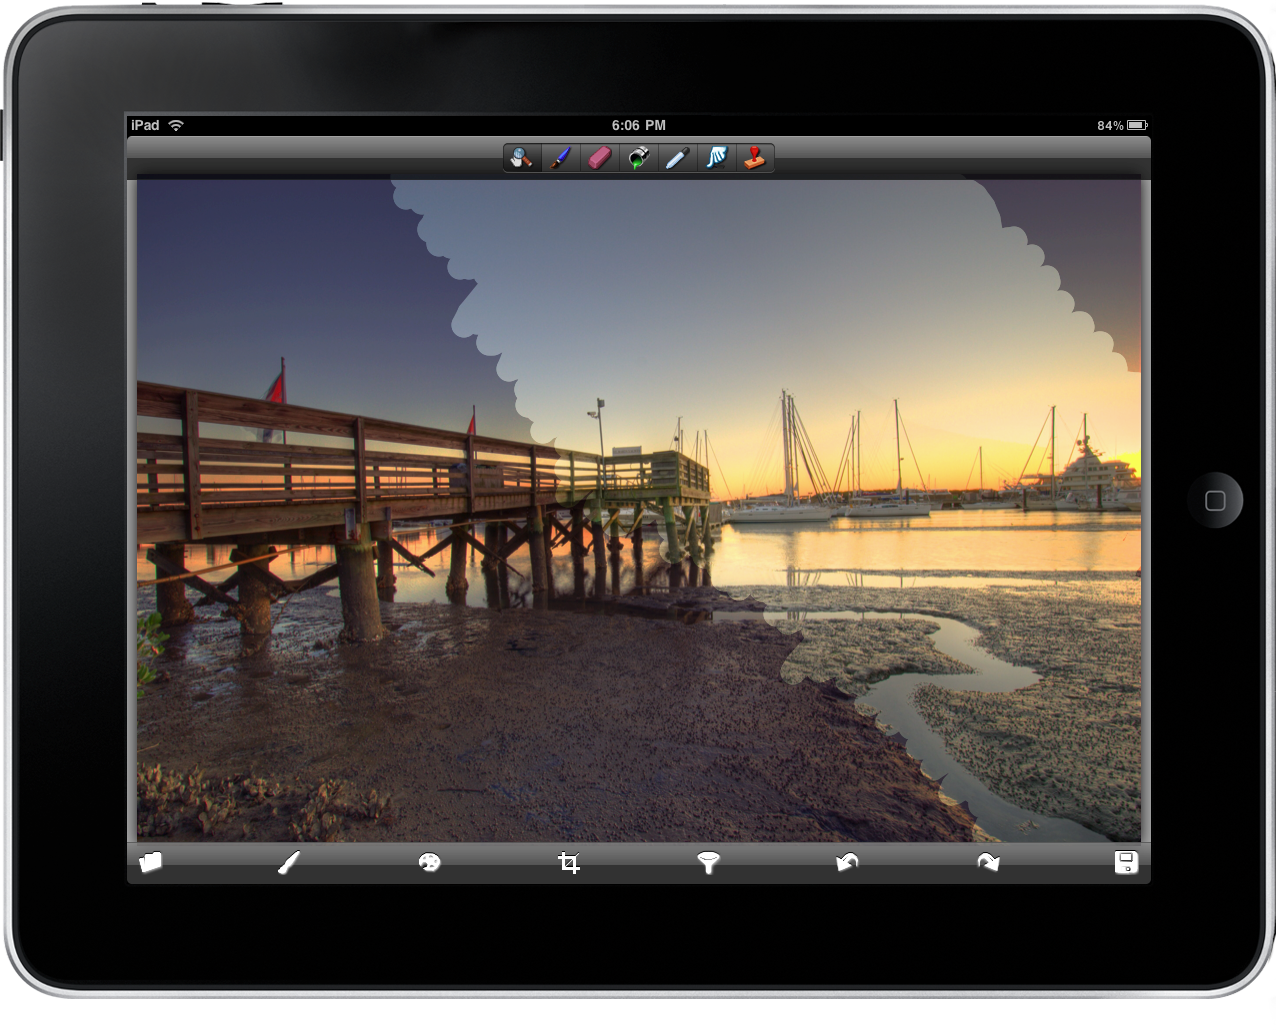
Adjusting a photo’s noise, levels, curves, and sharpness was easily achieved through a series of menus. With a drag of the finger, one can adjust a photo exactly to where they want it. Below, you can see the difference some adjustments made between the original photo and the new version, separated by some fudging with the erase tool.
If you ever need to undo those terrible edits, you can redo every change you’ve made in the app. If for some reason PhotoForge magically quits, or you decide to give editing a rest, PhotoForge does a pretty good job of helping you start back where you left off.
PhotoForge may have its quirks, but in the end it works great as a photo editing application. I find its non-destructive editing to be incredibly noob friendly, which allows non-professionals like me to mess around with glee. For those interested in such an application, we’re giving away two copies to a couple young photo snappers in love with their cameras, and their iPads. Just don’t take any pictures of me, okay? Check out the giveaway below for more information. Thanks to Ghostbird Software for the review licenses. Be sure to check out PhotoForge on the iTunes App Store, which retails for a small $4.99.
Giveaway
Photographers, how would you put PhotoForge to use? Leave a quick comment detailing how you might integrate an application like this into your workflow, but don’t delay: this contents lasts through Thursday, May 27th, 2010.
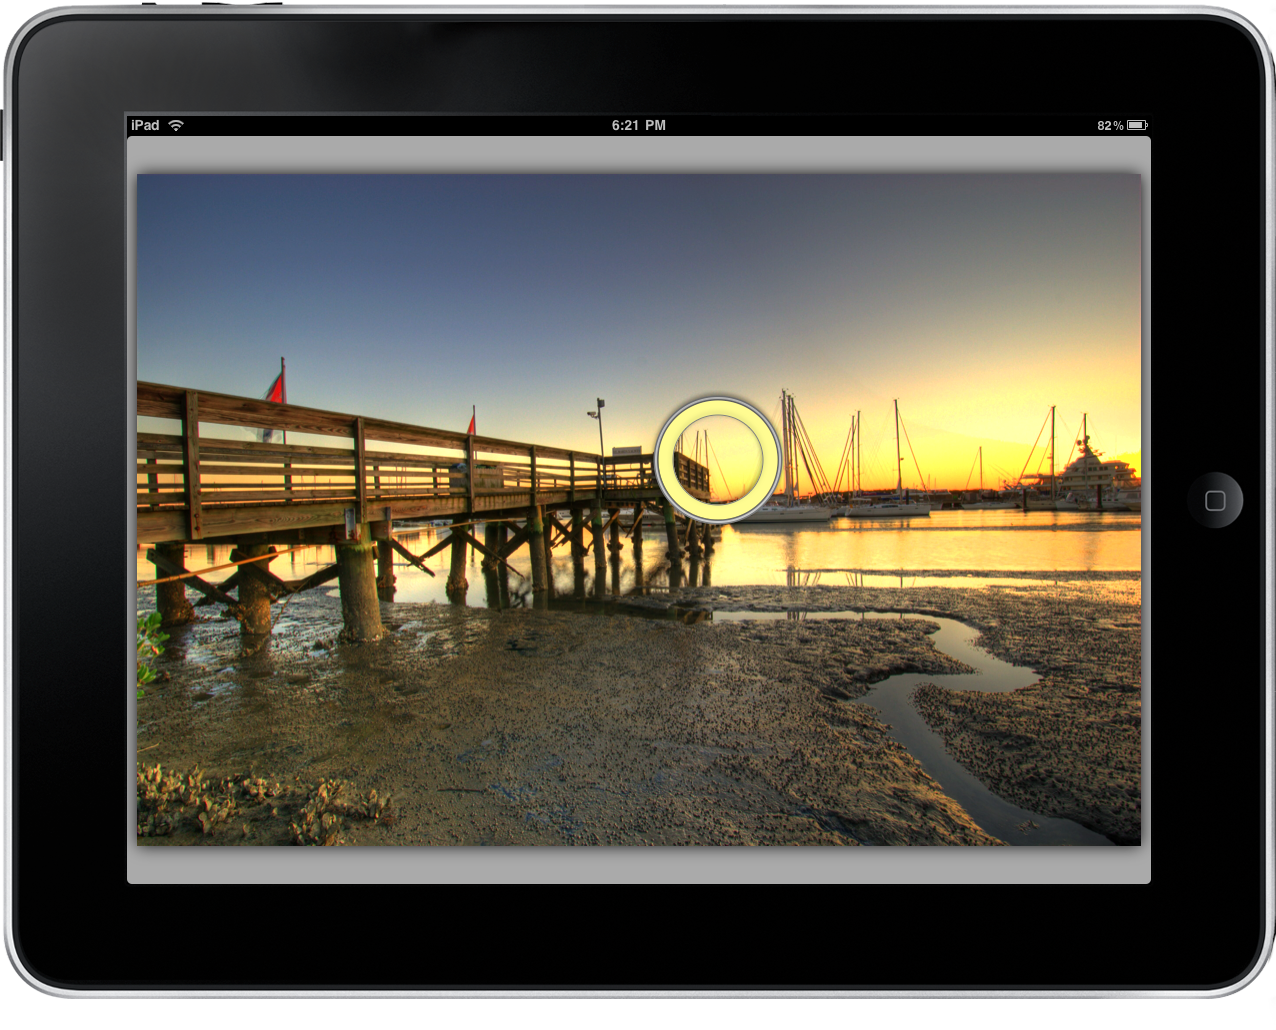
A special thank you to Keith Smiley for letting us showcase his beautiful HDR photograph. You can follow him on Twitter, @SmileyKeith, and be sure to check out his website at Smileykeith.com.


