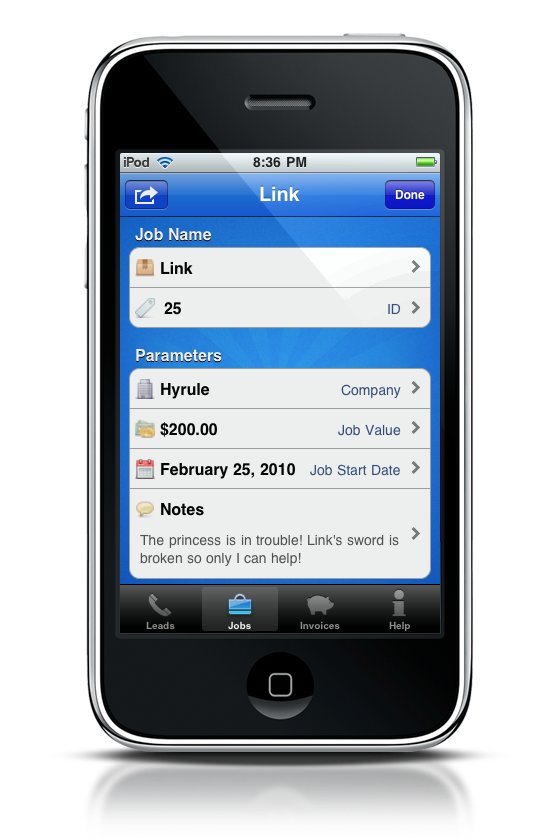
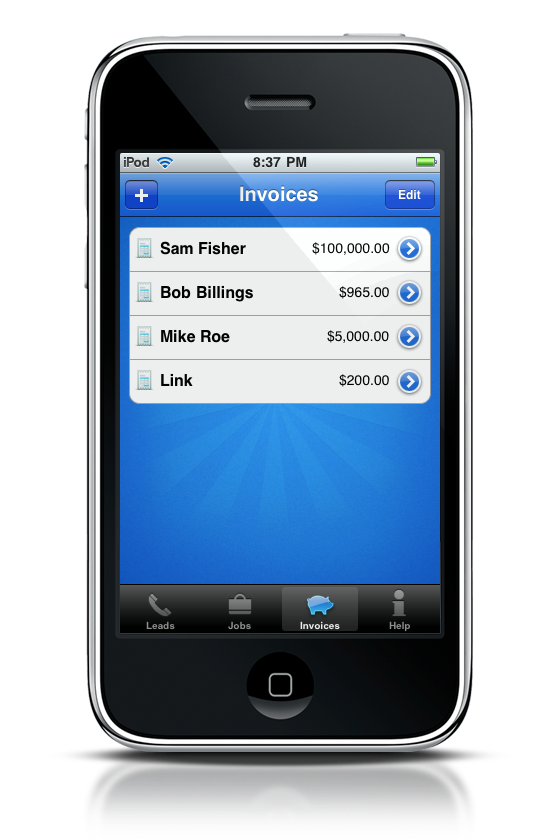
Whether you’re a freelancer, a contractor, or perhaps even a technician, life is full of social networking. Everyday we continue to add contacts to our address book, but every so often we come across leads - pathways to financial opportunities. Your leads, who may eventually become your clients, are important to keep tabs on and stay in touch with.
MicroCRM is to tracking these potential contacts as what TaskPaper is to GTD - dead simple.
MicroCRM (CRM stands for Client Relationship Management btw) is really cool because of what I’ve come to define as “progression.” Basically, you add Leads into MicroCRM - people who have the potential to be a future client. Once you’ve landed some work with that client, you then move them into a Jobs category. When the job is finished, that person is progressed into a final Invoices section. Once the cash is in hand, the contact is then removed from MicroCRM, thus removing the need to manage that individual anymore. It’s incredibly easy to use.
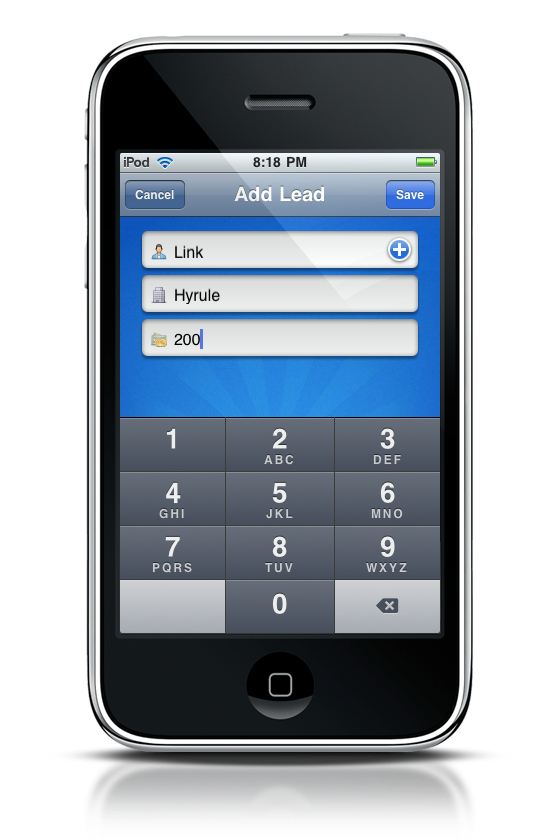
Diving into the app, our first mission is to add some Leads. Some examples should already be filled out for you, excellent for getting an idea of how things work. You can simply tap the add button to add your lead, filling out information such as the person’s name, his or her company, and their potential value. To avoid having to type in someone’s name, you can also add them from the Address Book.
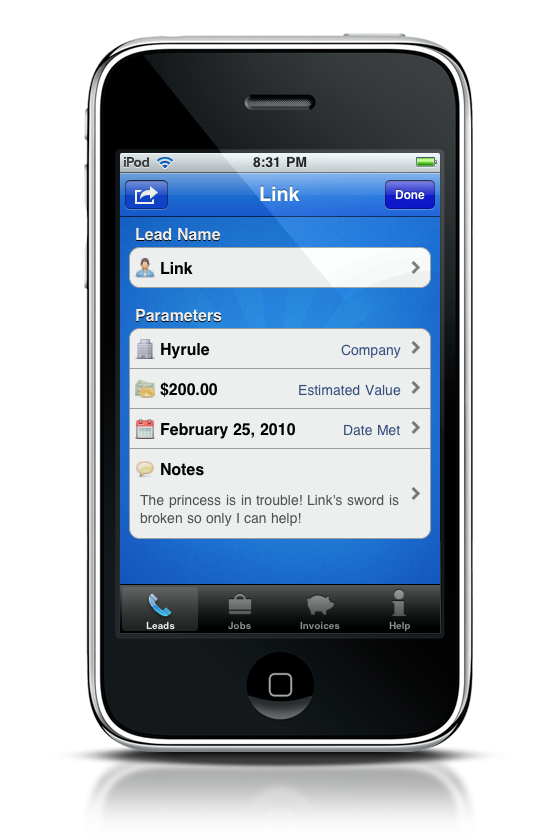
Once you’ve saved your lead, you now have their name in MicroCRM for future reference. Tapping that person’s name will bring up a similar menu that lists simple details about that person, including date met and notes. Tapping the edit button will allow you to change these values, and one thing you might want to do is make a short note for yourself of why that client is important.
Say things are going well with your lead, and they offer you the job of a lifetime. Your next step is to progress your lead to the Jobs section. By tapping your client and tapping on the edit button, you’ll notice a new button at the top left corner of the screen. Pressing it of course will bring up a dialog that allows you to finalize this transition. Needless to say you’ll press OK.
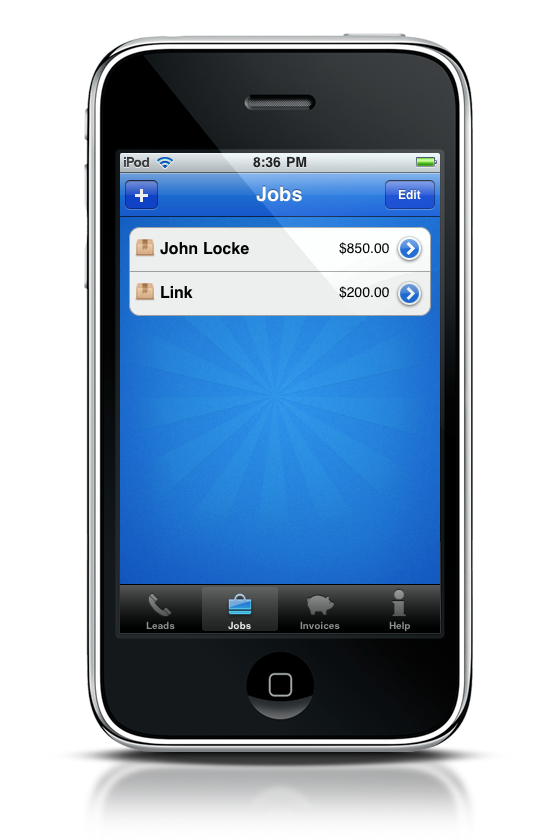
The Jobs category will add a new item to your edit menu, the I.D. If you use an existing project management application alongside MicroCRM, you can now tag your client with a reference number. I personally I.D. clients in the order met. Otherwise, all of your previous information carries over. If you have existing jobs, you can add them too.
With your Job done, you’re going to want to move that contact to your Invoices. The process is the same as before, and moving your client to Invoices allows you to keep track of what’s due. When paid, simply press the edit button from the Invoices menu, and delete your contact.
Remember, MicroCRM is meant to give you a reference to your contacts, not manage them. And that’s really the beauty here, because it helps me keep this mental footnote of who I’m working with; it helps me avoid having to delve into some clunky project management application. It’s an excellent tool for any freelancer to have in their arsenal, especially when you’re the type who likes to keep things uncluttered. It’s definitely worth every penny, but the developer is giving away a generous twenty copies to those looking to further manage their resources. Check out the rules below for your chance to win!
Giveaway
To enter the contest:
- Tweet this message: “Have to deal with clients? Win a Copy of MicroCRM on MacStories http://mcstr.net/9KBGWK @viticci @norskben”
and
- Leave a comment, and tell us why you need MicroCRM. Are you a freelancer? If so, which other apps are you using now? Also, be sure to include a link to your tweet.
We’ll pick up the winners on Monday, March 1st.
Good luck!


