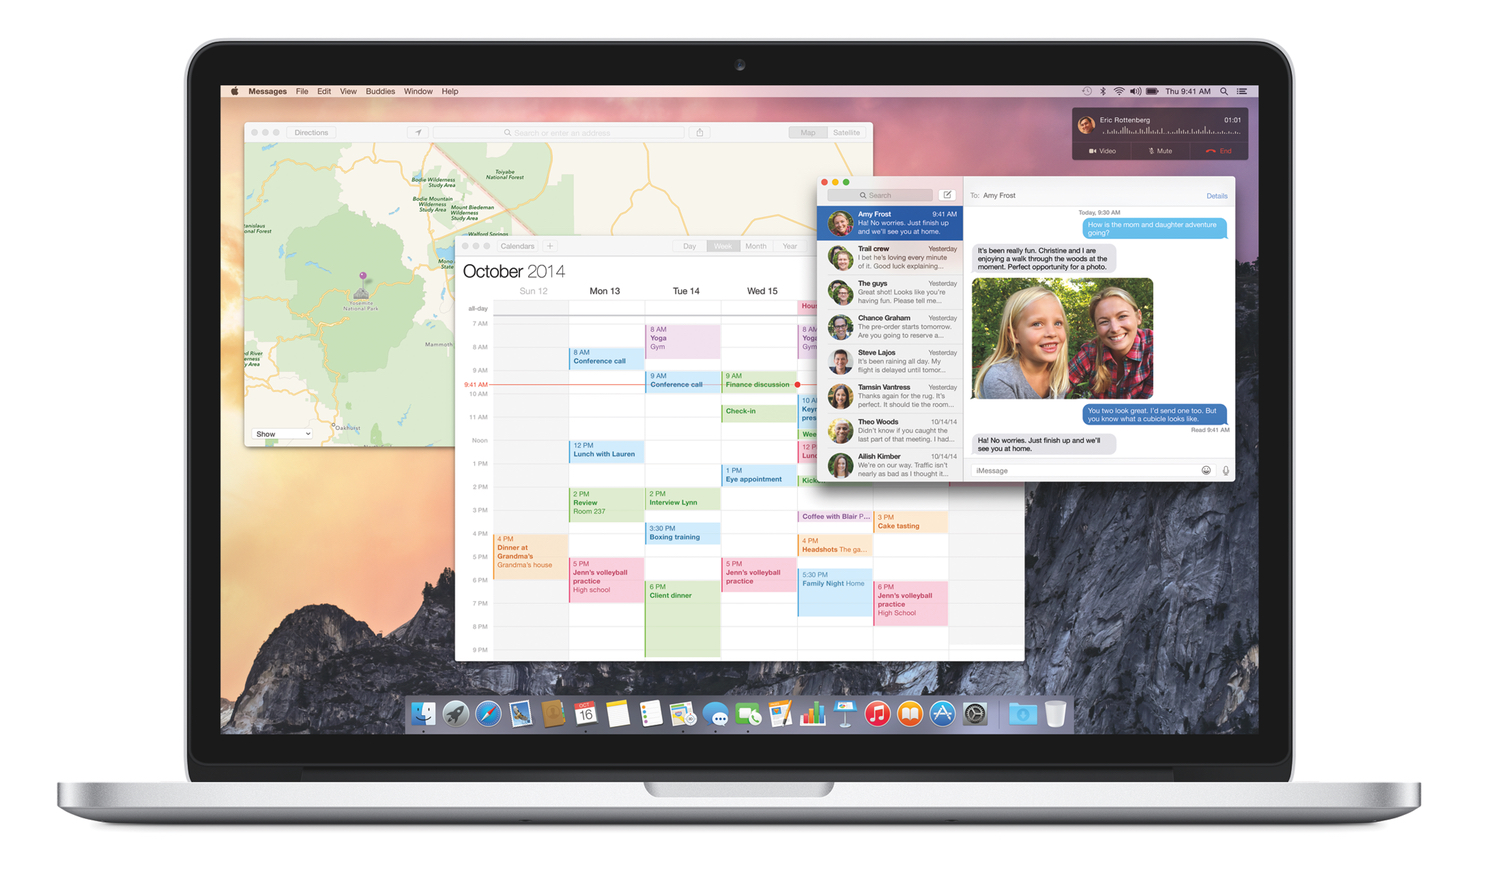
The headline making news of OS X 10.10 Yosemite, released yesterday as a free update on the Mac App Store, is that it brings an extensive UI overhaul, modernizing the look of Apple’s desktop operating system to fit in with the design language pioneered by iOS 7. This is a great change, and maybe would have been enough to satisfy the average Mac user, but if you’re reading further into this article than the title, chances are you’re looking for a little more than a surface adjustment. Thankfully, Apple was kind enough to oblige.
OS X Yosemite introduces a series of interesting and useful changes under the hood, particularly in the category of automation. The first of these is the addition of extensions to the Mac. Yes, those extensions. If you have a device running iOS 8, you already know what extensions are, and extensions on the Mac are built on the exact same concept of extending the functionality and content of your individual apps out across the entire operating system. Although the idea is the same, extensions on the Mac are a bit different in their implementation due to the fact that the restrictions and capabilities of the operating system are not the same as those of iOS.
Extensions
The first thing to note about extensions is that they are not a user-created automation tool. Extensions must be built into the apps that you are running on your Mac for you to be able to use them, so if an app you have installed is not showing up in your share or action menu, it could just be because the developer hasn’t built an extension for it. If you know the developer has updated the app with an extension, and you have that update installed, maybe you’re just looking in the wrong place for it; different types of extensions are located in different locations within the operating system.
There are four types of extensions on OS X: Today widgets, Share extensions, Action extensions, and Finder Sync extensions. These are slightly different than the set of six extensions available on iOS, as OS X does not support Photo Editing, Document Provider, or Custom Keyboard Extensions (and iOS does not include Finder Sync extensions). While the OS X extension set is smaller, this isn’t because it is any less robust. Rather, OS X extensions are more powerful per category, so fewer specific categories are necessary. Obviously, custom keyboards are not needed on OS X, but Photo Editing and Document Provider extensions were dropped as individual categories because their functionalities were absorbed by the Action and Finder Sync OS X extensions, respectively.
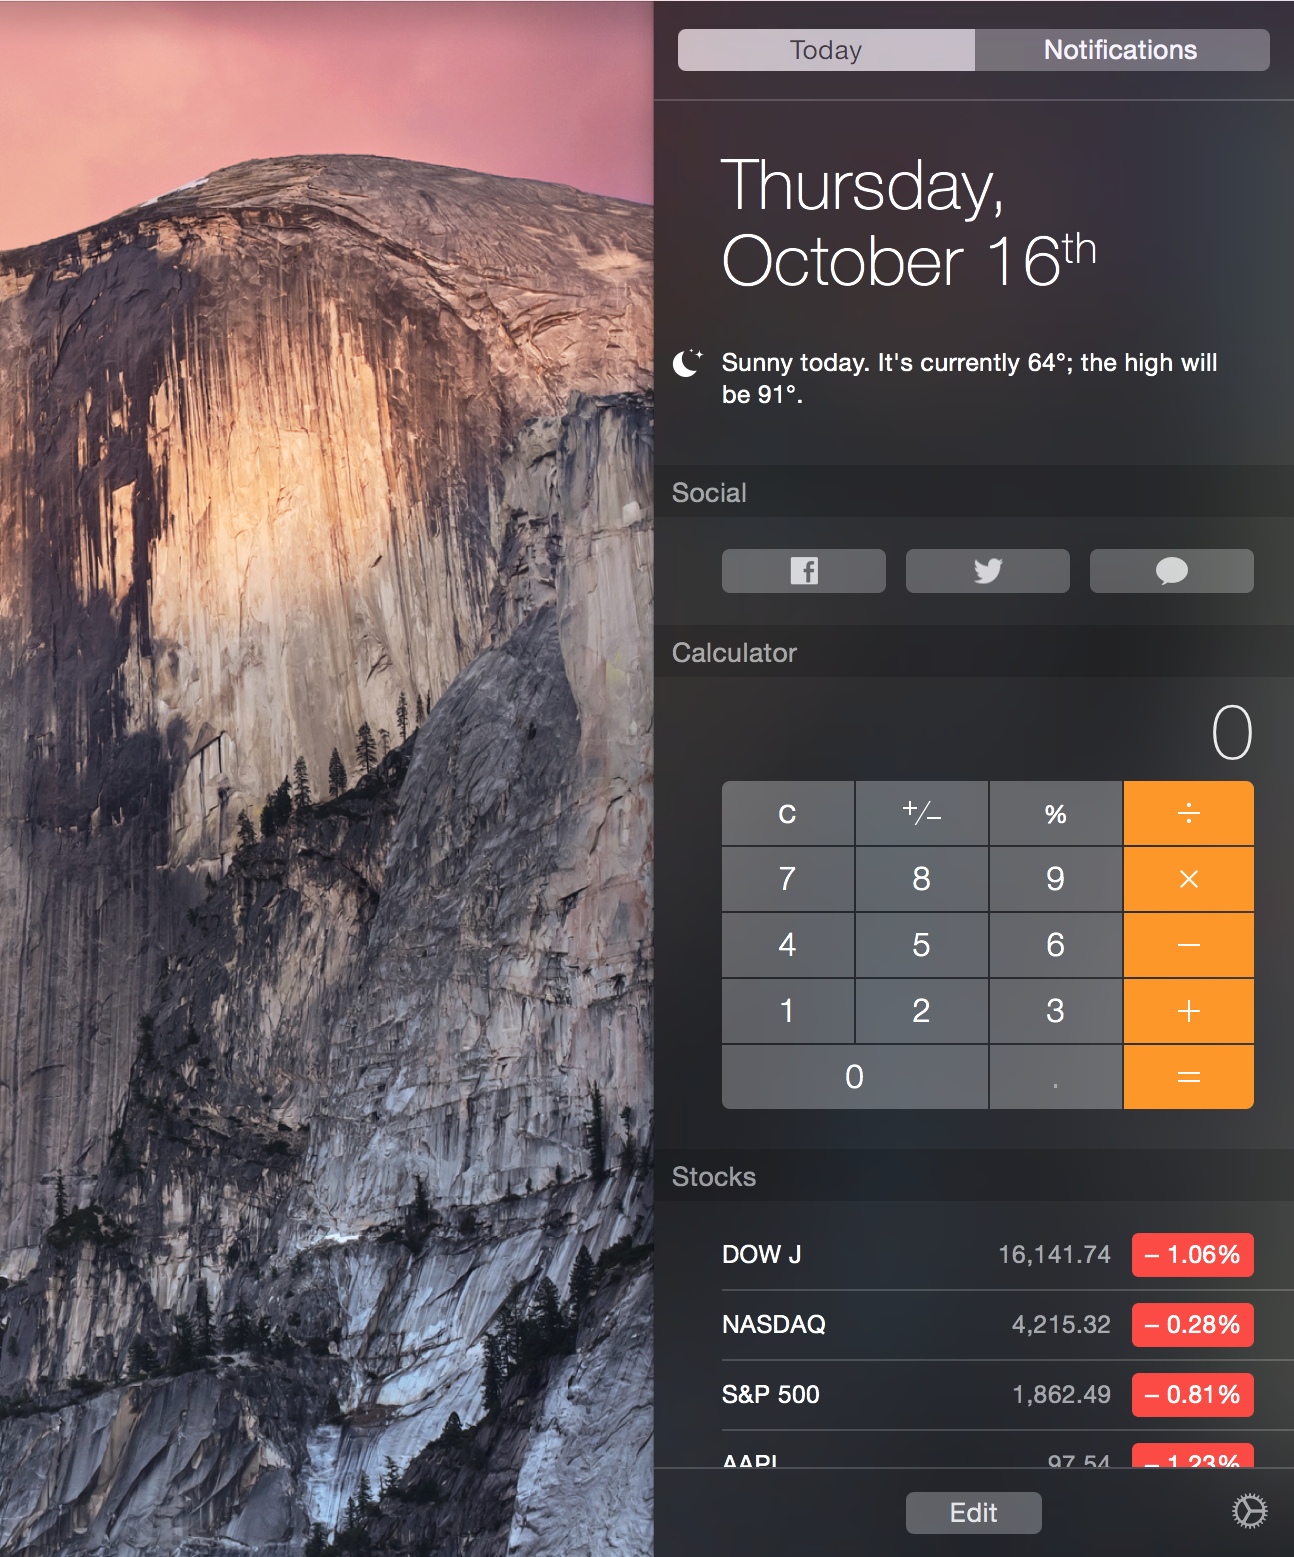
The first type of extension on OS X, the Today widget, can be found in the same place as its iOS counterparts: Notification Center.
Today widgets are designed to give users quick updates of information, or to provide quick access to simple tasks. Examples of these types of extensions already exist on your Mac in the form of Apple’s own Stocks and Calculator extensions. Stocks provides easy access to information on the stock market, accessible with a single two-finger swipe from the right edge of your trackpad (Magic Mouse users will have to click the Notification Center button at the top right of their menu bars). The Calculator widget on the other hand provides an entire miniature calculator interface in the column, so quick and simply calculations can be done without needing to open another app. I’m a big fan of Today widgets on iOS because they have finally made Notification Center a feature I use regularly, and I’m excited to see what ideas developers will come up with for Today widgets on the Mac, as I use my Mac’s Notification Center even less as it is right now.
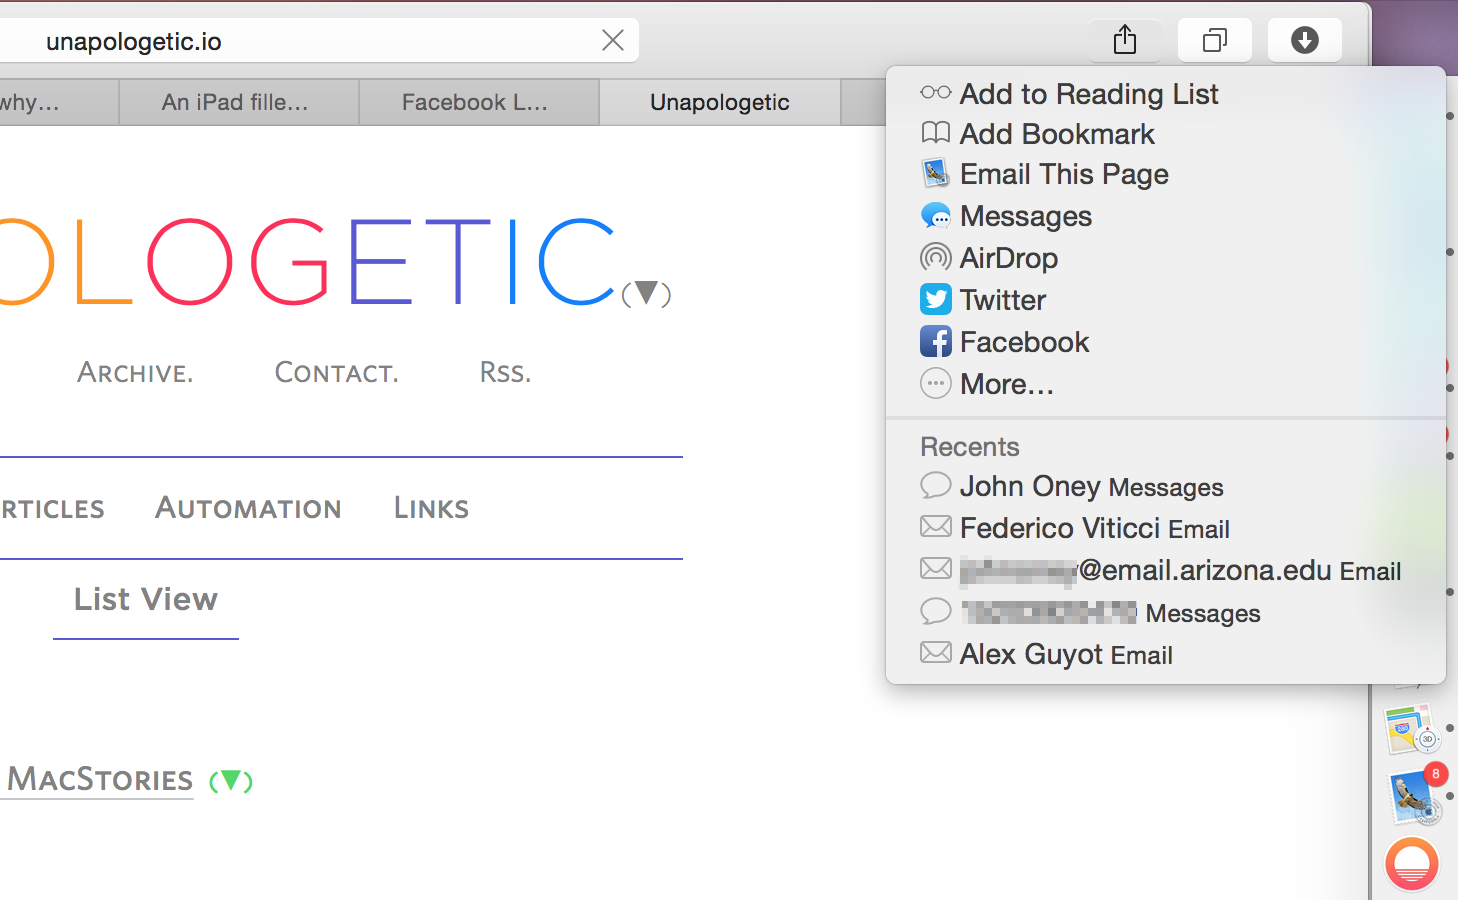
The next type of extension is the Share extension. This one is pretty self explanatory: it creates a centralized place for users to go to share content from one app to another which has provided a share extension. Share extensions can bring up custom UIs which pull content from the host app (the app from which the user has activated the Share extension). The user can optionally edit, annotate, or otherwise configure the content before sending it off to wherever the developer has specified it be shared, such as to an online service or simply into the app providing the extension itself so it is available when that app is next opened.
Share extensions can be activated from a few different locations. First and foremost, they are available under the share button (the box with the arrow pointing straight up out of it) in any app that supports sharing content. Next, they are accessibly from the contextual menu that pops up when you control-click an item that supports sharing (such as a URL or a file on your Desktop). Finally, you can access certain Share extensions via the “Social” section of Notification Center. This section is itself a Today widget, so if you don’t see it that may be because you have the widget turned off in Notification Center.
The third type, Action extensions, allow users to transform content or views of content from the host app.
Built into Yosemite by default is an Action extension for annotating photos. You can find it in the Mail app when you attach a photo. Hover your mouse over the photo and a small button with a downward facing arrow will appear in the top right corner. Clicking this will reveal the list of available action extensions. Select Markup and you can draw shapes on the image, add text, magnifying glasses, a signature, and more. When you’re finished just choose Done to exit the interface and save your changes to the photo (only the copy in the email, the image’s file on your computer will remain untouched in this case).
In terms of view manipulation, Apple mentions a few possibilities in their extensions documentation: Action extensions could be used to display selected text in a different language, or a selected image in a different format. It will be interesting to see what ideas third-party developers start coming up with. My one qualm with the implementation of Action extensions is that their availability is annoyingly nebulous. On iOS, Action extensions live in the share sheet right below Share extensions, but on OS X they can only be found in that elusive, disappearing down arrow button. Continuing to use the Markup Action extension as an example, the extension seems to only be available inside the Mail app. When I open Pages, insert an image, and hover over it with my mouse, no little arrow pops up. I likely just need to wait for Pages to get updated with the capability of handling Action extensions, but the fact that the button is only sometimes available makes it much more difficult to distinguish between content that does not support Action extensions and apps that just haven’t updated for the new features yet.
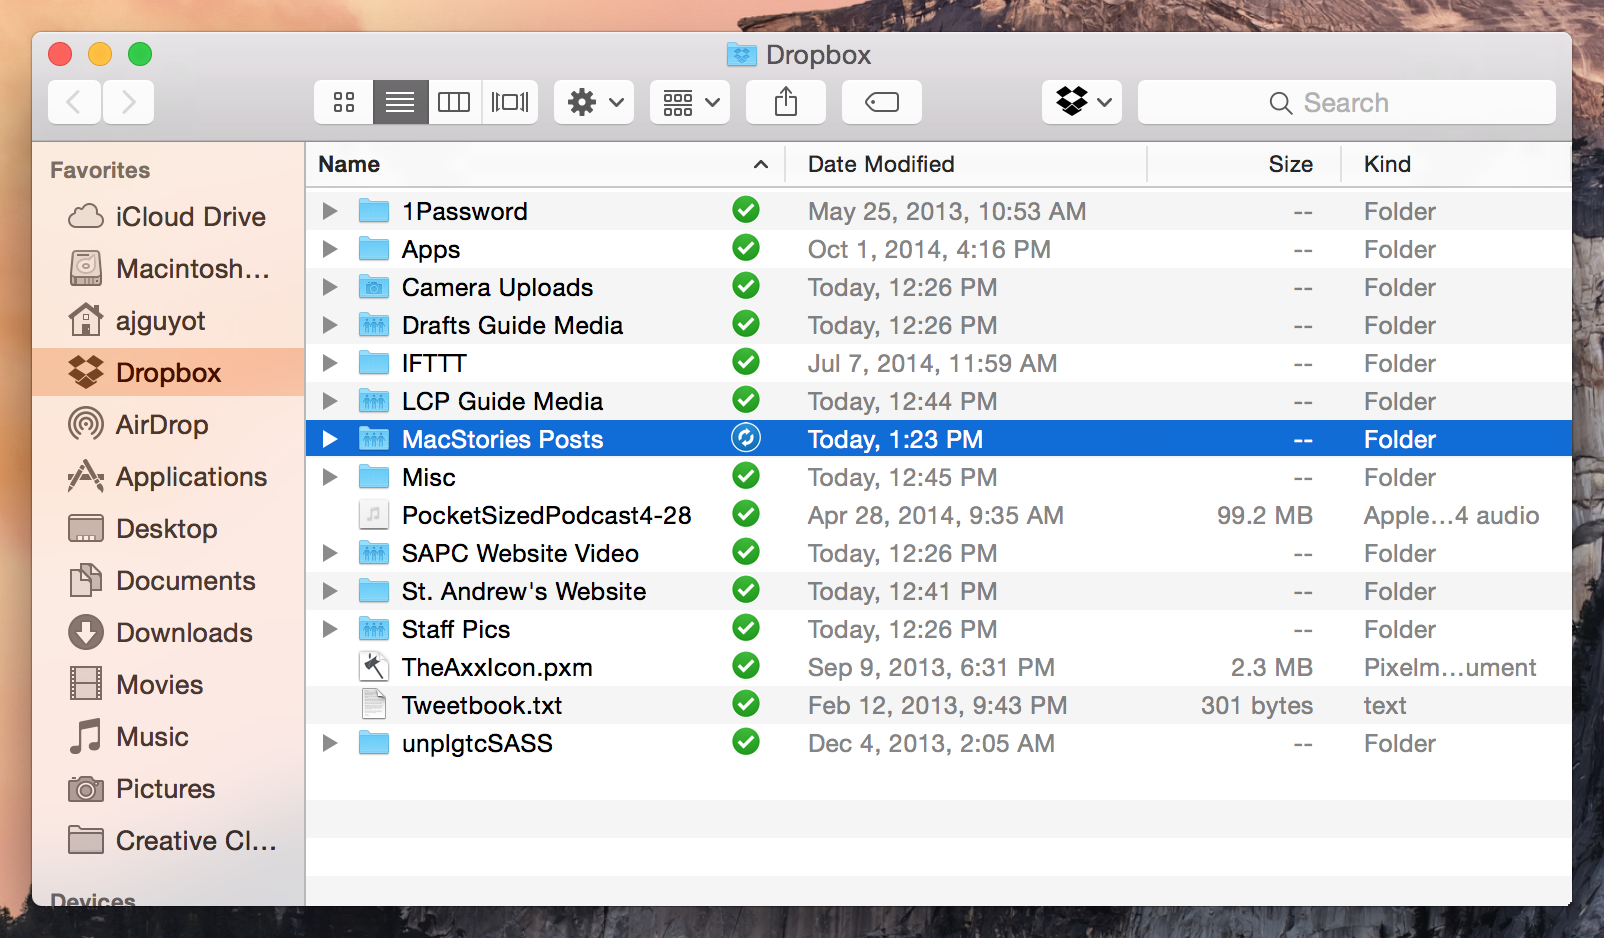
The final extension type in Yosemite is the Finder Sync extension. Finder Sync extensions allow you to tweak the capabilities and user interface of the Finder app by monitoring certain folders or adding custom toolbar buttons. Finder Sync extensions are designed to make it easier for third party services to monitor user activity within particular folders in order to keep things in sync and add elements to the interface to improve the experience. Finder Sync extensions will be able to place custom badges, small icons, on folders or files, as well as opening custom contextual menus when users control-click inside monitored folders. Finder Sync extensions will receive notifications any time a user starts or stops looking at the content inside a monitored folder, or when they save or open files in the folder. This extension seems very much geared towards third-party file system services such as Dropbox, which will benefit greatly from the increased control and capabilities within the Finder.
Unlike iOS, OS X has not been suffering from inter-app communication restrictions for quite a long time. Still, extensions in OS X are for the first time providing a truly standardized way for many inter-app communication processes to be implemented. Since extensions are added at the system level, third-party developers need only build support for these new services once, and any app which has extensions will be able to provide them to every app that supports them. This will exponentially decrease the amount of work developers would previously have needed to put in to make these kinds of interactions with so many other apps possible. I’m expecting great things from extensions in iOS 8, and I can’t wait to see what developers start serving up.
JavaScript for Automation
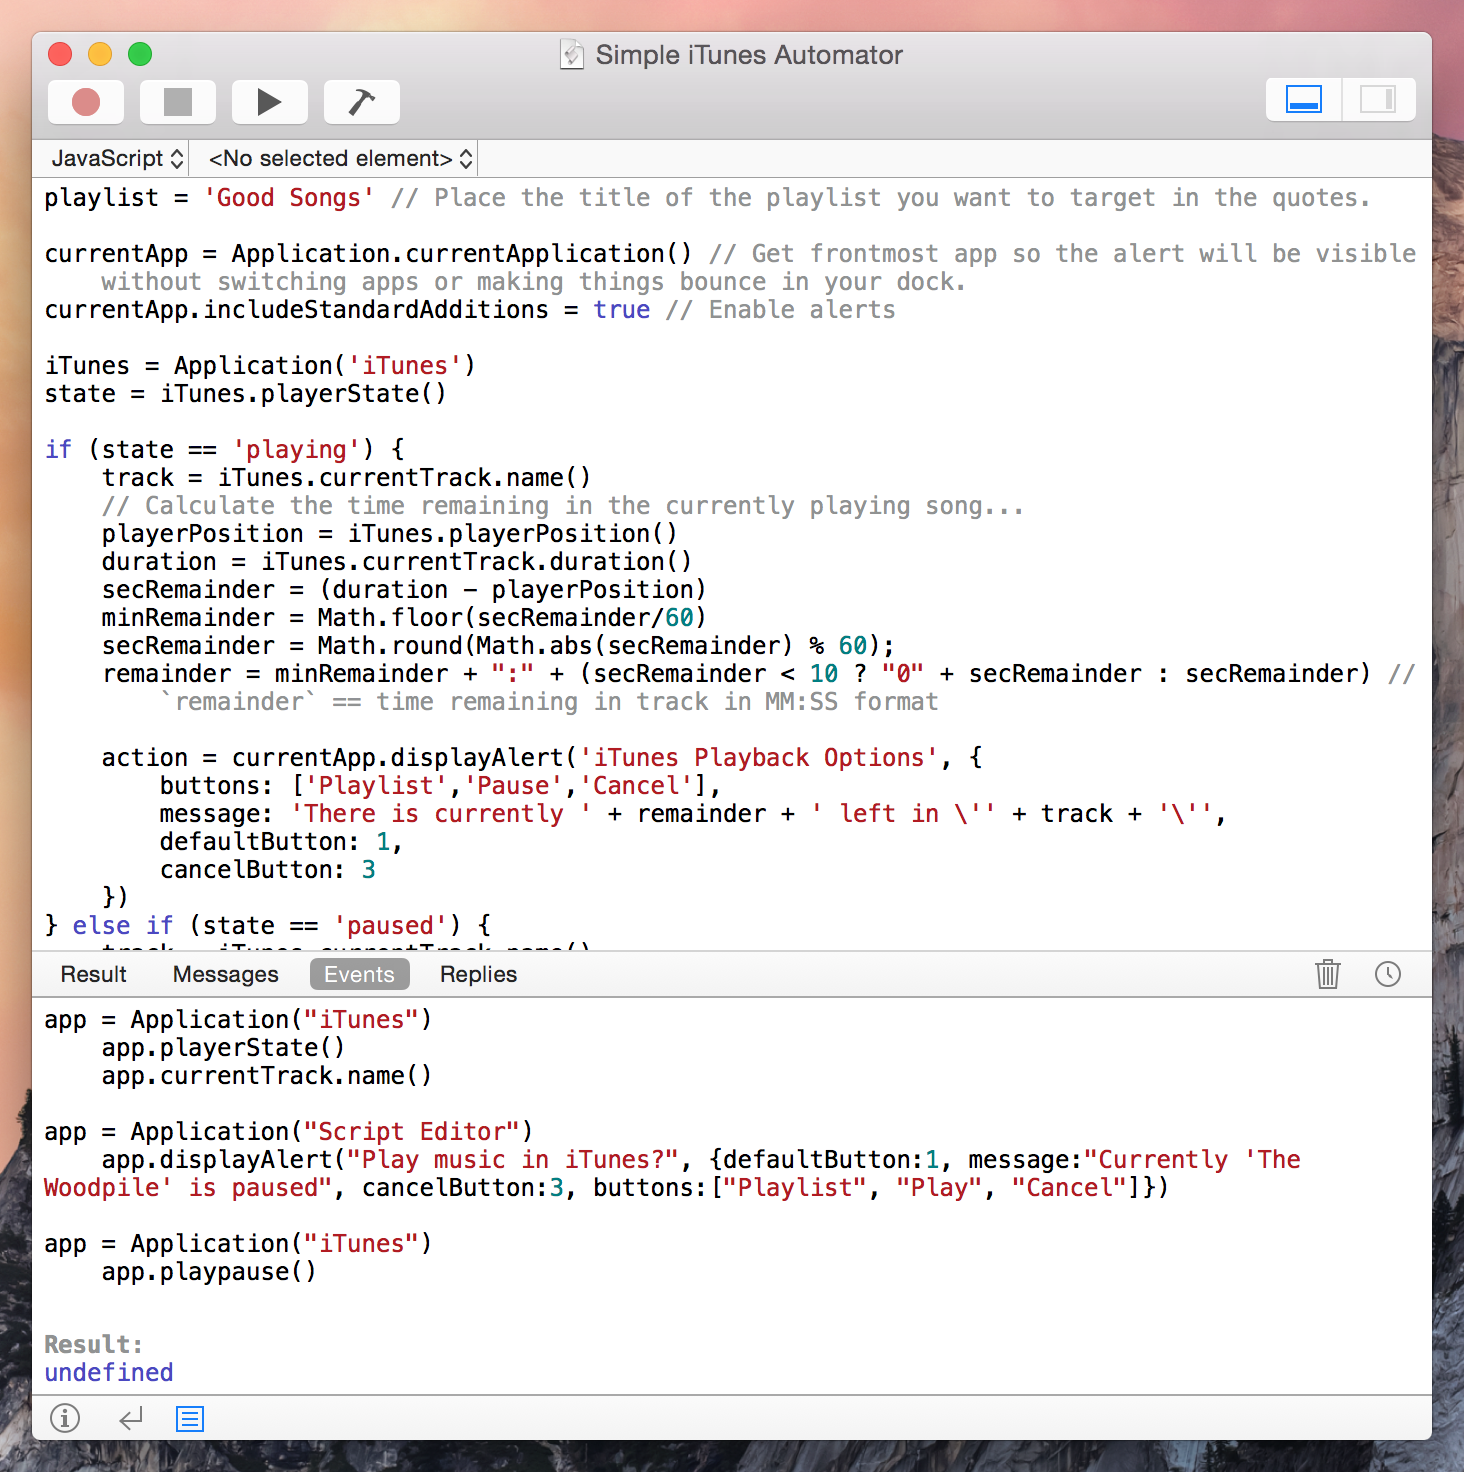
Beyond extensions, the other main addition to OS X automation is the introduction of JavaScript for Automation (JXA). Before Yosemite, the only language available for scripting apps on OS X was AppleScript, a simple language designed to be as much like plain English as possible. While AppleScript isn’t too hard to pick up, the prospect of starting to learn any new language can be daunting, and JavaScript for Automation removes this road block for many. If you already know the more popular standard JavaScript, jumping into JXA is much easier than learning AppleScript from scratch. That said, JXA is not the same as the JavaScript that you may be used to on the web. JXA is not focused on interacting with a DOM or building web apps. Rather, it extends the JavaScript core language to integrate it with the Open Scripting Architecture (OSA) of OS X.
OSA is a mechanism for inter-app communication between Mac apps, and it is what AppleScript and JXA are built on. The communication occurs by sending “Apple Events” – messages which include commands or data – back and forth between apps. OSA allow Mac developers to create scriptable applications, and it allows any user who knows AppleScript (or, now, JXA) to automate these applications.
Just like AppleScript, JavaScript for Automation scripts are written in the Script Editor app, which comes installed on every Mac. To write your scripts in JavaScript instead of AppleScript, make sure you change the dropdown in the top left (beneath the record button) from “AppleScript” to “JavaScript”. With that done you can start writing code in the top window pane of the Script Editor. Clicking the Play button at the top will run whatever code you have at any given time.
There are two types of automation possible with JXA. The first is the automation of applications that are installed on your computer. This type of automation generally does not do anything that you would be unable to do manually, but is intended to automate these otherwise manual workflows to save time and clicks.
Automating applications is possible in two different ways: calling methods specifically provided by the apps, or using UI automation. The former is only possible if a developer has manually built support for automation into their app, so not every app can be automated in this manner. There is no standard for what set of methods is supported, but this information is readily available in the Script Dictionary (accessible via Window > Library, or Finder > Open Dictionary in Script Editor). If you’re automating applications with JXA, you will be getting very familiar with this tool. When you open an app’s dictionary, you can scroll through a list of every method, object, and property which can be called or manipulated with JXA.
JXA is JavaScript at its core, so you have access to some of JavaScript’s most powerful features, such as wrapping code blocks into functions that can then be called multiple times. JXA takes this a step further by allowing the creation of Libraries. A Library is script full of functions which can be imported into any of your other JXA scripts. If you import a Library you can then call any of its functions within your new script, so these can be used to great effect if you find yourself reusing some of the same code methods throughout multiple different scripts. This way, if you want to make a change to these methods, you only need to do it once and the change will be reflected across every script that imports from the changed Library.
The downside to application automation is that even when apps do support it, the methods often do not extend to the their full feature set. For instance, iTunes supports methods for playing a song from a local playlist, but not from an iTunes Radio station (at least, if this is possible, it is not documented and I was unable to find it, which basically equates to the same thing). For situations like this, the only option is to resort to UI automation.
UI automation is not fun. While not particularly difficult, it can be extremely time consuming to get working, and requires a lot of guessing and checking. The basic idea of UI automation is to use the Accessibility framework built into most Mac apps in order to mimic an actual mouse clicking around within the interface. To do this you need to understand exactly how the interface is mapped out in the eyes of the accessibility engine, and this information can be difficult to get ahold of. Regardless of the drawbacks of UI automation, it is without a doubt a very powerful feature, as it opens up a much larger set of apps to be automated.
I mentioned earlier that there were two types of automation possible with JavaScript for Automation. The first is application automation, but the second is automation by actually building a mini application.
An applet is a standalone script which acts as an application, immediately executed code when you double click to open it. Applets bypass the step of opening scripts into Script Editor before playing them, and have access to some special events which allow them to run functions at different times, such as when they are initially run, when they are left idle, and right before they are quit.
You can even take an applet and paste its code into a JavaScript step in Automator, then save that workflow to the Services folder and it will appear in your Services menu, making it available to be run from the title menu button of any app. Another cool trick: Services can be bound to key combinations directly in the Settings app (Keyboard > Shortcuts > Services > Scroll to the bottom > Add keyboard shortcut), so if you save your applet as a Service, you can set it up to run when you type a key command without needing to have any third party services like Keyboard Maestro installed. Saving scripts as Services is not limited to applets either; scripts for automating applications can be saved in this manner as well.
The final feature of JavaScript for Automation is by far the most powerful. Apple has built in an Objective-C bridge, meaning that if you know Objective-C, you can use JXA to access the file system or even to build Cocoa applications. You’ll need to learn the tweaked syntax which translates Objective-C method names into JXA, as well as a few other new tricks to get everything up and running, but overall the transition does not seem too difficult, and you should be up and running fairly quickly.
To dig deeper into the syntax of JXA, from the simple application and UI automation to the more advanced features such as making applets and using the Objective-C bridge, I encourage you to check out the JavaScript for Automation release notes. Another resource I found very useful was the WWDC session video on JXA.
Wrap Up
With OS X Yosemite, Apple has taken some big steps with automation. Until 10.10, automation has been almost solely a feature for power users, but new additions like extensions are expanding the scope of automation on OS X, making it a much more mass market feature. That said, Apple has not forsaken classic automation, and Yosemite has a lot of new features for power users to be excited about too.
JavaScript for Automation not only makes Mac automation more accessible to more people, but it also introduces some extremely powerful new features like JavaScript applets or Services and the Objective-C bridge. While much of JXA’s feature set was already possible with AppleScript, it’s still a great addition to OS X’s automation architecture, and will open the doors for many more coders to start saving time on their Macs.


