If I was limited to the number of applications I could install on my Mac, I would probably limit the bulk of that to those made by The Omni Group. From OmniFocus to OmniOutliner, I consistently am able to achieve a workflow standard that enables me to be agile when it comes to getting ideas off of my brain and onto virtual paper. In the case of OmniOutliner, a dated yet incredibly powerful application whose outline architecture is currently being introduced in apps such as OmniPlan, the amount of practicality it has brought to my idea well has been astounding. From typing on a blank slate to producing quick lists of app ideas, article drafts, and review checklists, the key tool in my workflow next to a good text editor has been OmniOutliner.
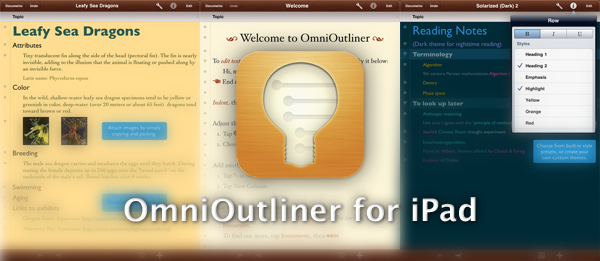
With a quick approval from Apple (Ken Case first announced the app last week), OmniOutliner for the iPad is now available on the App Store, bringing the quick and powerful features from the desktop app into a carefully handcrafted interface designed to be approachable and efficient. Repurposed to fit the finish and feel of iOS, OmniOutliner for iPad is imaginative in design, incredibly touch friendly, and extremely powerful for styling outlines and creating an experience that I’ve fallen in love with. I’d like to briefly cover just how The Omni Group made it all fit, and what you can expect diving into the app for the first time.
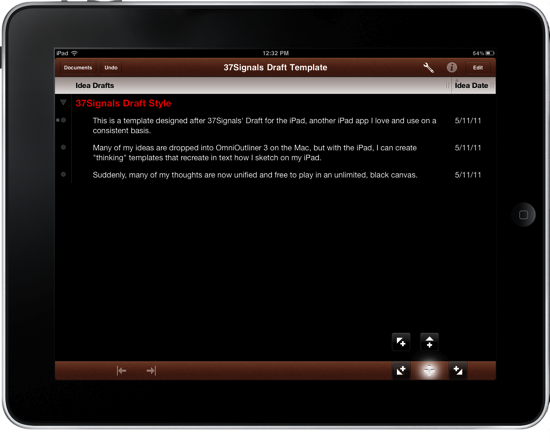
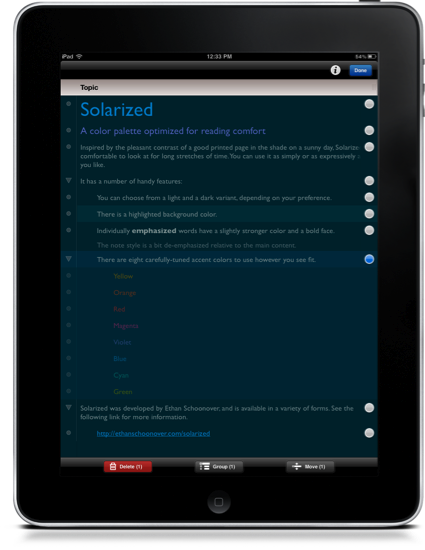
If you’ve never used OmniOutliner before, just imagine drafting an outline as you take college notes or write down a series of ideas. You start with a base thought, expanding on that idea and perhaps introducing dates or checkboxes along the way. Collapsable in a virtual interface, you can easily rearrange ideas, sort them in by column, and group related thoughts together with a personal styling that matches your personality or workflow. If you’re like me and want to unleash ideas into a 37Signals Draft style template, you’re free to black out the background and write in an empty space. Row highlights, automatic application of styles, and the ability to note your thoughts individually keeps your thoughts glued together in research, gathering, or referencing just about anything.
Impressive as always is The Omni Group’s attention to the interface, which is incredibly simple for how many features OmniOutliner for the iPad packs in. Adding indentations, notes, and rows is done via the editbar. The editbar has lots of cool tricks up its sleeve: if you tap & hold the new row button for example, you can create a new row in a number of new positions, indented or outdented, from the current row. Tapping and holding the notes button gives you the ability to globally reveal and hide all of your notes. These tap & hold features are powerful, and help slim down the controls needed to maintain OmniOutliner’s powerful feature set.
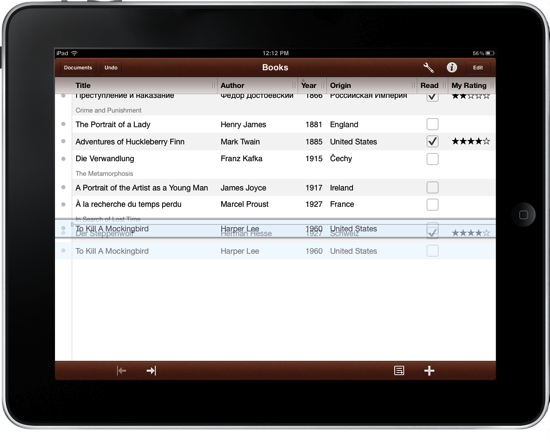
The editbar brings a lot of great powerful functionality when it comes to manipulating certain aspects of the app, but you can directly manipulate the canvas with tap & hold functions as well. Without the aid of any external tools, you can move entire rows and groups by simply dragging the row handles. The row handles are useful as well for deselecting rows, and swiping right across a row will give you the change to delete a bad idea.
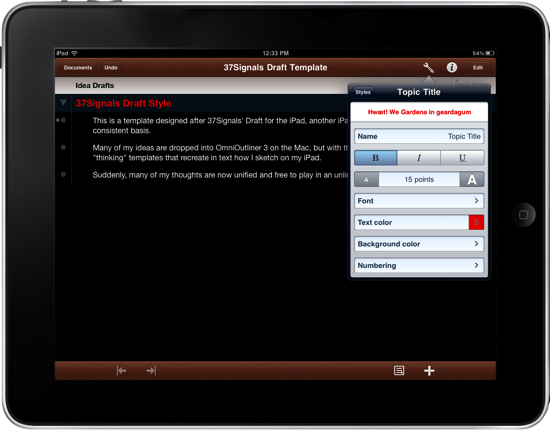
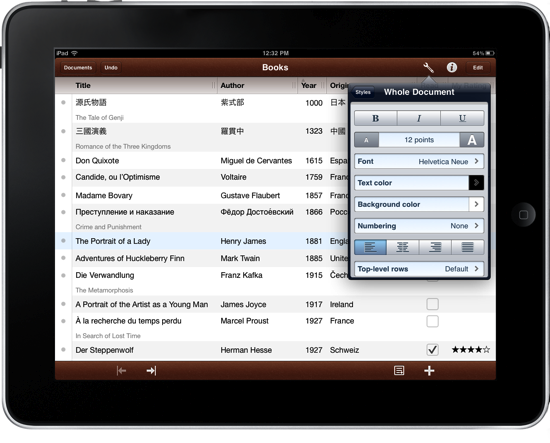
In styling your document, you can manage applied styles by column, individually by row, and can create custom styles which can be applied to top-level rows and children automatically as you outline your ideas. By creating a new base style using the intuitive tools popover, you can apply that style to the whole document, choosing a base font that’s applied to all text, followed by your choice styling top-level rows. Styles permeate in such a way that children are managed per style, and top-level rows are managed per document, and this concept is reinforced as you view the various examples and check out the default styles which are always accessible from the toolbar. It’s easy to quickly style your document and personalize it to your heart’s content.
Your completed outlines can be imported and exported to MobileMe iDisk or to a WebDAV server (you can use your OmniFocus sync server for this), providing some opportunity for mobility. And The Omni Group readily accepts feedback thanks to the Omni button available in the documents browser.
I’ve only scratched the surface of how OmniOutliner functions to bring everything you love about the desktop application to a mobile interface, and hopefully this overview gives you an idea of how you’ll interact with all of your previous tools. We haven’t touched base on columns (which smartly slide underneath the first column so you can reveal more info), nor are we addressing all of the possibilities this app could cover in your workflow. Fans of OmniOutliner for the Mac can purchase OmniOutliner for the iPad for $19.99 from the App Store. In the coming days, we’ll be going in depth with the features described above, and how OmniOutliner can be of great aid to your workflow.
For more information, a video tutorial, and the official press release, you can visit The Omni Mouth for the official blog post.


