One of the tradeoffs I see a lot in the apps we cover is between simplicity and flexibility. Simplicity has its virtues, but often apps designed to make things as easy as possible for users end up being inflexible, resulting in cookie-cutter output. The flip side is that maximum flexibility can get out of hand fast, leading to a steep learning curve. Striking the right balance is hard, but the apps that do are always among my favorites because they work so well for a wide audience. That’s exactly how I feel about Captionista, an iPhone and iPad app for adding text to video. It’s simple to understand but includes the kind of depth that epitomizes what it means to do one thing well.
I don’t work with video a lot, and when I do, my needs are pretty simple. Often, I want to demonstrate something with a screen recording, which isn’t always easy to follow without some sort of explanation. That’s where Captionista comes in.
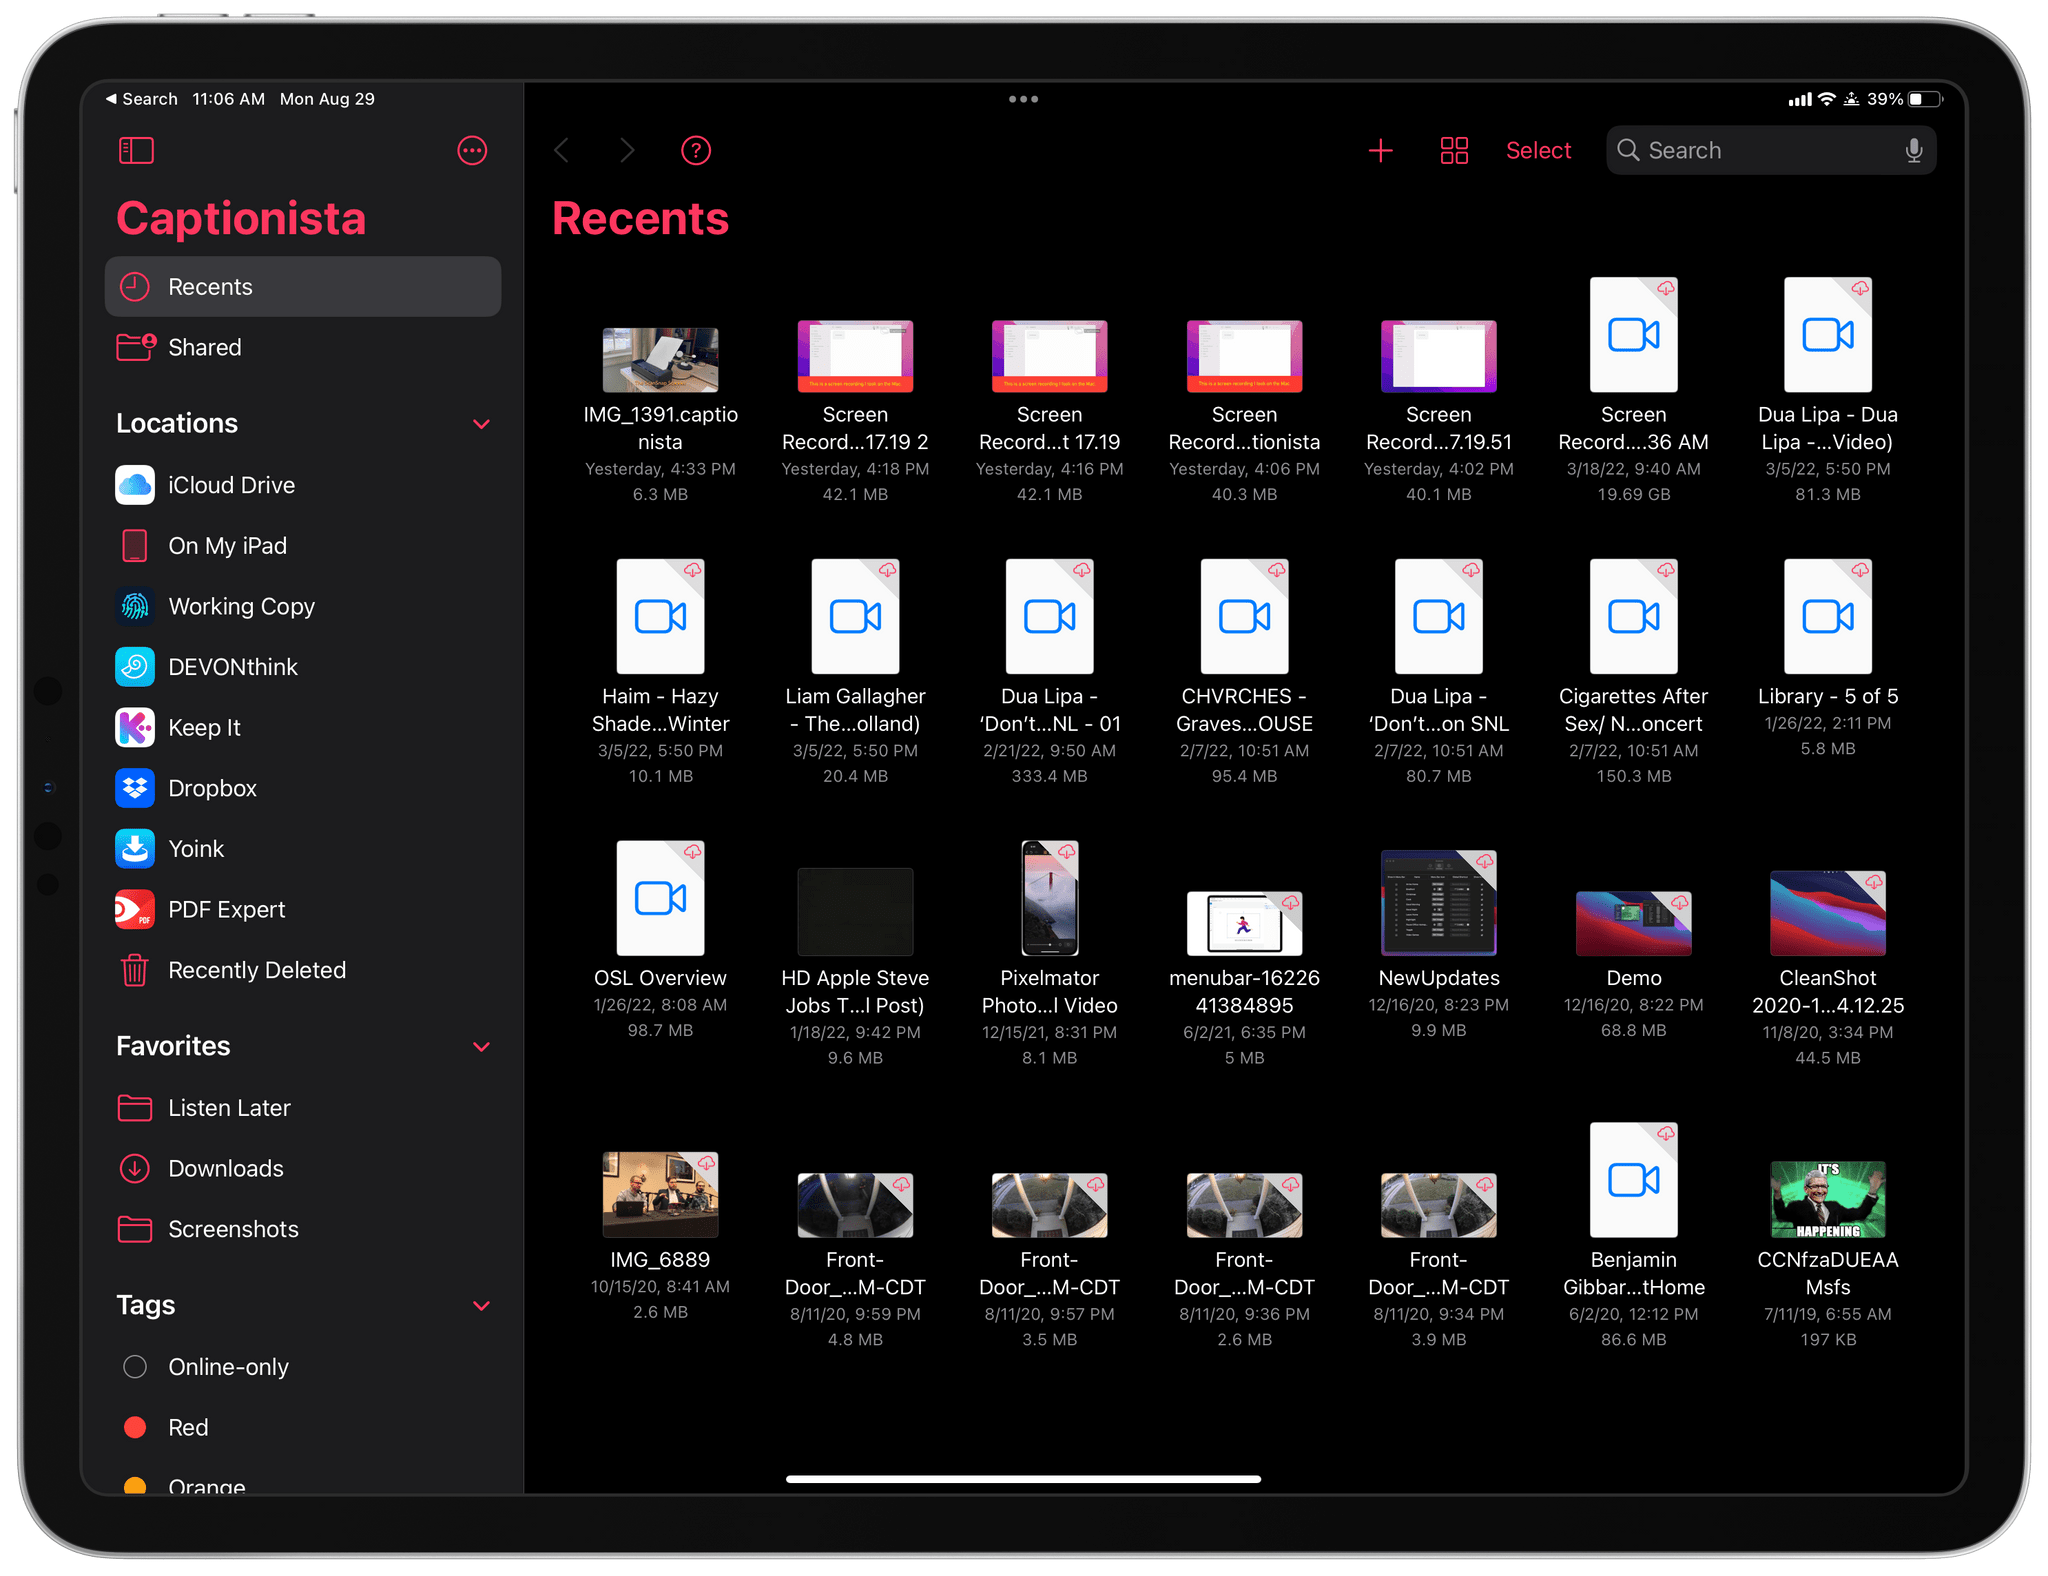
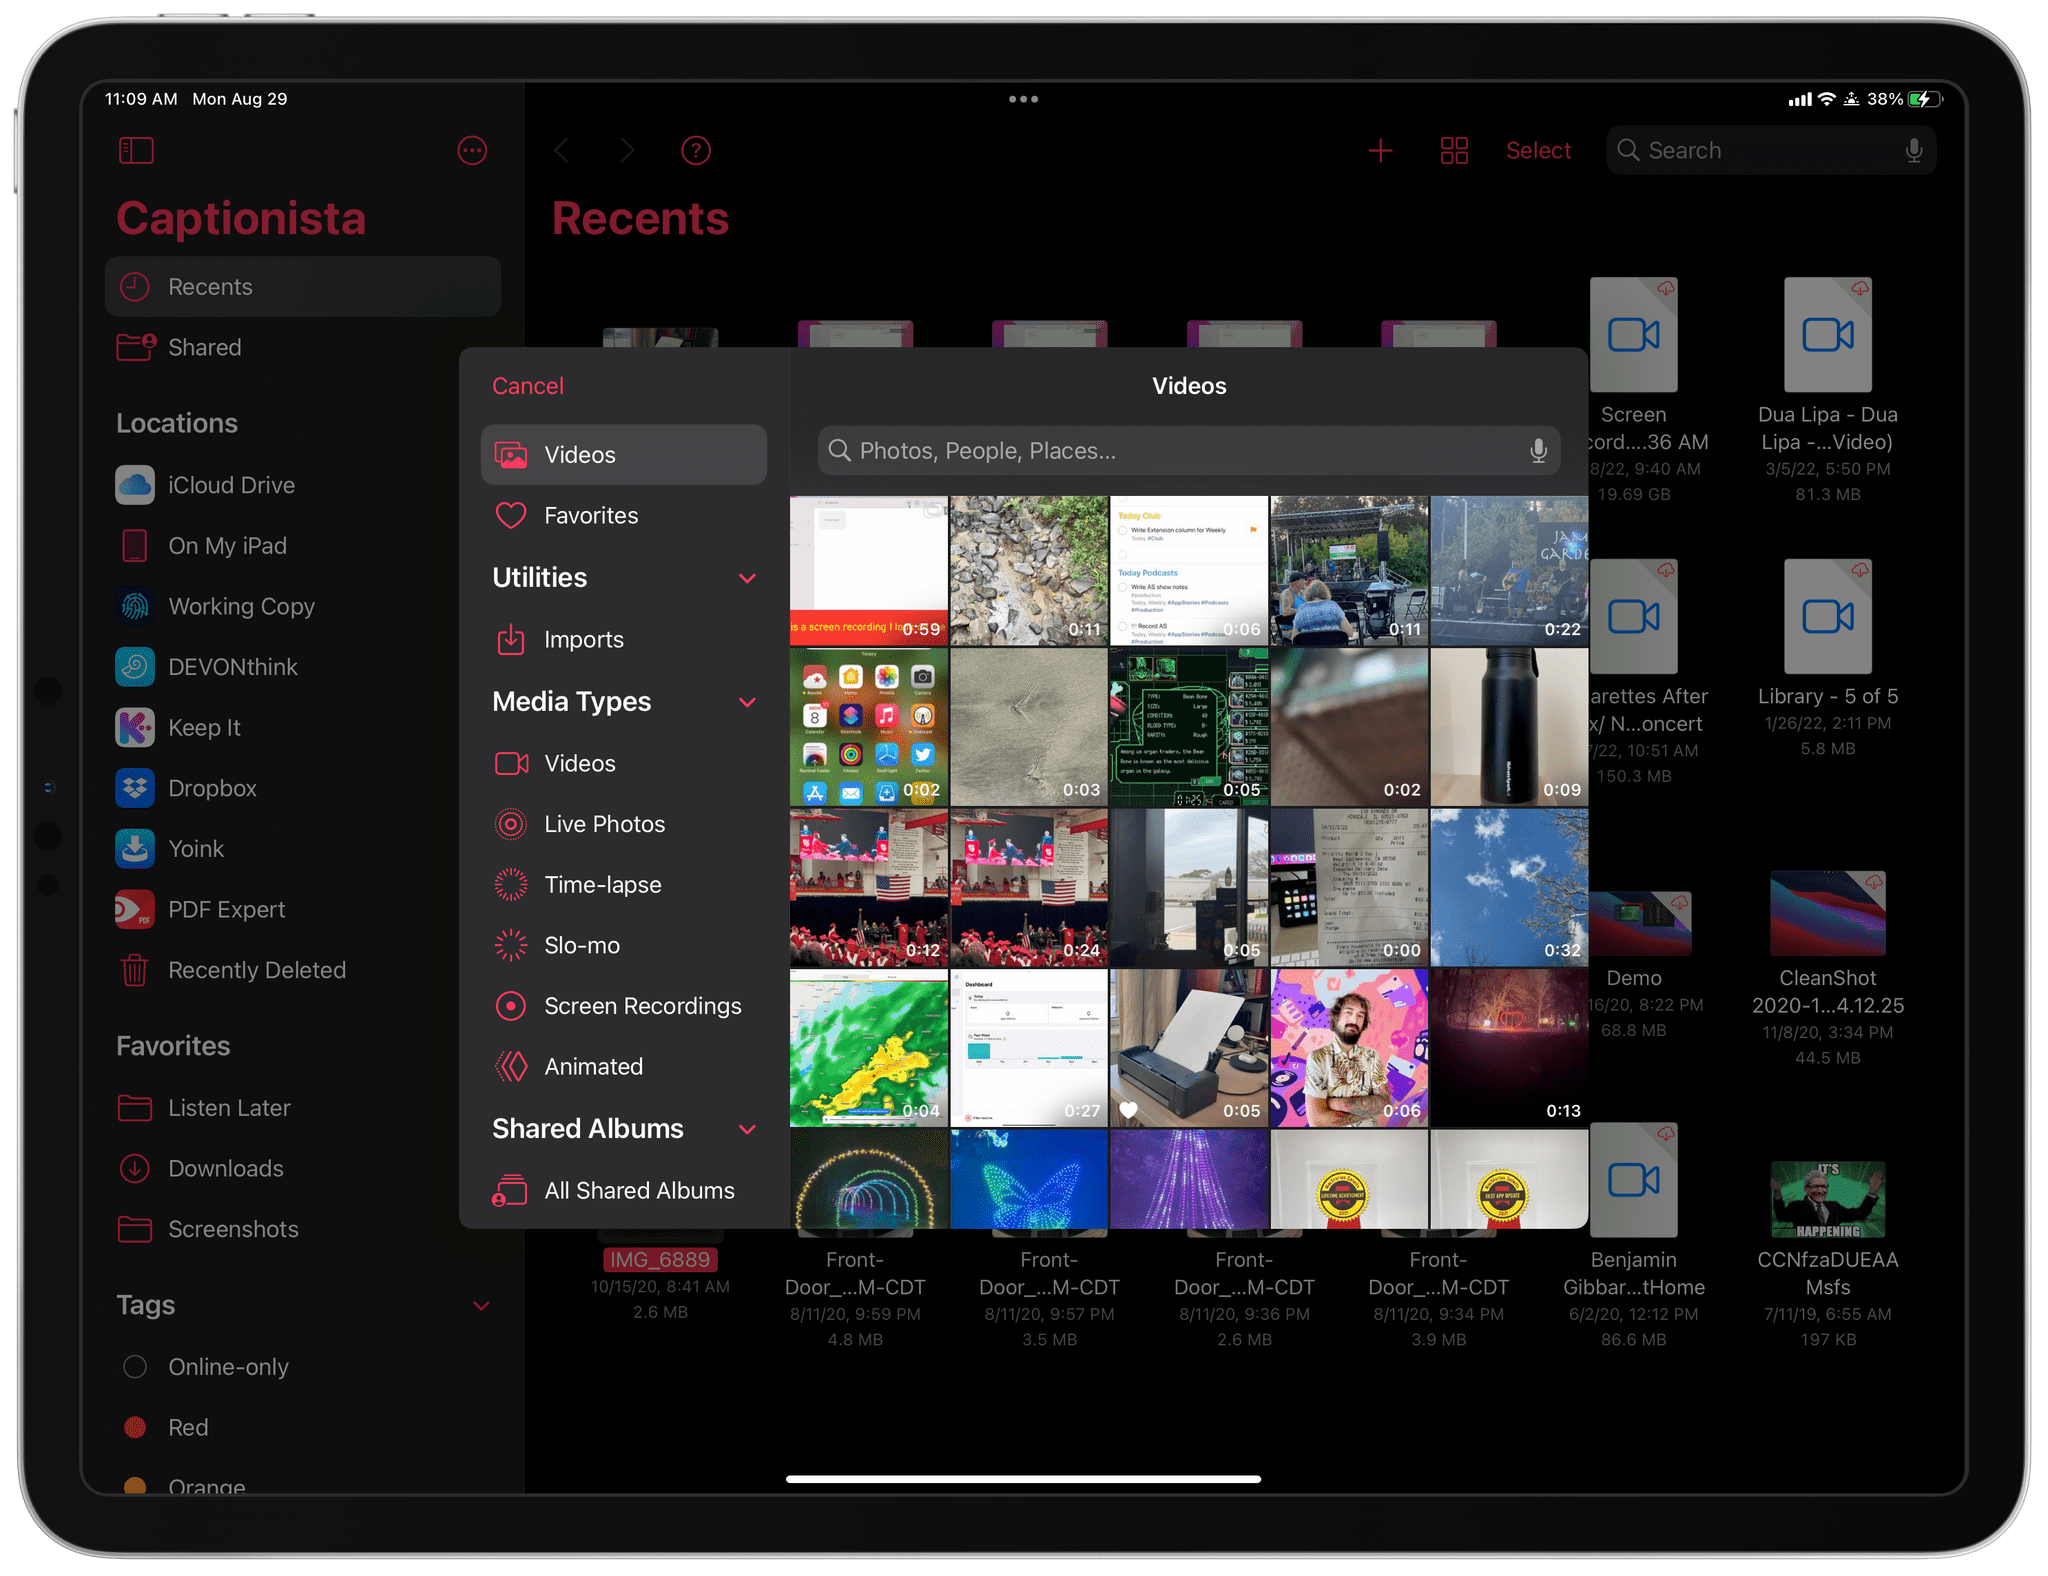
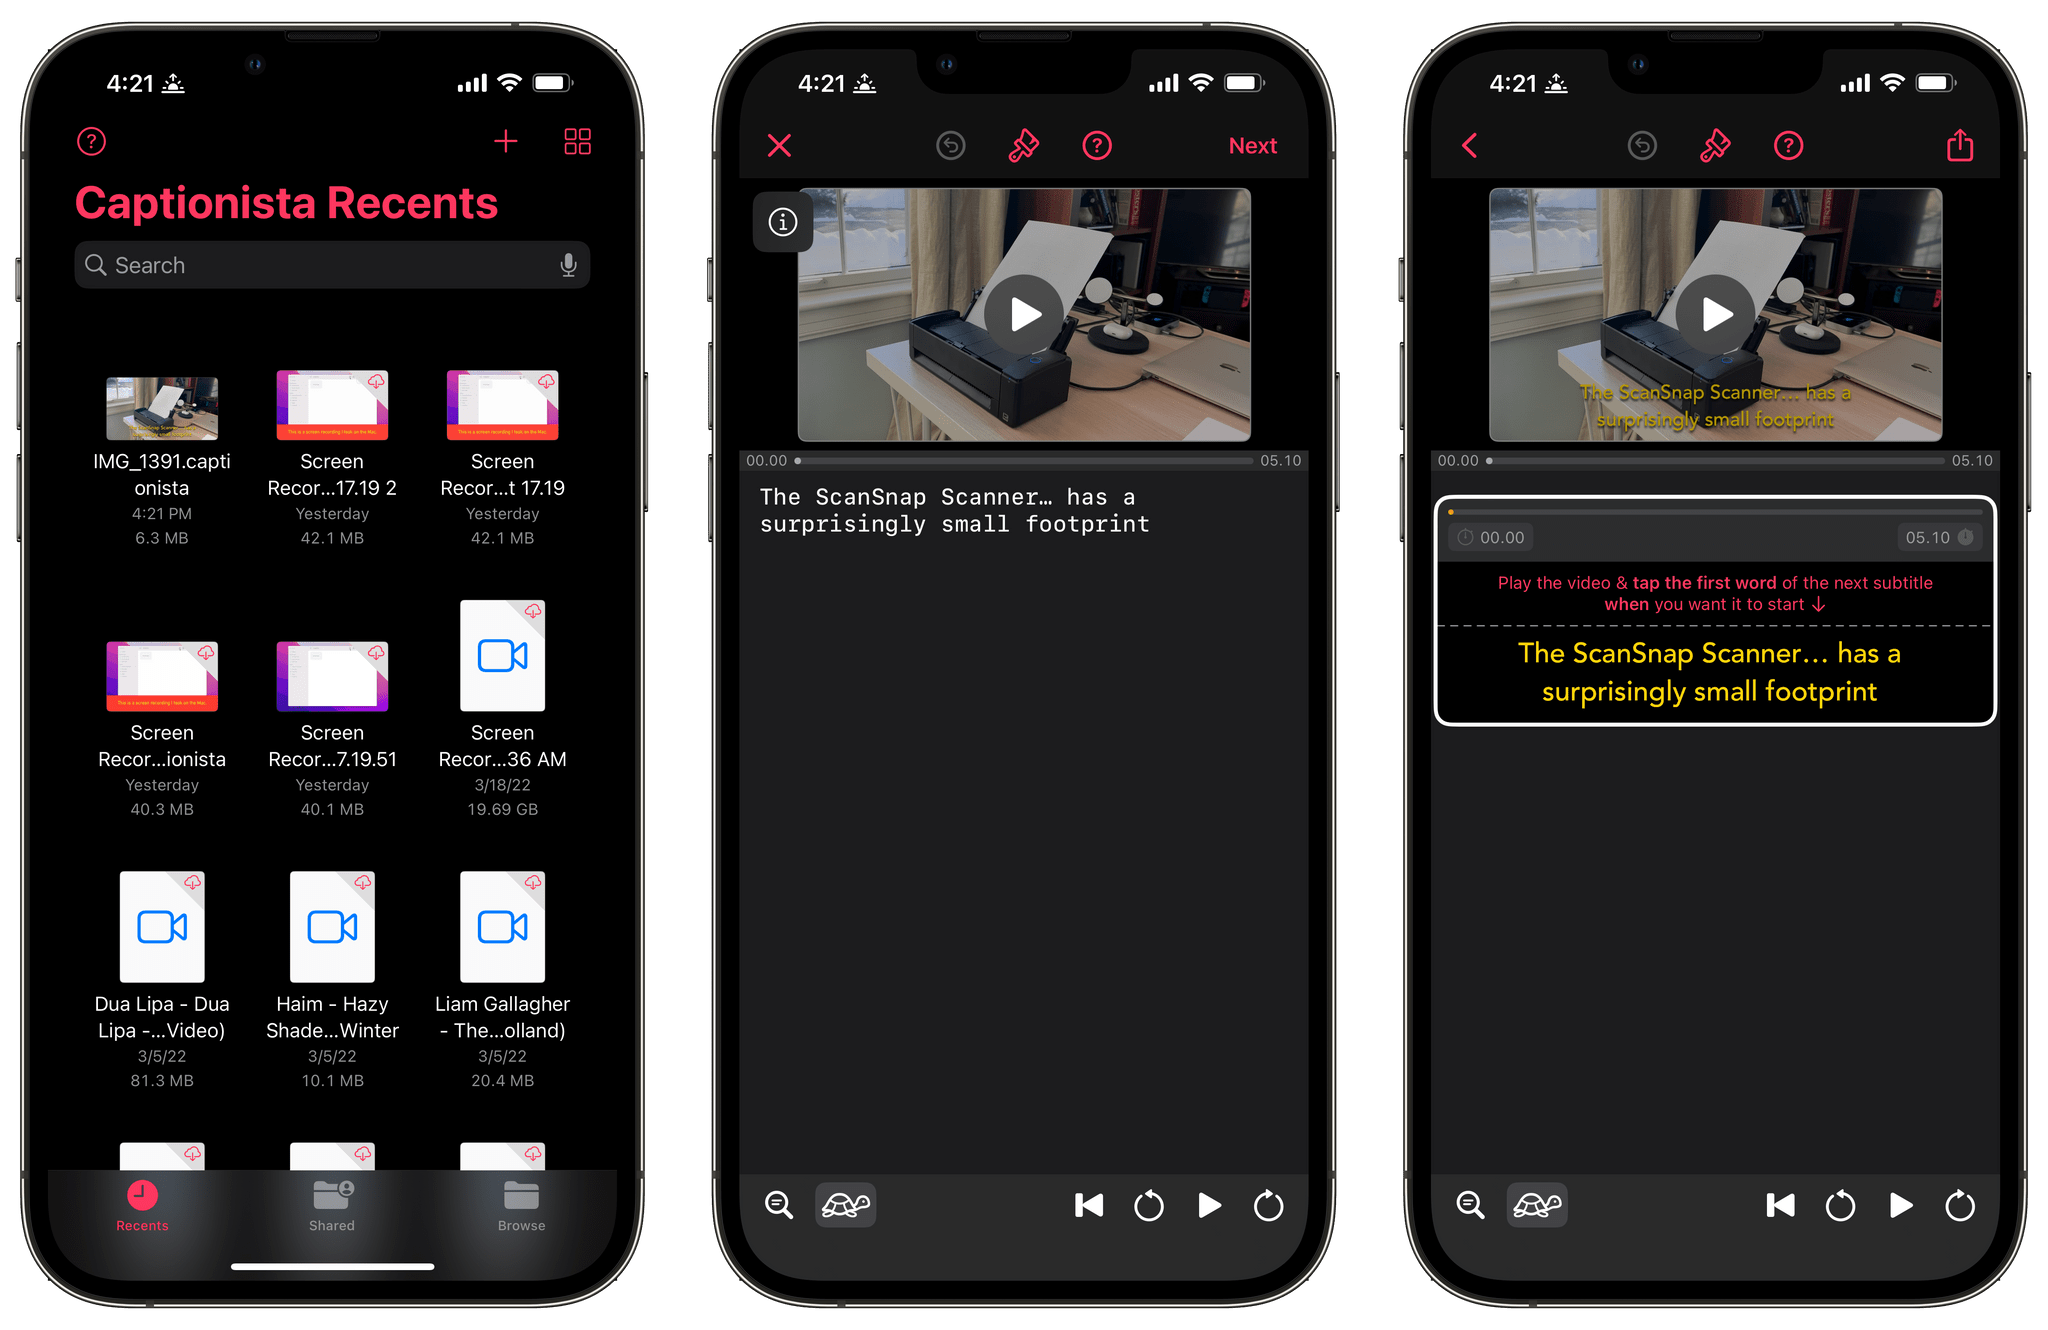
I’ve been testing Captionista almost exclusively on my iPad Pro, but it’s available for the iPhone too. The app uses the native iOS and iPadOS file picker to let you choose a video from any system file provider. Alternatively, you can create a new video using the plus button in the toolbar, which provides access to the videos in your iCloud photo library.
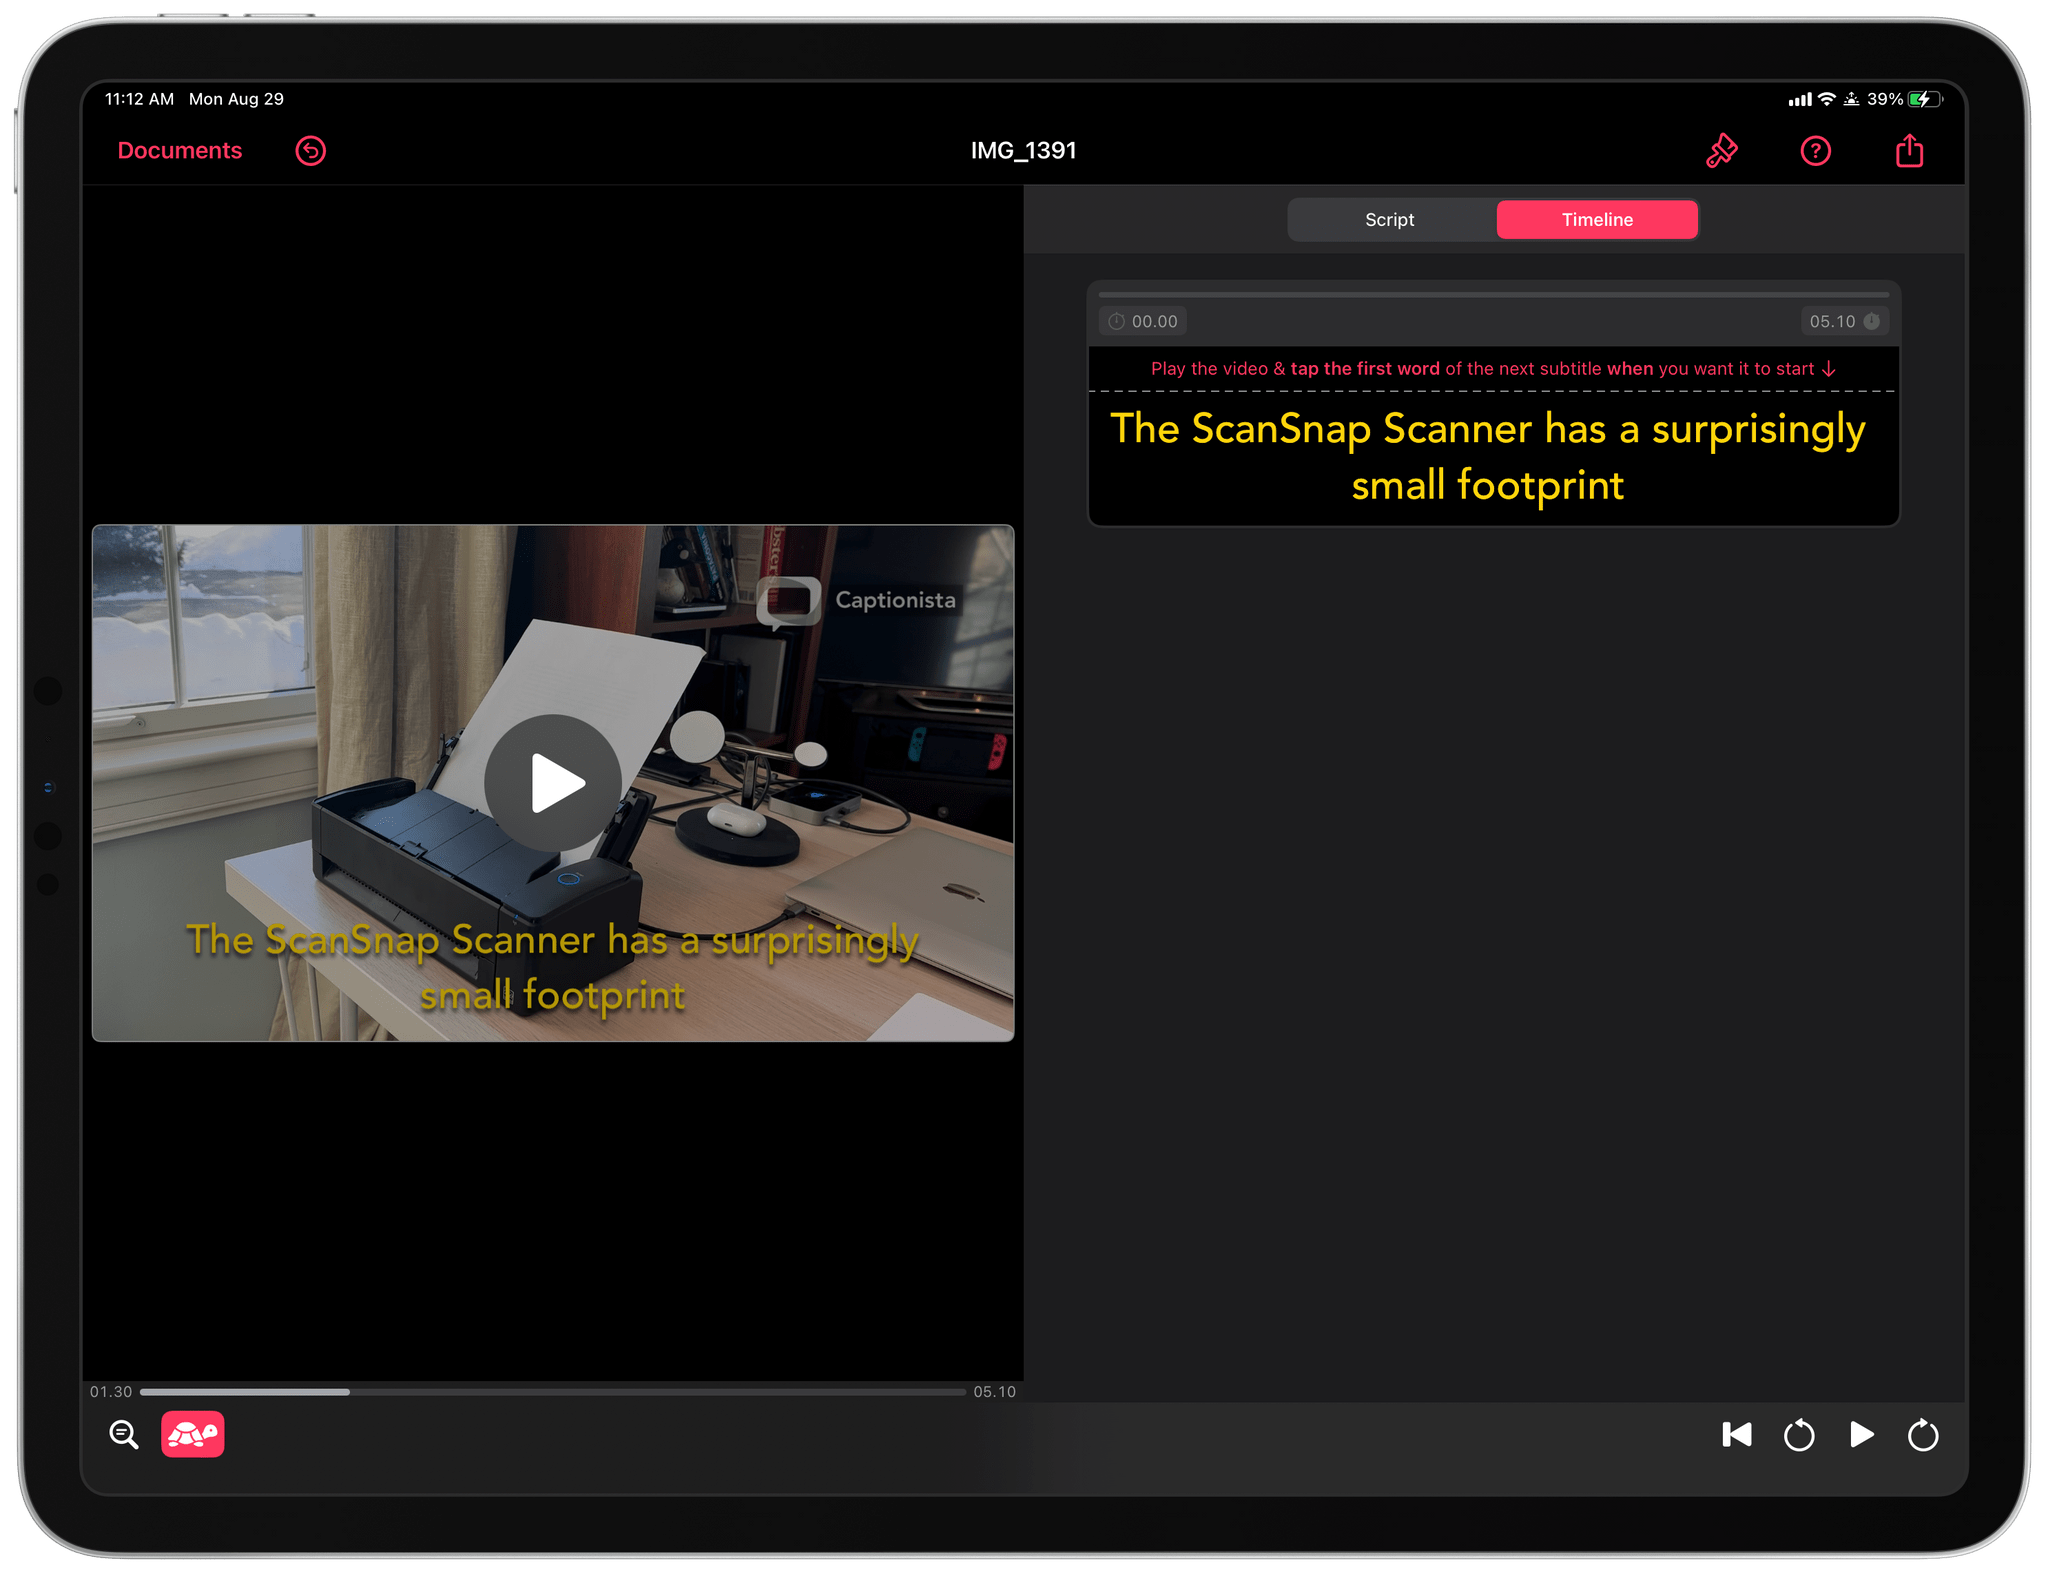
Once you’ve picked a video, it appears on the left half of the iPad’s screen. The right side is reserved for adding your text and syncing it to your video timeline. The playback controls are simple. You can toggle between play and pause by tapping the video or the play/pause button in the bottom toolbar. This is one place I’d like a little more control because the scrubber doesn’t advance when you swipe on it, although there are controls to skip back to the beginning of your video or skip forward and back by five seconds at a time.
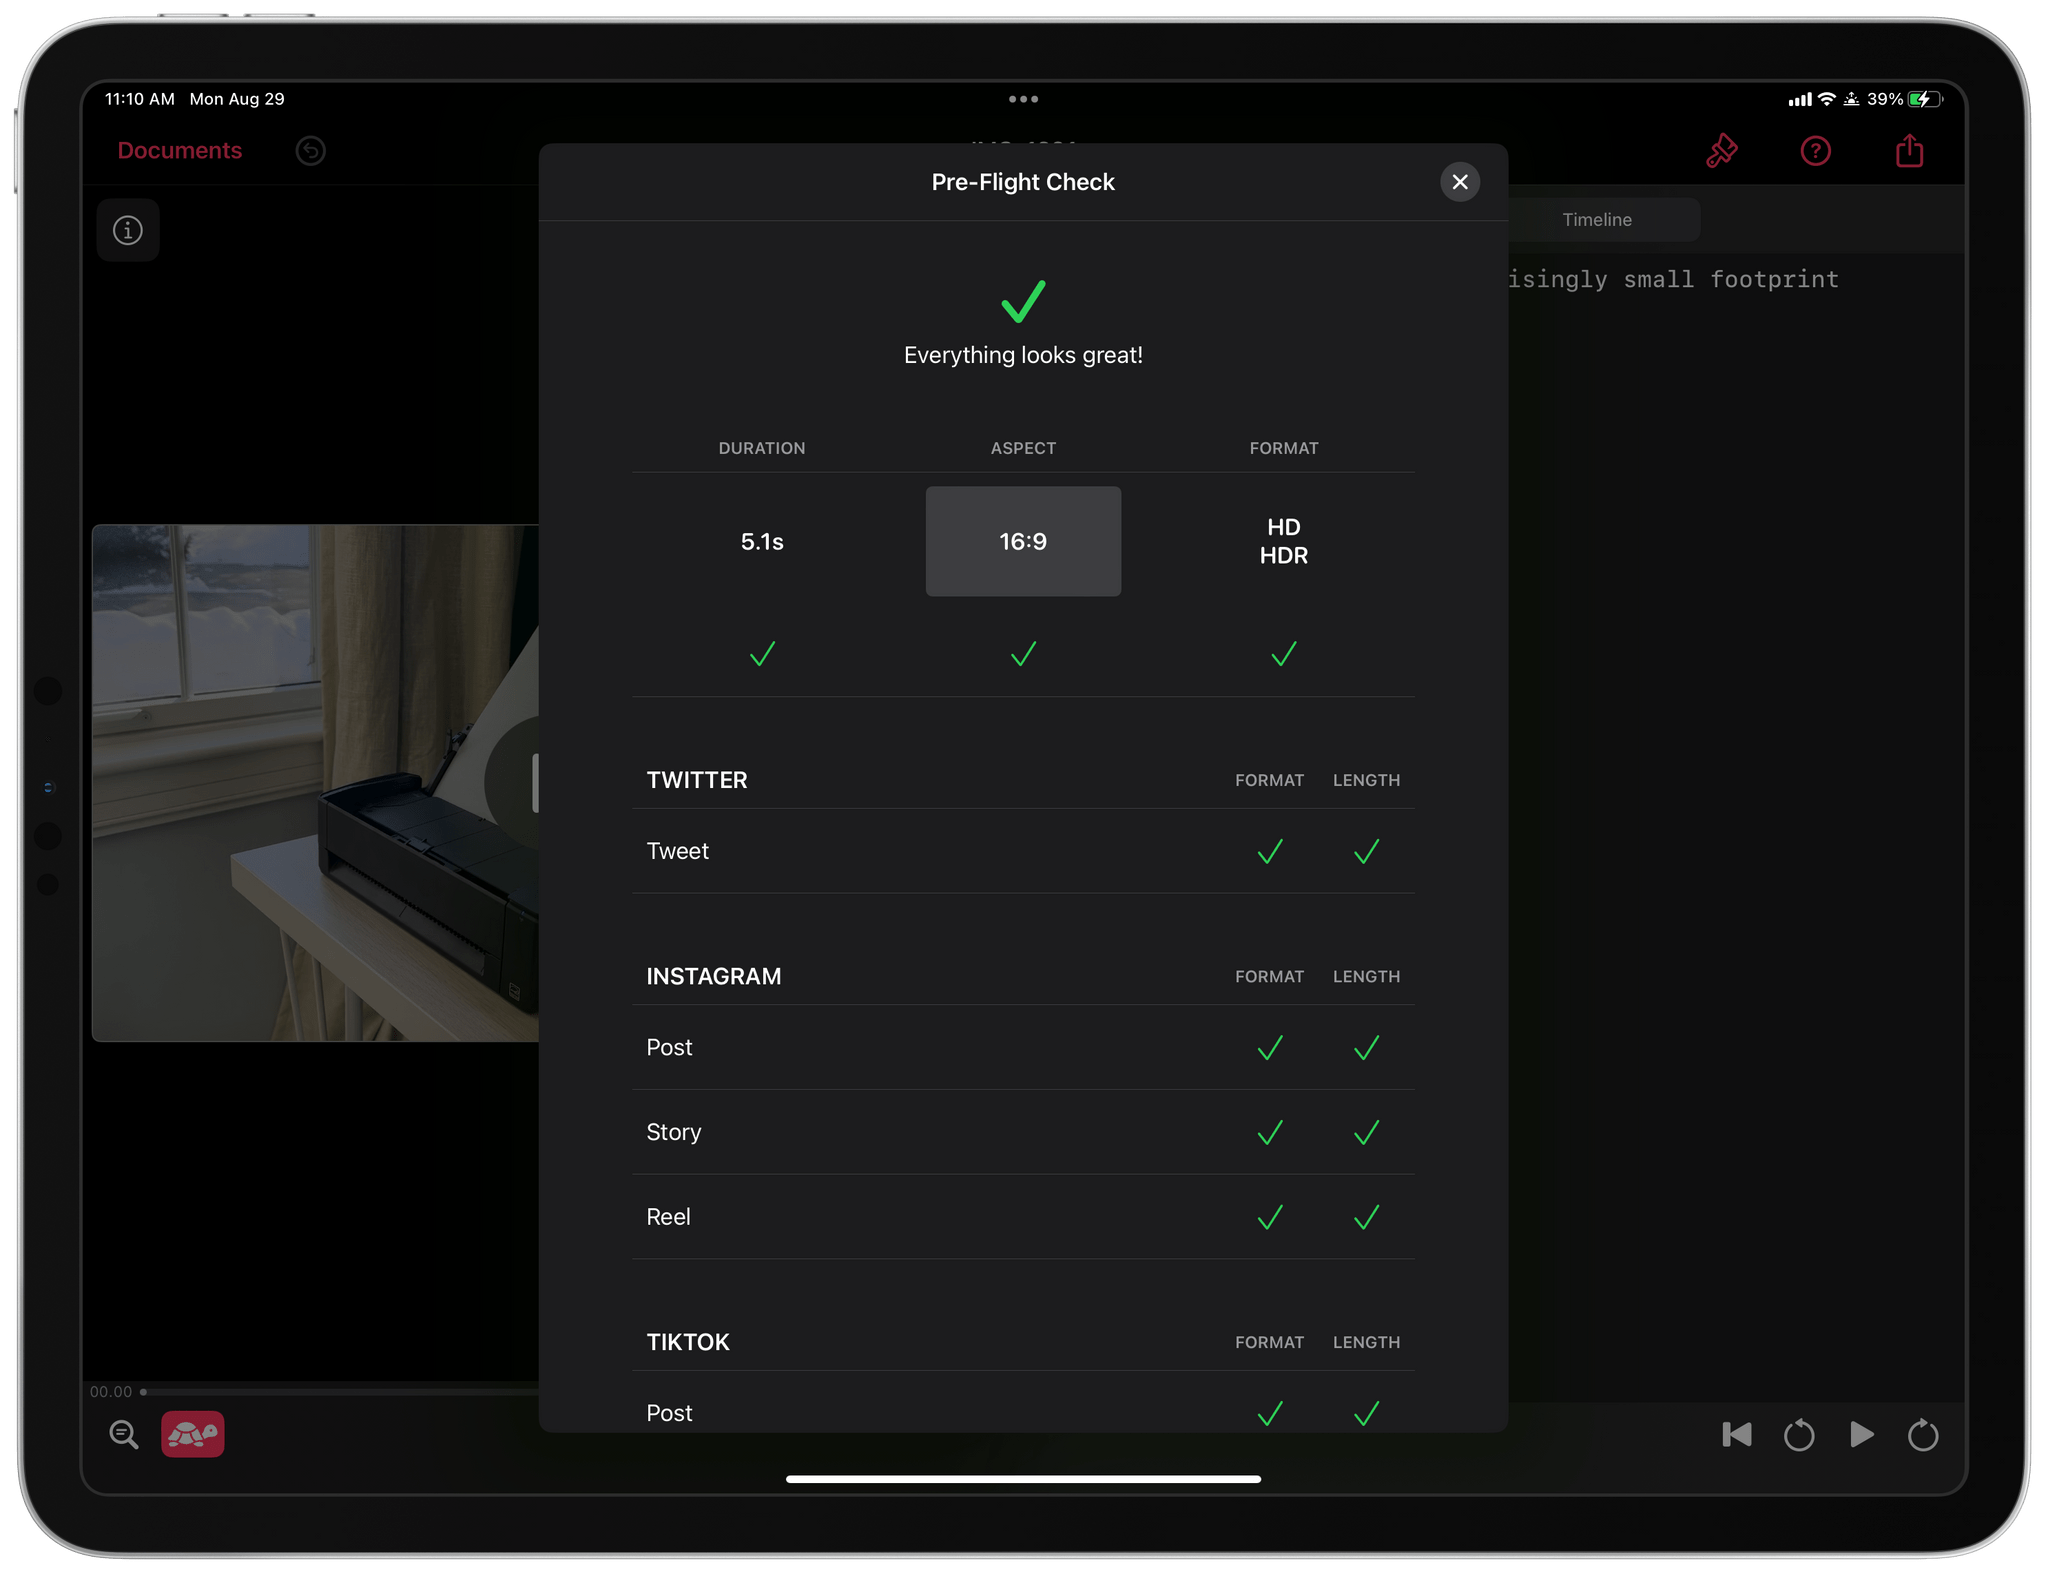
In the top left-hand corner of the video pane is an information button that is extremely useful if you’re making your video for social media, but you’re not an expert when it comes to the duration, aspect ratio, or format requirements of each. Select the button, and Captionista displays a chart that shows you whether your video is compatible with several types of posts on Twitter, Instagram, TikTok, and YouTube. It’s a great feature that will save you time searching for this information elsewhere.
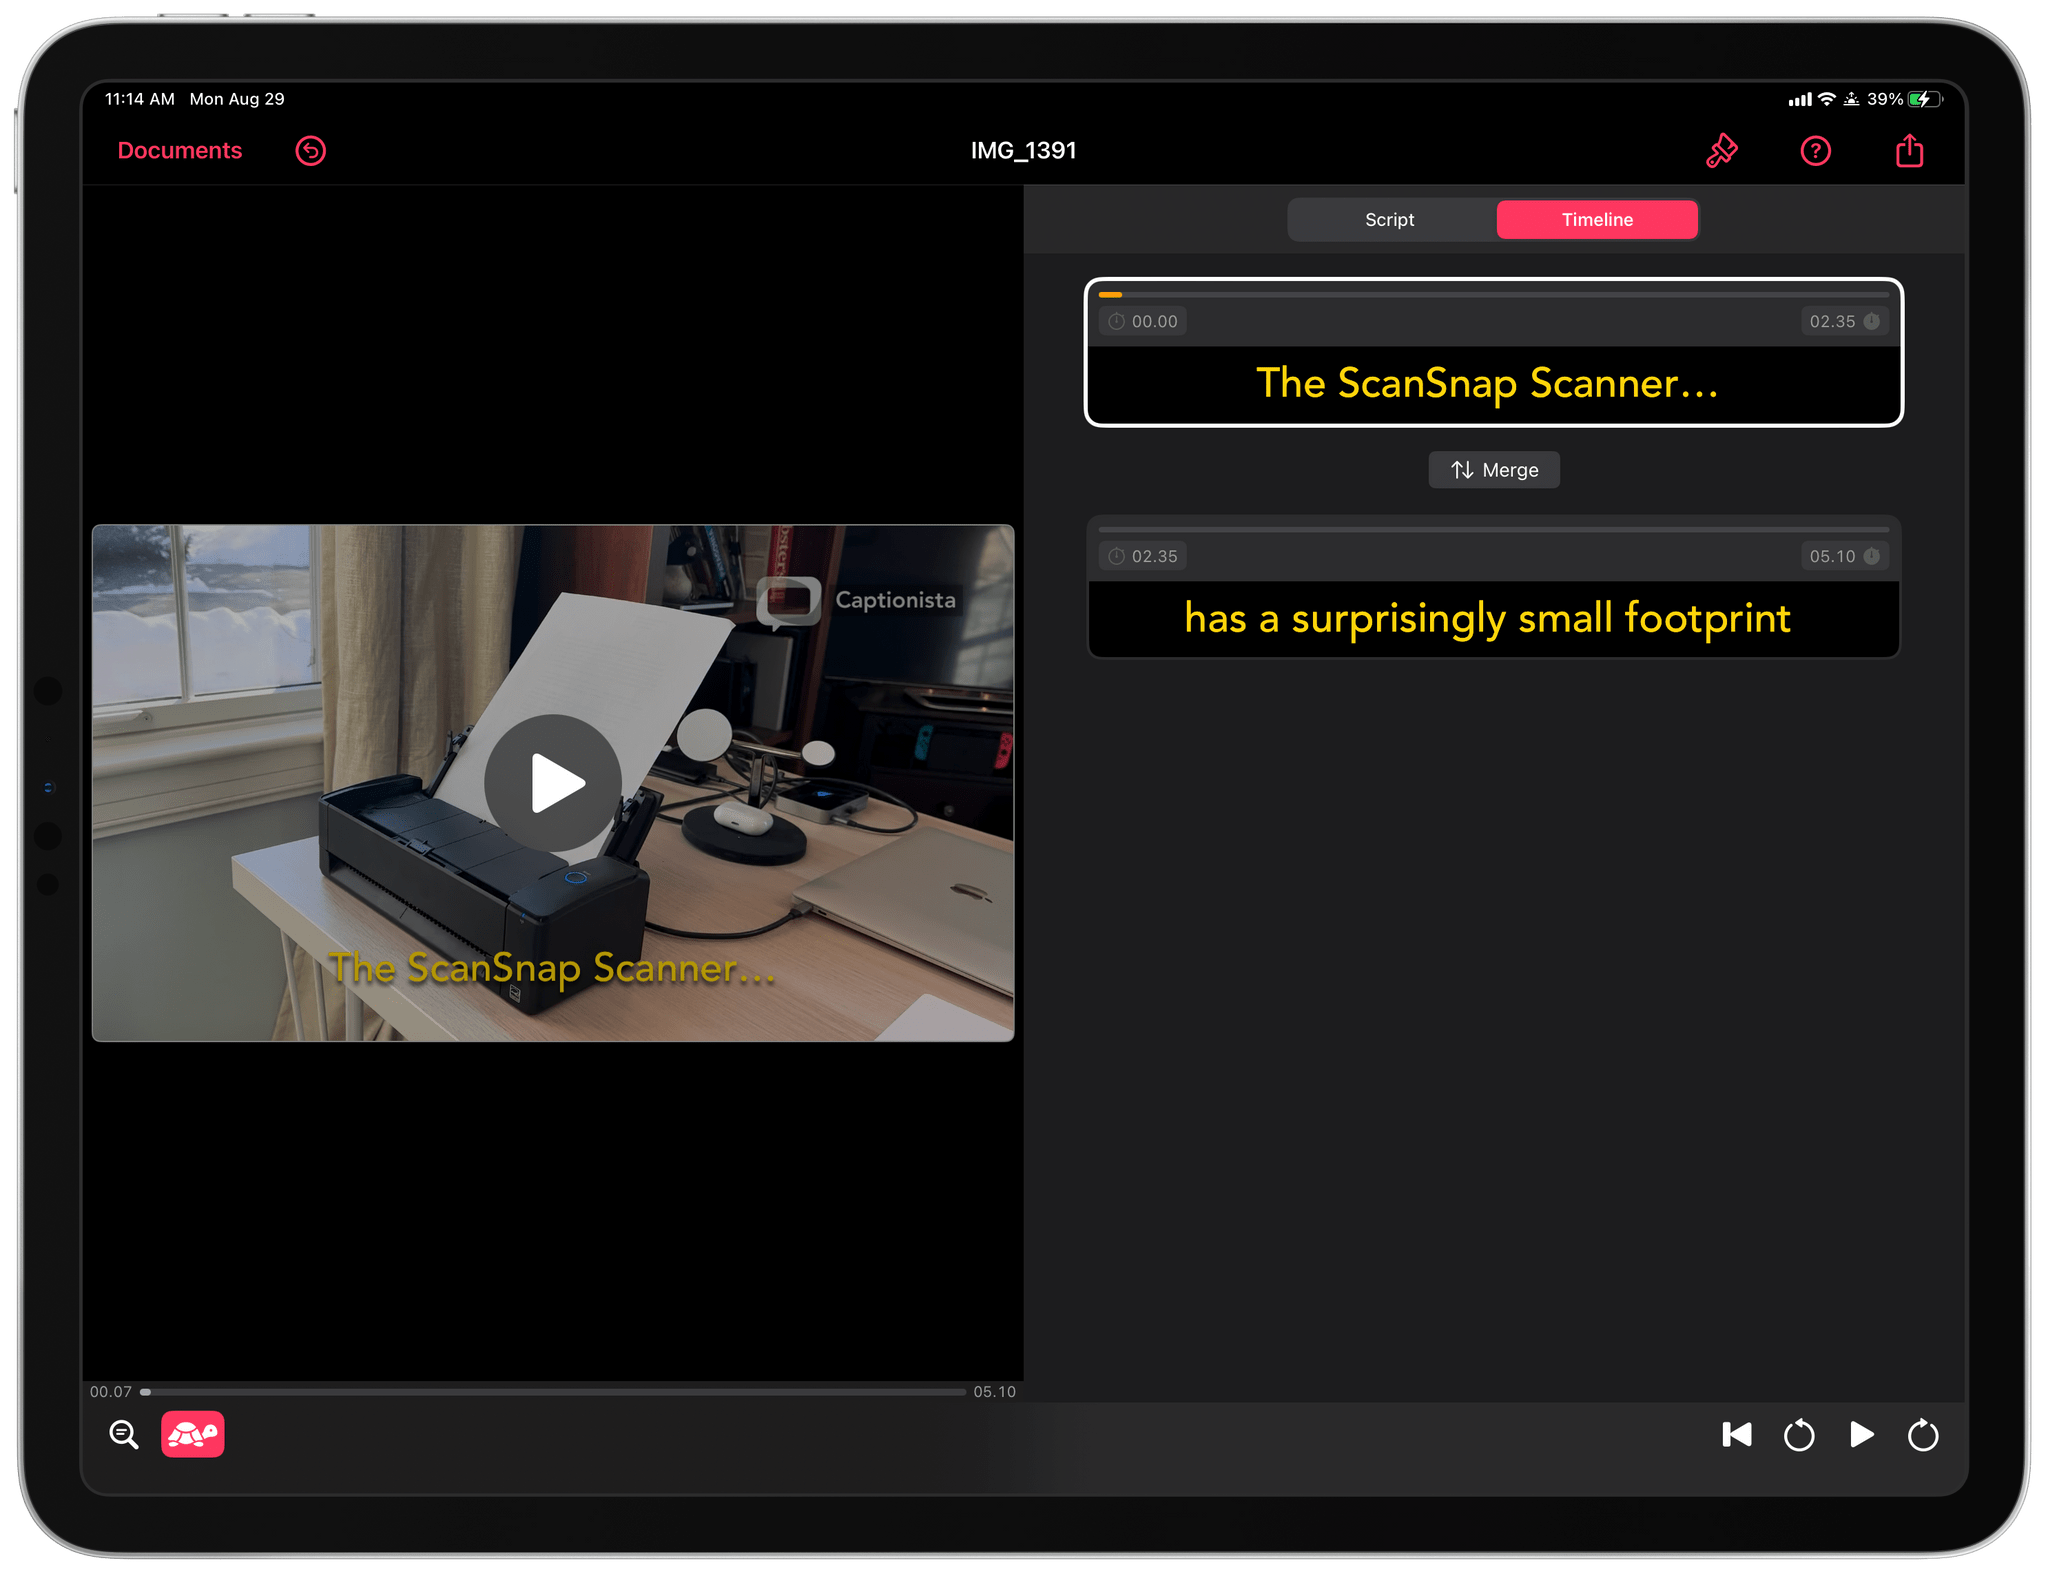
To add your text, just type it into the Script tab on the right side of the screen. Next, switch to the Timeline tab and press play to start the video looping. If you’ve got issues with your subtitle, like text that’s too long to fit, you’ll see a warning here, so you can go back and edit your script. As your video plays, you can tap on a word, which will split your script into two parts, syncing the transition from the first part to the second with the timestamp where you tapped. You can also add gaps between subtitles, by tapping on the time indicator of a subtitle segment in the editor. If a segment of your video is deemed too short to read before it reaches the end, you’ll get a warning. You can continue to tap to split your script into as many segments as you’d like and then redo any of the parts you don’t like by tapping the Merge button between segments and starting over.
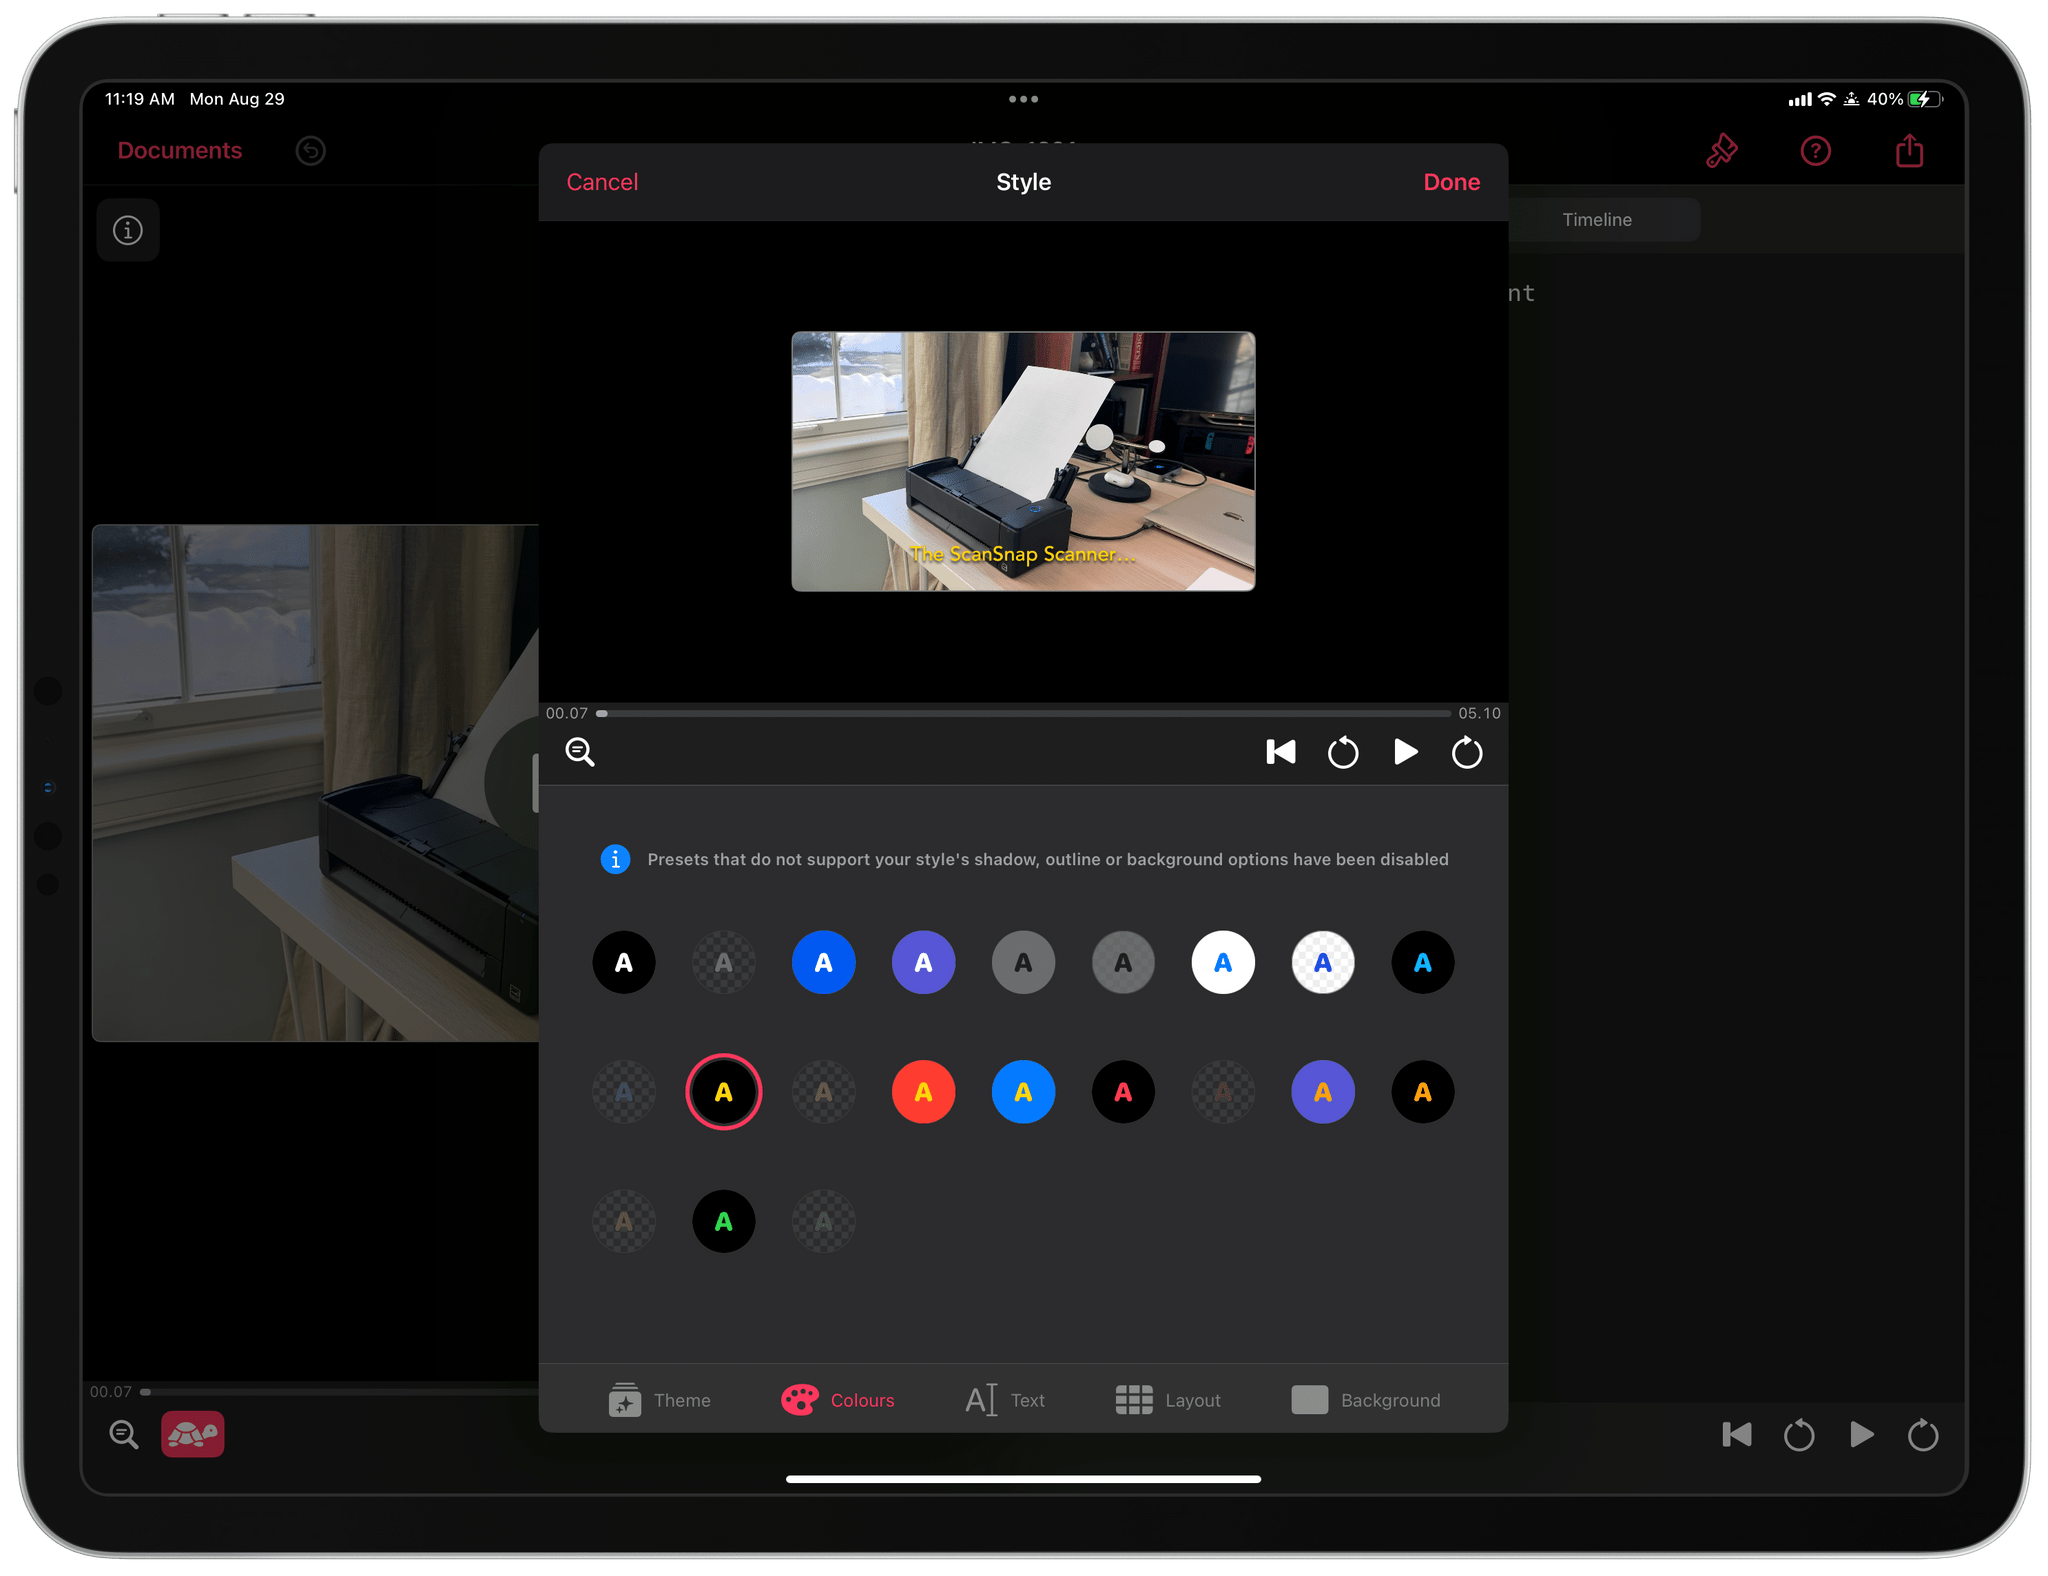
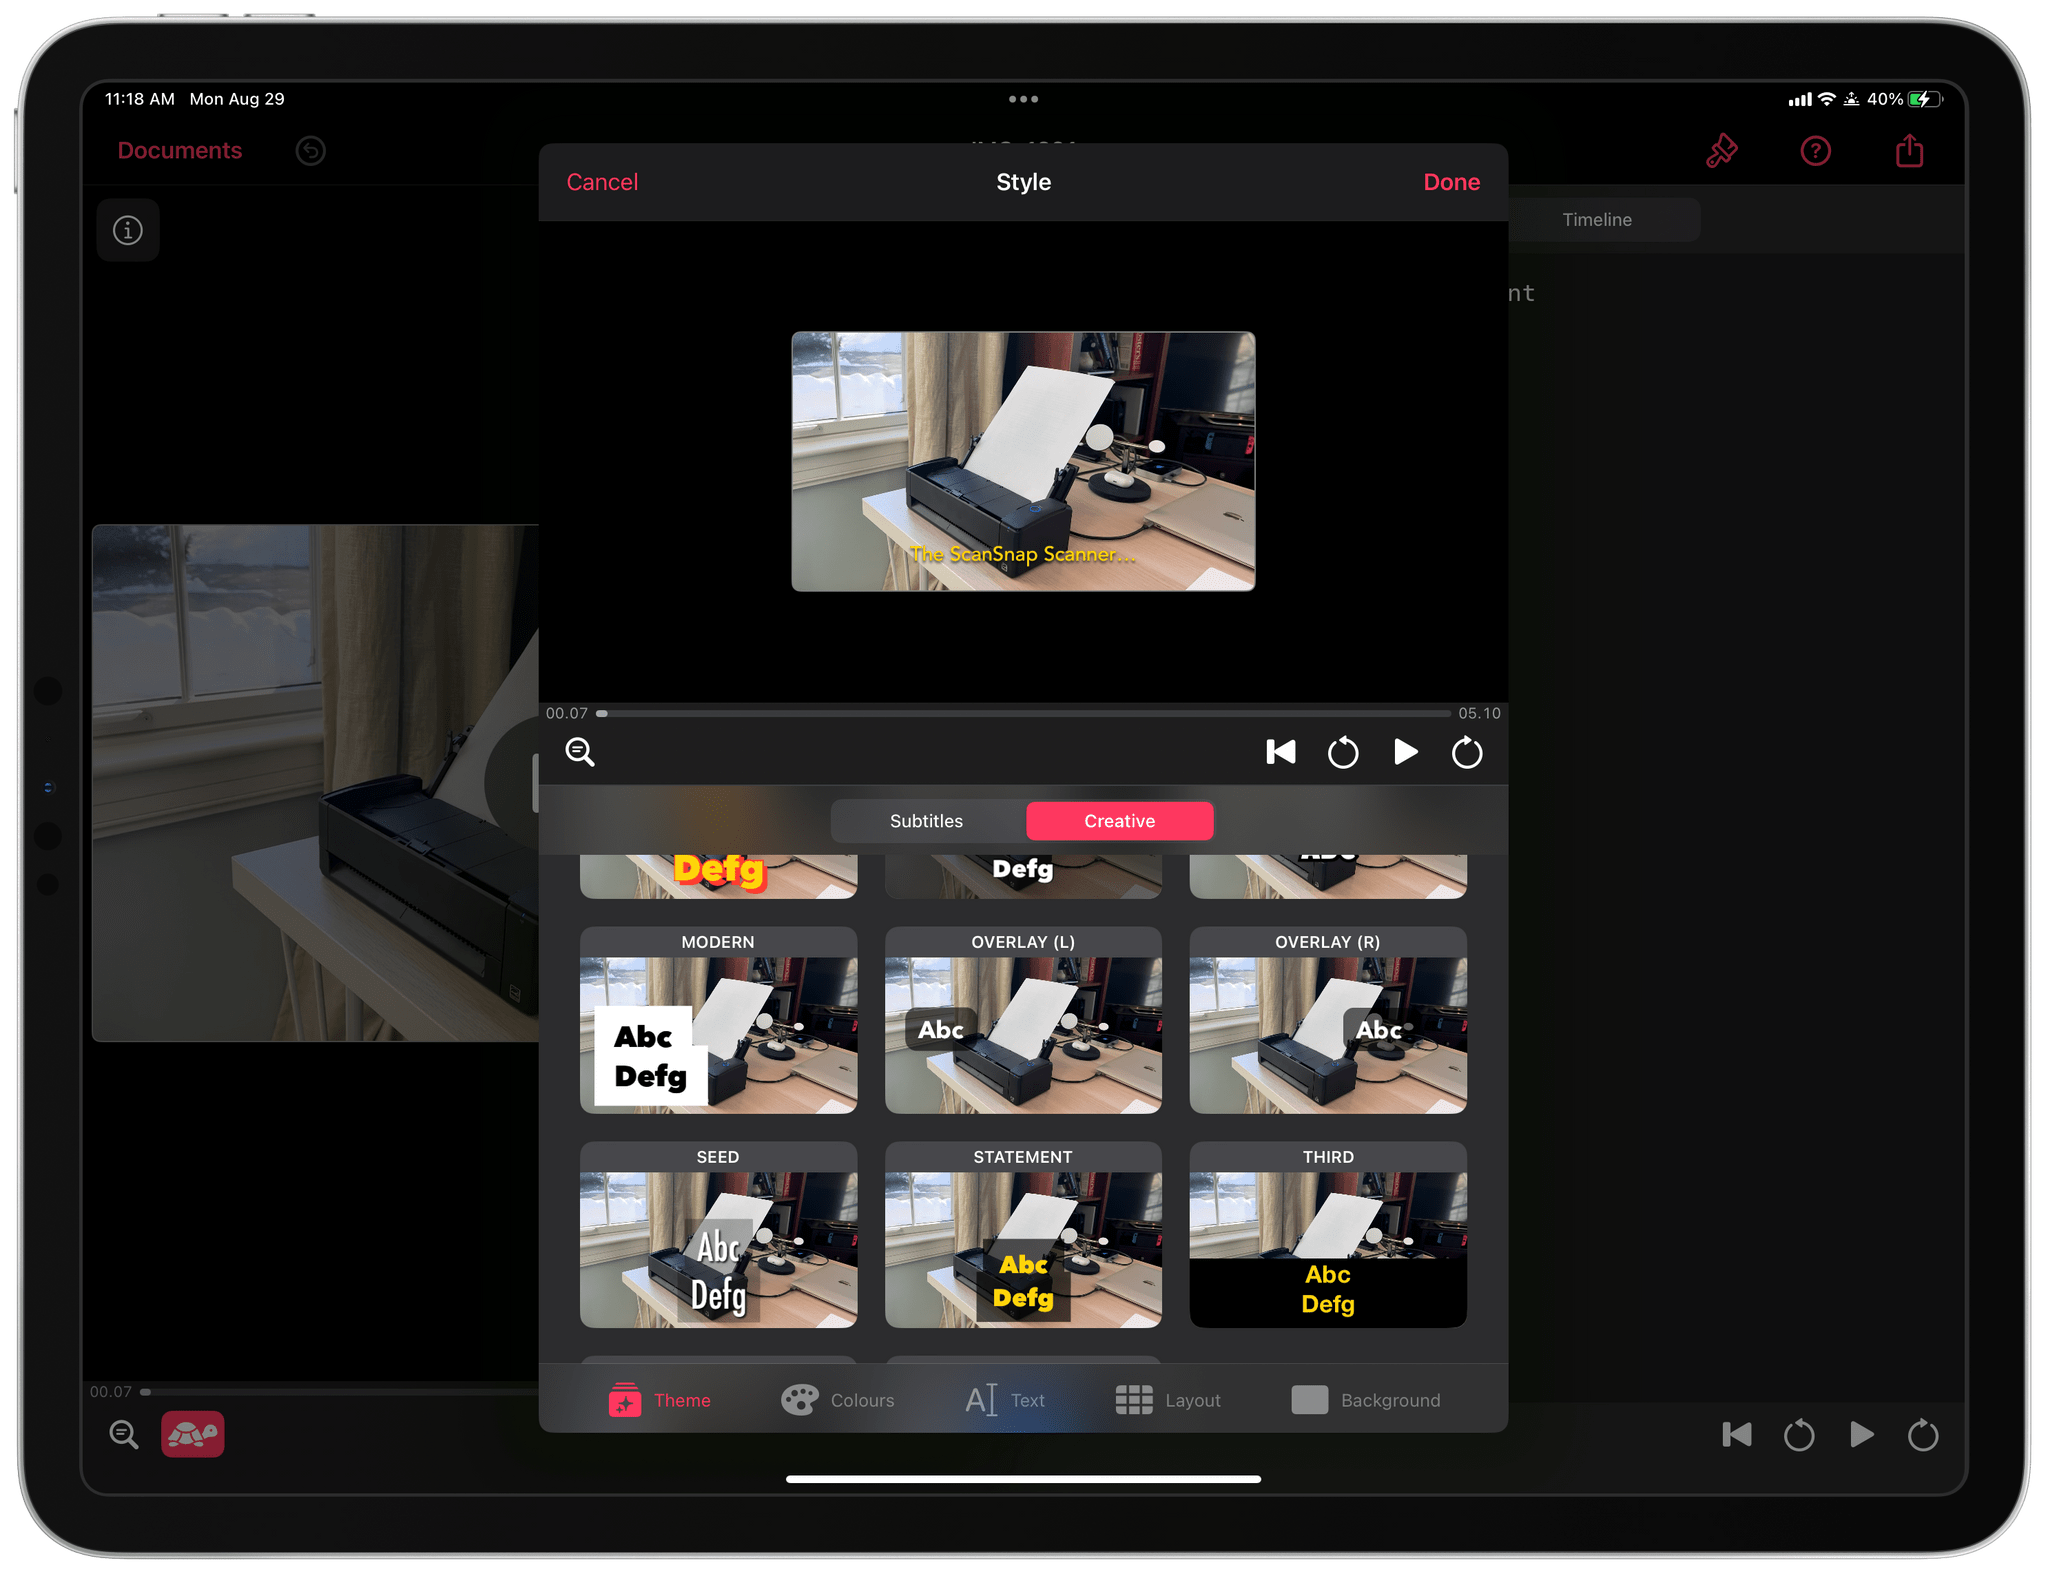
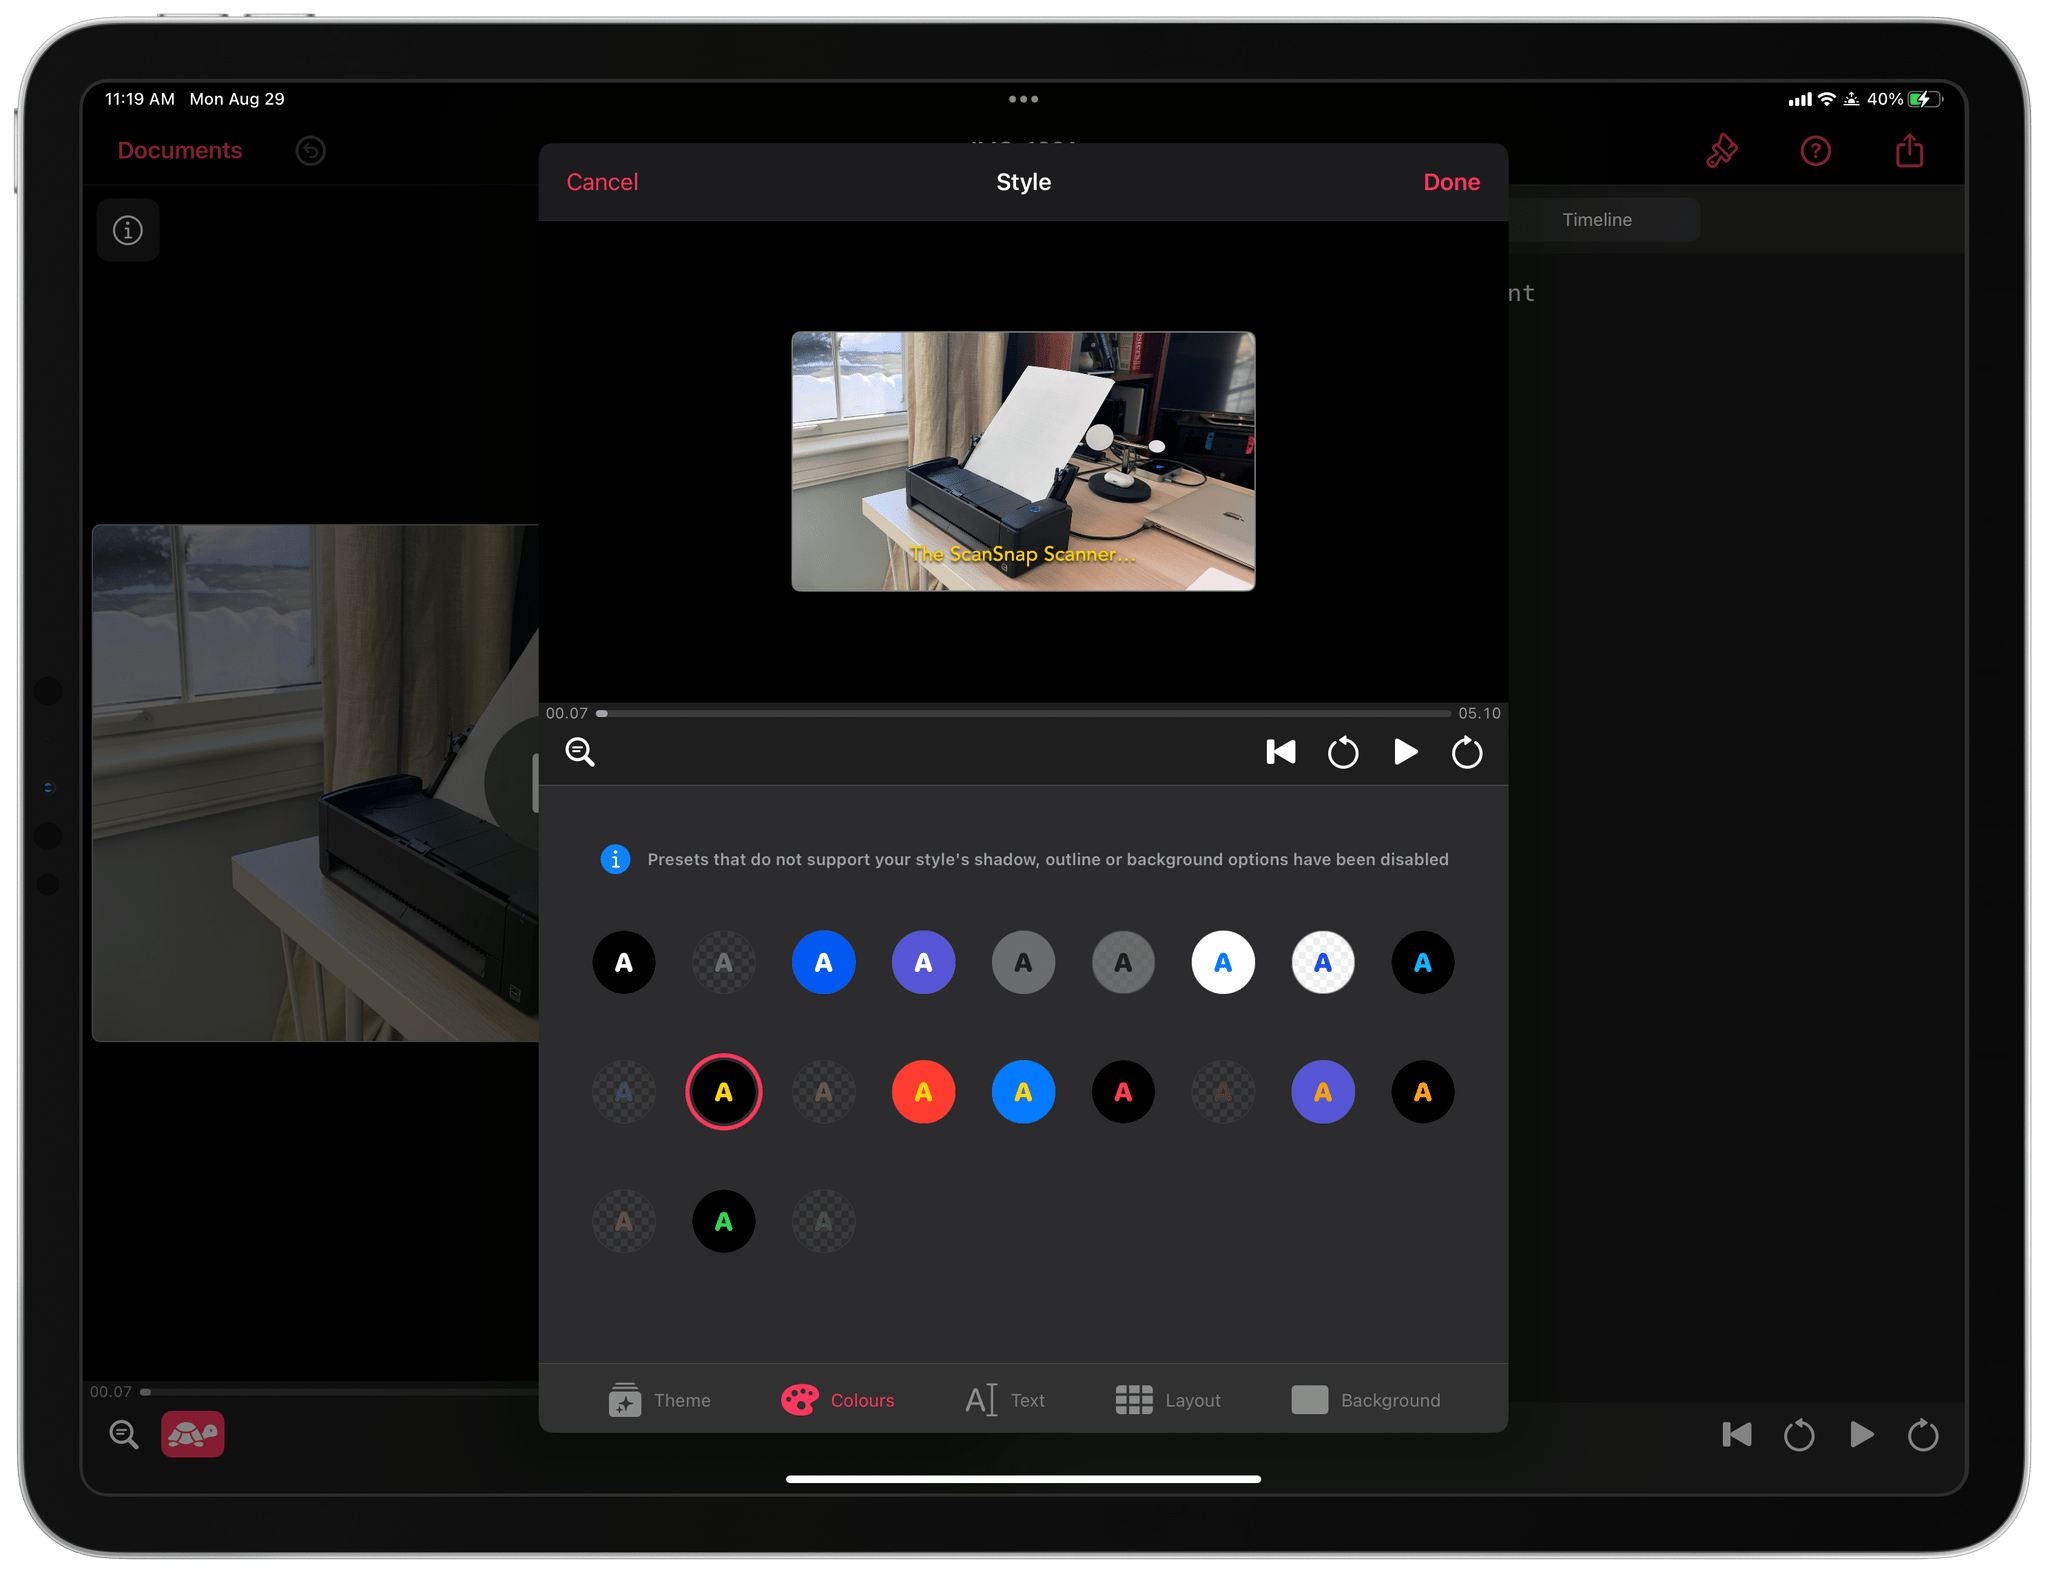
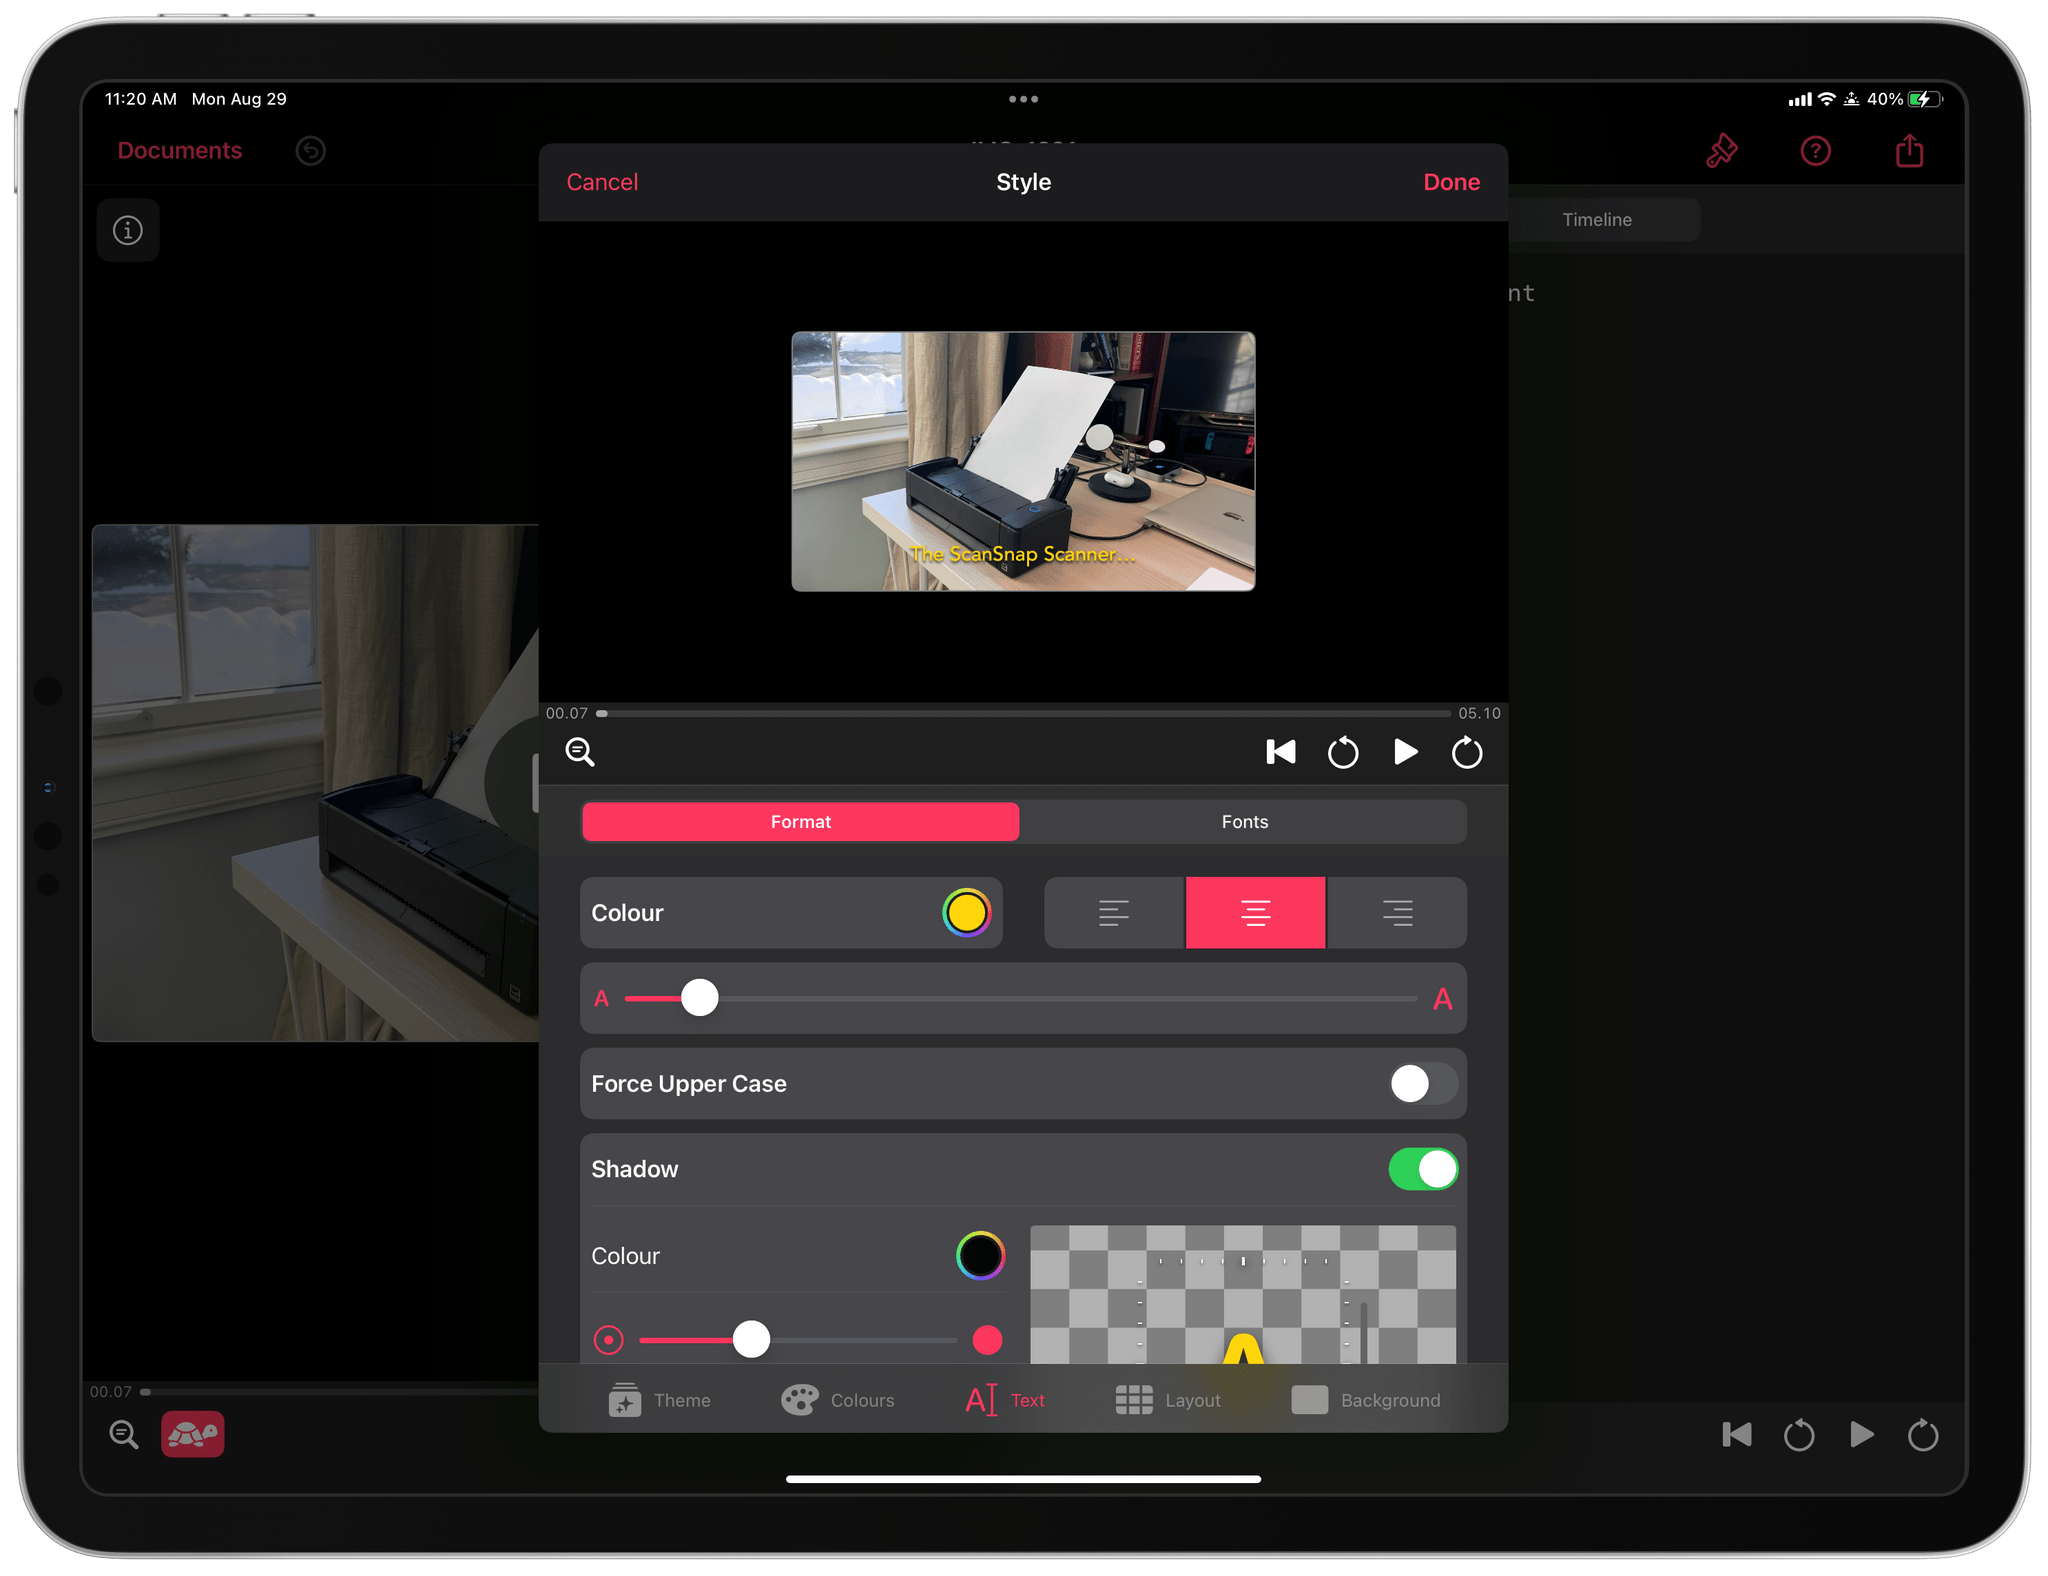
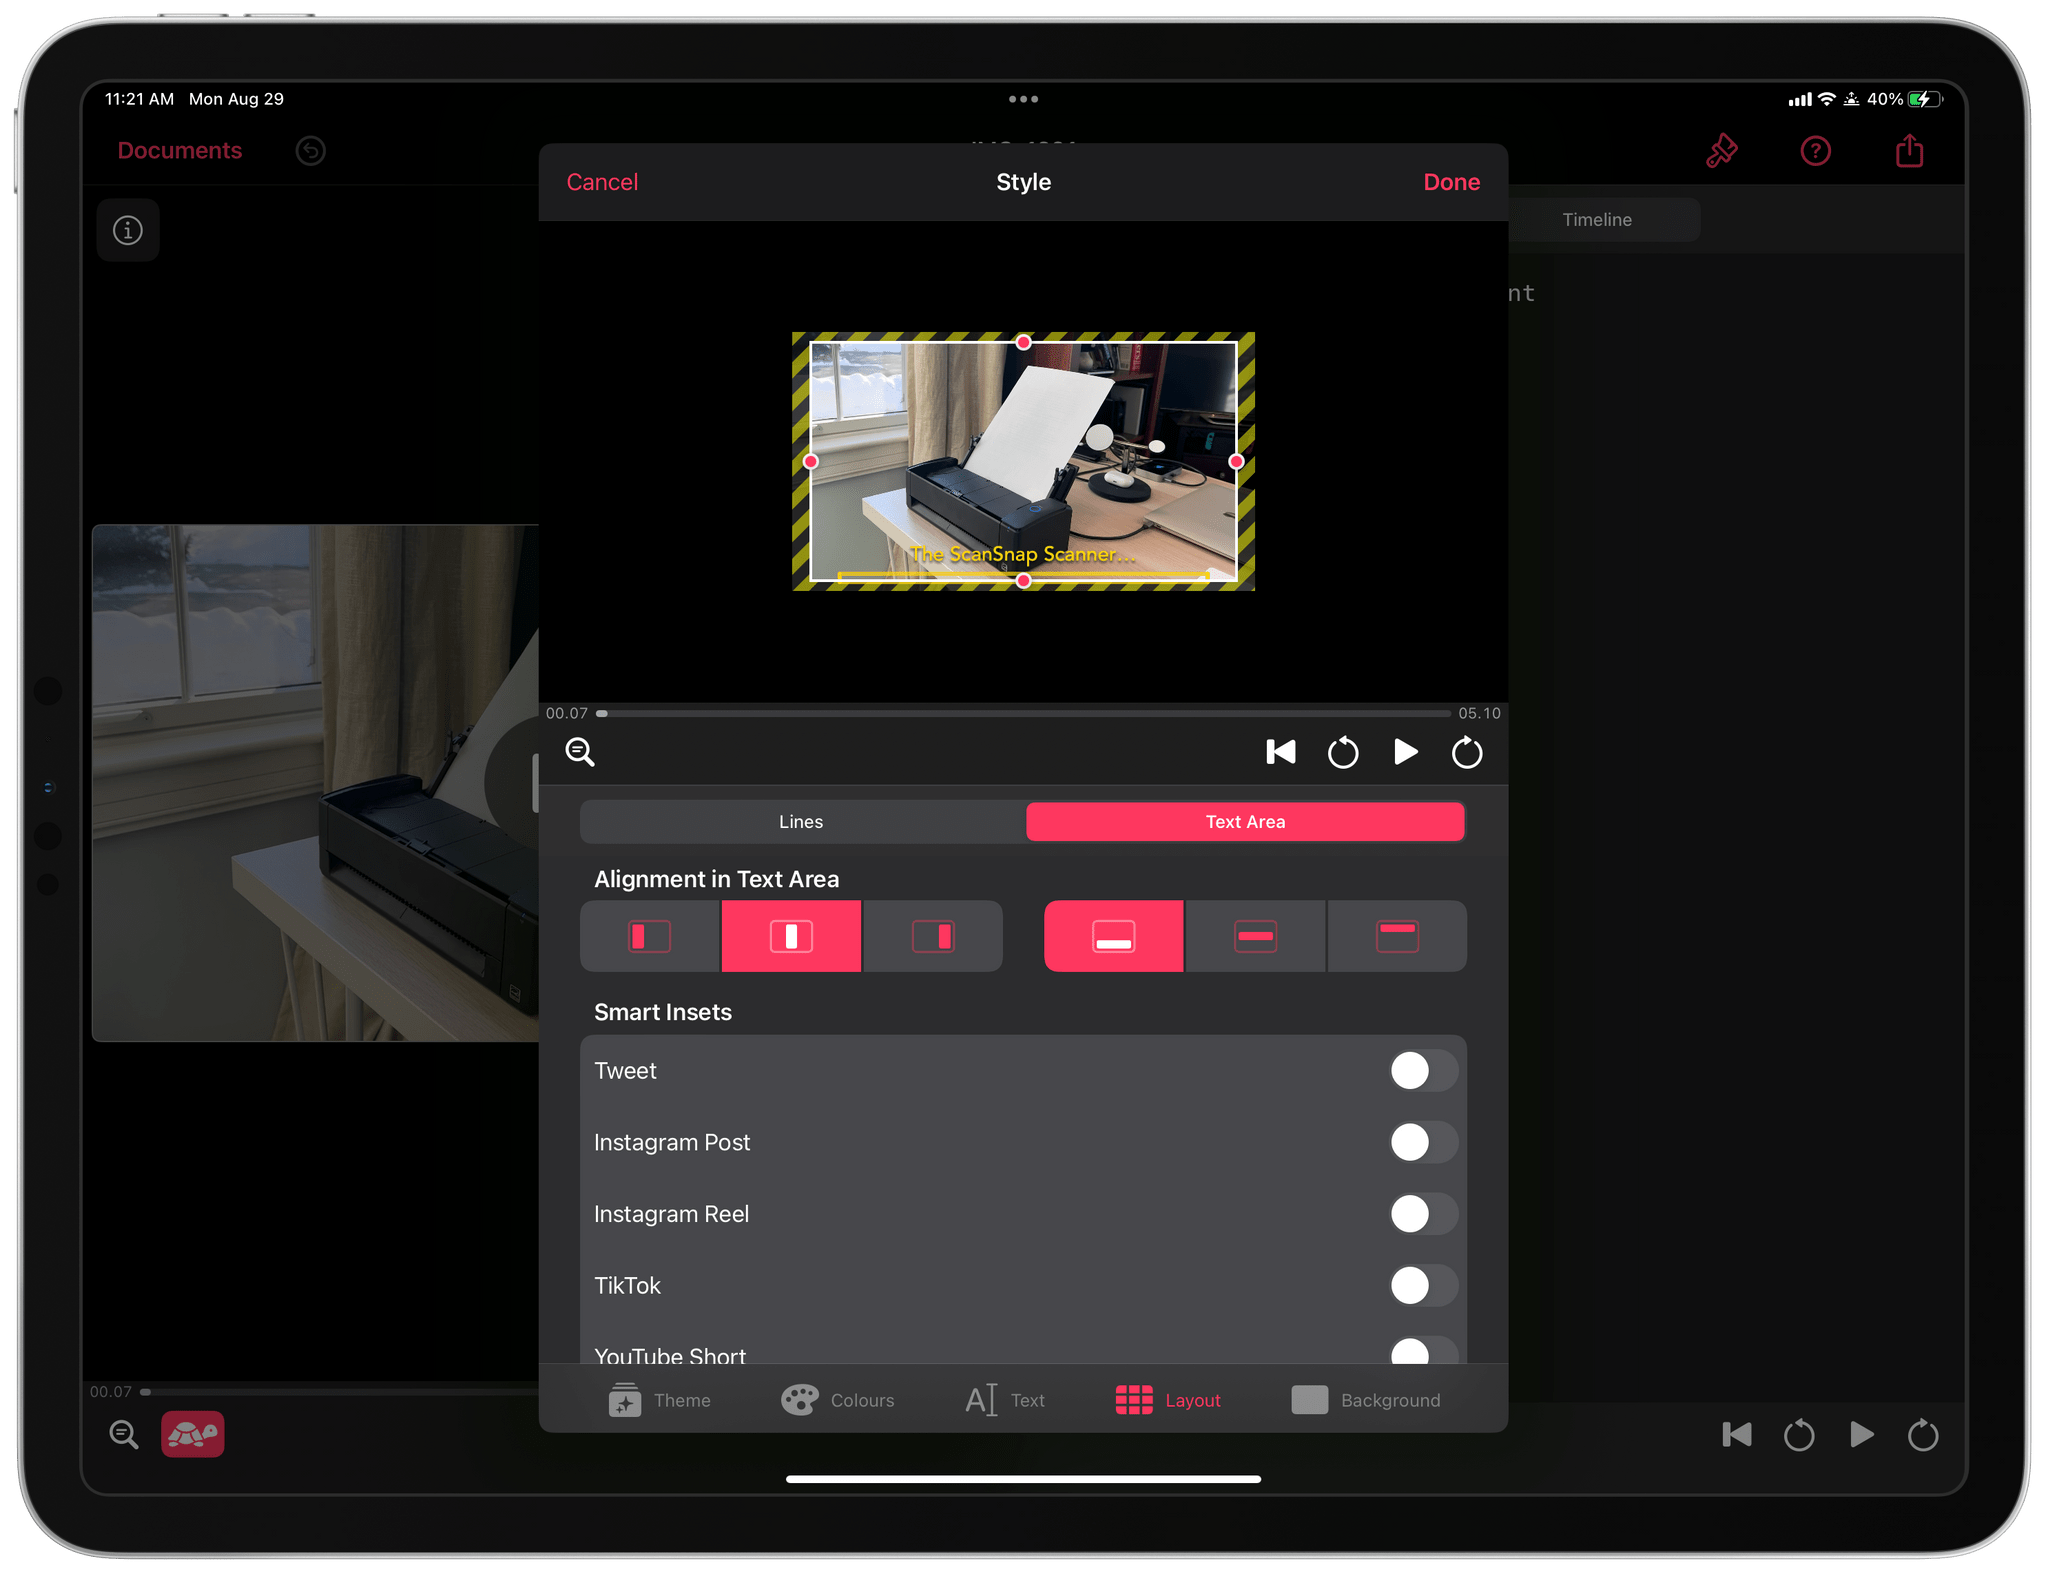
The other main component of Captionista is the UI for styling the text you add to your video, which you activate with the formatting button in the top toolbar. The formatting UI is split into Theme, Colors, Text, Layout, and Background sections. This is the spot where there’s plenty of room to customize your text so it doesn’t look canned.
The theme section is subdivided into Subtitles and Creative themes, with playback controls, so you can see your video running behind thumbnails of each theme’s placeholder text. The Colors section includes over 20 presets, which will be active or disabled depending on other formatting choices you make. The Text section lets you pick a typeface and adjust parameters like color, size, centering, drop shadow, and more. Layout is for adjusting text width and the maximum number of lines, as well as the Text Area, which handles alignment in the text area and offers insets for popular social media formats. Finally, Background controls the format of the space behind your text. It’s a lot of options, but all are previewed in your video, which provides immediate feedback, making experimentation easy.
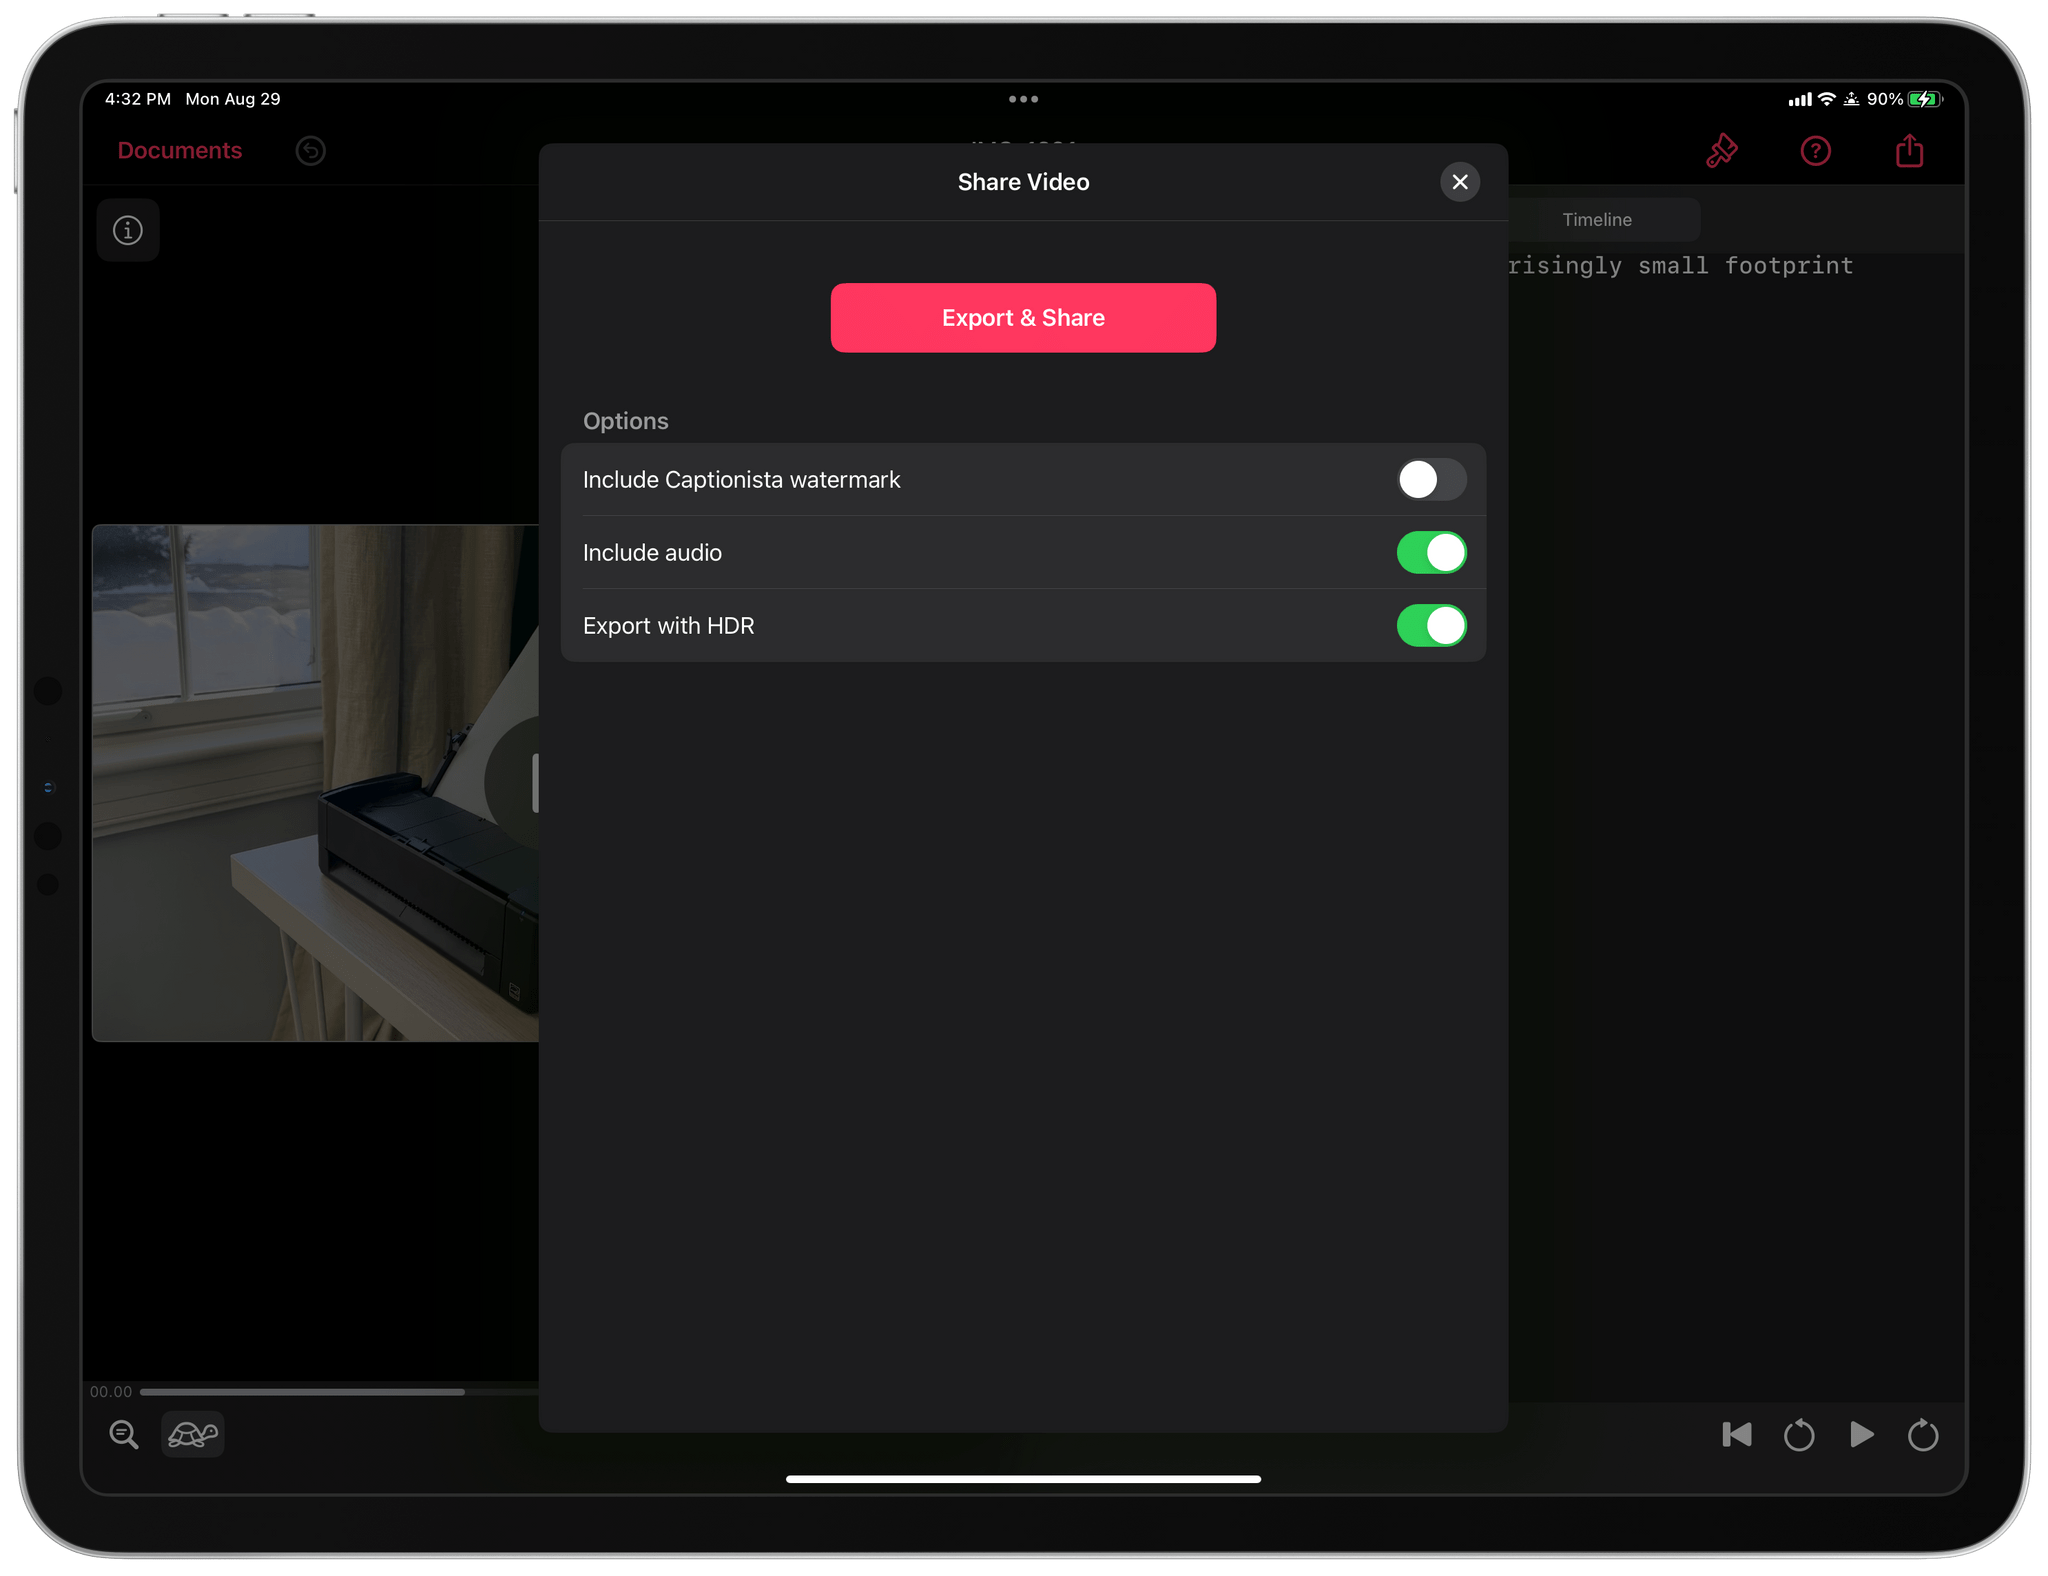
The last step is to export your video, which includes options to include a Captionista watermark, which can only be turned off if you subscribe to the app, and turn audio and HDR on or off.
That’s all there is to it, which I love. The entire process adds so little time to creating a video that I can imagine a lot of users turning to Captionista regularly for social media posts, demos, and more. One thing that I would like to see added, though, is an option to save a set of formatting adjustments as a separate preset that can be applied over and over for a consistent look. Still, that’s a small thing. Overall, Captionista is a fantastic tool for anyone who has ever wanted to add a bit of explanatory text to their videos.
Captionista is free to download on the App Store. Some formatting features and the ability to remove the Captionista watermark require a $4.49/month or $21.99/year subscription.


