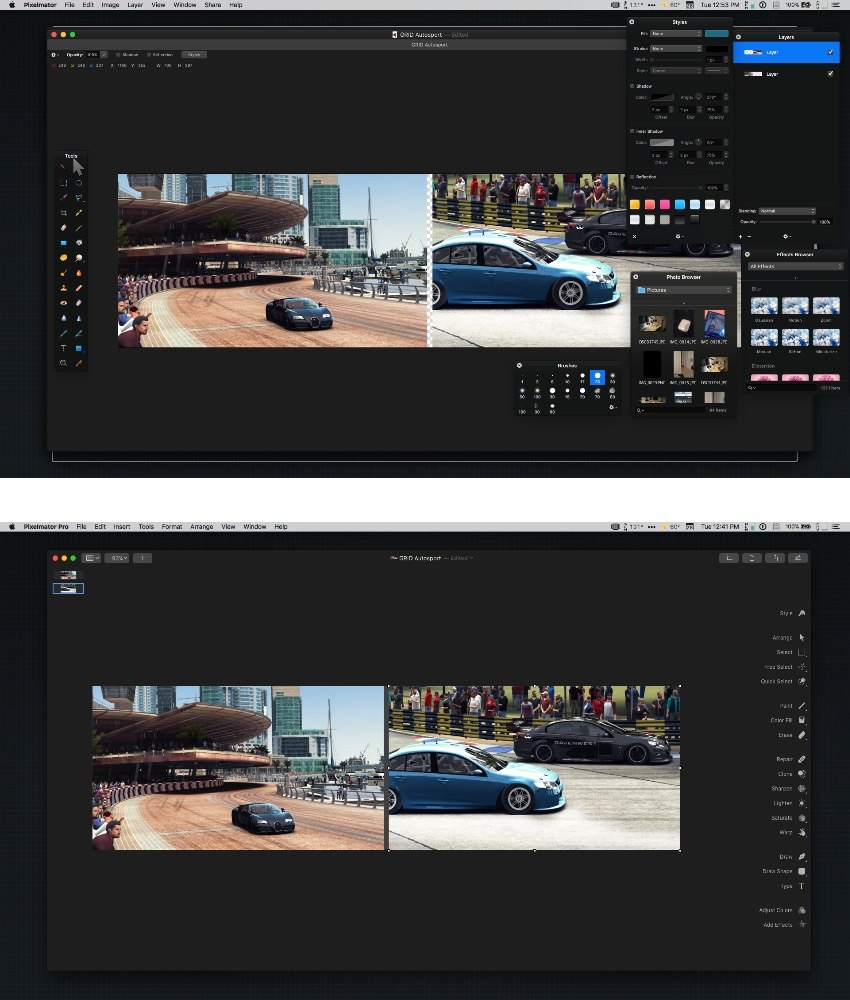
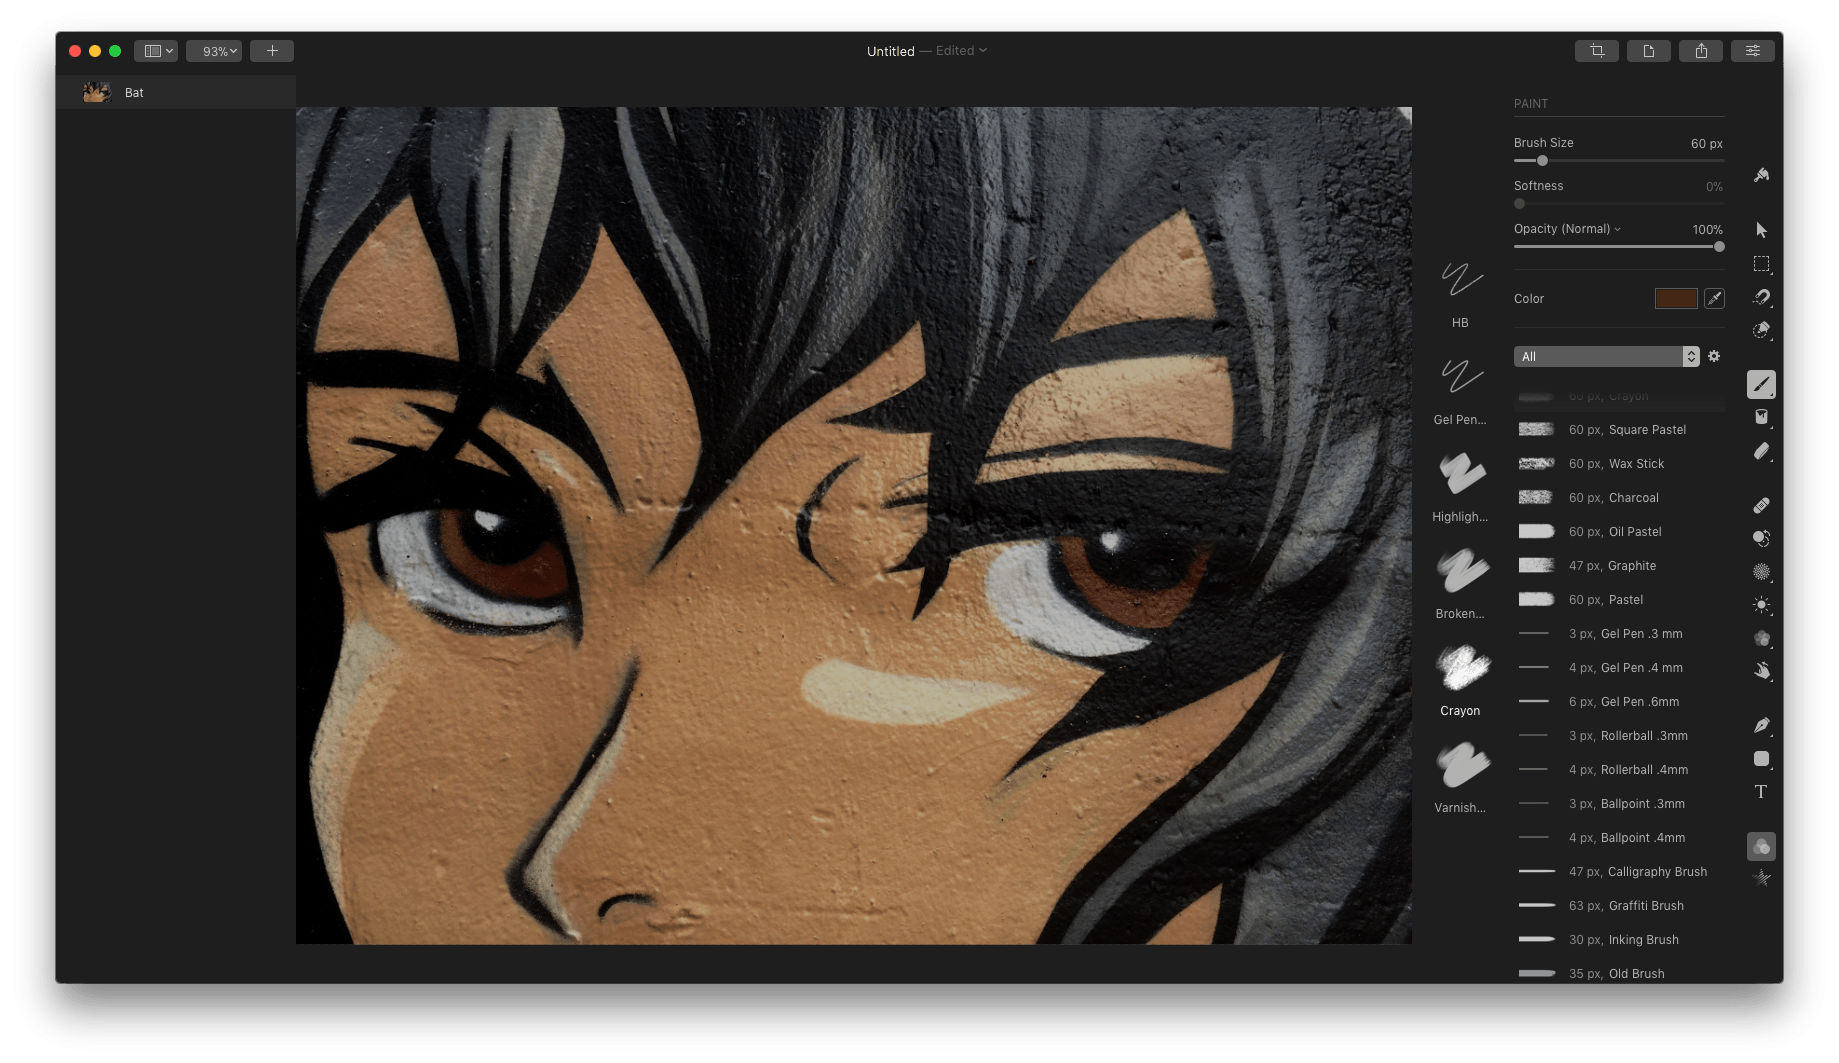
Five years in the making, Pixelmator Pro debuted today with an all-new look and host of new features. The new interface eliminates visual clutter and anchors tools in side panels, so you always know where they are. Much of the app’s chrome has been eliminated too, putting your project in the spotlight where you can focus on it and not the app. It’s a modern, clean style that makes the app feel spacious and professional.
Pixelmator Pro adds a raft of features as well. Layer styles, color adjustments, and effects are all highly customizable, can be saved as presets, and shared. I’ve only had a little over 24 hours to put Pixelmator Pro through its paces, but based on my first impressions, it’s an impressive debut that I expect will replace the original version of the app as my go-to image editor.
Redesign
The first thing that will strike you about Pixelmator Pro when you launch it is the app’s new design. Gone are most of the floating palettes of tools that tended to get in the way of your project. Most have been moved to panels on the left and right-hand sides of the app’s main window.1
The left side is reserved for the layers panel, and the right-hand side houses the tools panel, both of which have very little UI chrome. The two panels are translucent and sit on a layer above your image. That means when you zoom in, the image extends under the panels with a subtle transparency that reminds you that part of the image is obscured.
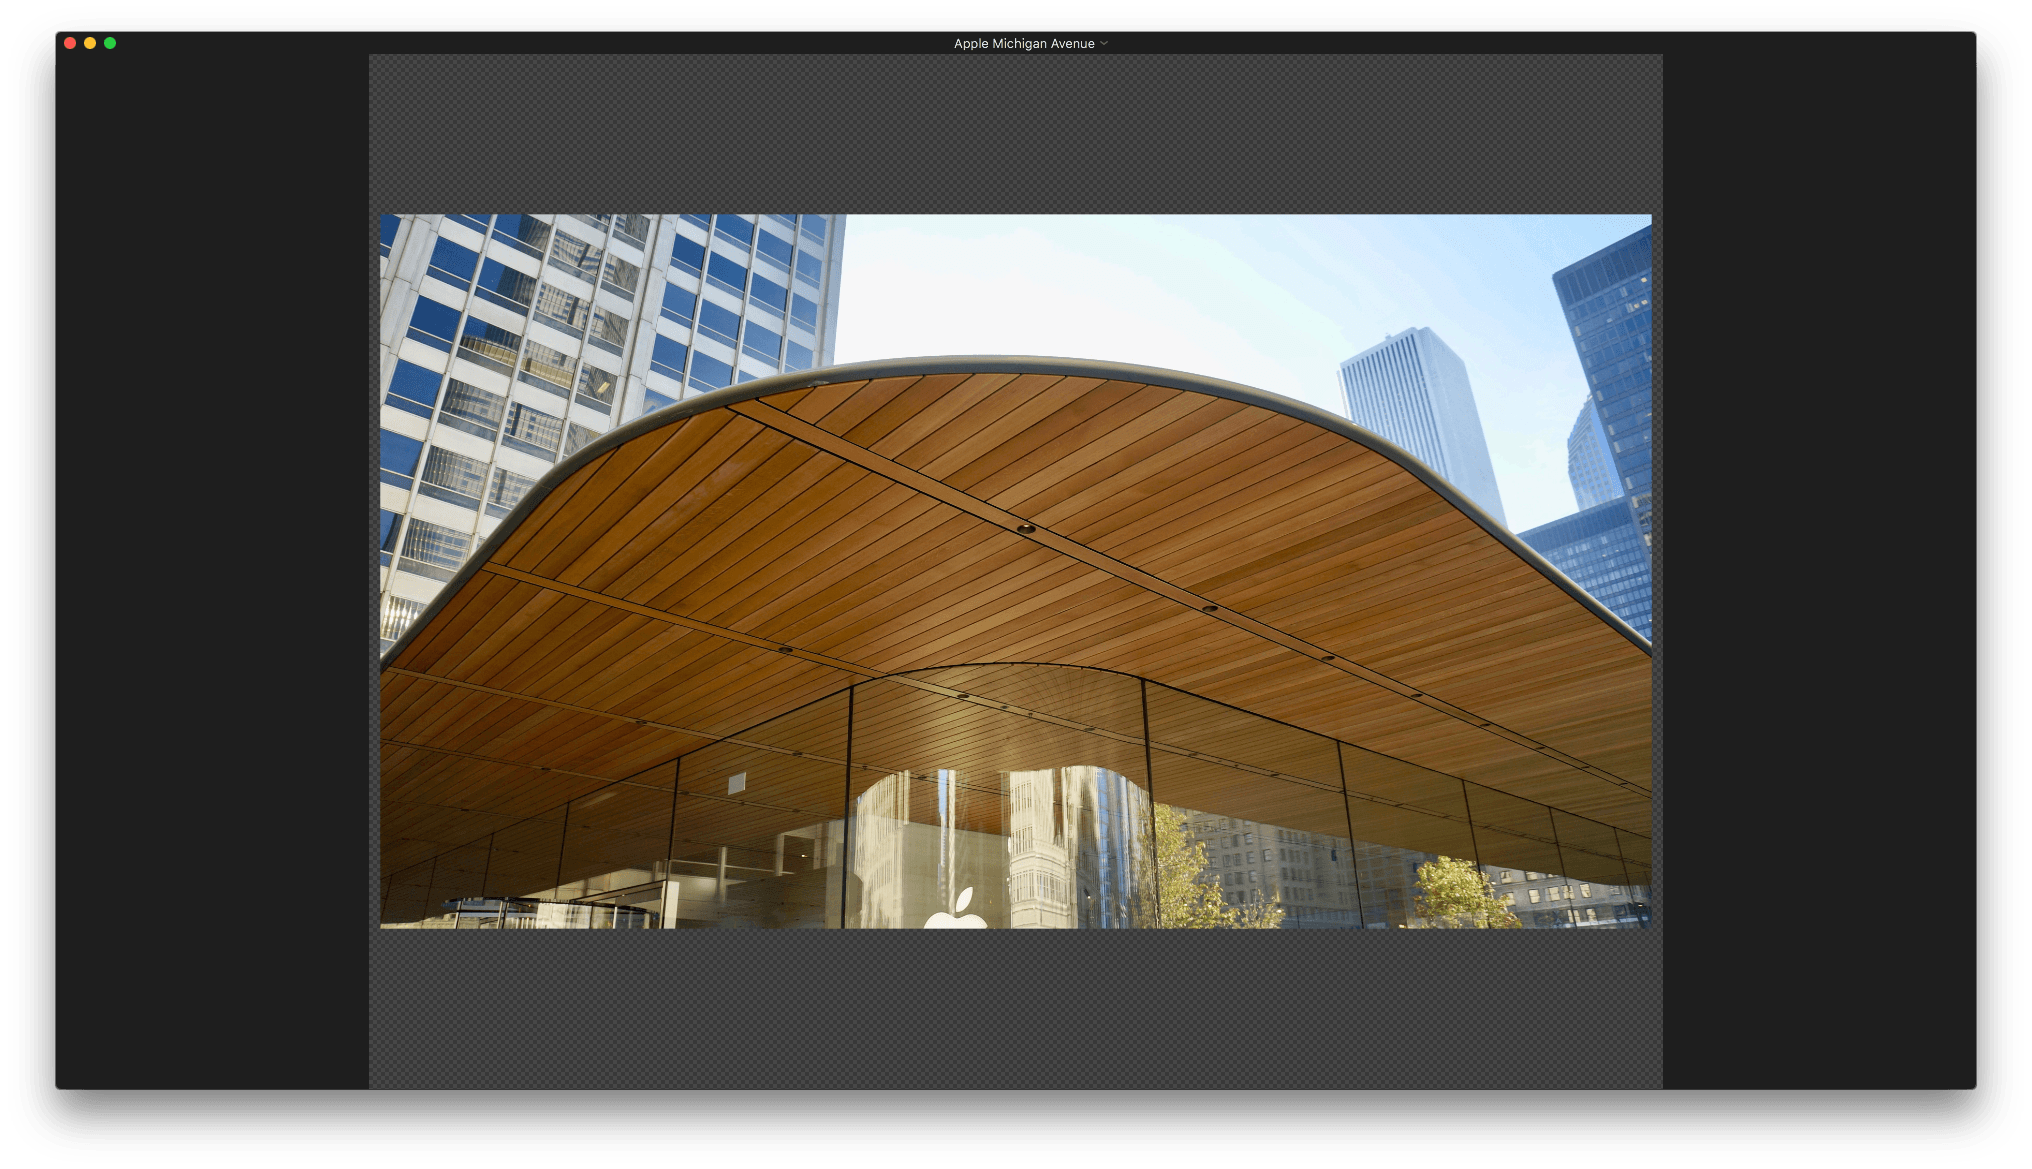
The panels are designed to stay out of the way. Both are resizable and can be hidden as can other interface elements. At one extreme, there’s a ‘Hide Interface’ option under the View menu that eliminates every interface element. The mode looks like a simple image previewer, but every tool remains available from Pixelmator Pro’s menu so you can continue to edit in a distraction-free environment. From the View menu, you can also hide individual elements like the layer panel, the toolbar, the tool panel, or just the tool options, which are the descriptions next to each tool’s icon.
The toolbar has been cleaned up too – reduced to a handful of icons above the panels. Above the layer panel are tools to show and hide different layer views, rulers, grids, and guides along with the Info Bar, which presents information about your image in small, light gray text that stays out of the way of your image, but can also be a little hard to read against the app’s black background. Above the tool panel, are document-level tools like cropping and straightening, image settings, sharing, and a toggle to hide the tool panel.
The impact of the redesign is as striking as it is functional. The image you are editing is in the spotlight and dominates the app’s window thanks to the dark interface, monochrome icons, sparse chrome, and ability to hide interface elements. The redesign gives Pixelmator Pro an expansive feel and image-centric emphasis that its predecessor didn’t have. Although the dark interface and gray type make smaller elements like the Info Bar harder to read, the overall result is a big win that lets users work with few distractions and with their tools anchored in set positions where they are easy to find.
The Layers Panel
The left-side pane organizes the layers of your project. There is no visual boundary between the panel and the image viewing area of the window until you mouse over an invisible line that causes a thin gray line to appear that can be dragged to resize the layer panel. The design achieves a clean look, but if you mouse over the boundary too fast, you may never discover that the panel is resizable because the line only appears if you pass your mouse over the boundary slowly. Although the lack of chrome serves the app’s design goals, this is one spot where Pixelmator Pro’s design hampers its usability.
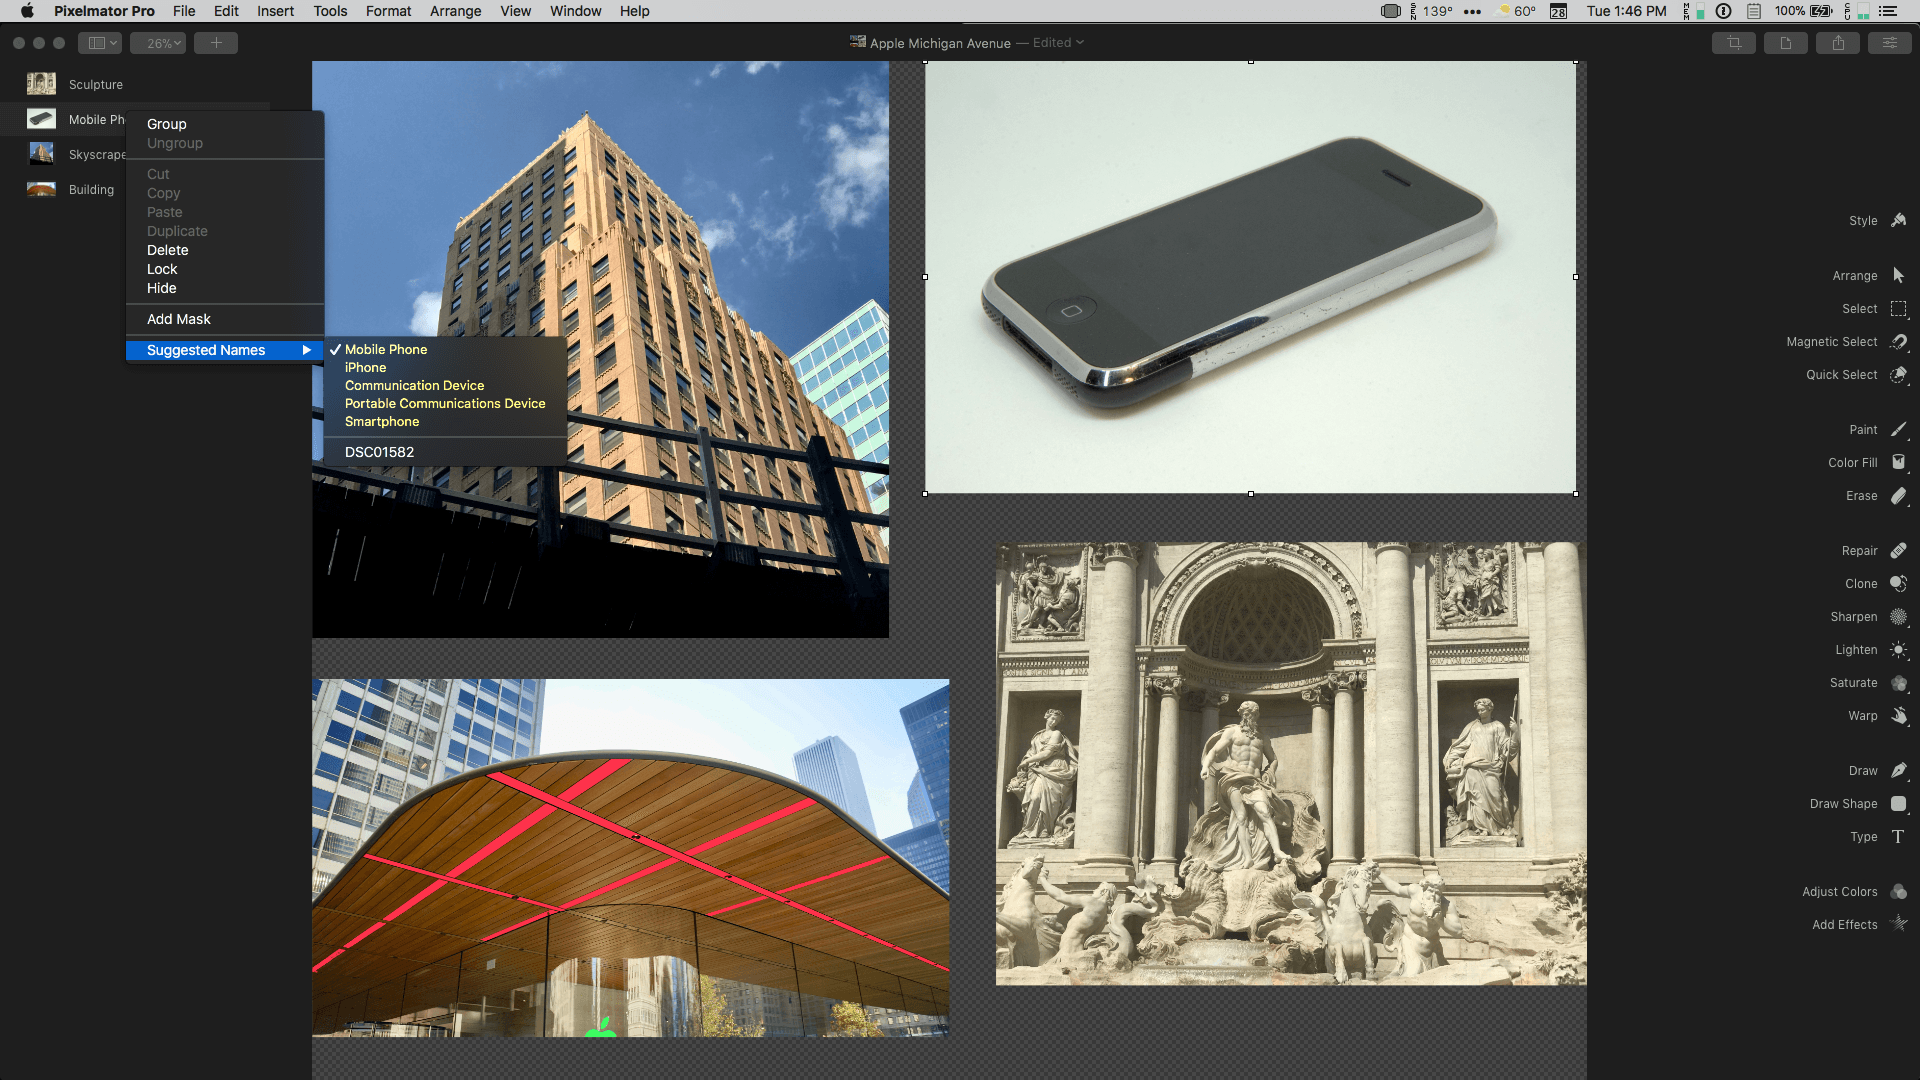
Layers can be represented by a thumbnail or displayed in a list with a smaller thumbnail and descriptive name. The list view highlights one of my favorite Pixelmator Pro features. When you add an image to a project, Pixelmator Pro uses machine learning to name the layer for you automatically. In my tests, the app did an amazing job identifying images like a mobile phone, skyscraper, building, and sculpture. If you don’t like the name associated with a layer, right click on it to pick from five suggested names or name it something else altogether.
With Pixelmator Pro, you can group, ungroup, and otherwise manipulate layers the same way you can in the original app. The main difference is how you access those tools. Whereas the original Pixelmator includes a dedicated Layer menu, Pixelmator Pro’s layer tools are distributed between the Arrange and Format menus.
The Tools Panel
Since its introduction, Pixelmator has gradually added more and more sophisticated image editing tools to its app. Pixelmator Pro is no different. The app features a wide array of tools that are available from the right-hand panel and are now applied non-destructively, which frees users to experiment without worrying about the consequences of an edit.
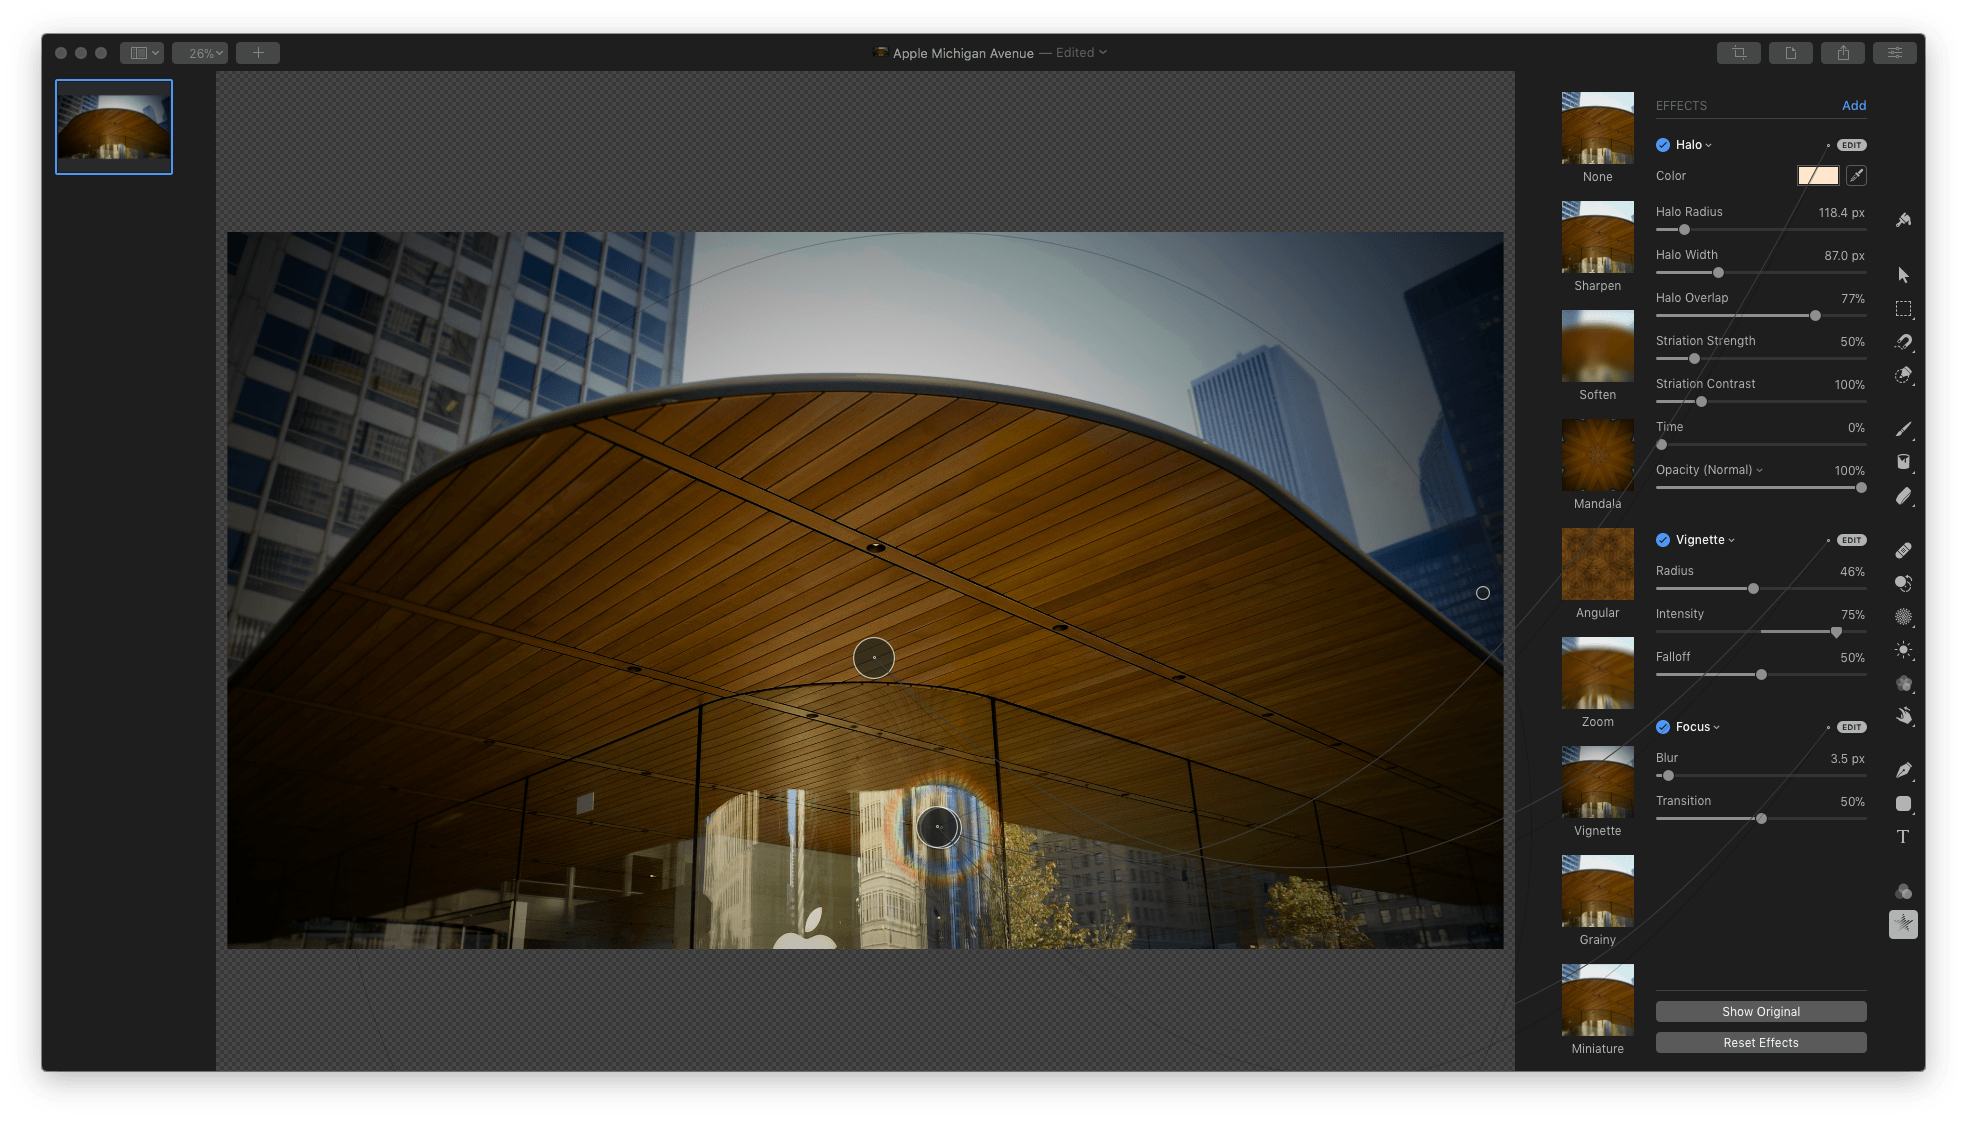
Color adjustments and effects are now easier to mix and match. The bottom two items in the tool panel are Adjust Color and Add Effects. Each presents you with a couple of options you can tweak as a starting point. Click the ‘Add’ button at the top of the panel though, and you’ll expose all the tools at your disposal. Adjust Color includes 17 separate tools, like Curves, Levels, Grain and more. Effects work the same way with dozens of effects that can be applied and combined.
There are also built-in presets along the left edge of the panel to quickly change the look of an image by applying several color adjustments or effects at once. You can create your own presets too. After you have a set of color adjustments or effects that you like, scroll to the bottom of the presets where you’ll find an ‘Add’ button for naming and saving yours. Presets can also be saved by picking ‘Save as Preset’ from the menu that drops down from the ‘Add’ button at the top of the tool panel. Layer styles are also customizable and can be saved as presets.
Presets can be shared. Simply drag a preset from the left side of the tool panel to your Desktop, into the Finder, or into another app. The files are small, making them easy to share with other Pixelmator Pro users.
My one complaint about presets is that it’s hard to discover that you can add your own and share them. When I first opened Pixelmator Pro, I didn’t realize there was an ‘Add’ button at the bottom of the presets because the scrollbars disappear when you’re not scrolling the UI, and I didn’t realize there were more presets and an ‘Add’ button offscreen. The fact that presets can be dragged out of Pixelmator Pro for sharing isn’t obvious either. Both are additional instances where the app’s sparse UI works against the user.
Another feature that benefits from Pixelmator Pro’s implementation is painting, which uses Apple’s Metal 2 technology to enhance its performance. The app features a collection of hundreds of brushes that are highly customizable, which allows you to create a unique style. The app supports Adobe Photoshop brushes too, which will be welcome to anyone making the transition away from Photoshop.
Like its predecessor, Pixelmator Pro supports a long list of macOS technologies like Full Screen and Split View modes, iCloud storage, and versioning. Pixelmator Pro has also added RAW image editing so there’s no need for an image to be converted to another format before it can be edited, which is good news for photographers. As with its predecessor, the Pro version supports HEIF images. It’s also worth noting that Pixelmator files can be opened and edited in Pixelmator Pro, but not the other way around.
There are many, many other little improvements throughout Pixelmator Pro. For example, one thing about Pixelmator that drove me crazy is that I had to hit return or click an ‘Ok’ button after resizing an image before I could do anything else, which is no longer the case. It’s a small change, but one of many that make day-to-day use of Pixelmator Pro a smoother process because it gets out of the way so you can get your work done.
Pixelmator Pro is a separate product from the original Pixelmator, which will continue to be maintained and sold for the foreseeable future. Pixelmator Pro is being sold at an introductory price of $59.99, which the company says will be increased to $99.99 soon. That’s significantly more than Pixelmator, which currently costs $14.99.
The decision of whether to move to Pixelmator Pro won’t be a clear one for everyone given the price differential. That’s exacerbated by a small, but real learning curve associated with the Pro version because many of the tools have moved and the menus have changed. In addition, Pixelmator remains a solid app that includes many of the features that Pixelmator Pro has. That said, Pixelmator Pro has been built from the ground up with Apple’s current technologies, which I expect will mean that in time, Pixelmator will be left behind its Pro sibling, gaining fewer and fewer of the Pro version’s features.
If Pixelmator is already a significant part of your workflow, buying the Pro version at a discounted price now is an easy choice to make. It’s an investment in an app that will likely have a bright future. It’s also an easy choice for anyone who needs any of the tools that the Pro version offers that the original version doesn’t.
I’d argue that adopting Pixelmator Pro is also an easy choice for someone who only needs a subset of Pixelmator Pro’s tools like me. I’ve found that over time, I’ve grown into the original version of Pixelmator, which has made me comfortable using it for new, more complex tasks. Pixelmator Pro will give me the room to continue growing those skills.
Even when I’m just combining and resizing screenshots, there’s an unmistakable advantage to Pixelmator Pro over the original version. The Pro version is simply easier to use. There’s less clutter, I know where my tools are at all times, and it looks better, which for a tool that I will use many times each week, is worth the price.
Pixelmator Pro is available on the Mac App Store. A free 30-day trial is also available.
- There are still palettes for shapes and gradients and system items like colors and fonts. ↩︎


