iPhone Mirroring and Notifications
iPhone Mirroring
Apple has methodically expanded the interoperability of its devices under the umbrella of Continuity since macOS Yosemite, and this year is no different; the trend continues. With Sequoia, you can now mirror your iPhone to your Mac’s display and interact with your iPhone apps and notifications. It’s easily the best feature of macOS 15.0, but it takes a while for it to take hold.
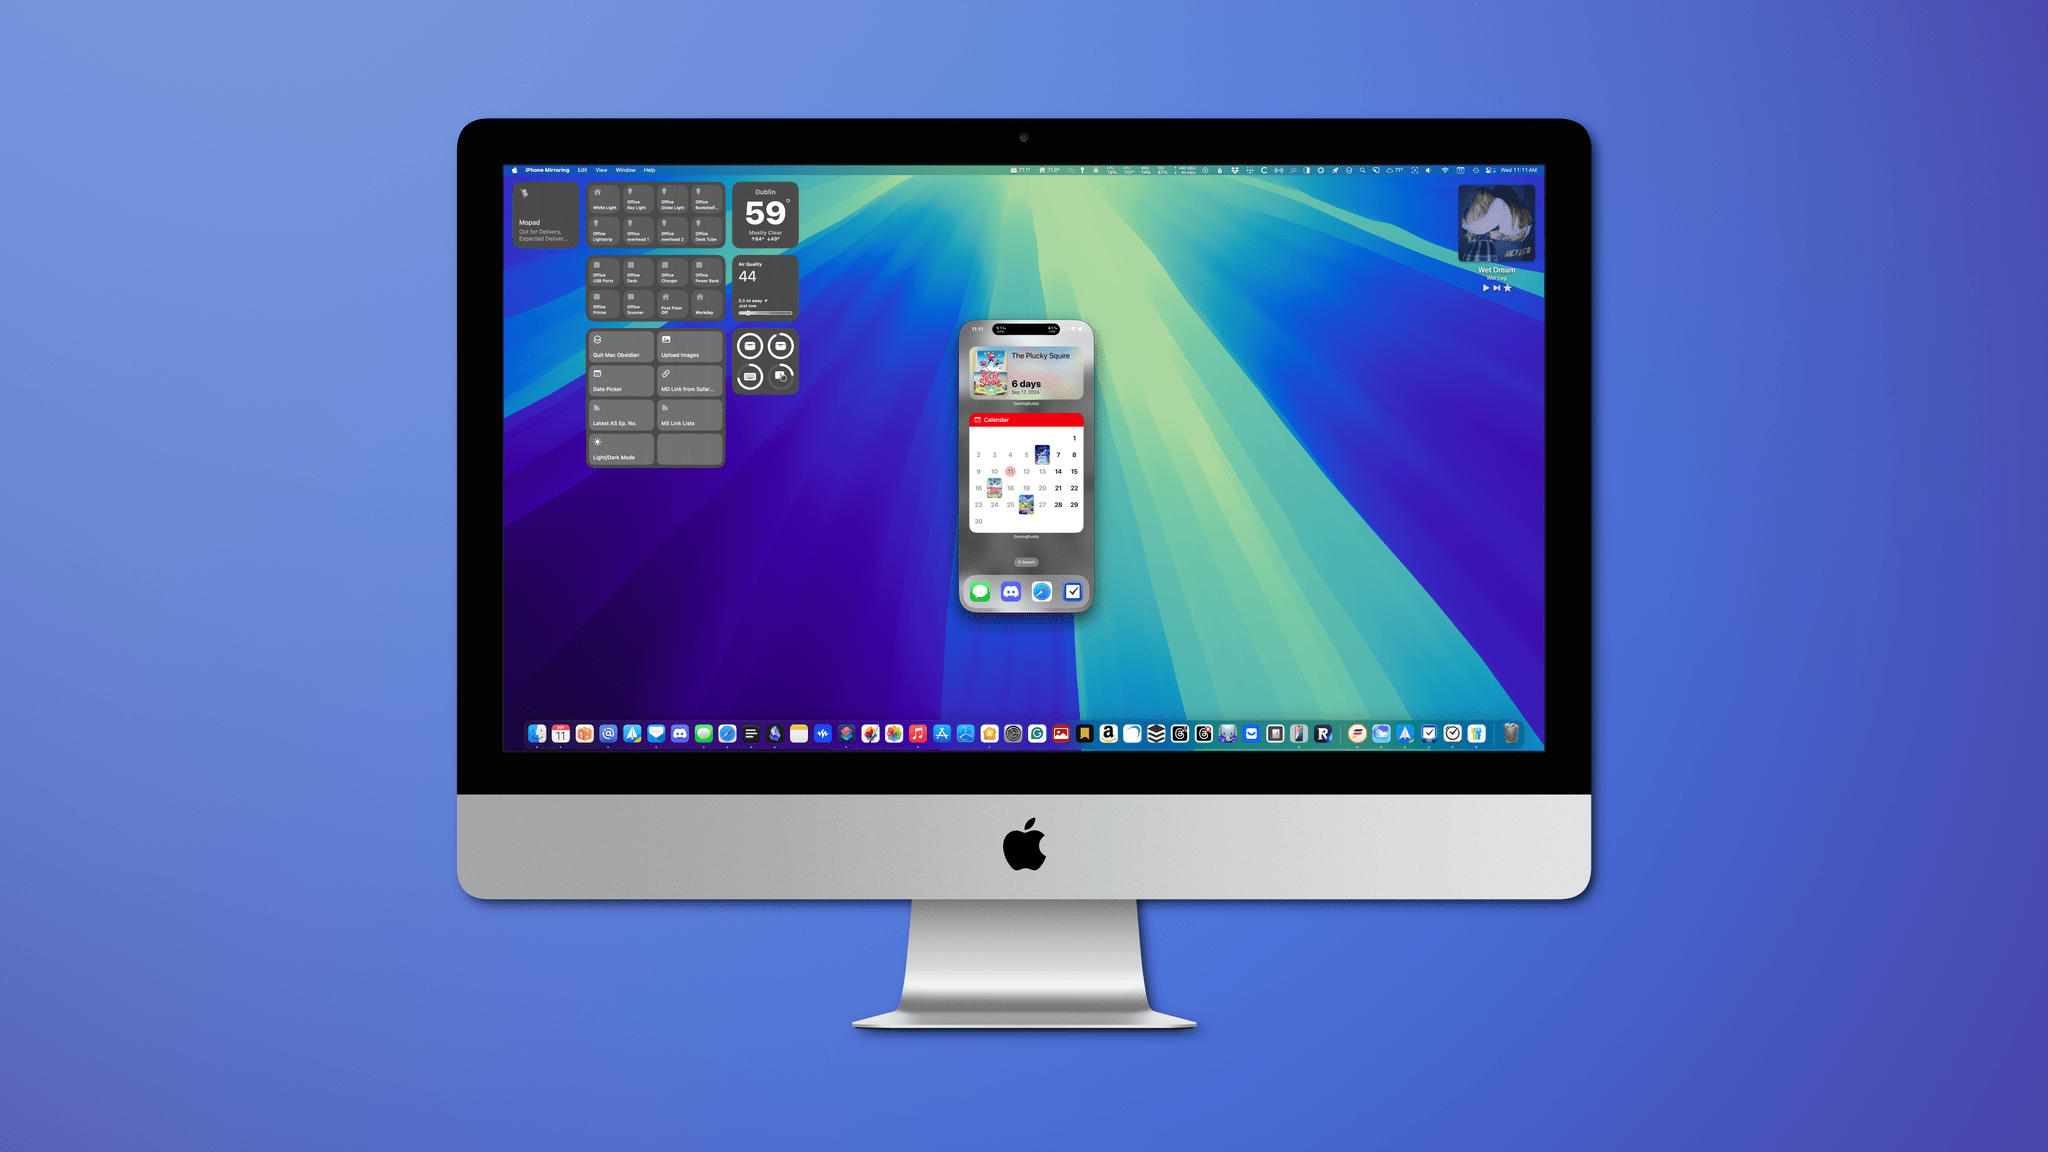
When Apple added widgets to the Mac’s desktop, it included the ability to display widgets from a nearby iPhone. I have to imagine that was a testbed for iPhone Mirroring. And, as much as I’ve enjoyed having my iPhone’s widgets available on my Mac’s desktop, iPhone Mirroring and notifications are a much bigger leap forward in utility.
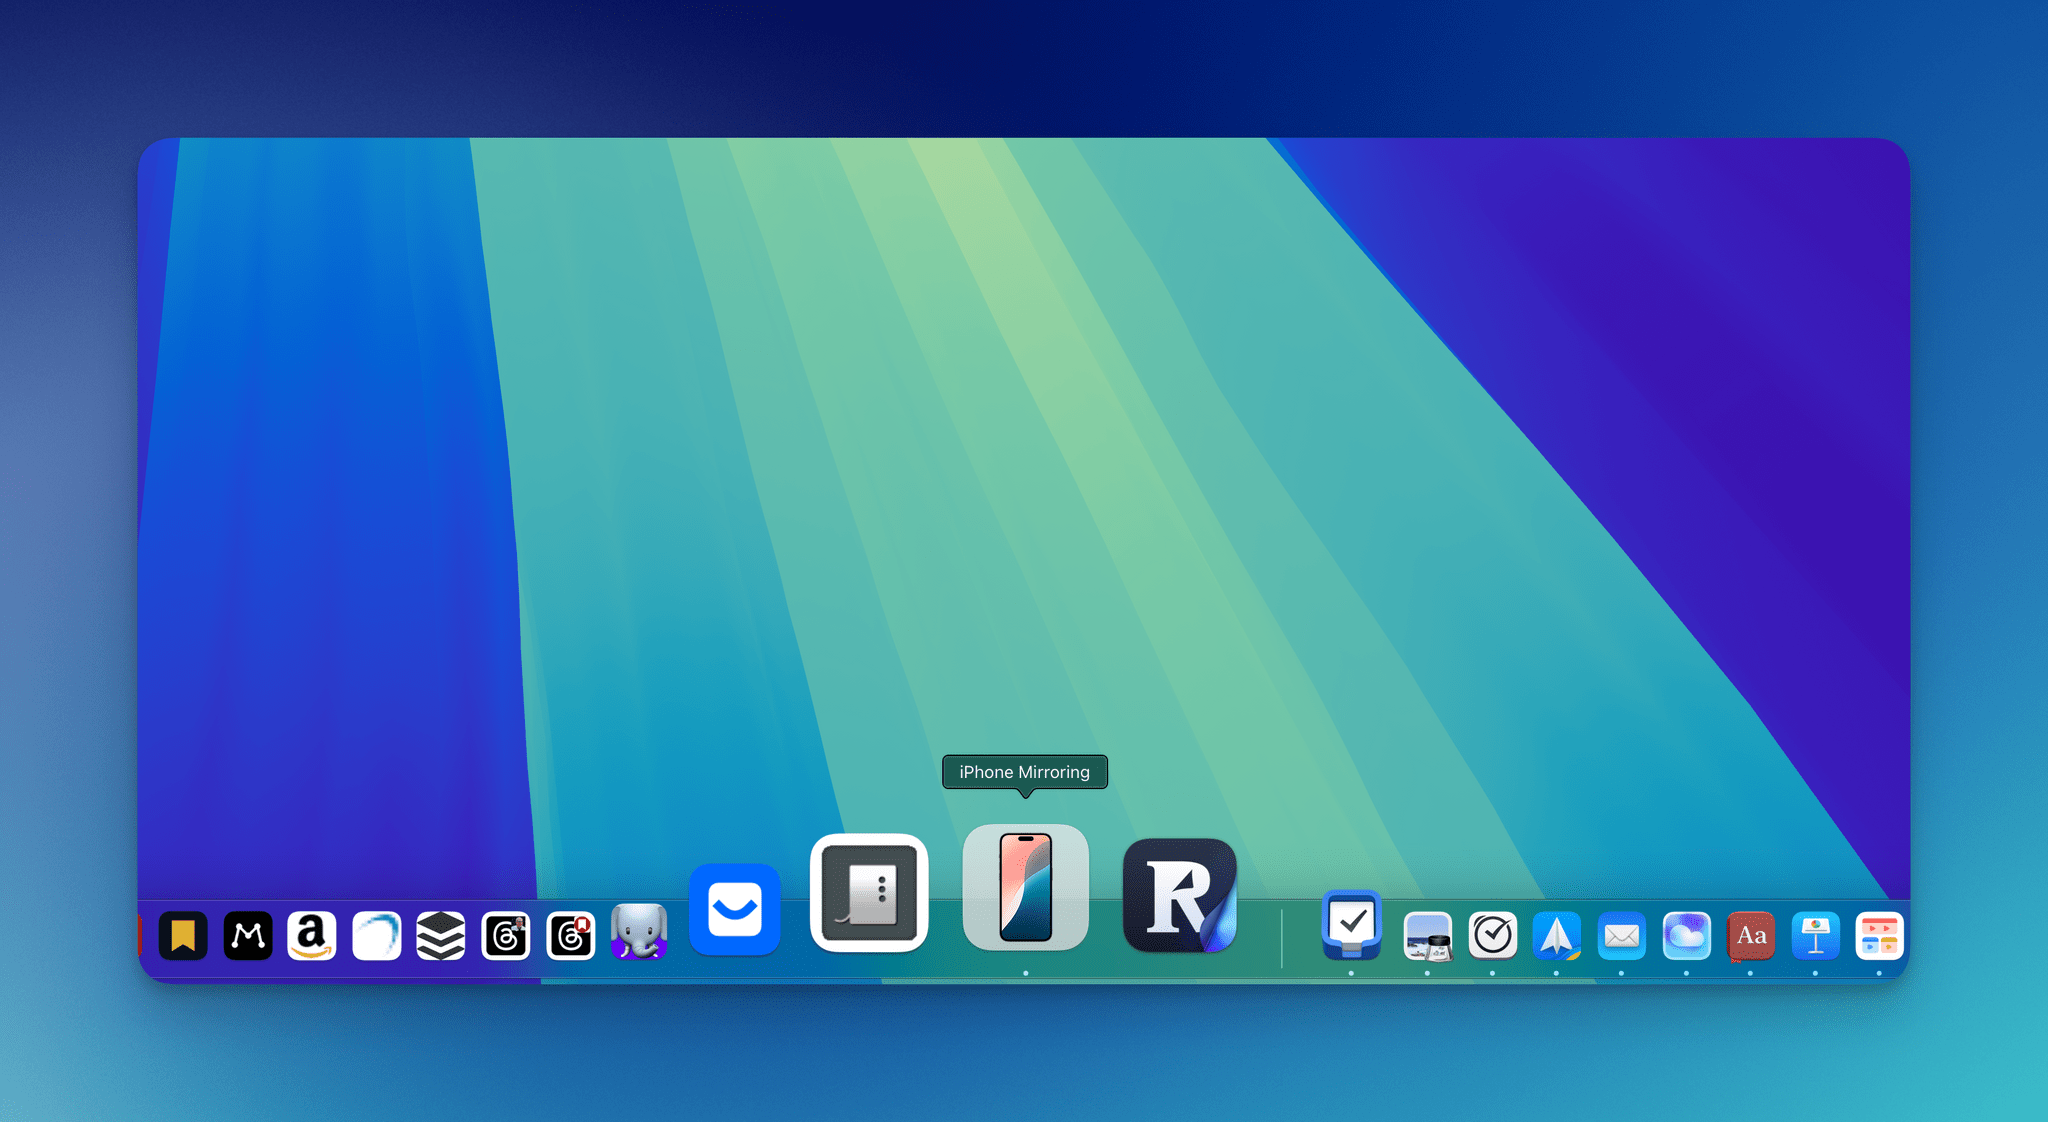
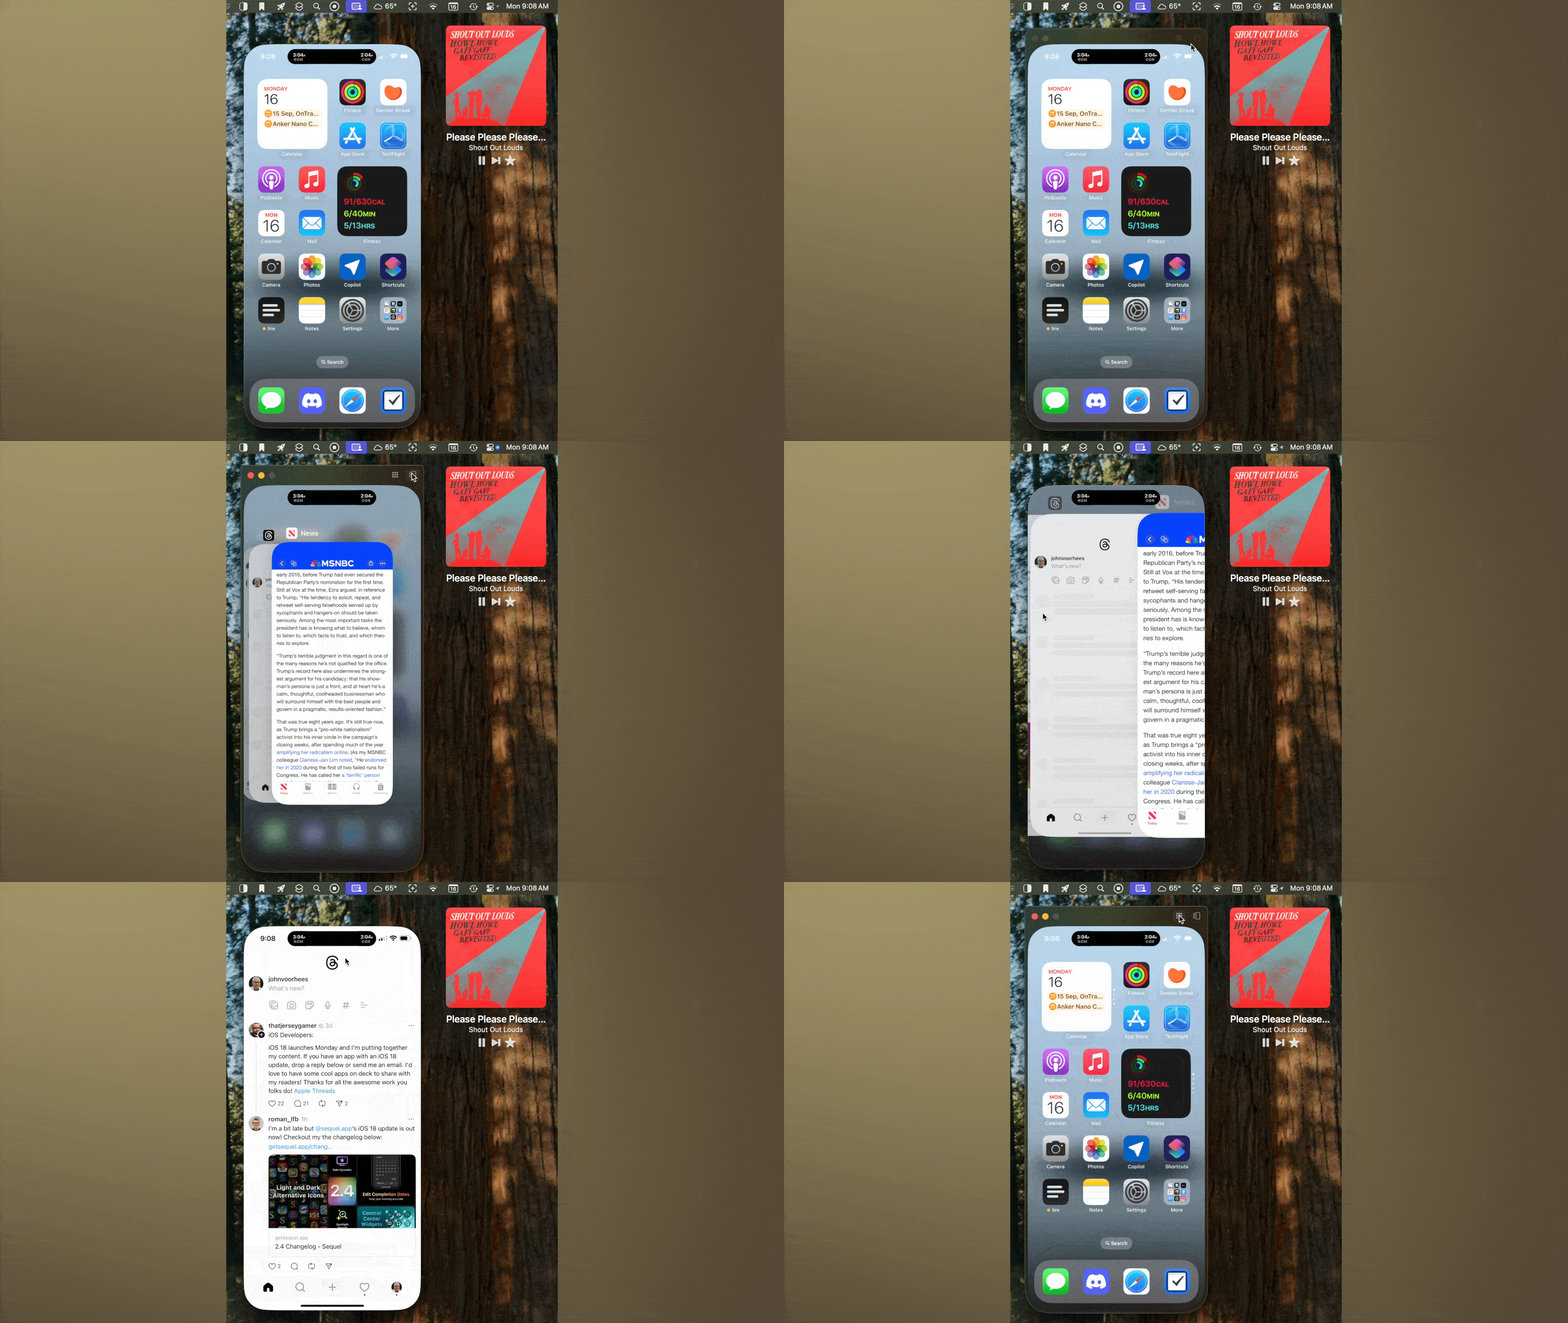
After you update to Sequoia, you’ll see a new icon in your Dock for the iPhone Mirroring app. Open it and click through the onboarding explanation of the feature, and your iPhone will appear in a window on your Mac, much like the iPhone simulator does for developers running Xcode. For the feature to work, your iPhone must be within Bluetooth range and connected to the same Wi-Fi network and Apple Account as your Mac, which must either be an Apple silicon model or an Intel-based Mac with a T2 Security Chip. Mirroring also requires that your Mac not be using AirPlay or Sidecar when the connection is initiated.
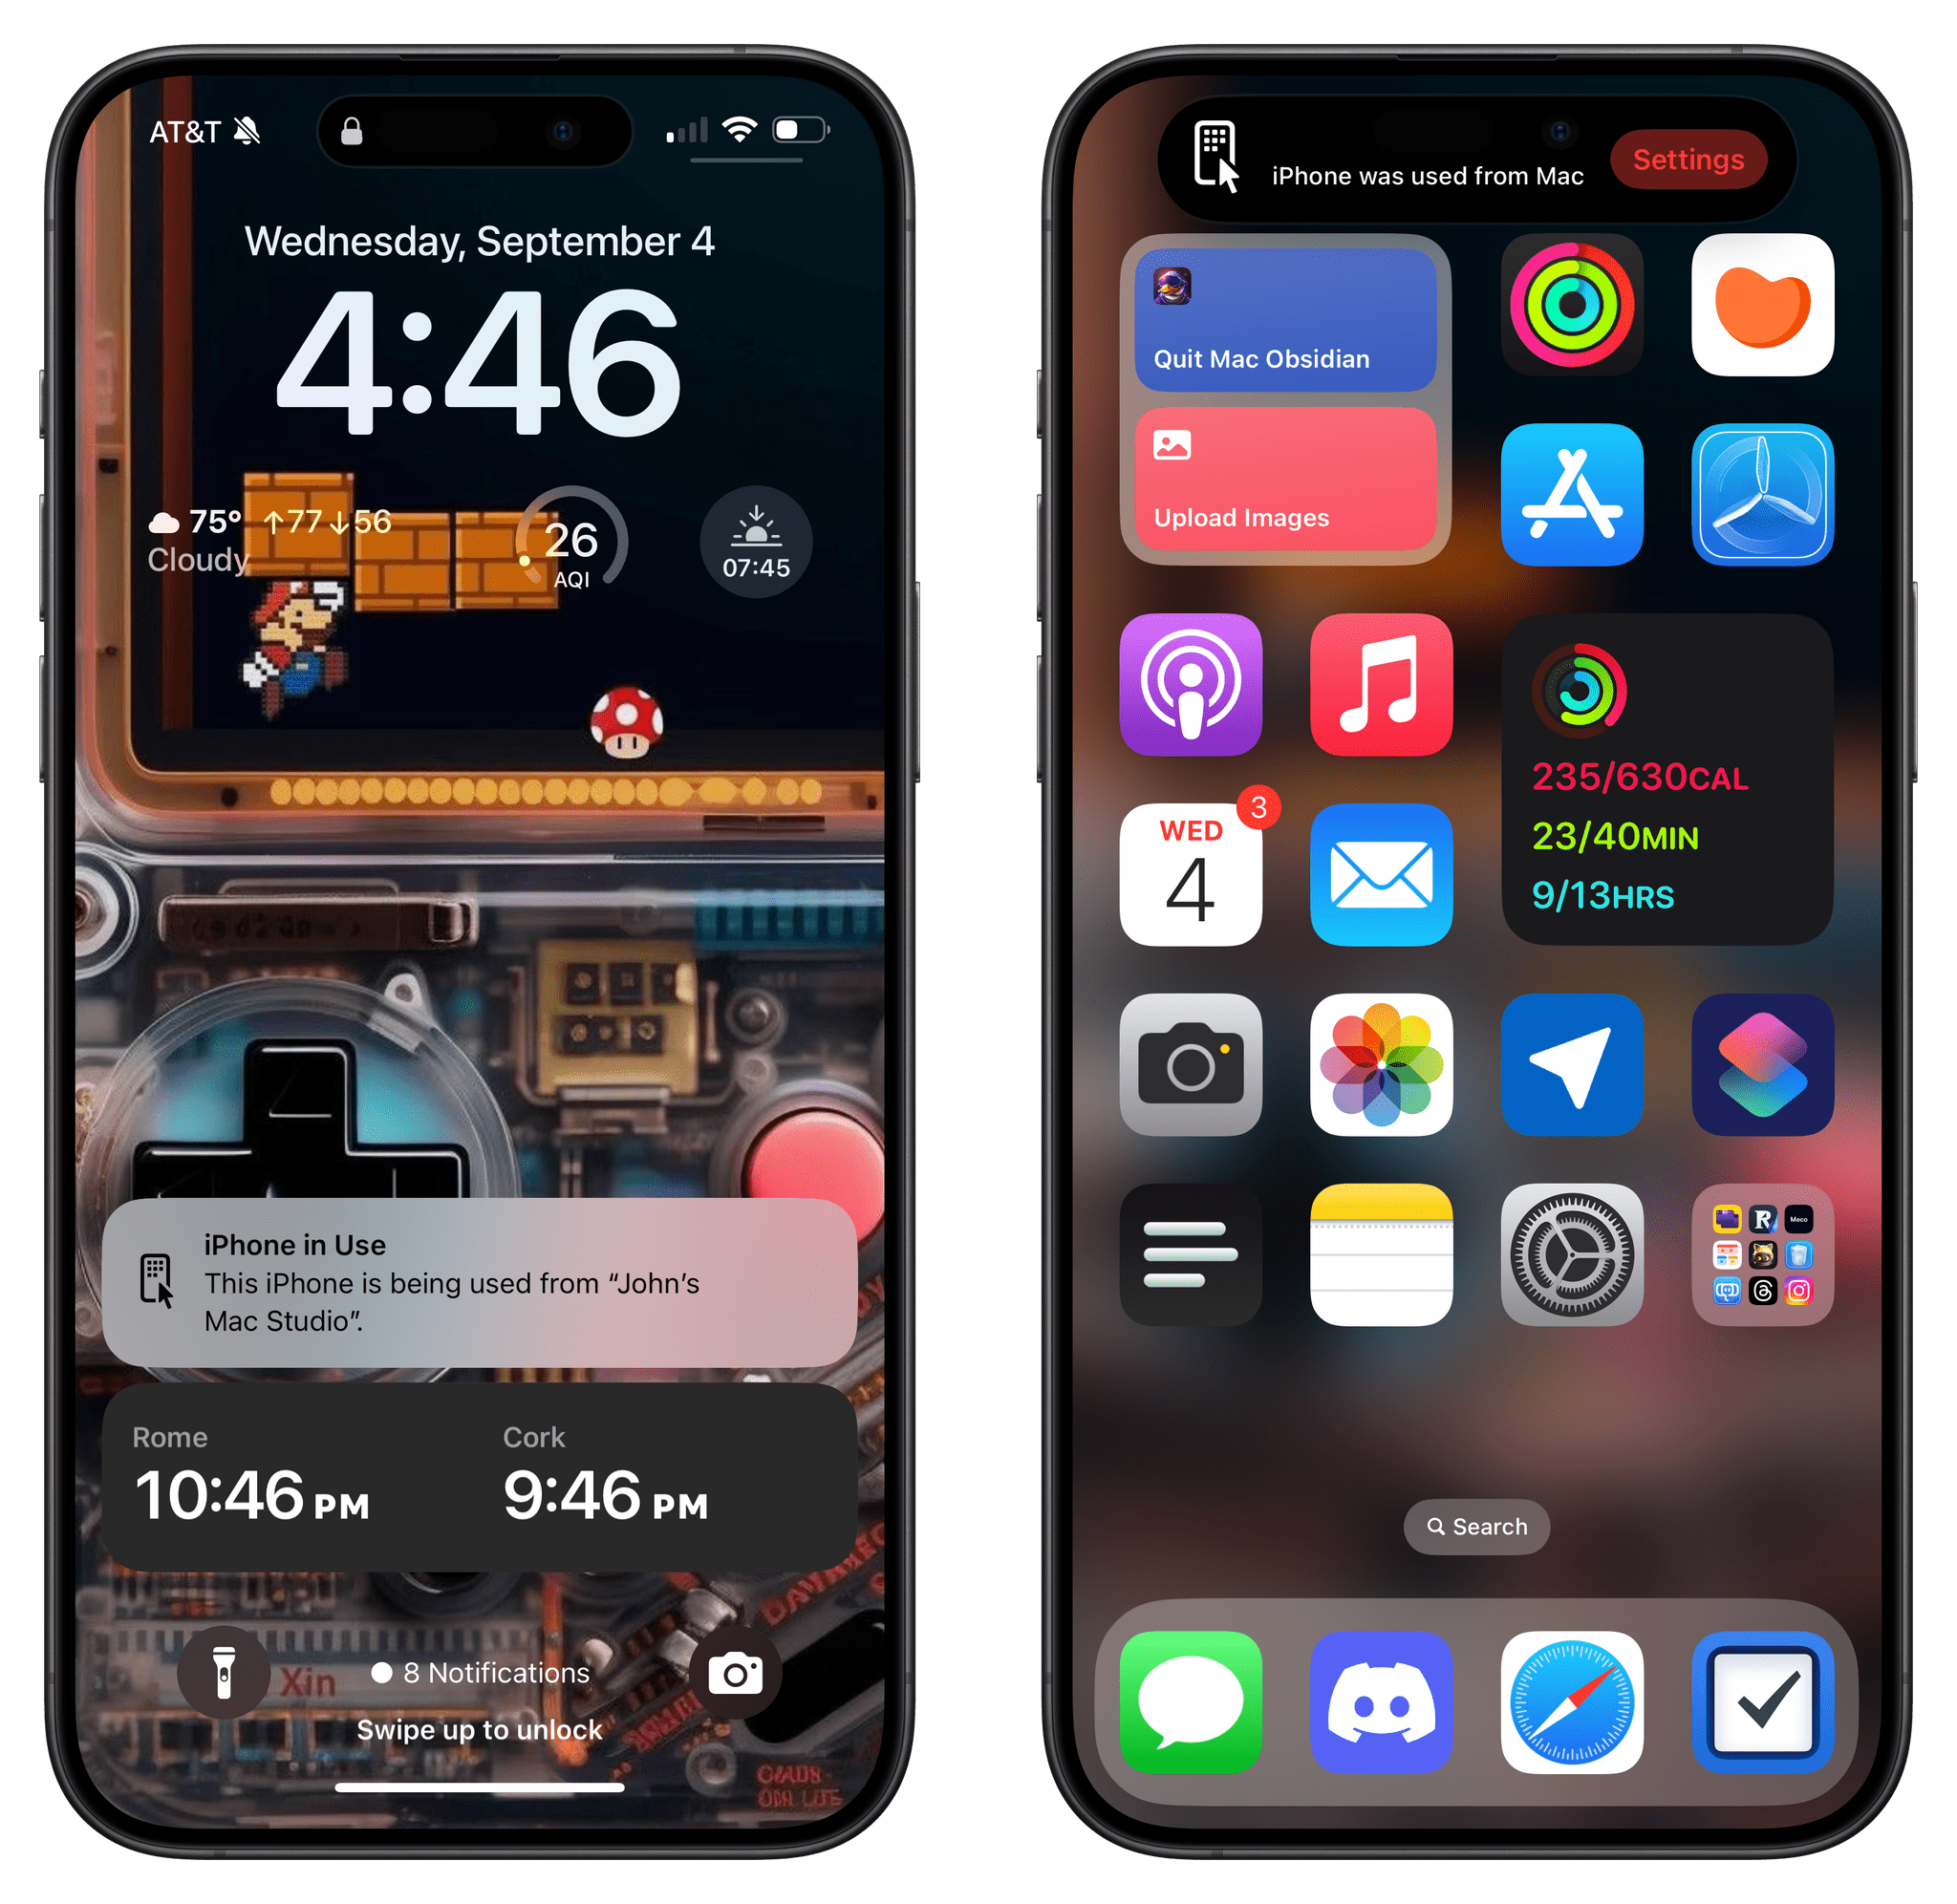
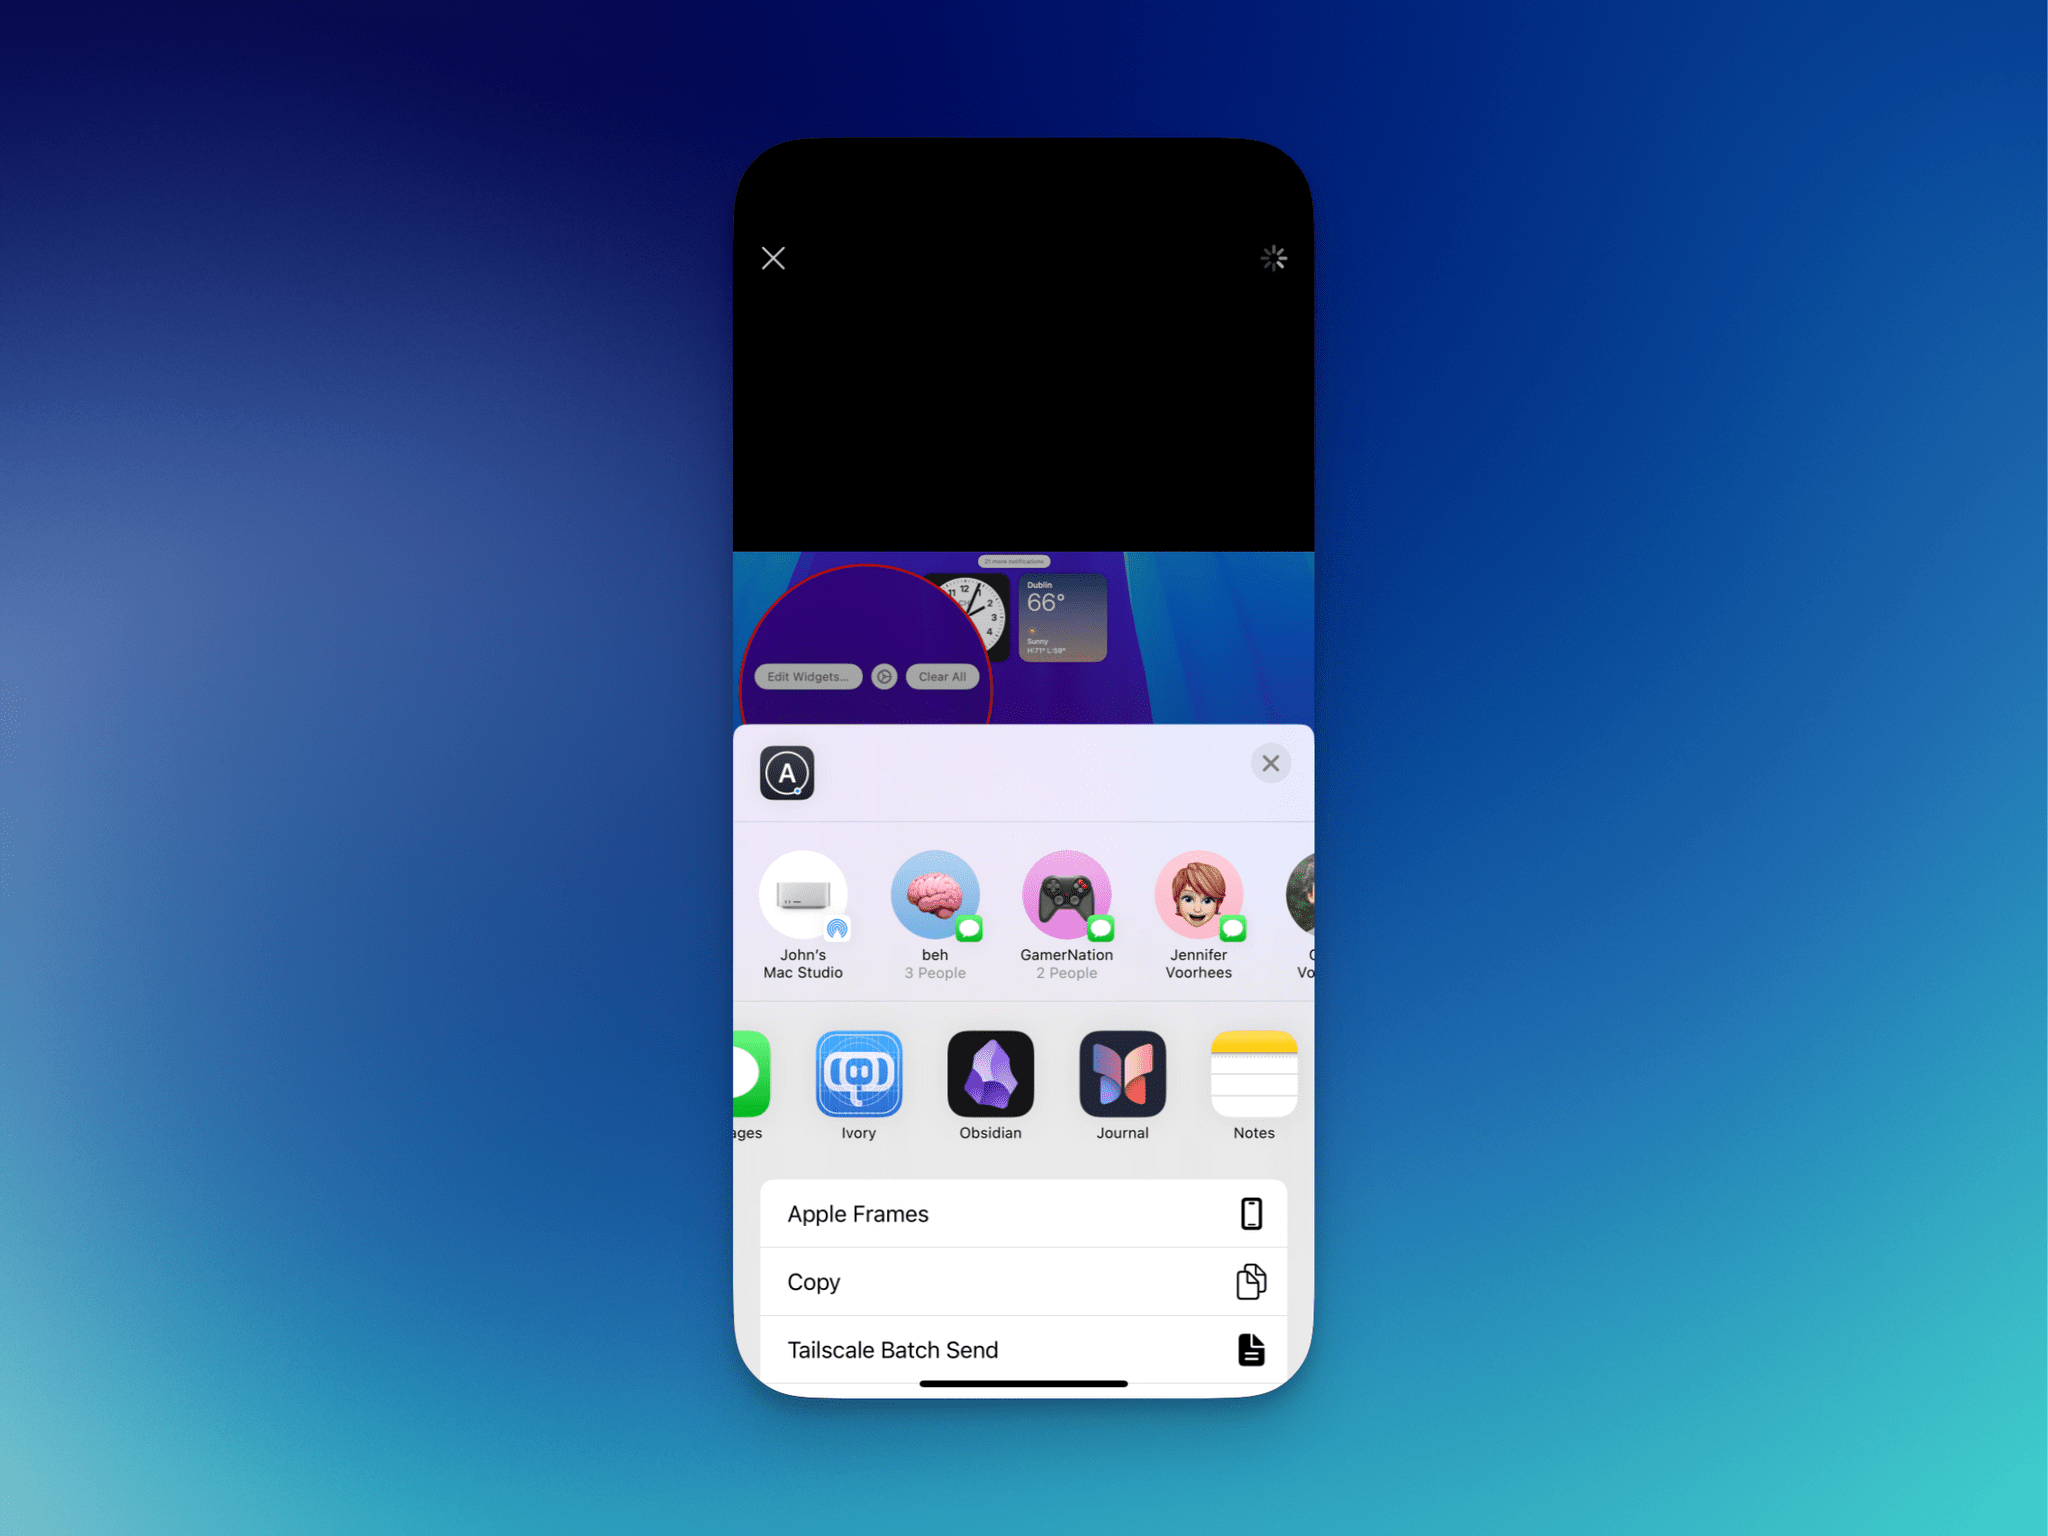
While it’s being mirrored, your iPhone will be locked, so whatever you’re doing with it on your Mac won’t be visible to someone looking at your phone. A notification appears on your iPhone’s Lock Screen indicating which device it is mirrored to. Then, when you unlock your iPhone, a notification will appear from the Dynamic Island announcing that it was used on a Mac. The notification also includes a ‘Settings’ button that takes you to the ‘AirPlay & Continuity’ section of your iPhone’s Settings app where mirroring can be turned off.
iPhone Mirroring’s window has no chrome, nor is the window framed by a hardware image. However, a title bar will appear when you hover over the top of the iPhone’s window, revealing two buttons that take you back to the Home Screen and activate the app switcher, respectively.
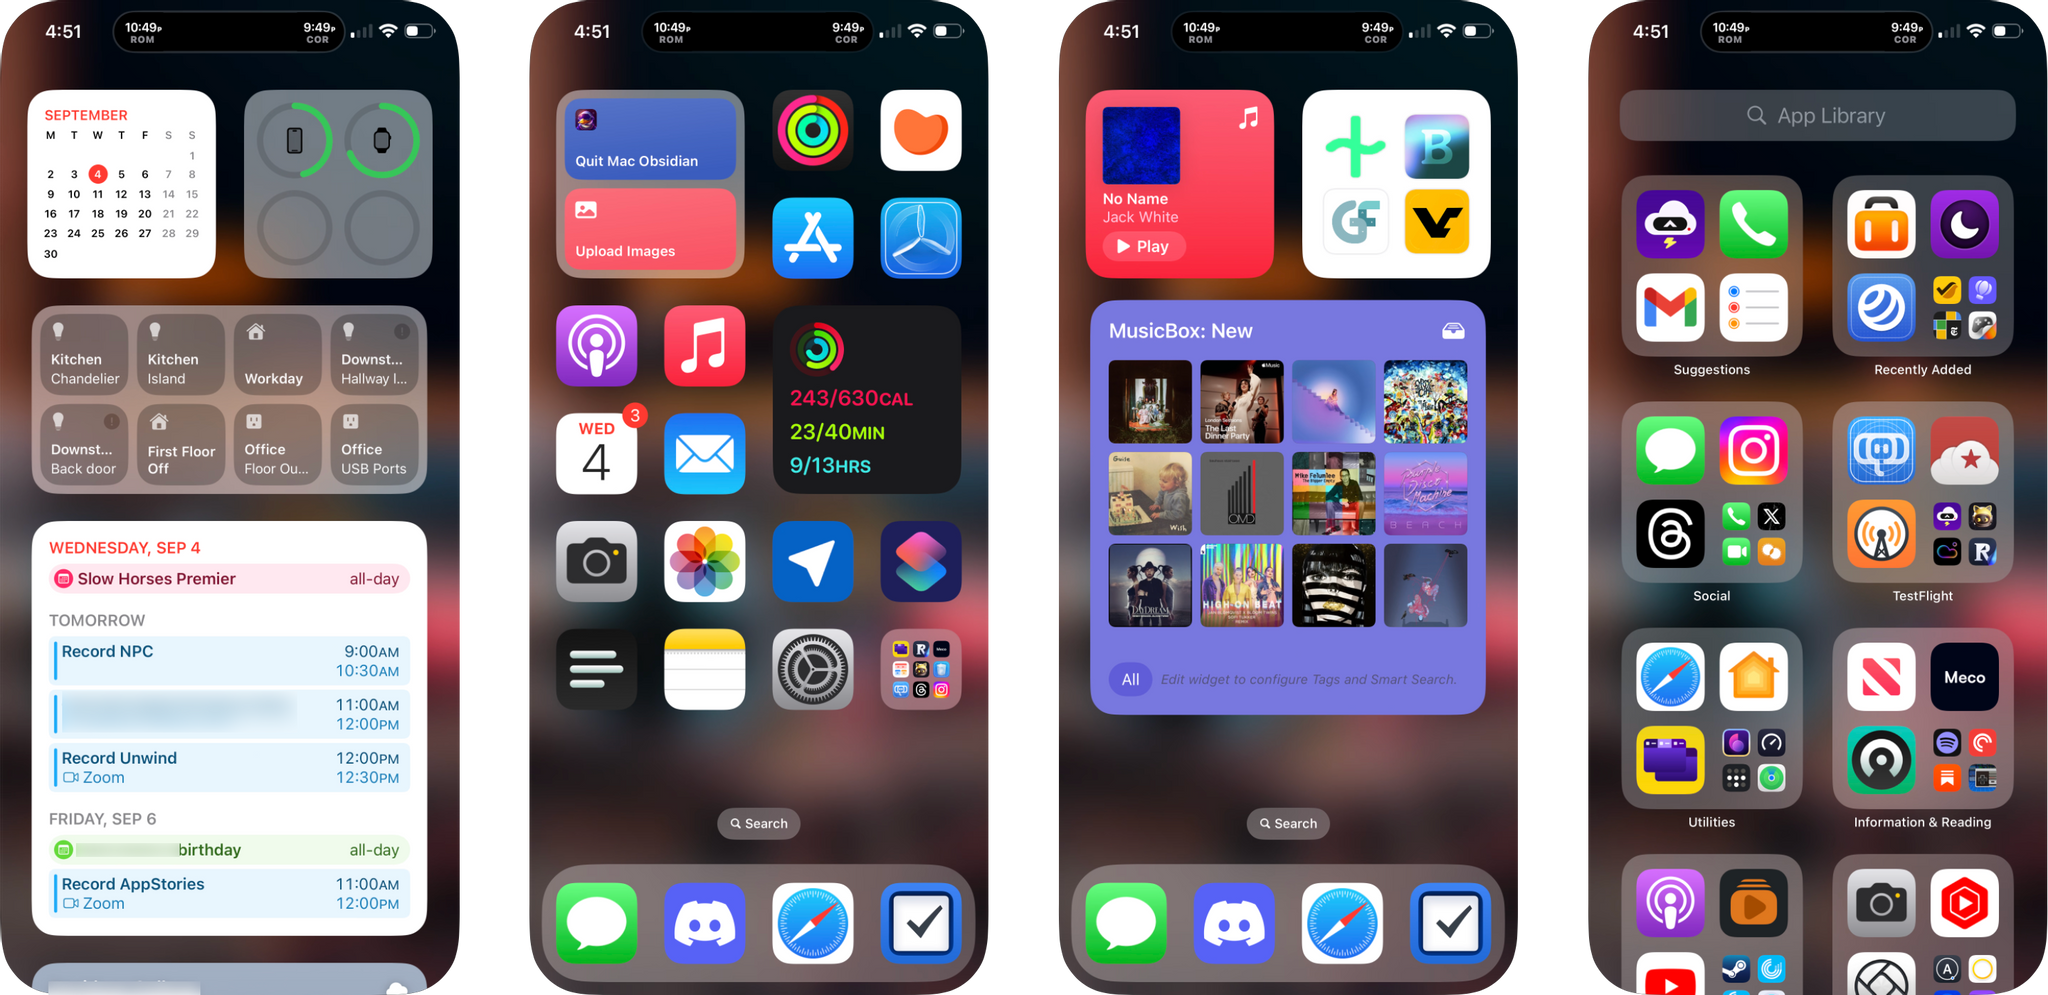
The iPhone’s window isn’t resizable either, which can make it feel a little small on some displays, depending on your resolution settings. However, having used it on my Mac Studio Display all summer using my display’s default settings, I have no complaints about the window’s size. In addition to your iPhone’s Home Screens, its Today View and App Library are available while mirroring, but Notification Center and Control Center are not.
 automatically switch to landscape mode on the Mac.](https://cdn.macstories.net/cleanshot-2024-09-06-at-14-15-34-2x-1725646600452.png)
Landscape games like Zenless Zone Zero automatically switch to landscape mode on the Mac.
Most of the time, iPhone Mirroring will be in portrait mode. If an app or game defaults to landscape orientation or switches to it automatically, the iPhone Mirroring window will switch to landscape. However, there is no way to switch to landscape mode manually to take advantage of optional landscape modes that apps like Mail offer. Also, some apps like video streaming services don’t recognize the iPhone’s mirrored UI as a proper display, so you’ll hear audio if you play copy-protected, streamed video, but there won’t be any image. You also can’t access your iPhone’s camera from your Mac while the device is mirrored. Similarly, mirroring does not work with Continuity Camera, meaning that if you’re using your iPhone for a video call, you won’t be able to access your apps using iPhone Mirroring while you’re on the call.
Navigating apps feels natural and supports Magic Trackpad and Magic Mouse gestures, such as two-finger scrolling. My Logitech MX Master 3S for Mac mouse works for clicking and right-clicking in my iPhone’s mirrored UI, but its scroll wheel and other buttons are not supported. The Magic Keyboard’s Touch ID sensor is also available for those times when you’d normally need to enter your iPhone’s passcode.
In addition to the controls at the top of the iPhone Mirroring window, the app has built-in keyboard shortcuts to return to the Home Screen, access the app switcher, and start a Spotlight search query. You can also return to your Home Screen from any app by clicking the bar at the bottom of the window. Clicking and holding with your mouse or trackpad causes your Home Screen to enter ‘jiggle mode,’ allowing you to rearrange your app icons, add widgets, edit Home Screen pages, and customize the look of your Home Screens. However, I’m sorry to report that rearranging your iPhone’s icons is no easier from your Mac than it is on your iPhone.
Also, if you’re a fan of the iPhone’s StandBy Mode, you’re in luck because iPhone Mirroring works even when your iPhone is charging nearby and displaying widgets. And speaking of widgets, if you click on an iOS widget that you’ve added to your Mac’s desktop, it will launch iPhone Mirroring.
iPhone Notifications
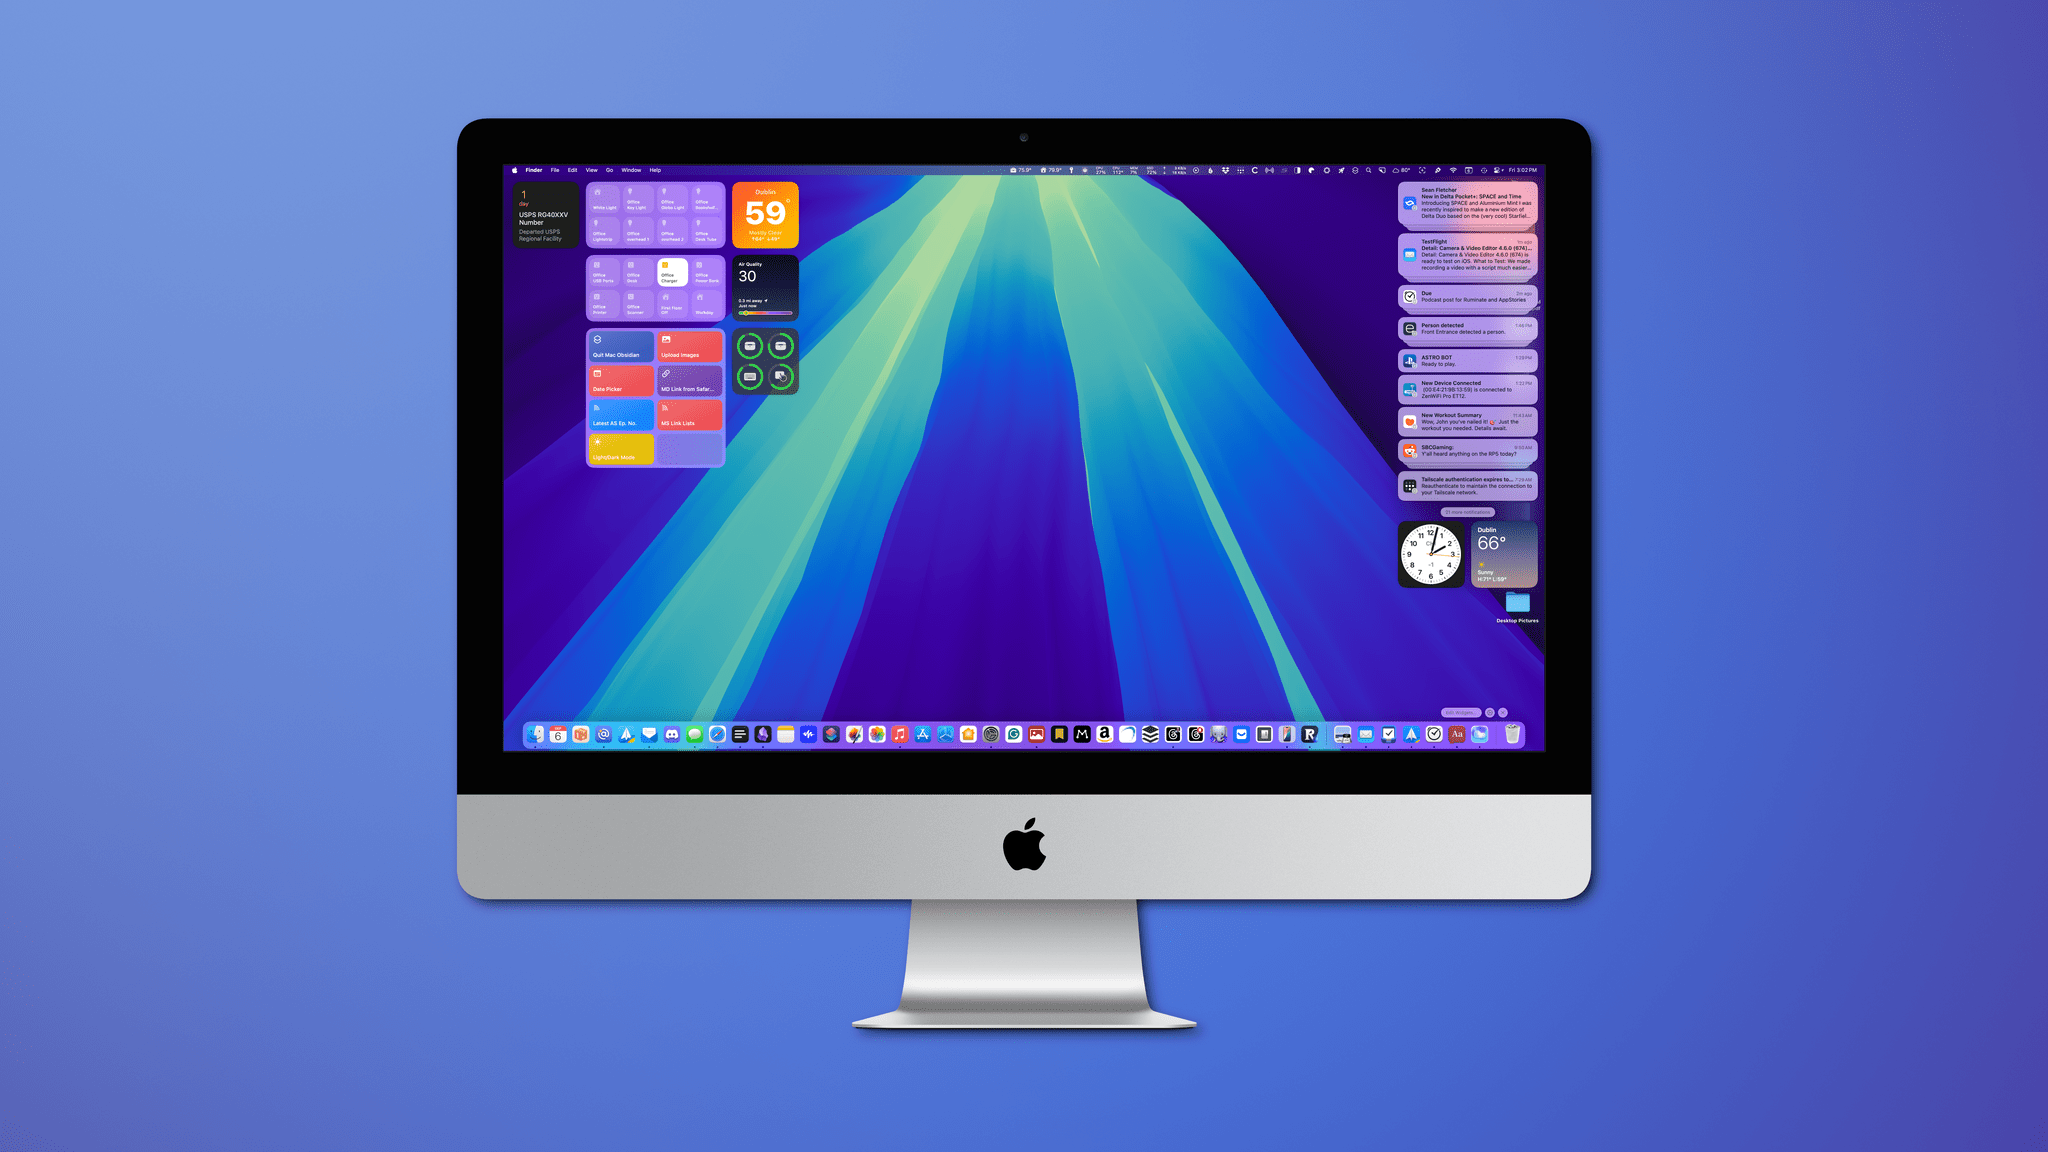
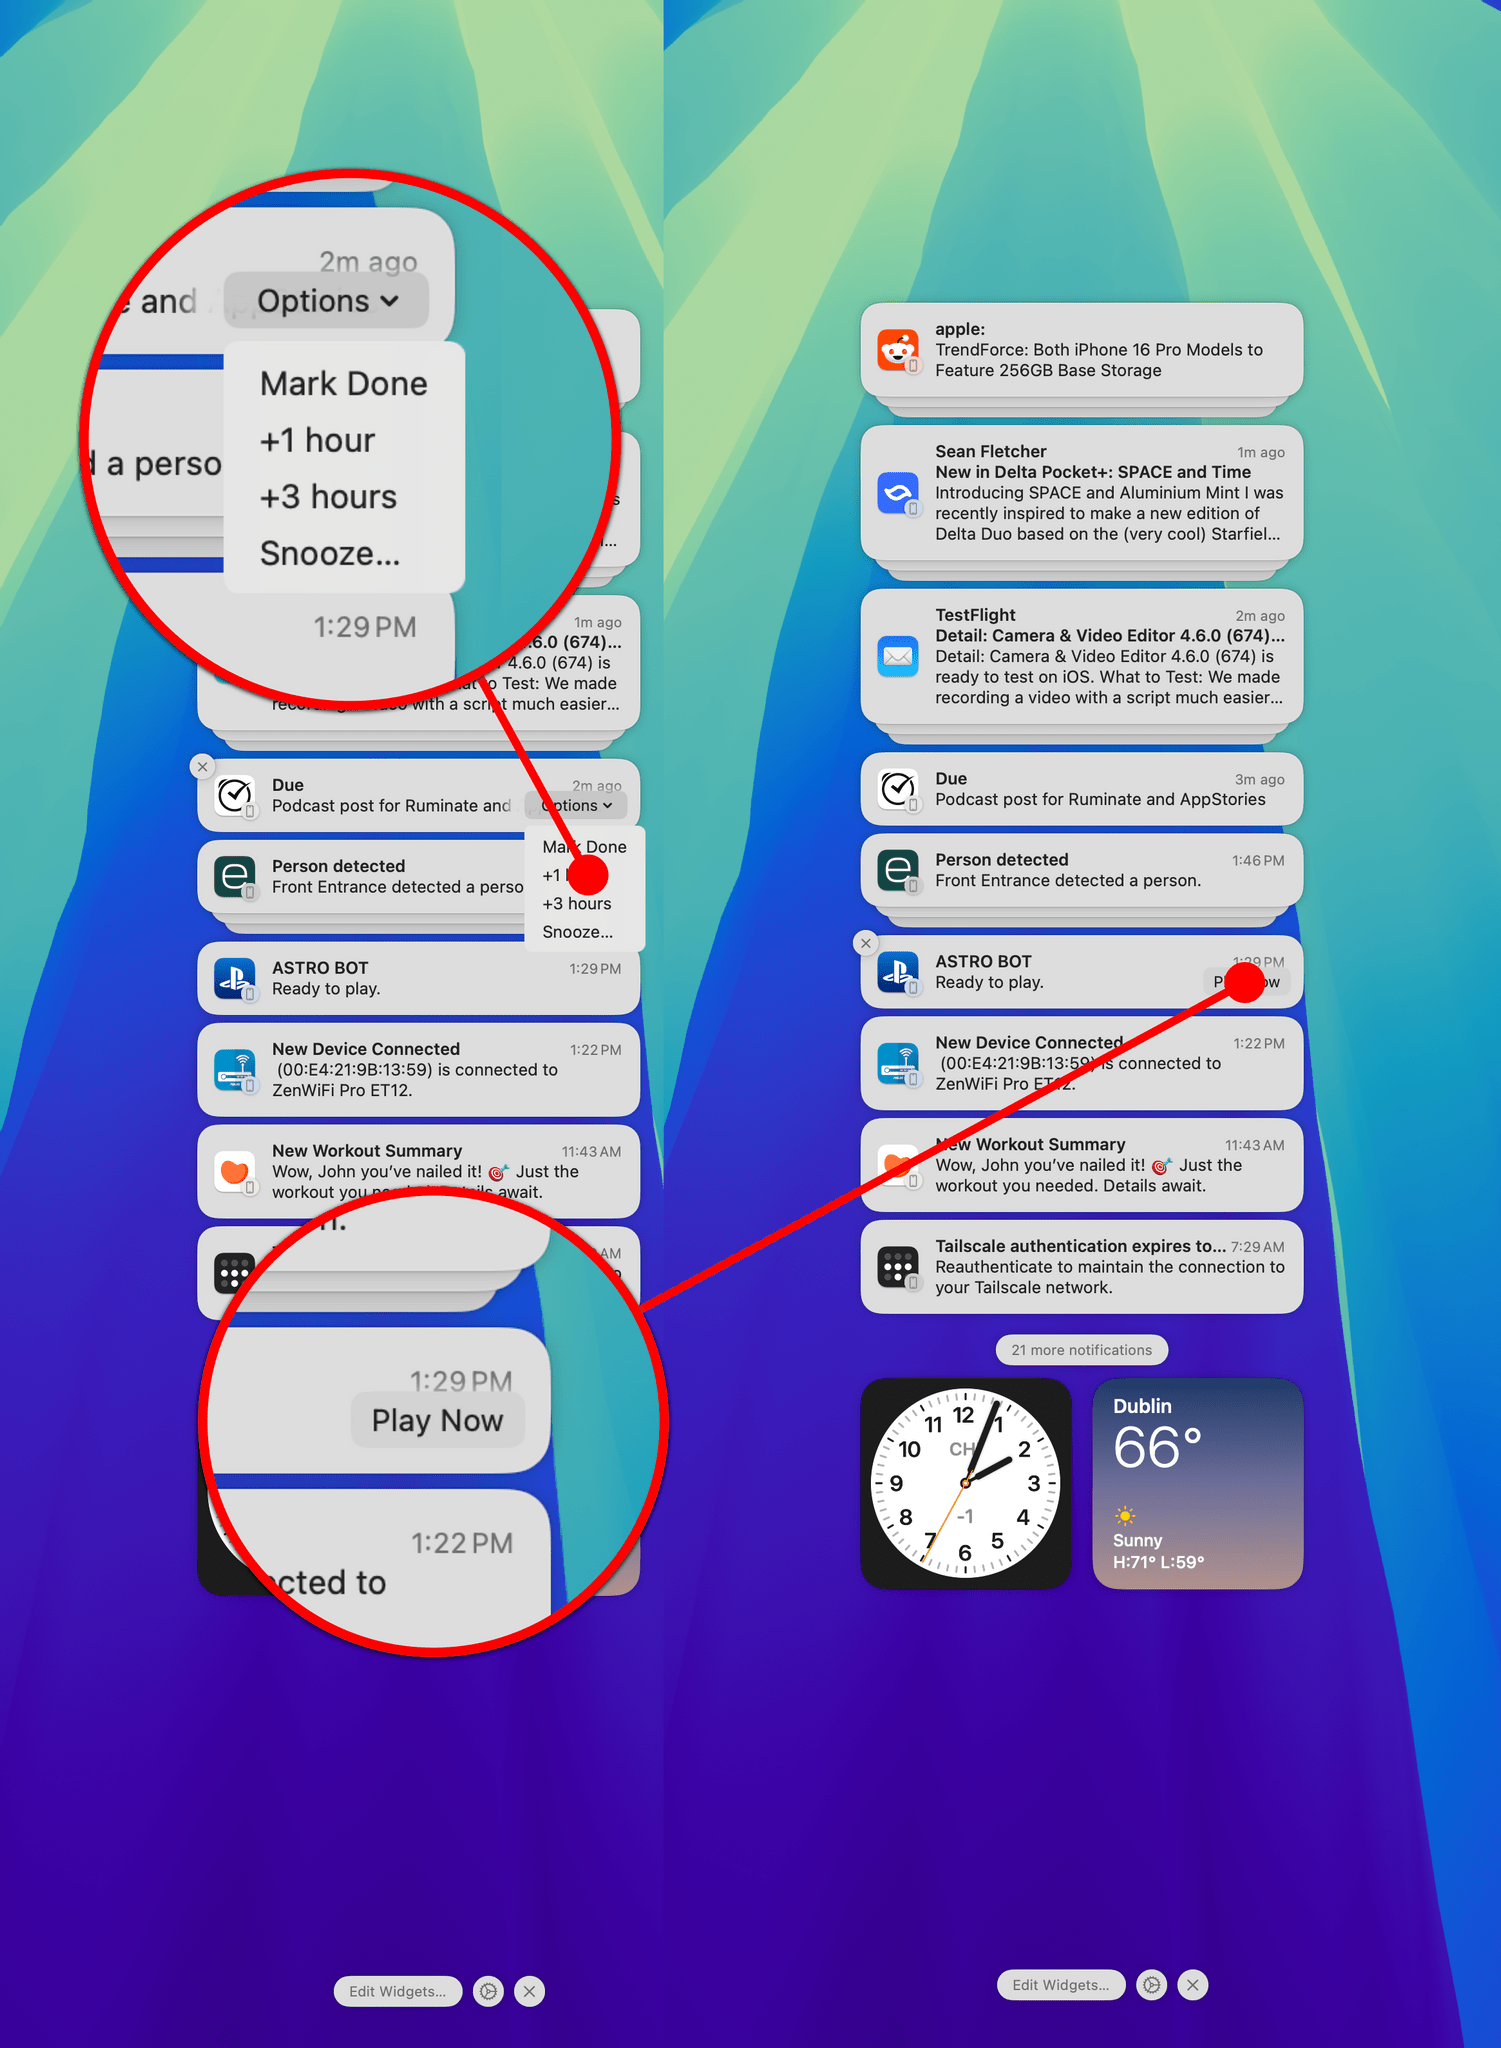
Sequoia also introduces iPhone notifications on the Mac, which appear whether you’re using iPhone Mirroring or not and are not range-restricted. The notifications appear in your Mac’s Notification Center just like any other notification, but with a little iPhone icon in the bottom-right corner of the app icon to indicate their origin. I’m glad to see the differentiation between the two sources, but the icons are small and light gray, making it hard to notice them at a glance, so I’d like Apple to try something larger and more high-contrast in the future. Like a Mac notification, you can interact with your mirrored iPhone notifications, reading them and doing things like responding inline when that option is available. Clicking on an iPhone notification will open the associated app using iPhone Mirroring, too.
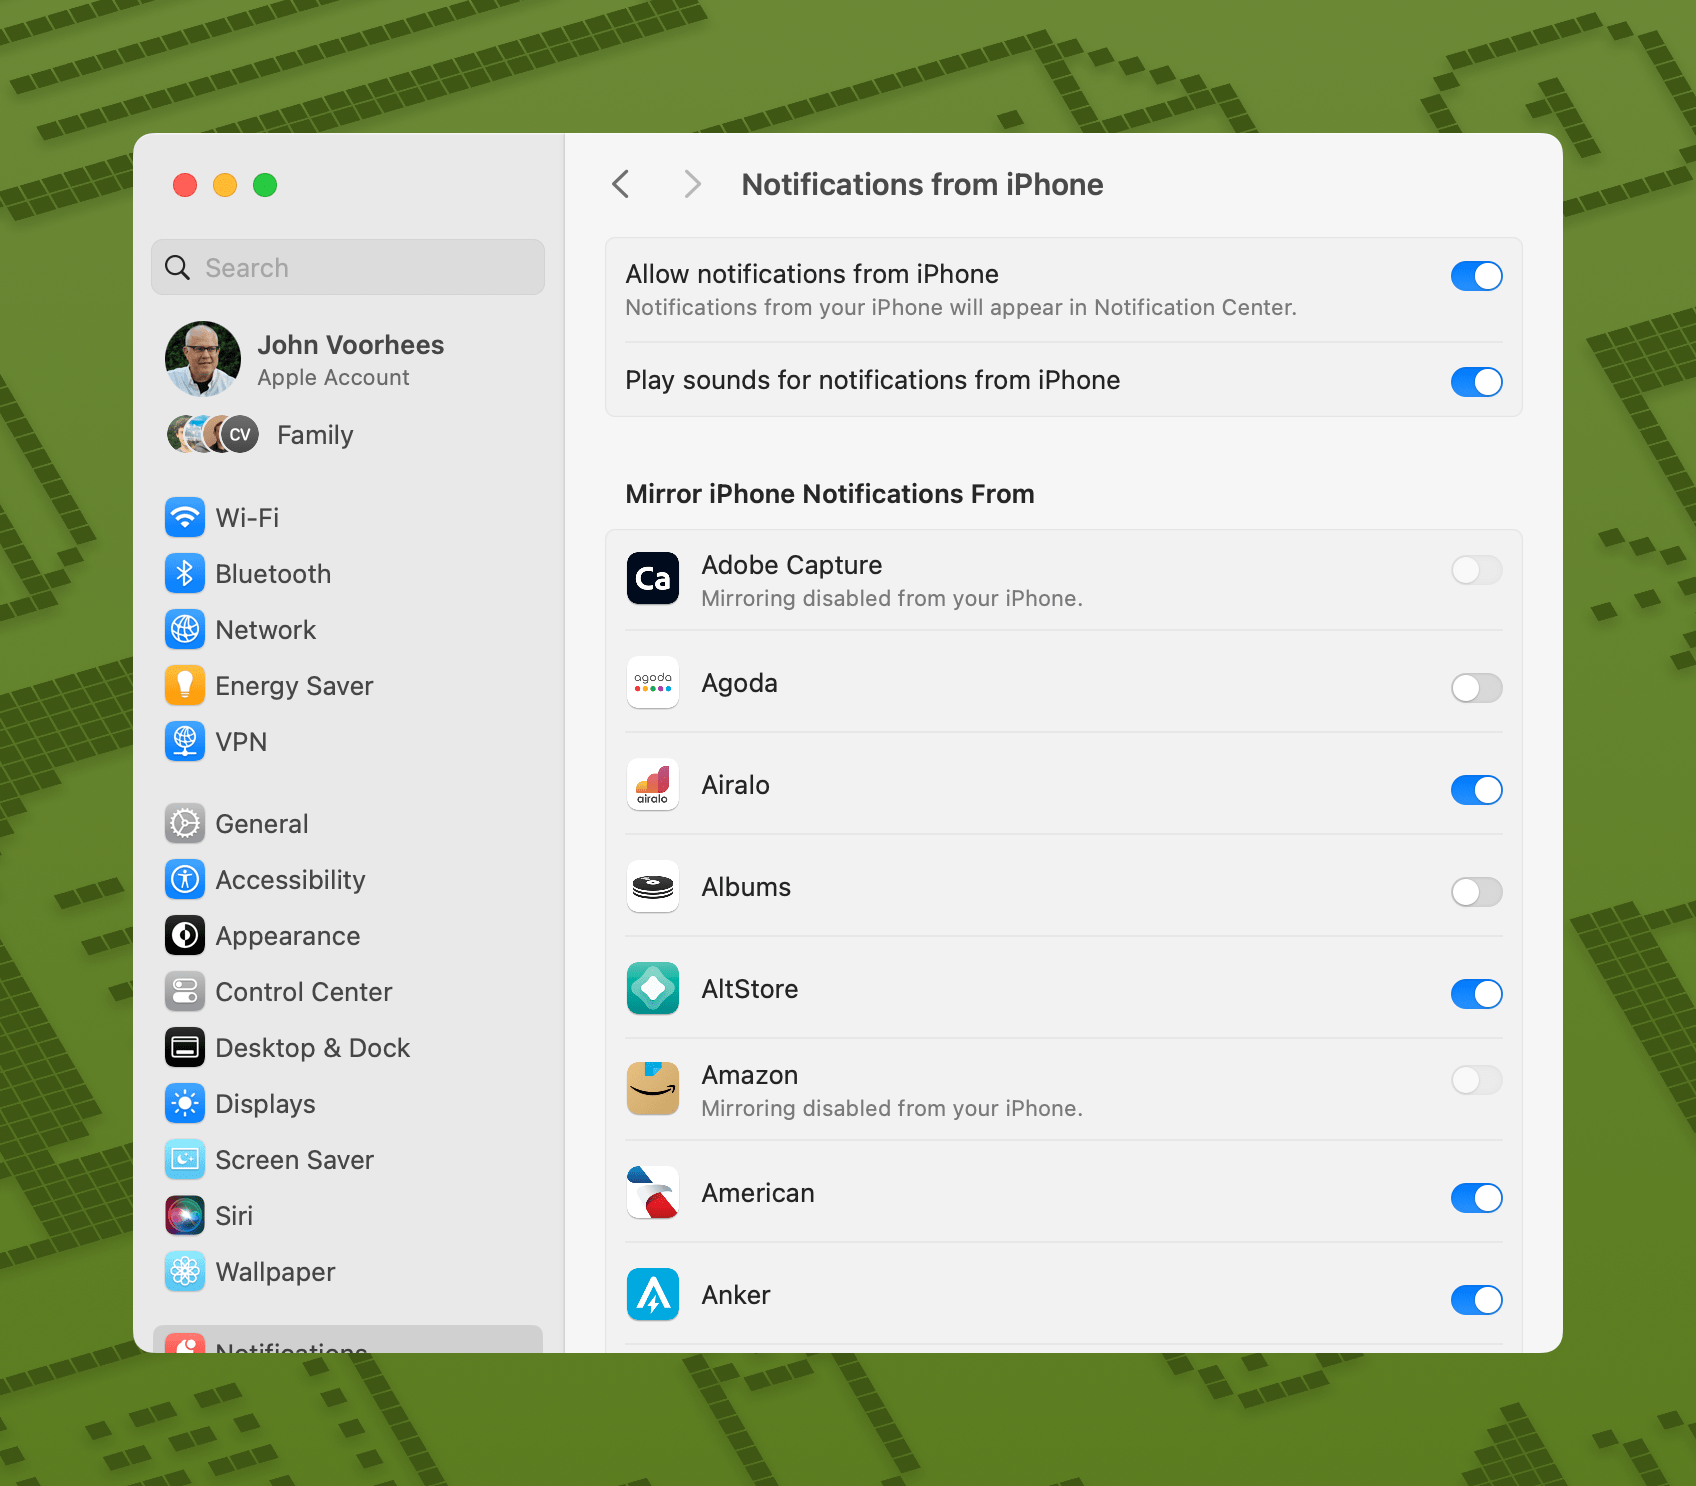
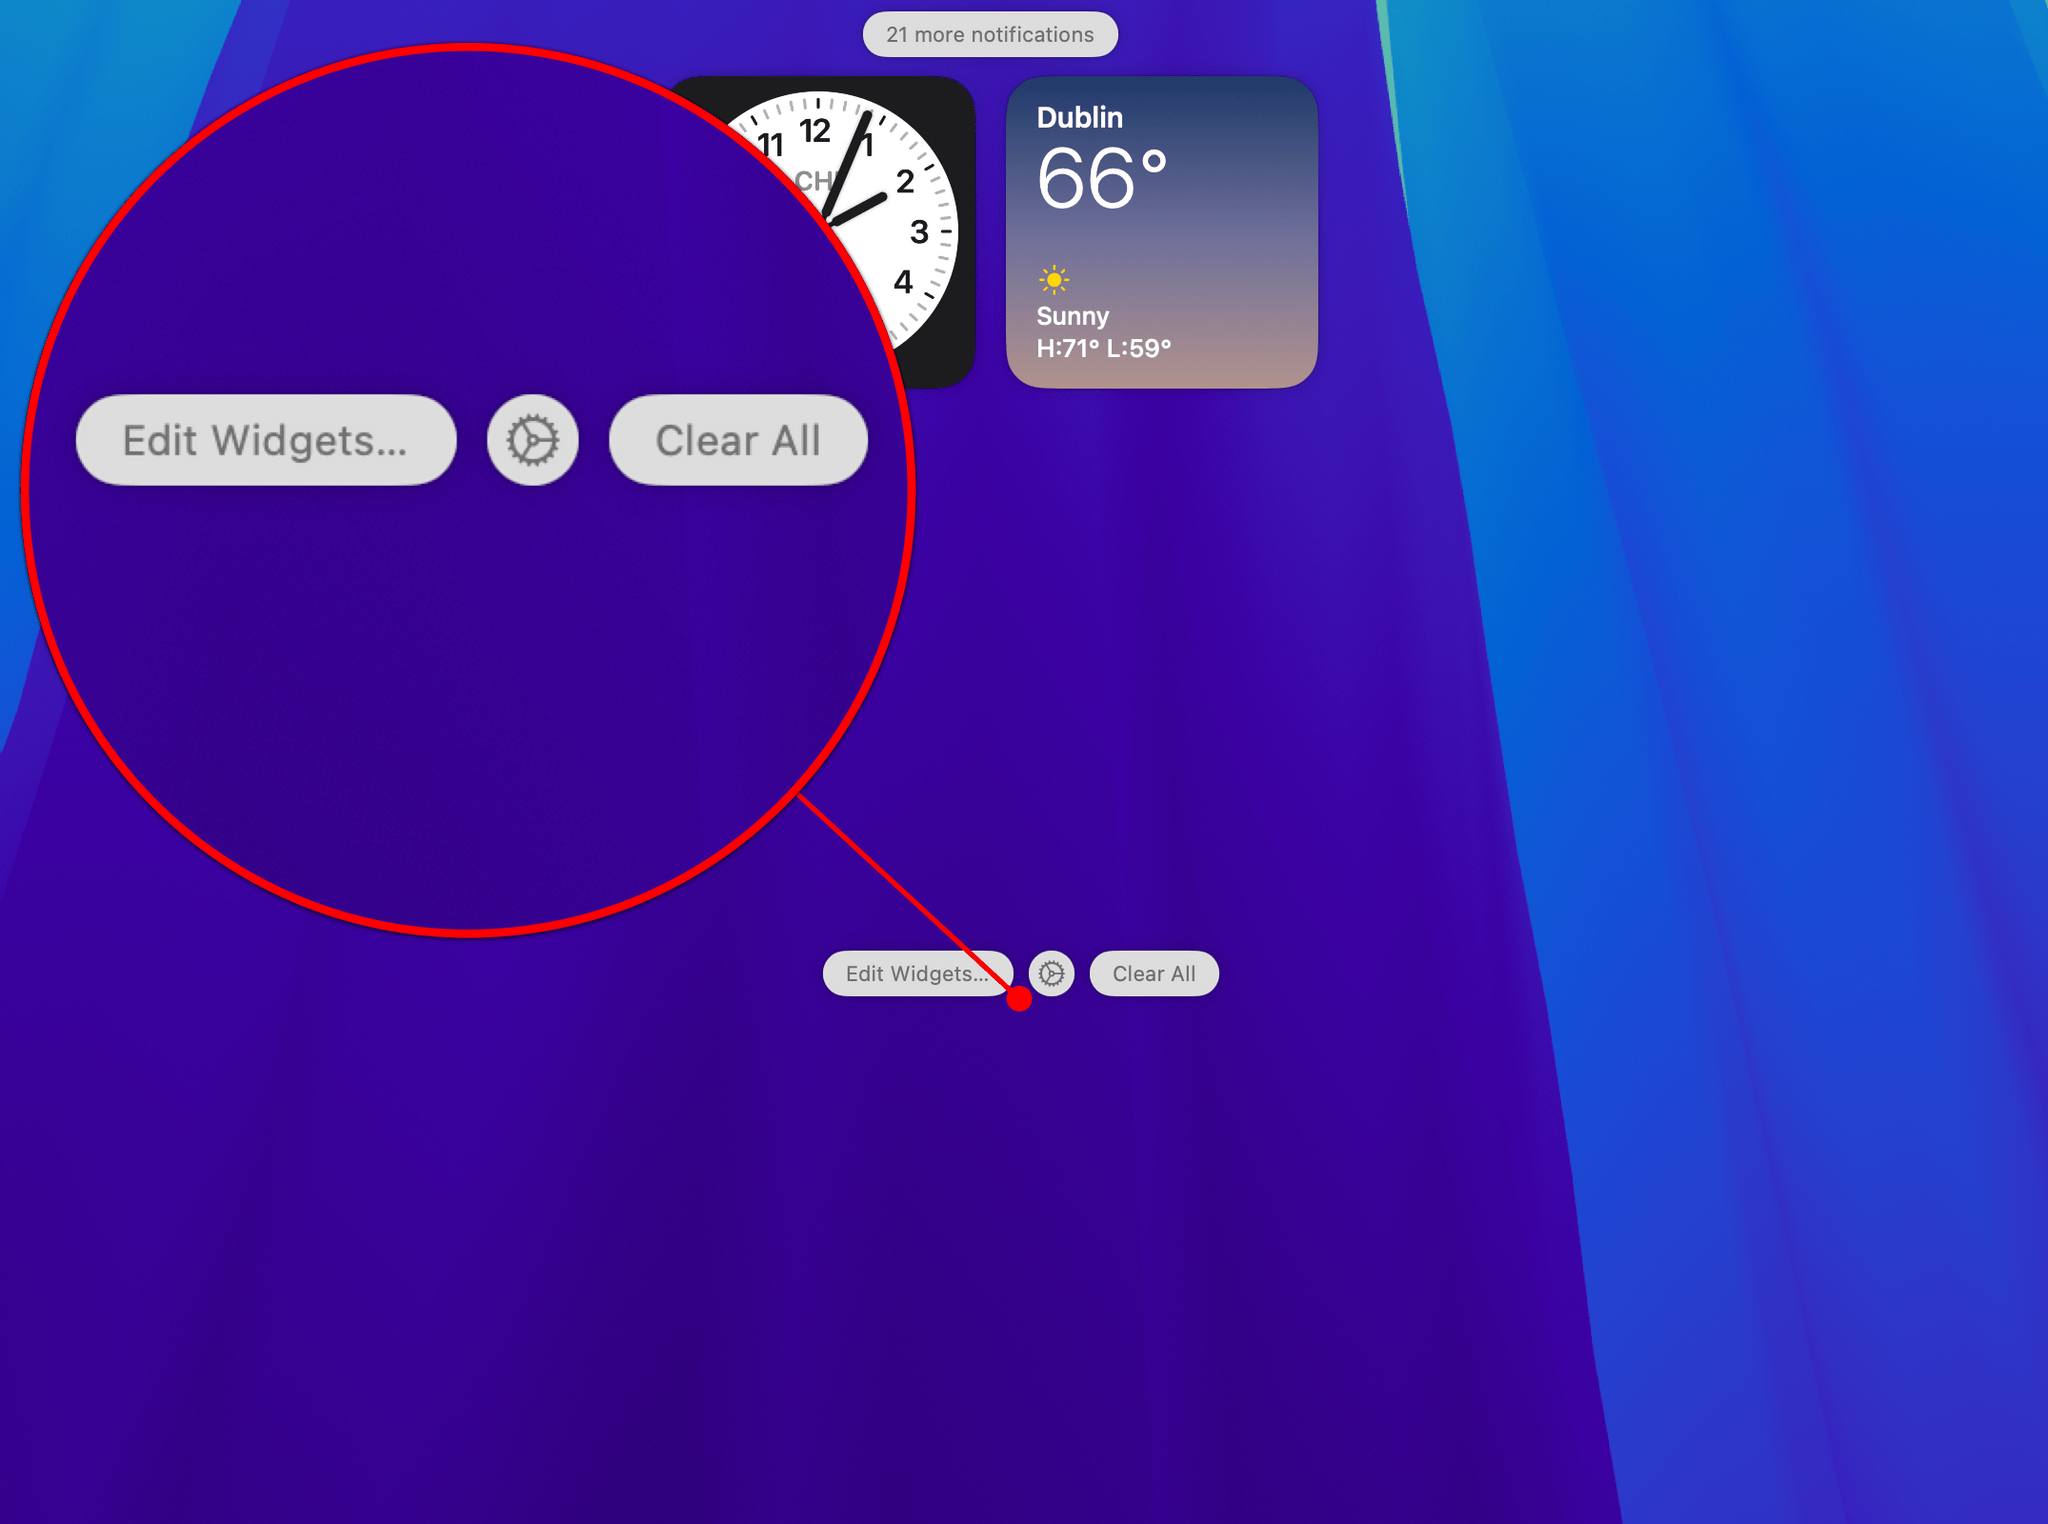
Sequoia gives you the ability to manage the notifications your Mac receives from your iPhone with settings to turn iPhone notifications off entirely, enable or disable notification sounds, and turn off notifications for individual apps. In addition, there’s a new ‘X’ button at the bottom of the Mac’s Notification Center that turns into a ‘Clear All’ button when you hover over it and, as the label says, will wipe out any notifications – whether they be from your Mac or iPhone – with a single click. Finally.
When I first started using iPhone Mirroring, I wondered whether it would be of much use to me. As it turns out, I have more iPhone-only apps than I realized. Yes, some – like my bank’s app – can be replicated by visiting a website on my Mac, but others – like the apps for my thermostat, Roomba, and garage door – can’t. Instead of pulling out my iPhone to adjust the temperature, check if my Roomba is stuck under the couch, or see whether my garage door is open, I can quickly check those apps via iPhone Mirroring. It might seem like a small difference compared to grabbing my iPhone, but it’s not as disruptive, which means it’s also less distracting. It took a while, but over the course of the summer, I’ve discovered more and more apps that are useful to access from my Mac. I’ve also found it very useful when writing about iPhone-only apps, which I can now test and glance at as I write.
iPhone Mirroring also makes grabbing files and images from my iPhone and sending them to my Mac (or the other direction) via AirDrop easier than ever. That’s something I do a lot, and now it’s far easier because I don’t have to switch between devices. Later this year, Apple says iPhone Mirroring will gain the ability to drag and drop files between your iPhone and Mac, too, but for now, AirDrop is nearly as good a solution.
Dealing with iPhone notifications on my Mac has been a better experience than I expected, too. I manage the apps that can notify me on my iPhone carefully, so adding them to my Mac notifications hasn’t felt overwhelming. On the contrary, it’s allowed me to deal with those notifications in a more quick and timely way without having to switch to my iPhone, which I love. It also means I don’t wind up with a big stack of unread notifications at the end of the day when I stop working on my Mac and grab my iPhone.
Apple’s suite of Continuity features that have been introduced over the years is one of the brightest spots of its OSes. Sidecar, Continuity Camera, Handoff, the Universal Clipboard, and Universal Control are all Continuity features that I use daily and have had a measurable impact on my productivity. Few are features that I would have imagined I needed before they were introduced, but all of them are deeply embedded in my day-to-day workflow now. In the near term, I’d love to see mirroring work with the iPad, but I hope the Continuity team at Apple is also busy dreaming up new ways to make the company’s devices work together even more seamlessly.
Window Tiling
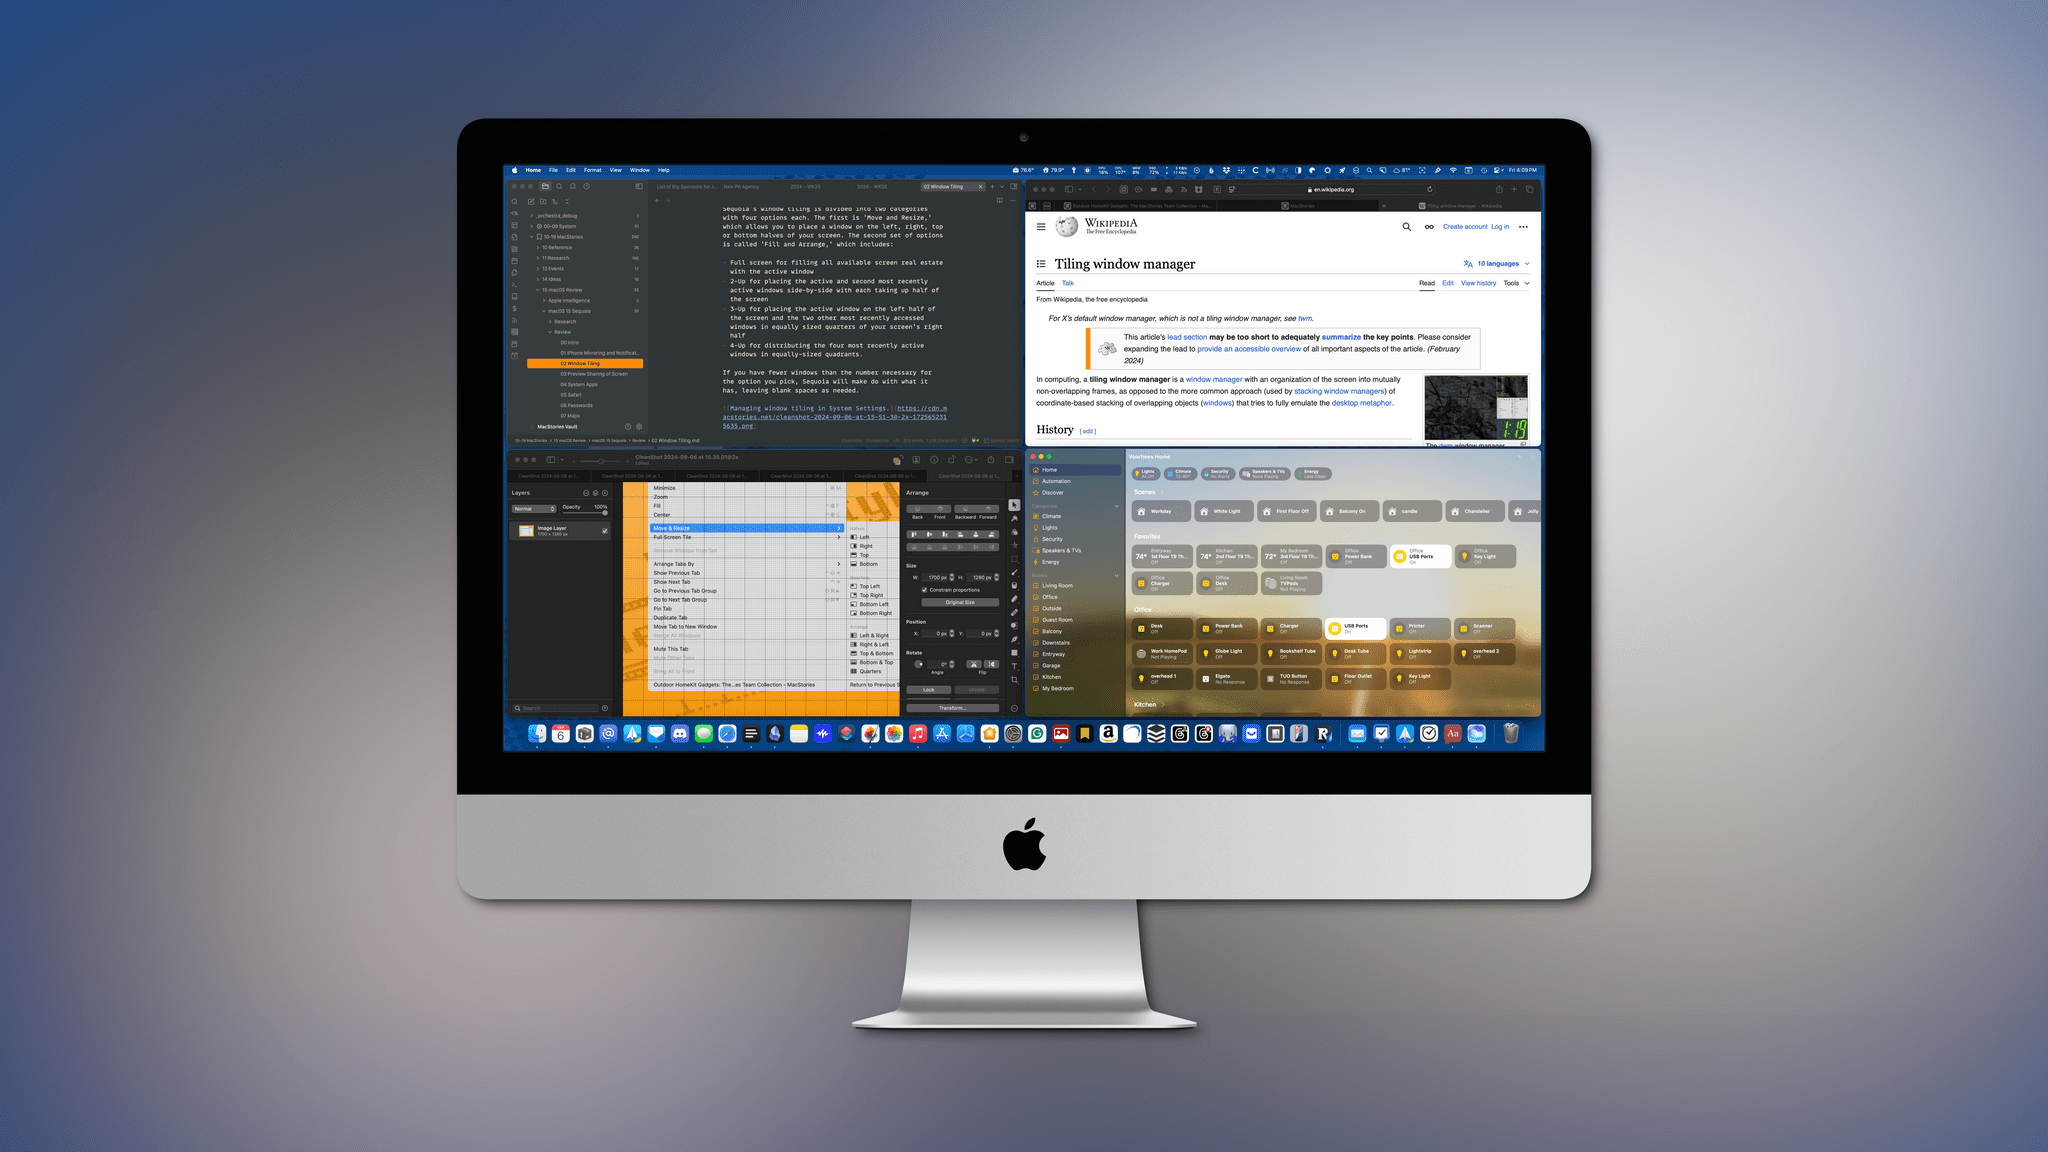
I almost wonder whether Sequoia’s window tiling feature has been sitting in a drawer somewhere inside of Apple Park, waiting to be pulled out in a year like this one when the macOS update was light on features. I mean, why now? Windows has had tiling forever, and there are many third-party window managers for the Mac ranging from simple collections of keyboard shortcuts to complex, full-blown utilities that do all sorts of fancy tricks with windows. That said, I’m glad Apple finally added window tiling, which works whether you use one screen or multiple screens.1 Sequoia’s implementation is simple but likely to satisfy a lot of users’ needs, mine included.
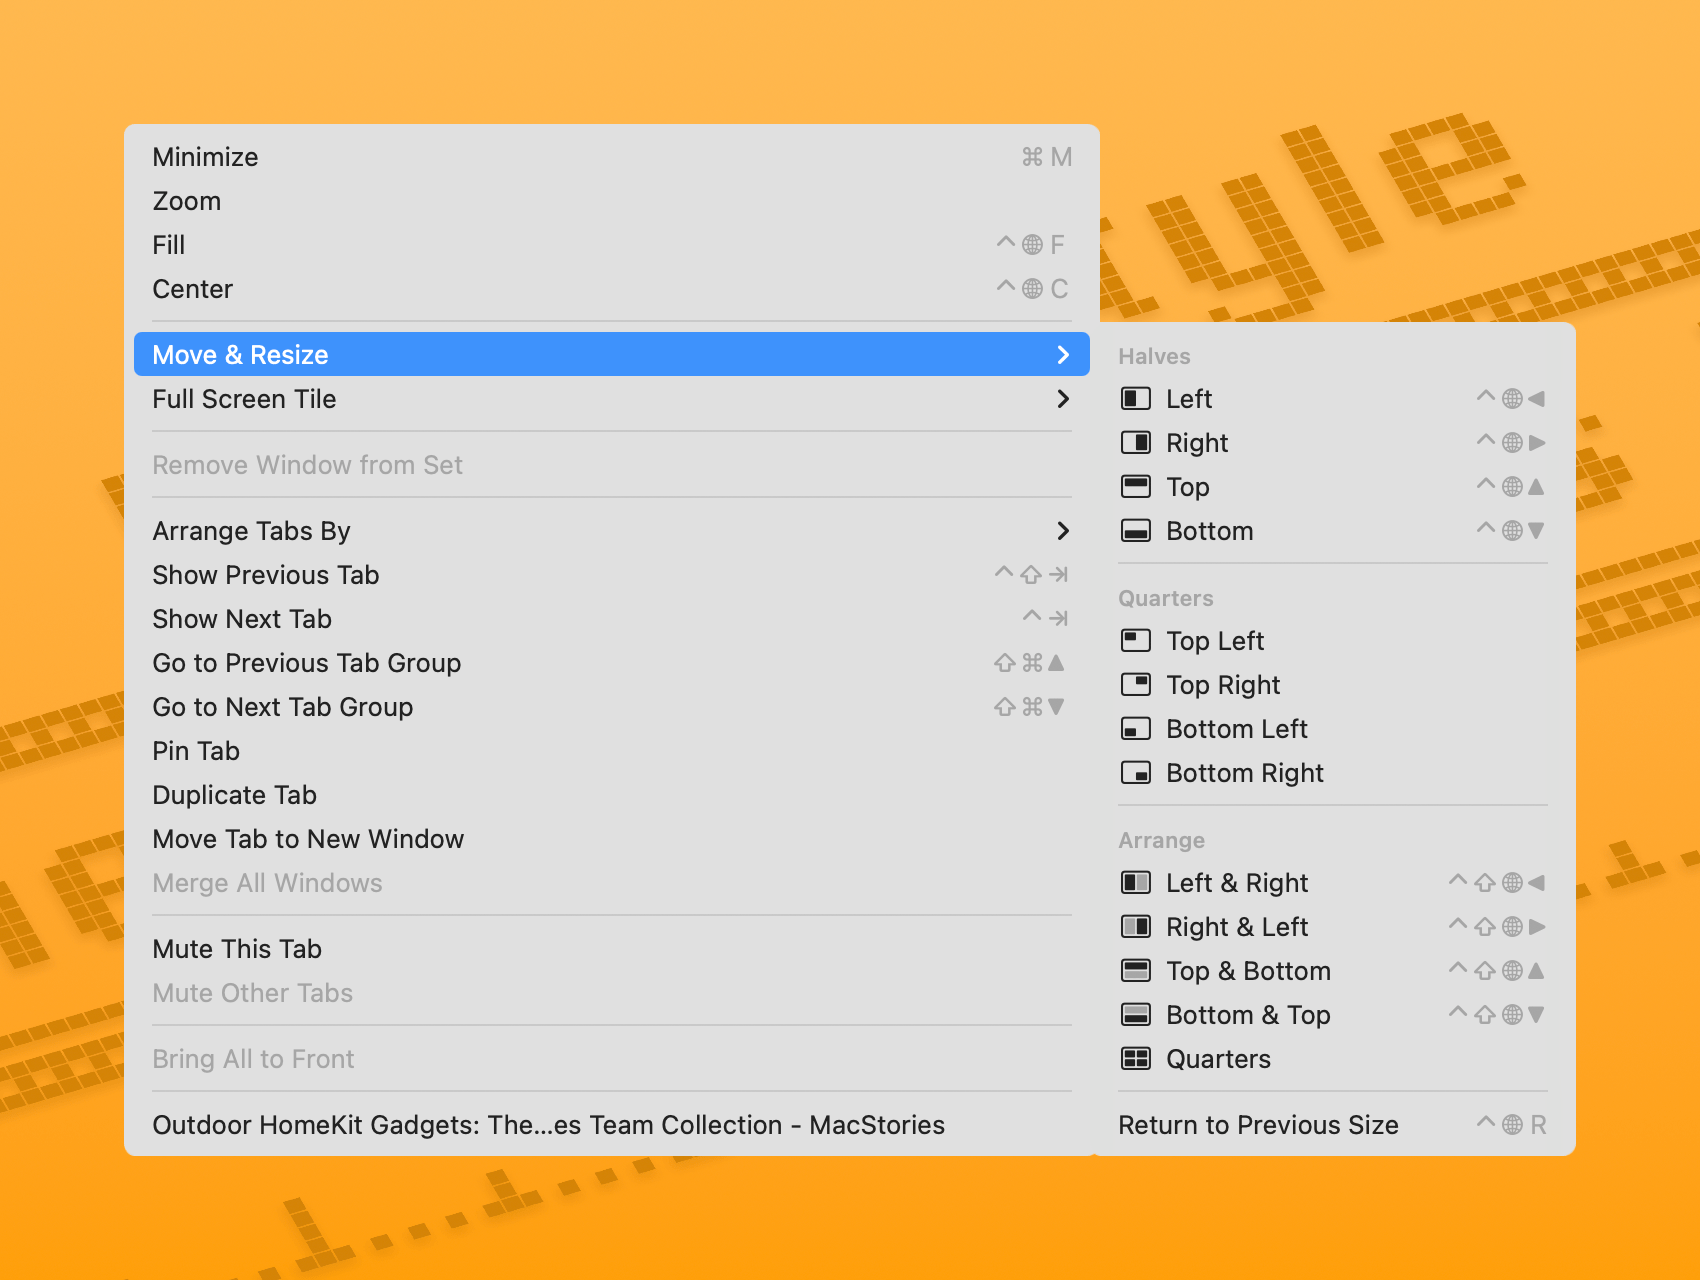
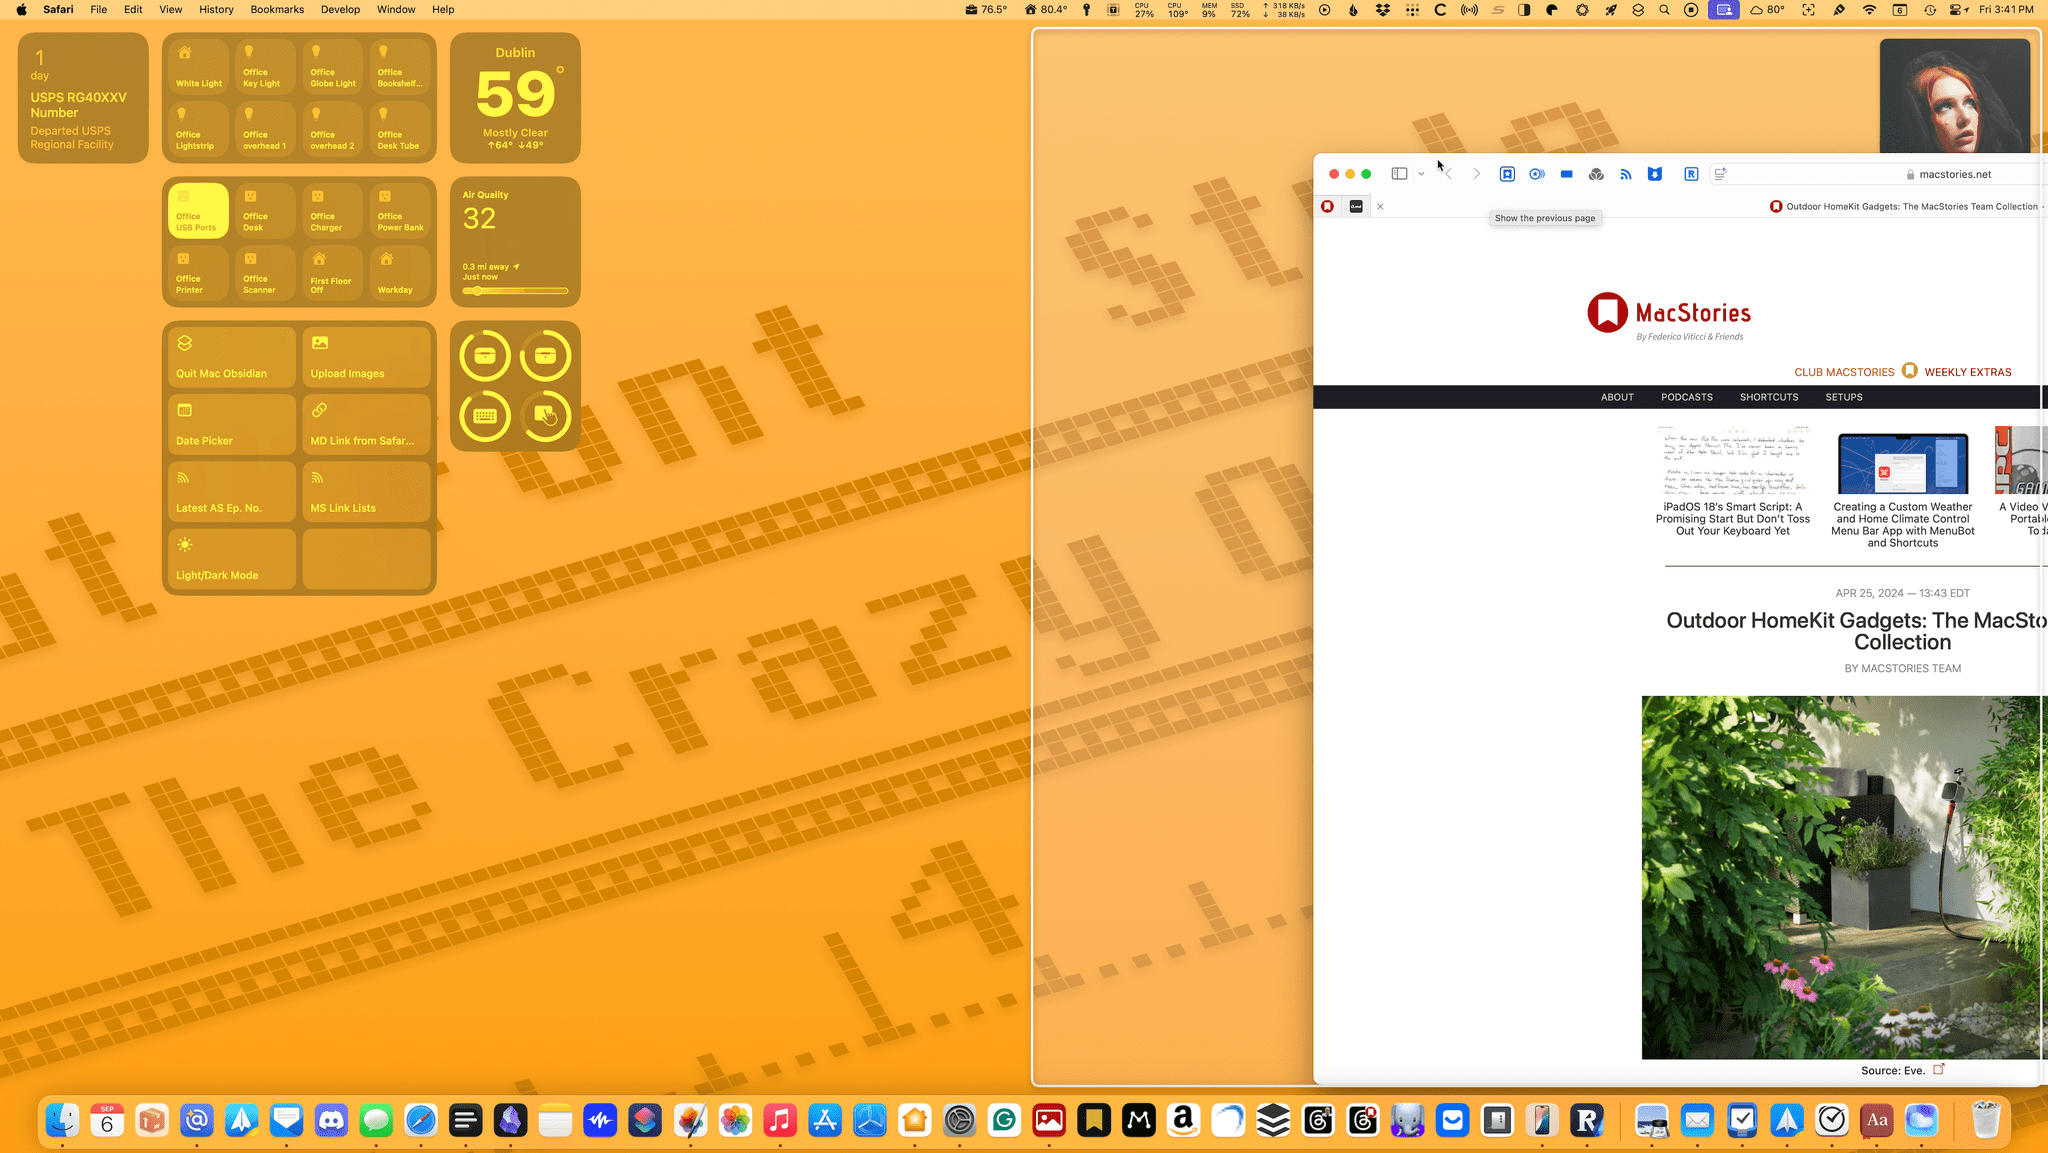
Sequoia’s window tiling options can be accessed in multiple ways, including from the Window menu, the green button in the corner of every window, drag and drop, and keyboard shortcuts. The variety is welcome because it accommodates a range of workflows and makes it easier to incorporate the feature into automations even though windows tiling actions have not been added to the Shortcuts app.
Regardless of how you prefer to access the feature, Sequoia’s window tiling is divided into two categories with four options each. The first category is ‘Move and Resize,’ which allows you to place a window on the left, right, top, or bottom halves of your screen. The second set of options is called ‘Fill and Arrange,’ which includes the following options:
- Full Screen for filling all available screen real estate with the active window
- 2-Up for placing the active and second most recently active windows side by side with each taking up half of the screen
- 3-Up for placing the active window on the left half of the screen and the two other most recently accessed windows in equally-sized quarters of your screen’s right half
- 4-Up for distributing the four most recently active windows in equally-sized quadrants
If you have fewer windows than the number necessary for the option you pick, Sequoia will make do with what it has, leaving blank spaces as needed.
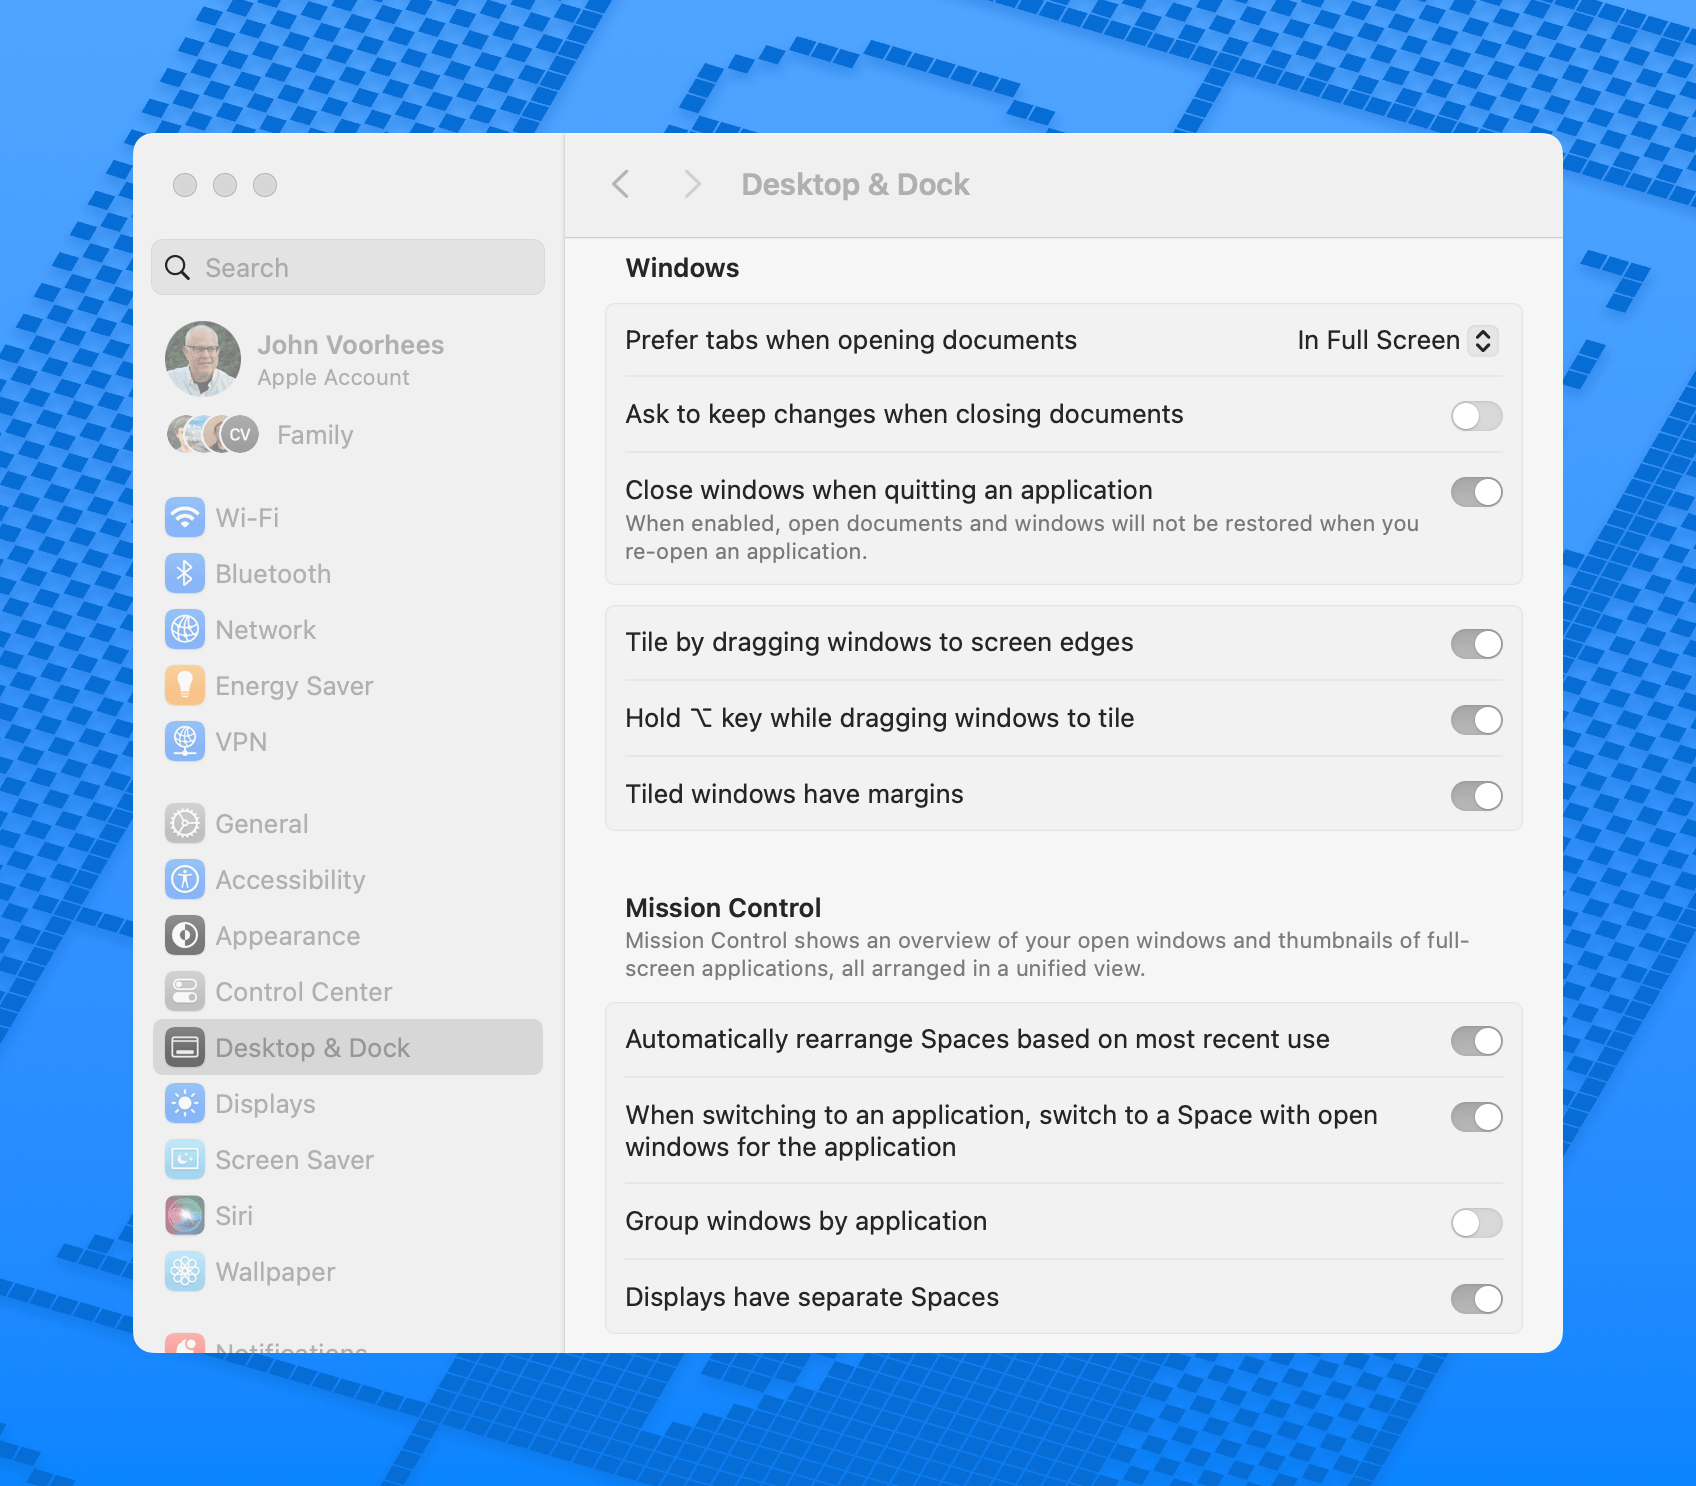
There are new options in System Settings related to window management, too. In the app’s ‘Desktop & Dock’ tab, you can specify whether your tiled windows touch at their edges, taking up your full screen. Alternatively, you can leave a very narrow gap between windows, which I like the look of a lot. However, judging from reactions I’ve seen online, that handful of pixels around windows is viewed by many as a gross waste of screen space, so it’s a good thing users have an option.
System Settings includes toggles for tiling windows by dragging them to the edges of your screen or Option-dragging them. There’s also a new setting that allows you to double-click the title bar of a window to make it fill the screen. This is something that Windows has done forever by default and one of the few Windows interactions that I’ve always missed despite having left that world years ago. It’s a small touch, but one that I immediately turned on and don’t plan to ever turn off.
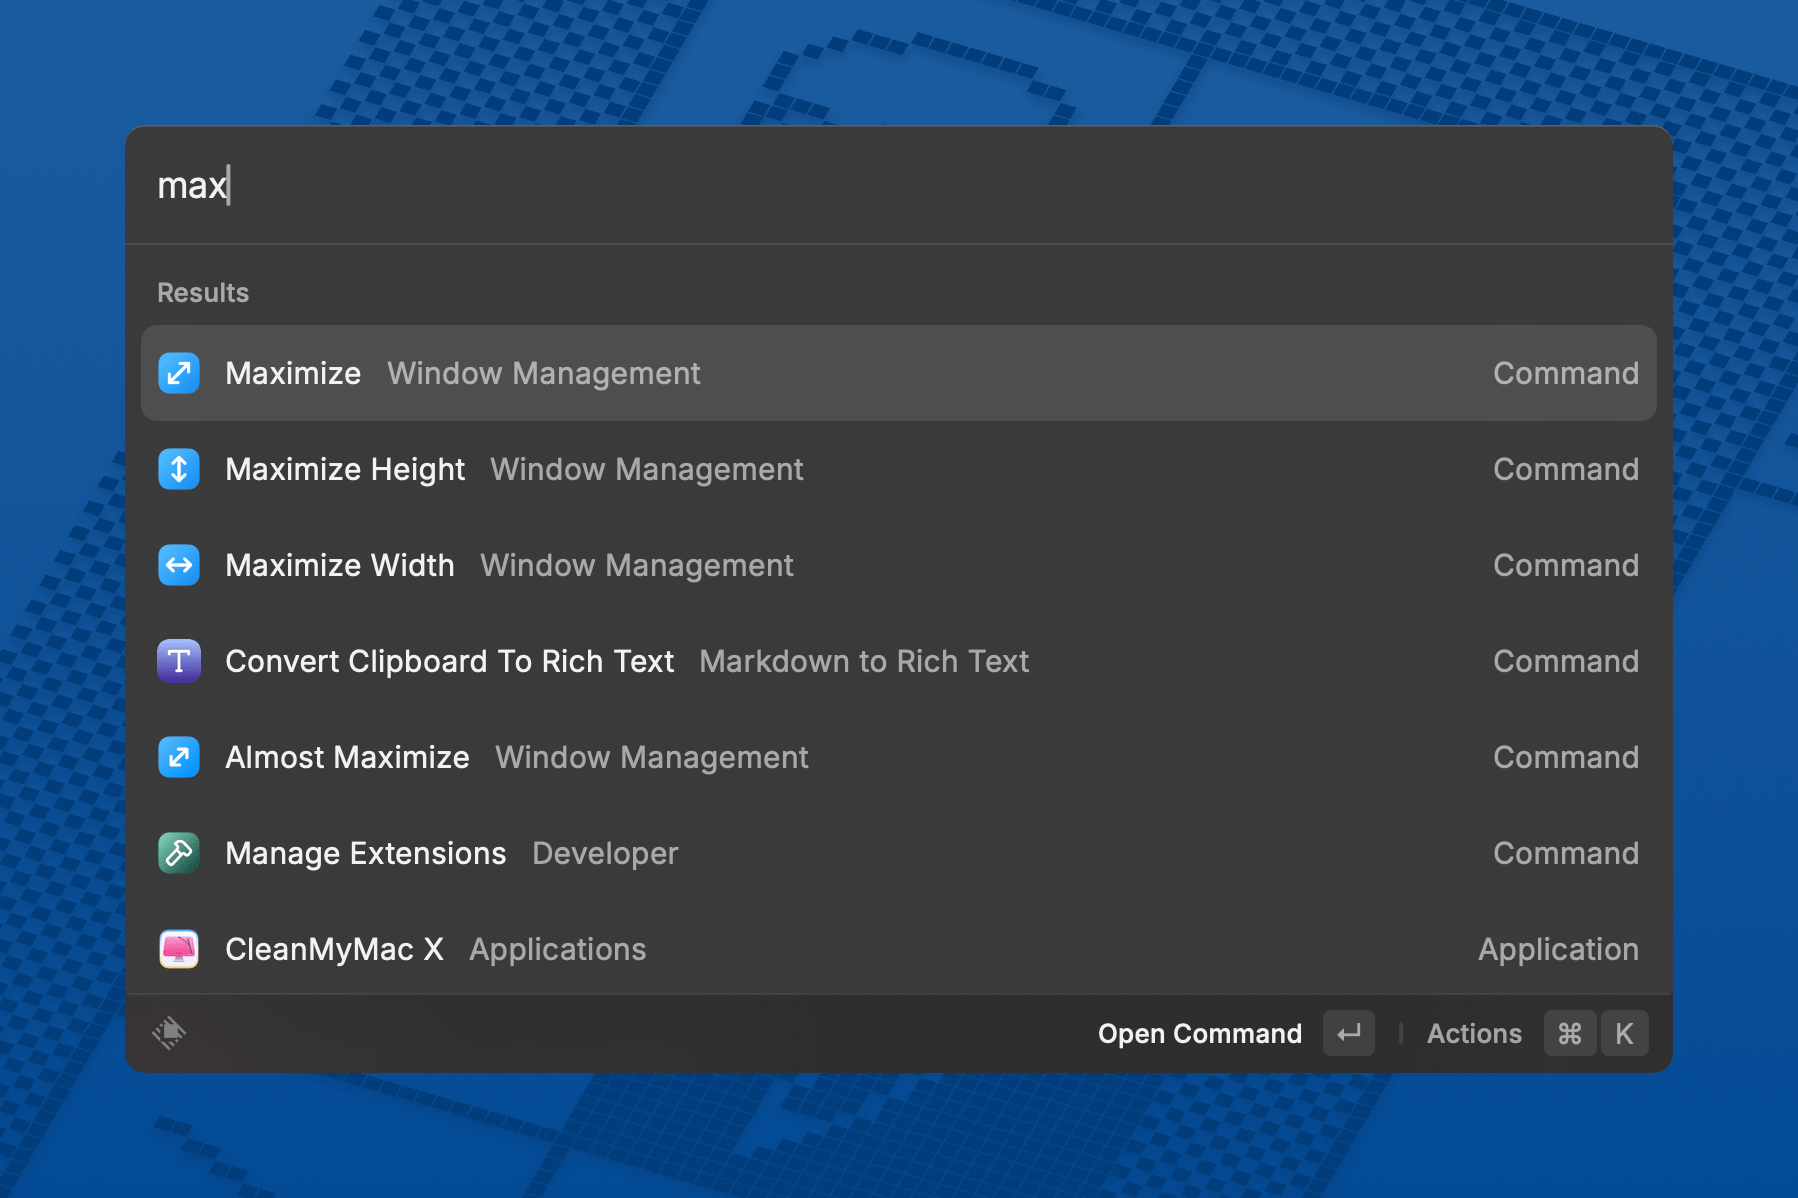
I’ve used Raycast’s window tiling feature for a few years now, and although it’s not as robust as some third-party alternatives, it works well for me because I typically don’t do anything more than maximize a single window or put two side by side. As a result, I’ve found myself continuing to use Raycast’s keyboard-driven tiling implementation, but turning to Sequoia’s new options when my hands are already on my mouse or trackpad.
For people with similarly simple window management needs, I suspect that Sequoia’s new window tiling will be a fantastic addition because it’s built-in and handles the basics very well. For anyone who wants more, apps like the recently-updated Moom (which Niléane reviewed), Lasso, Rectangle, Raycast, and others will continue to be excellent options. I don’t expect Sequoia’s new windows tiling option to have a significant impact on third-party utilities; instead, it will simply be easier for anyone who is new to window tiling to get started and perhaps graduate to a more robust third-party alternative later.
Video Conferencing Enhancements
Sequoia adds new video conferencing features that will make it easier to participate in calls and share your screen without oversharing.
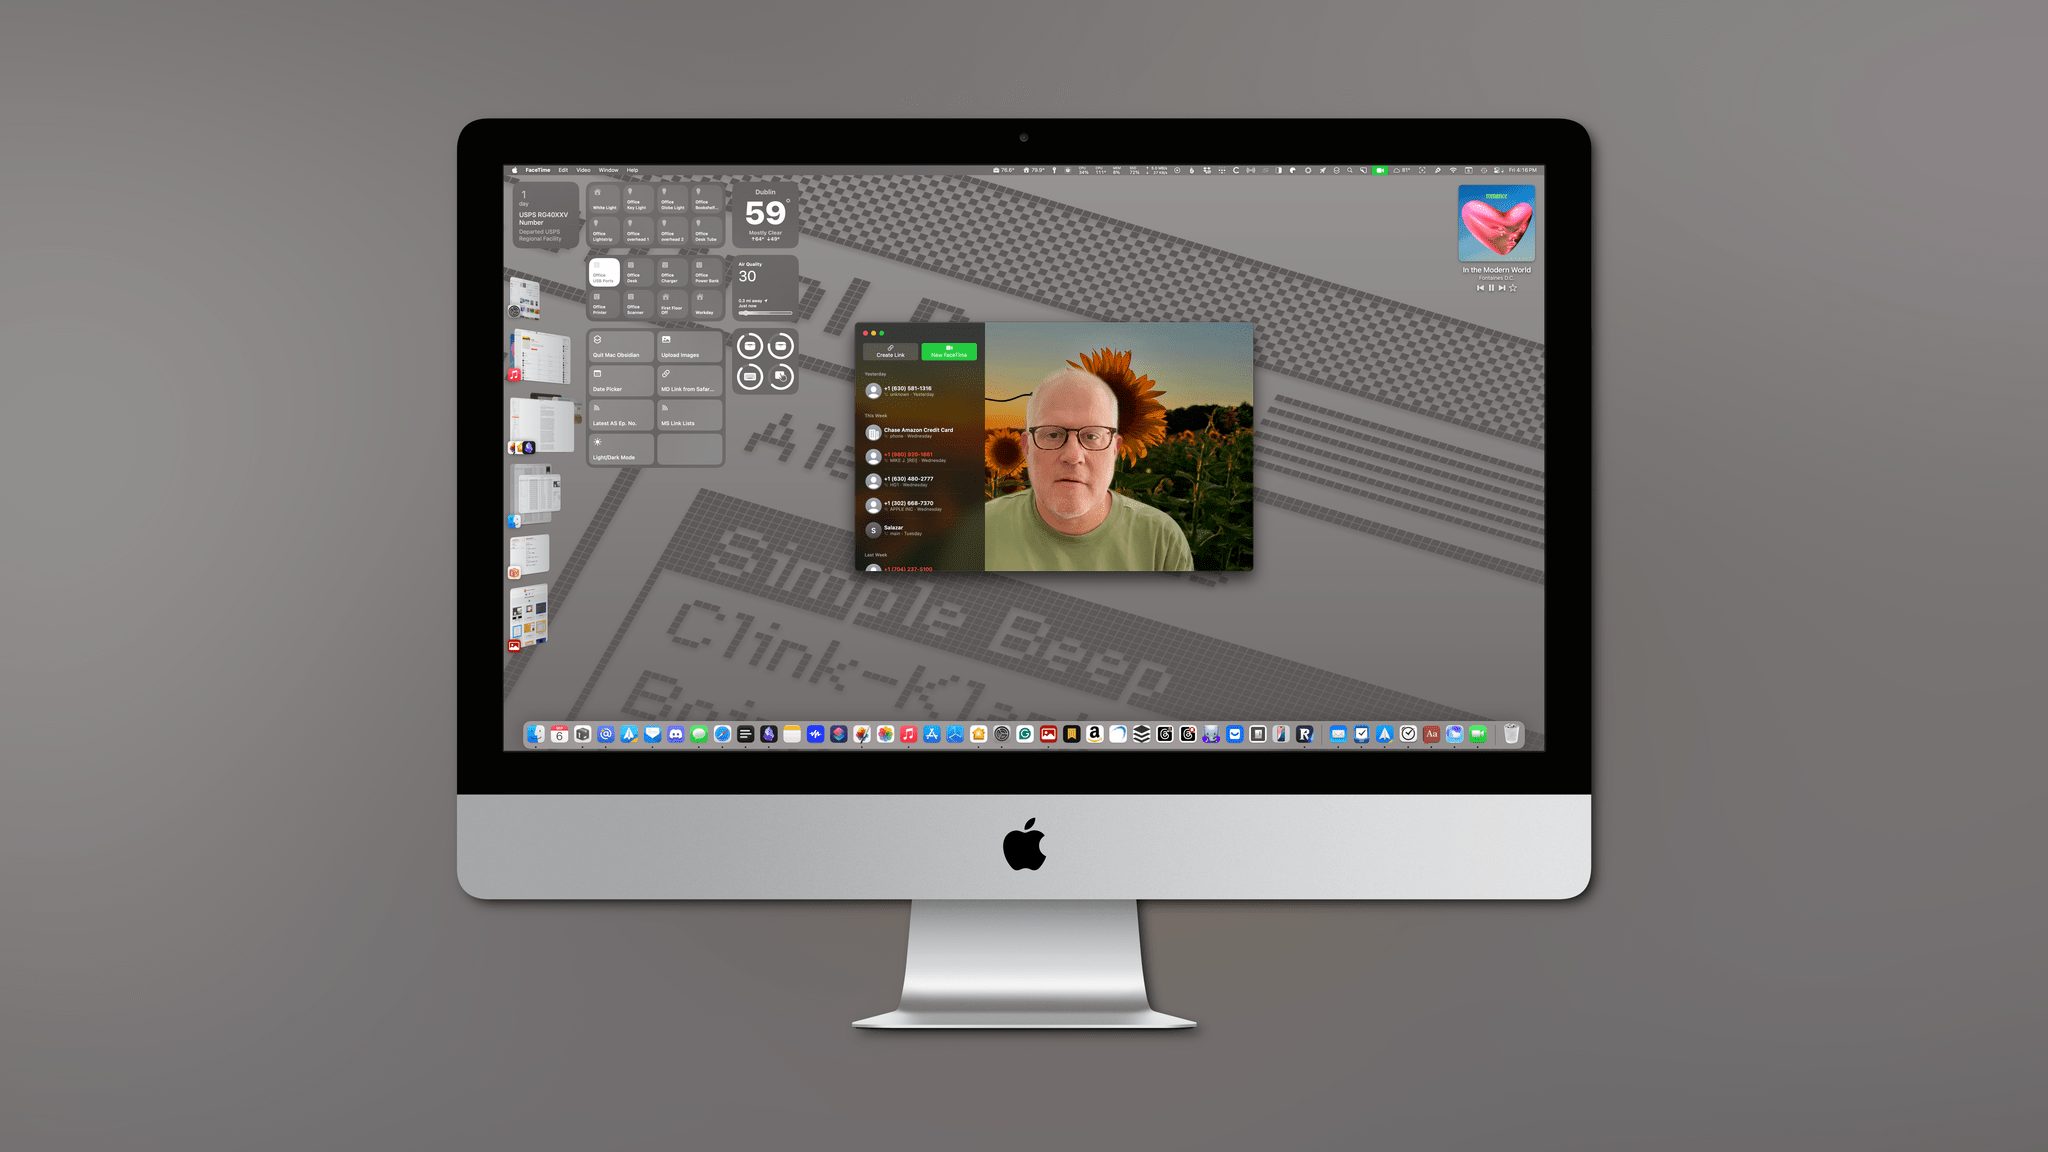
Background replacement is already a popular feature of a lot of video conferencing apps. For a while, macOS has offered the ability to blur your background to add a modicum of privacy and hide clutter, but with Sequoia, Apple is leveraging its advanced camera processing pipeline to detect the subject of a video feed in real-time and replace the background behind the subject with a built-in scene or one of your own photos.
There are two sets of pre-built backgrounds, plus a third set for saving your own photos as backgrounds, all of which you can access from the video menu bar app. The first set includes eight light gradients and a black gradient. The second set includes nine scenes from Apple Park in Cupertino. The photos are nice, but if you don’t work for Apple, would you really use these? I doubt most people would. Finally, you can add your own photos to the mix, which in my experience look good as long as you don’t pick something that’s too distracting.
Regardless of the background you pick, the feature itself works well, fading in when activated with a nice animation and replacing the room you’re sitting in with the photo while managing not to look strange. The background replacement feature even handles my glasses better than the iPhone’s Camera app sometimes does in Portrait mode.
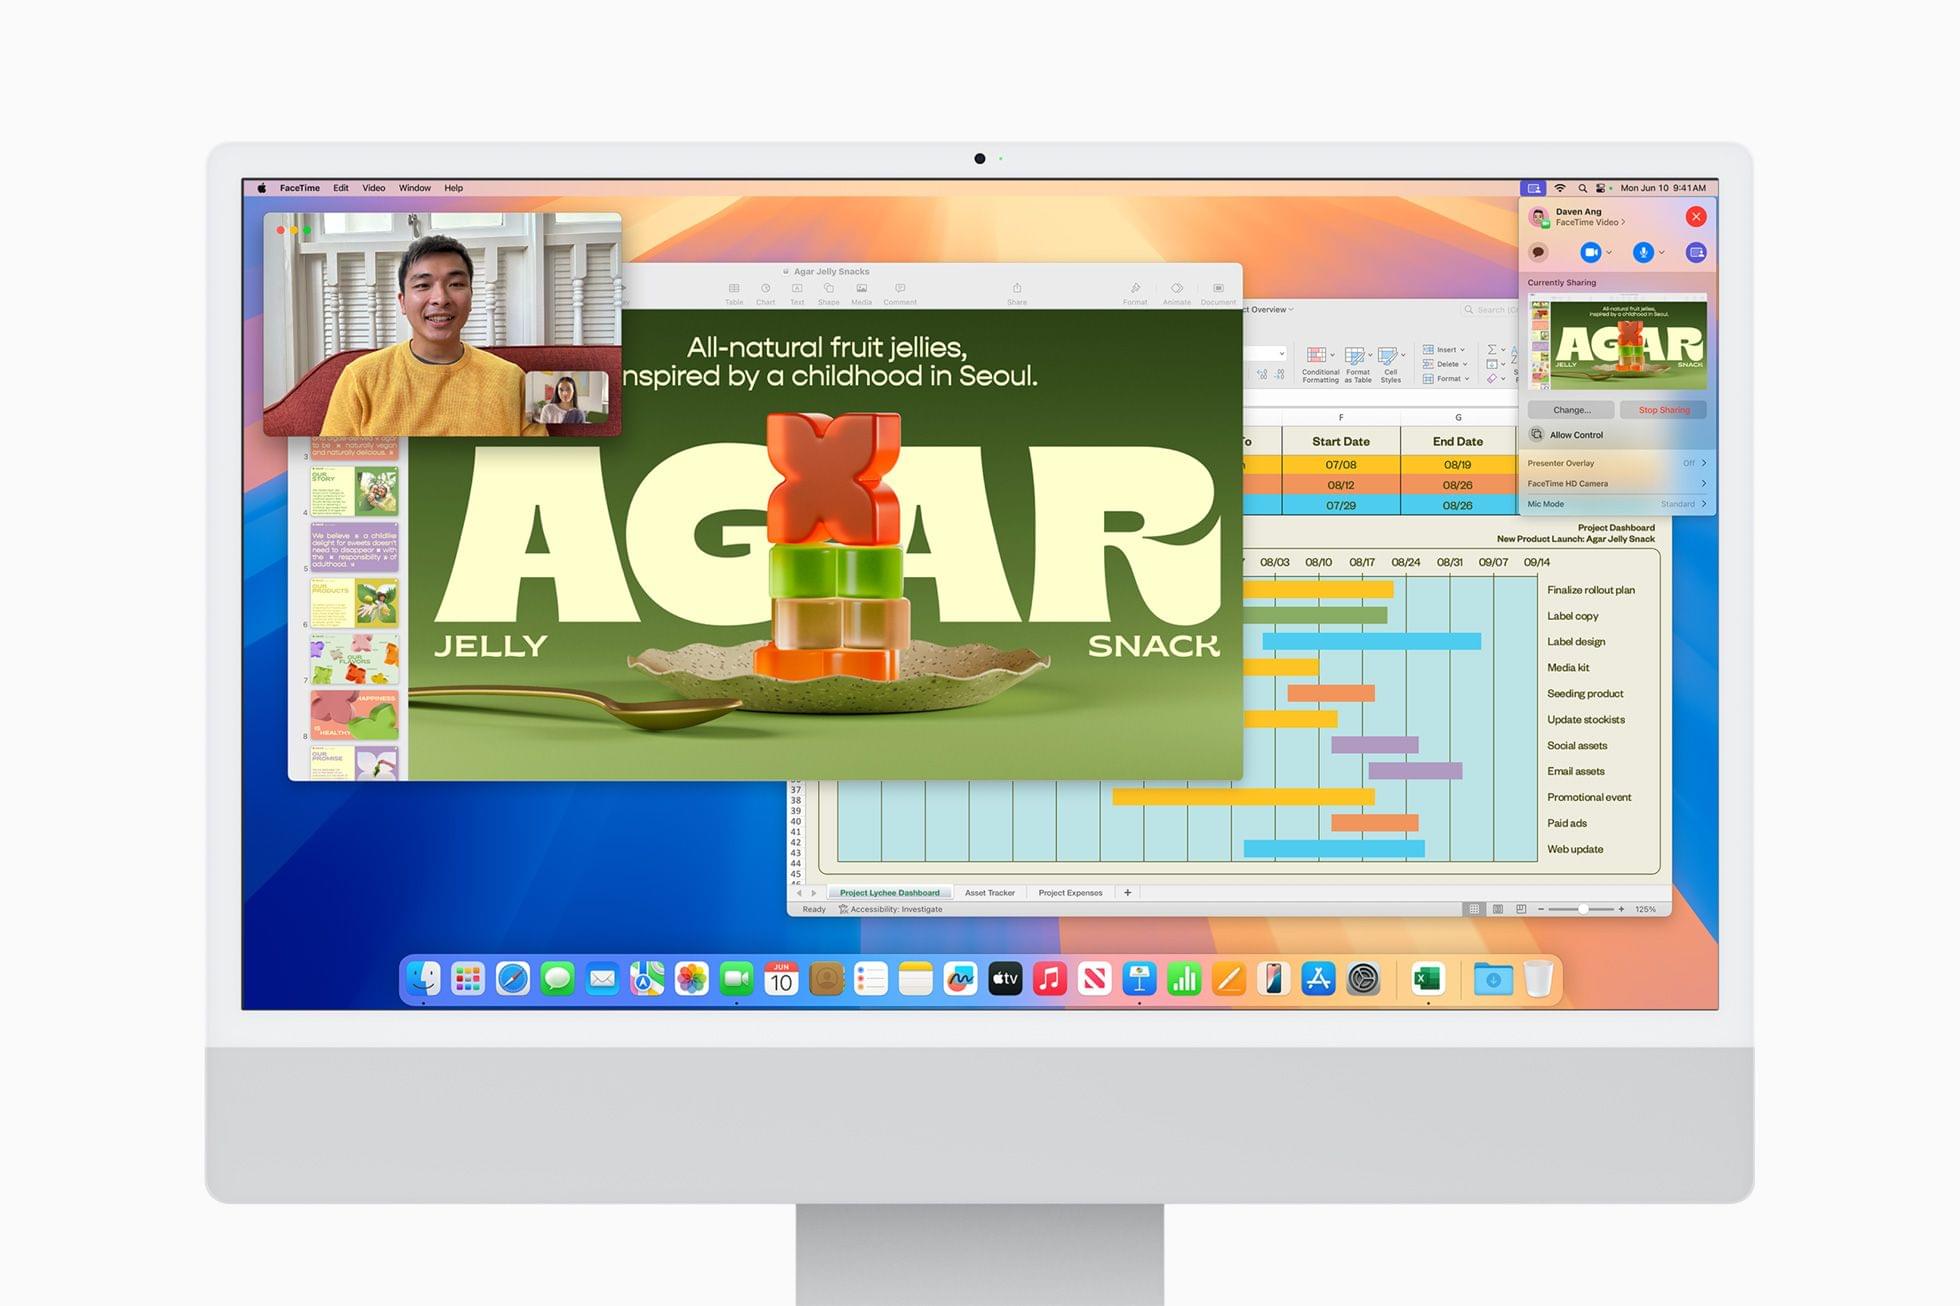
Aside from hiding the dirty laundry in the background of your home office, Apple has improved screen-sharing options to make it easier to limit what you share on video calls. The feature, which Apple calls presenter preview, is triggered when you share your screen, allowing you to choose between sharing a particular app or your whole screen before your audience sees what you’re sharing. If you pick an app, no other open app’s windows or notifications are visible to the people you’re sharing with.
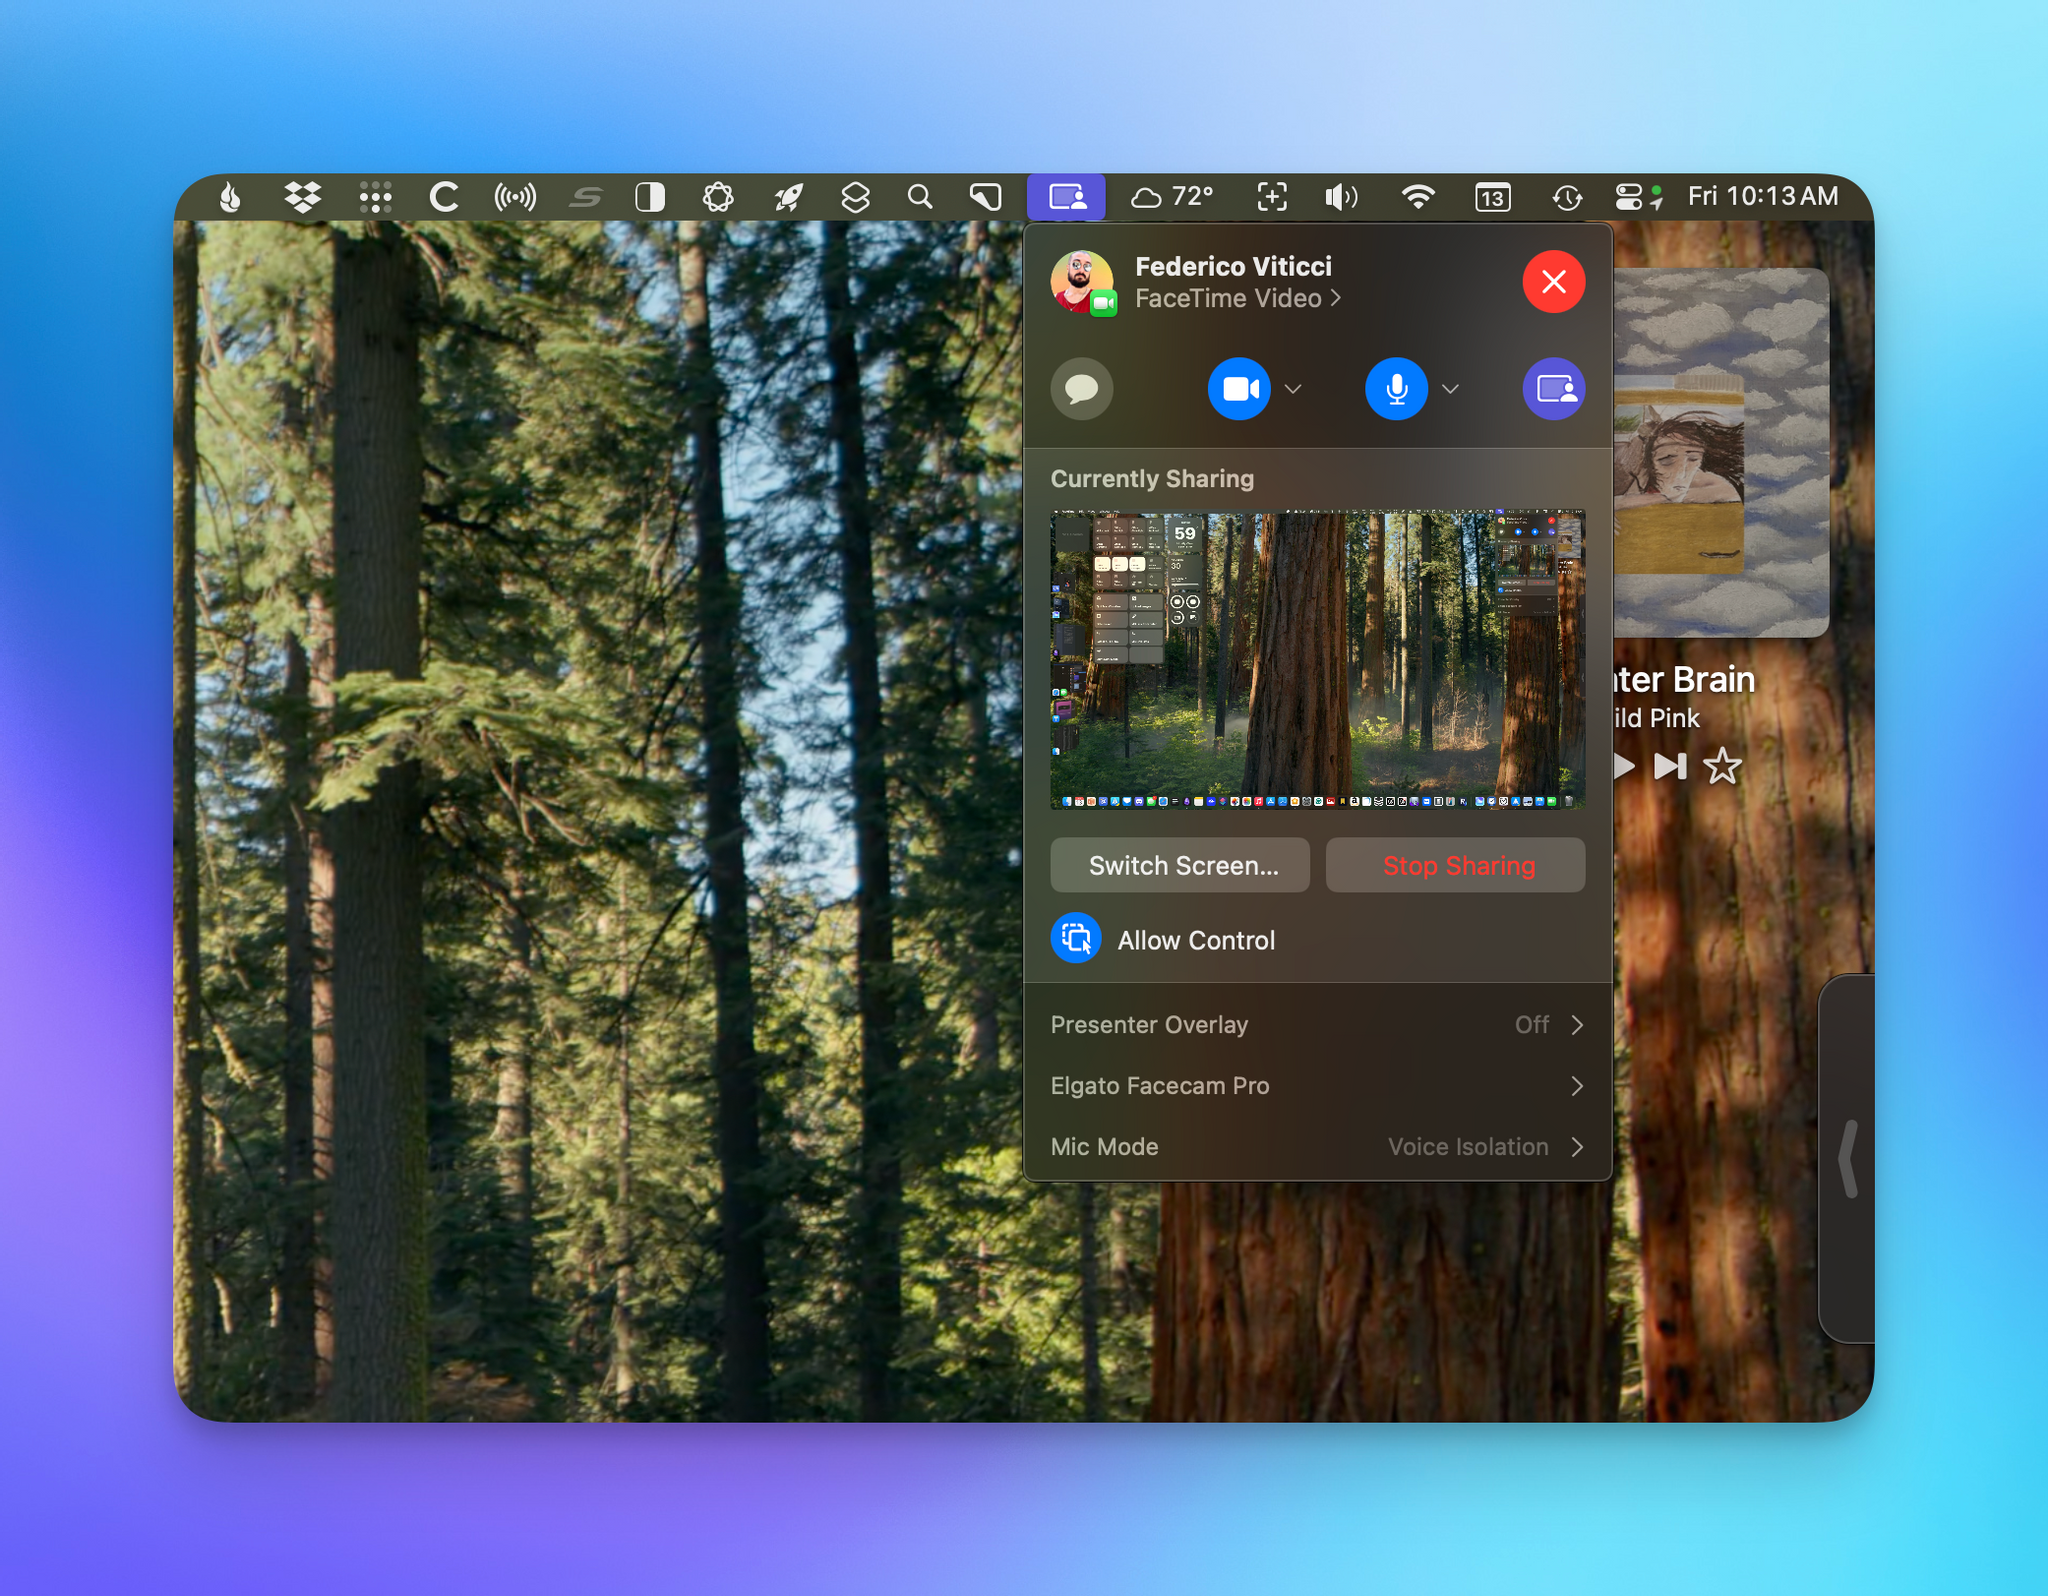
Once sharing is started, you can click on the screen sharing icon in the menu bar to check what you’re sharing with someone, too. Users get the same sort of sharing choices when starting playback of a Keynote presentation (or another app that supports the feature) or, starting later this year, connecting an external display.
I don’t participate in many video conferences and rarely share my screen, so I don’t have much to say about presenter preview except that offering ways to hide what you don’t want to share can only be a good thing. In my testing, the feature works well and is easy to use. Plus, it works in any video conferencing app that supports the feature’s APIs, so you can use it in apps like Zoom as well as FaceTime.
- Whether it's related to window tiling or not, Apple seems to have broken the ability to move the Mac's Dock from one display to another. ↩︎


