Passwords
For years, Federico and I have wished for a standalone Passwords app, and it’s finally here. We’ve split most of the system apps between us for the purposes of our reviews, but not Passwords. It’s new, and so you’ll find it in both of our reviews because it’s not only here at long last, but it’s also very good.
I had a feeling this day would come eventually, so I’ve been weaning myself off of 1Password for about three years, moving passwords to Safari’s built-in system as I accessed sites and services. I could have imported them into Passwords all at once, but with so many years of passwords saved (many of which I no longer use), I figured a slow transition would provide me a cleaner start, and it has. I still keep 1Password around; I just find myself using it less and less. But I’m getting ahead of myself. Let’s cover what Passwords does before exploring why you might want to switch to it too.
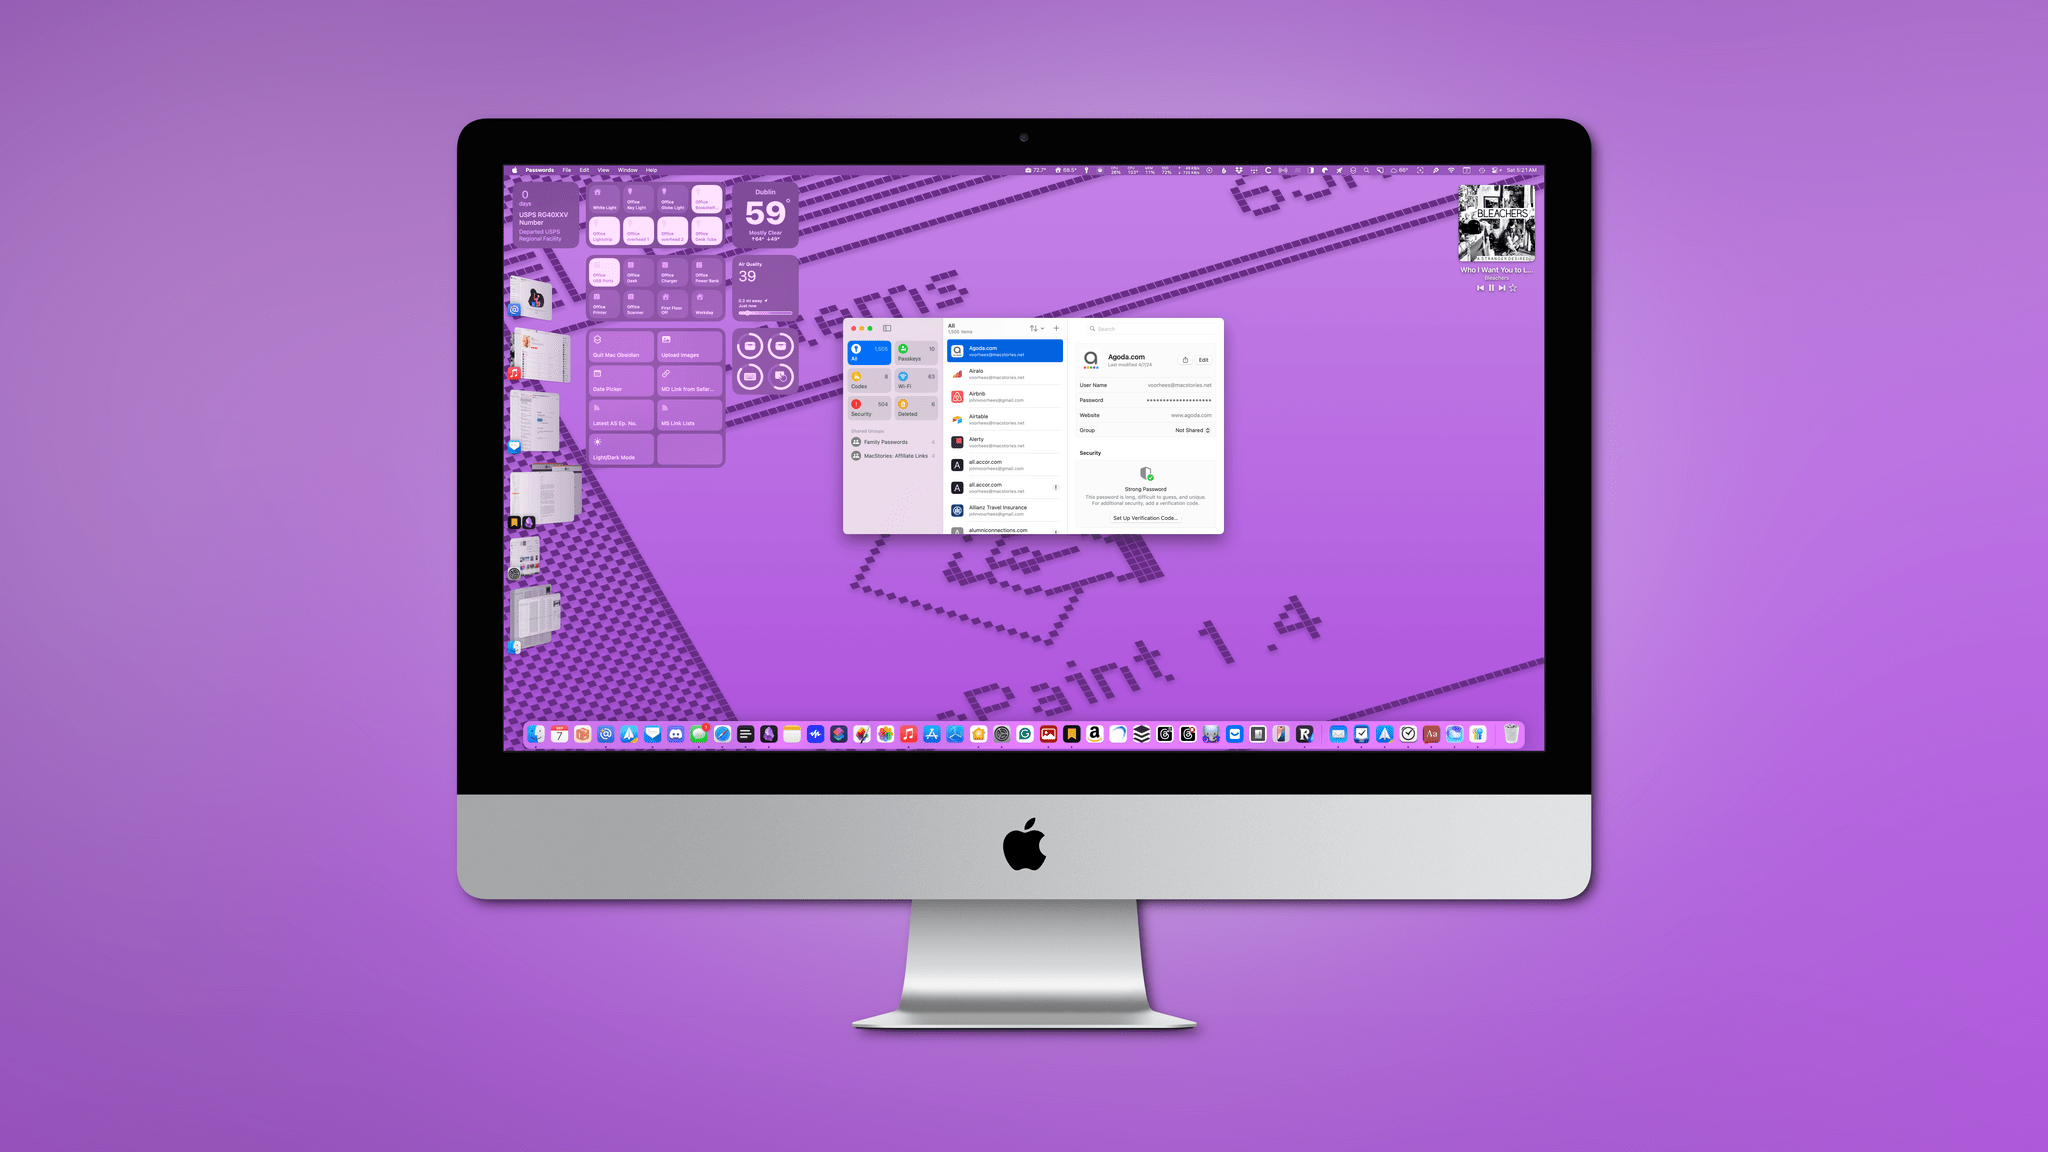
Passwords is a thoroughly modern Mac app that anyone who has used system apps like Reminders will feel comfortable using. That’s a big deal because people will only use an app to manage their passwords if it’s easy to use, which Apple’s Passwords is. It’s worth noting, too, that there is still a Passwords tab in Safari’s Settings, but all it includes is a button that opens the Passwords app – a smart addition for those who were in the habit of looking for their passwords there. The Passwords section of System Settings features a similar button and has been relocated to the General tab under ‘Autofill & Passwords,’ which includes a handful of other password-related settings too.
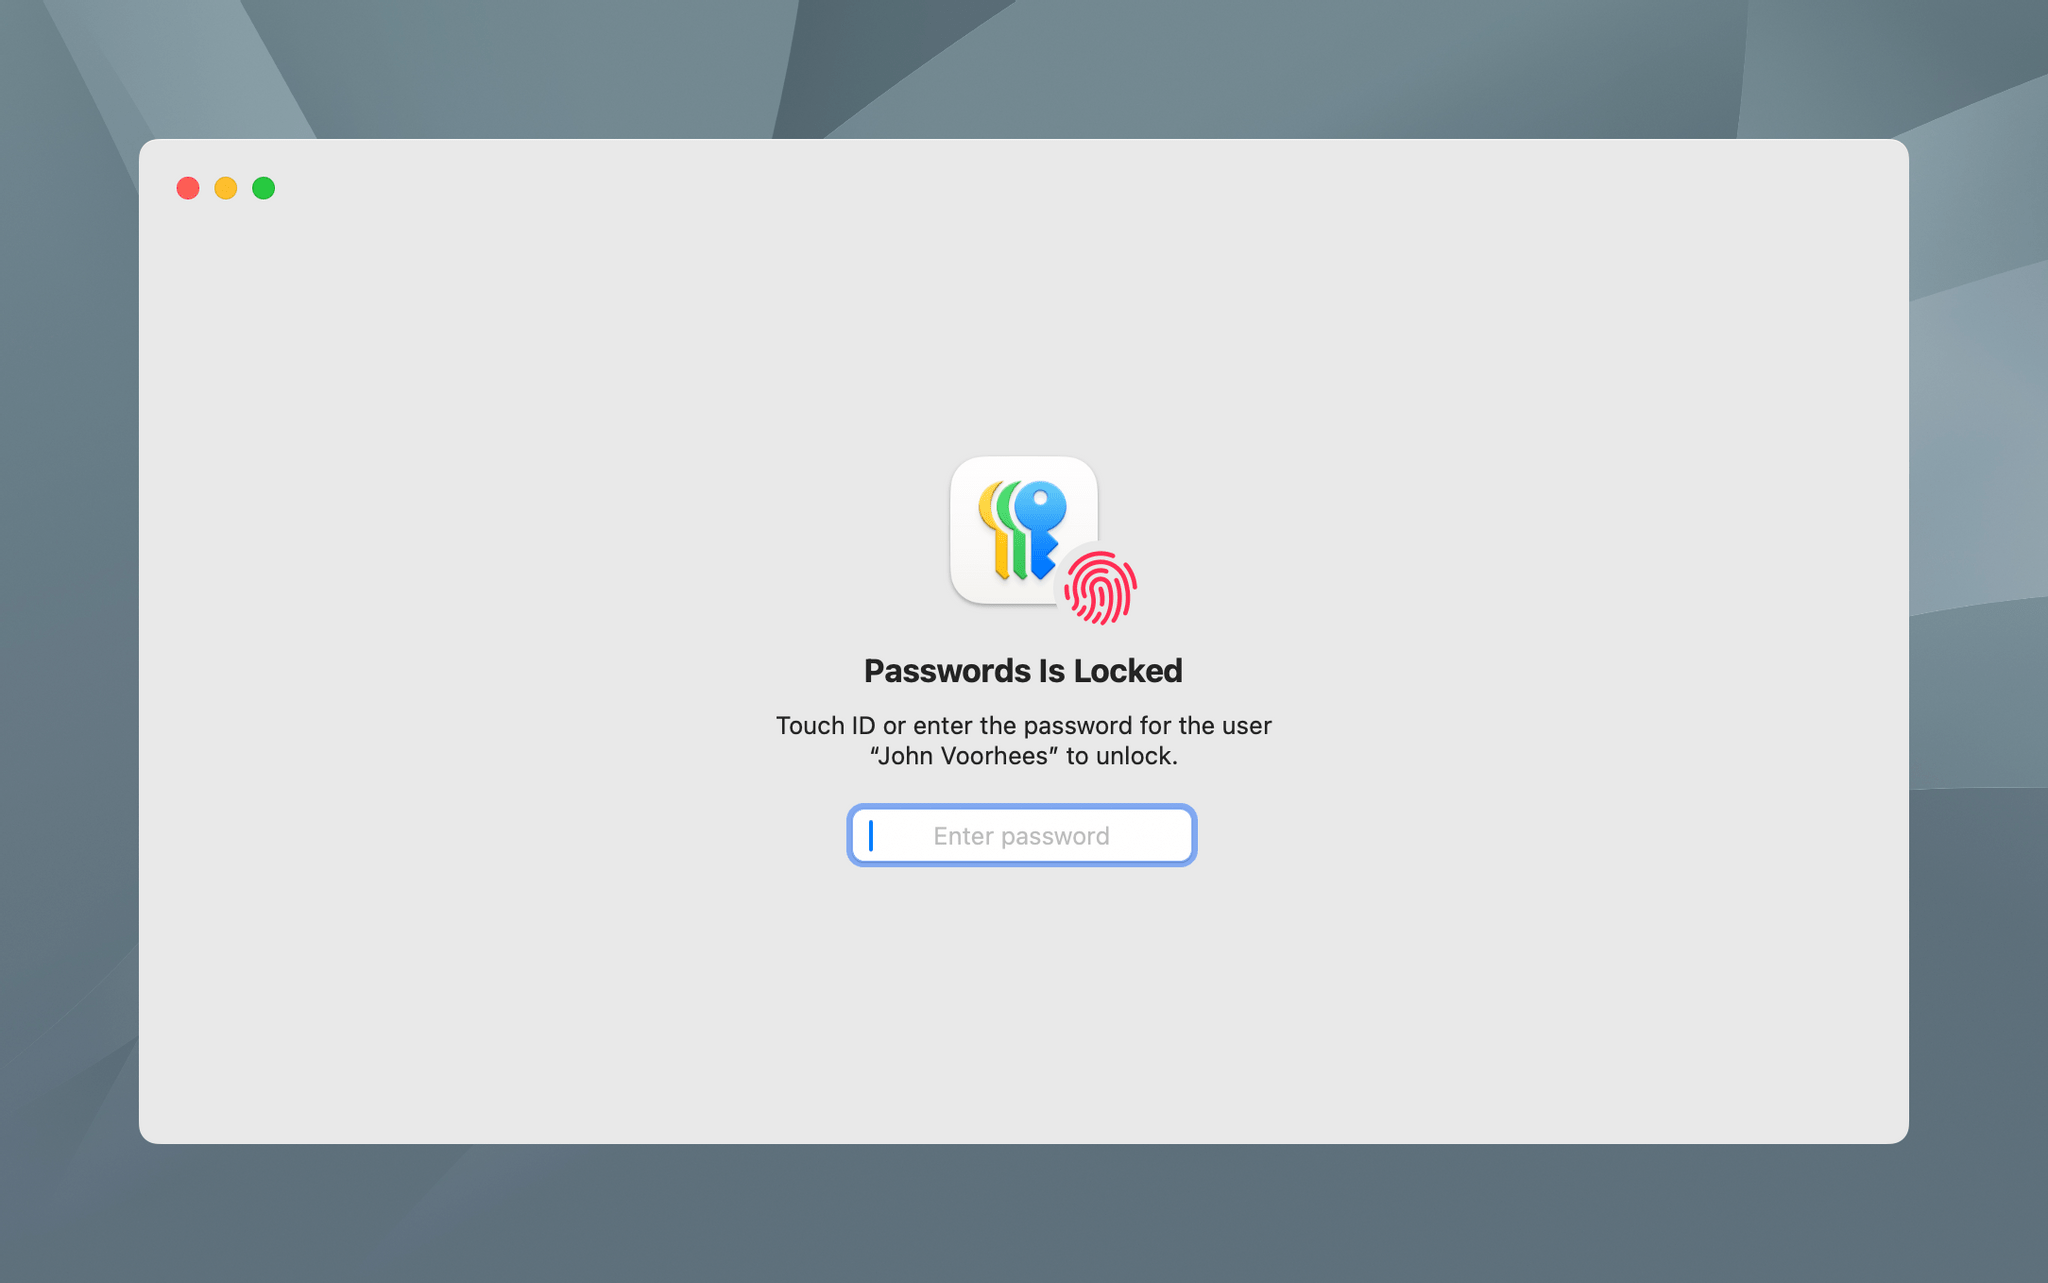
The app, which must be unlocked with your user password upon launch, has a classic three-pane layout. The left pane gathers top-level password categories, plus any groups you’ve shared passwords with. The second pane is a list view of whatever category or group is selected in the left pane, and the third and final pane shows the details of the selected item. At the top of the middle pane, you’ll also find buttons to add new credentials and sort lists by Title, Website, Date Created, or Date Edited in either ascending or descending order. There’s a prominent search field in the toolbar, too.
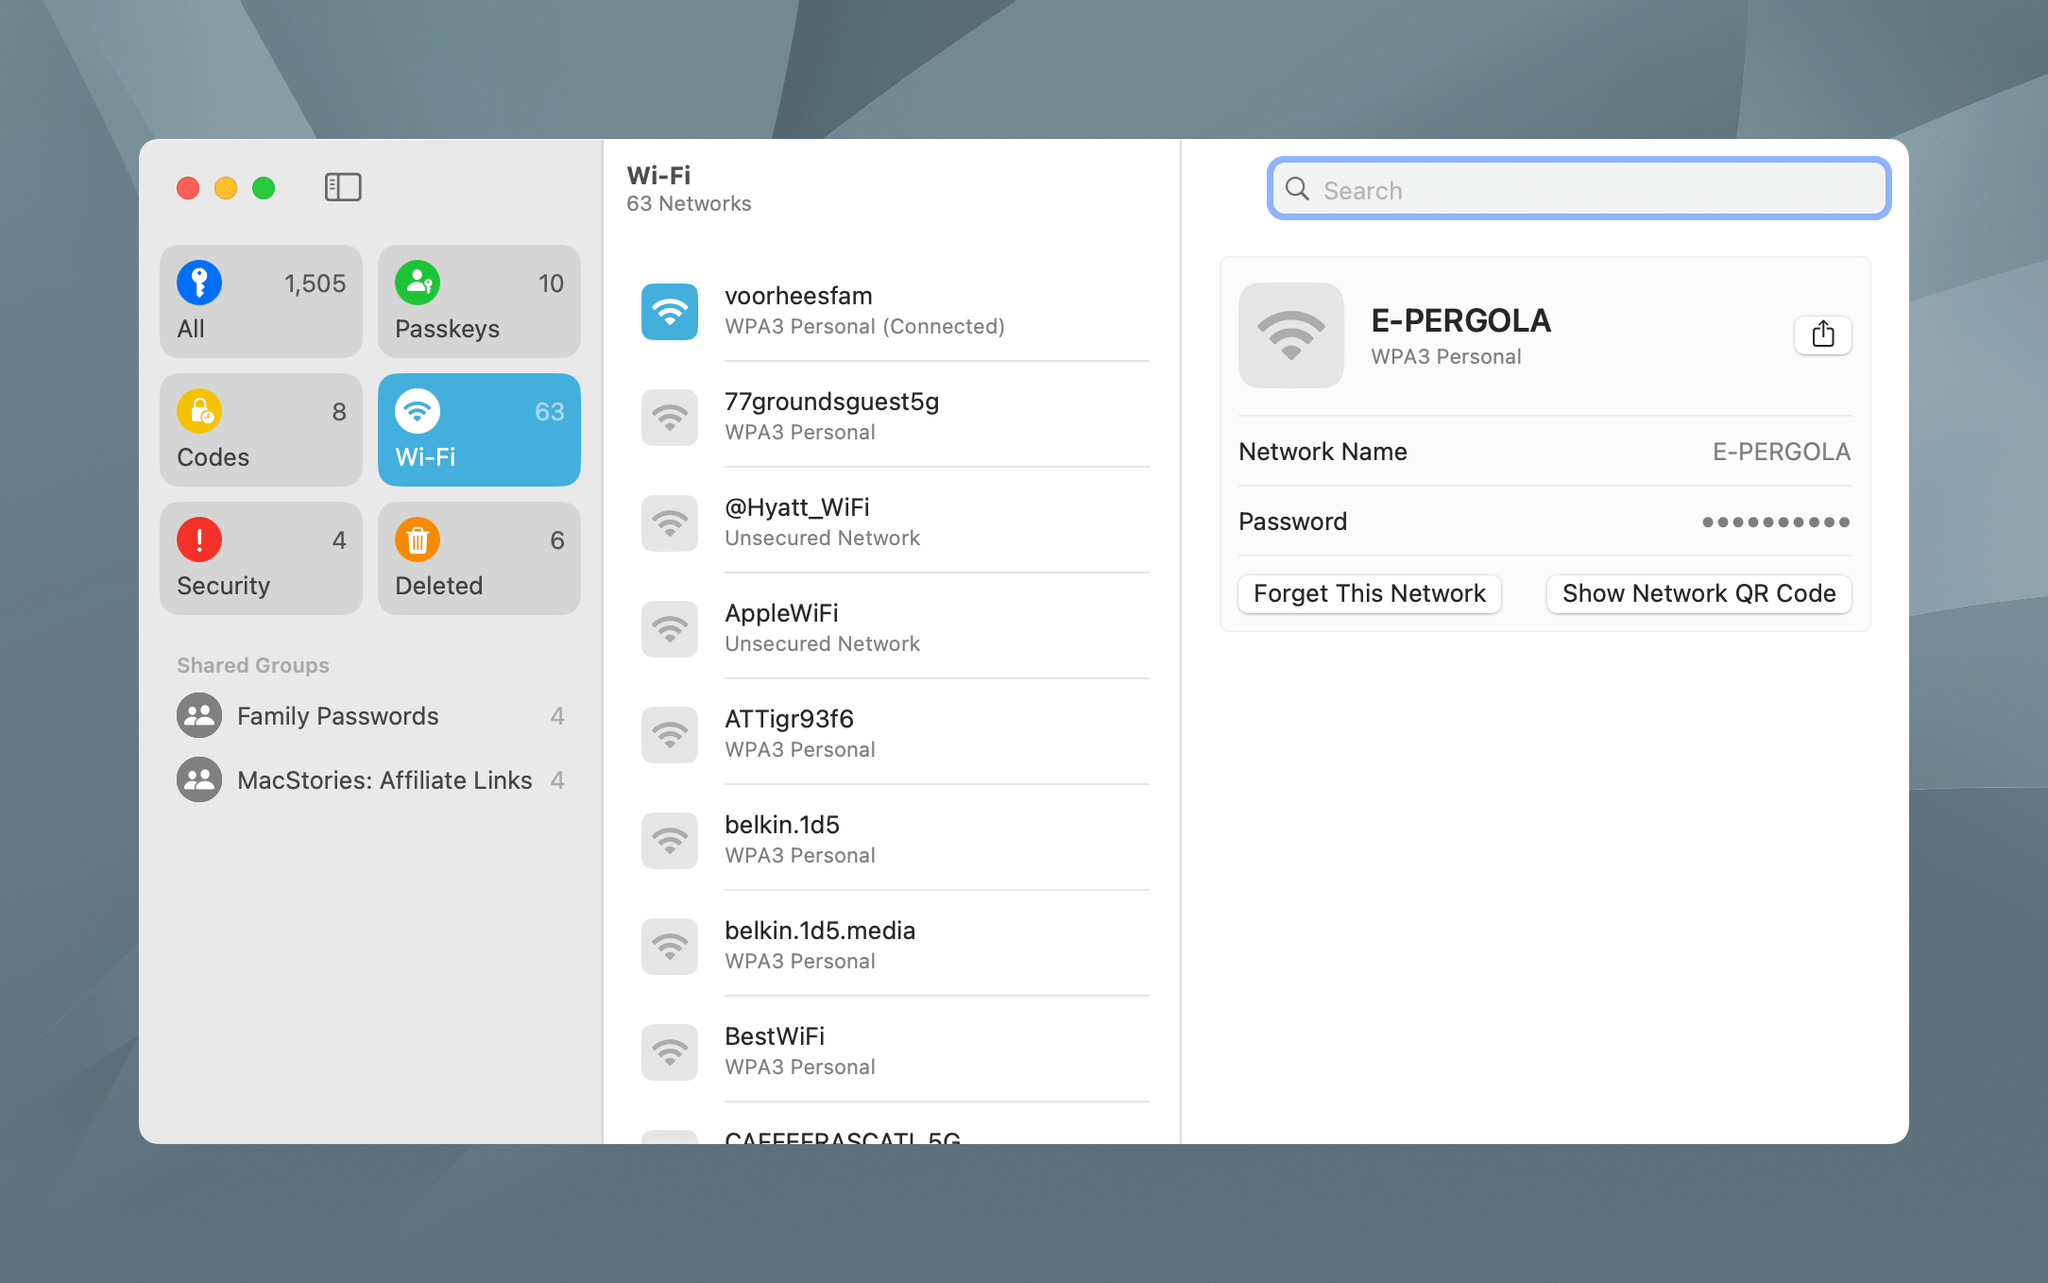
The six top-level password categories are automatically created by Sequoia:
- All
- Passkeys
- Codes
- Wi-Fi
- Security
- Deleted
What I like most about Passwords is its simplicity; the app has very few settings. I like tweaking app preferences as much as the next person, but not with my password manager. I’m invariably coming from somewhere else when I open Passwords. I want to get in, find what I need, and finish a purchase or log onto a site, not linger.
The beauty of Passwords is that it takes care of organizing things for me. With a single click, I have access to my two-factor codes, Wi-Fi passwords, and passkeys. Then, in the Security section, I can chip away at alerts, looking for vulnerabilities and fixing them. And, if I delete something that I shouldn’t have, I can scan through the Deleted category too. But most of the time, I just run a quick search to pull up what I need and move on.
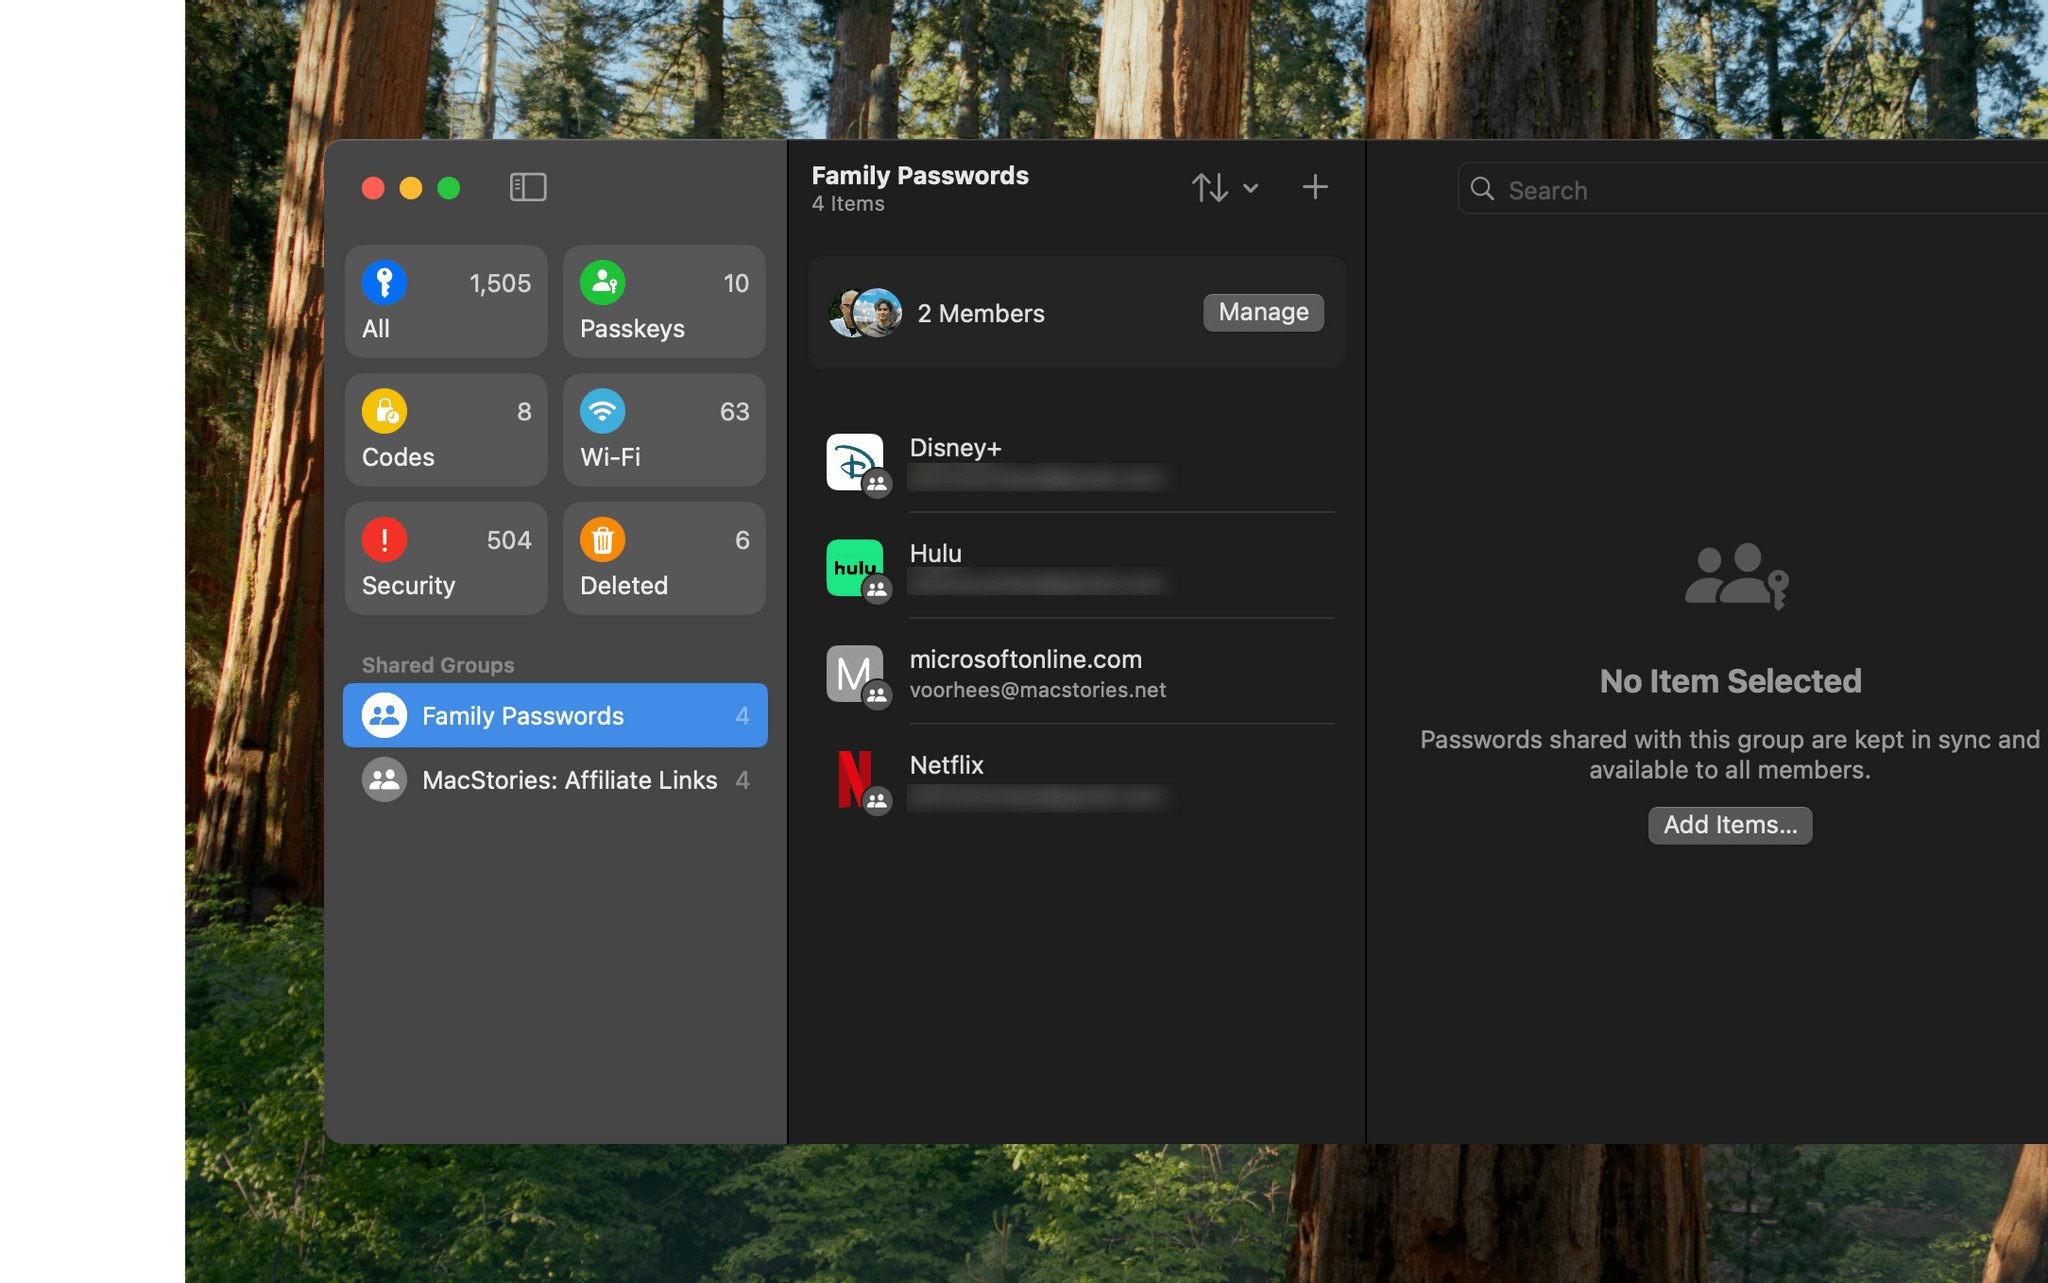
Below Passwords’ categories are Shared Groups. If you created a Shared Group when passwords were accessible from Safari’s preferences, they’ll show up in Passwords automatically when you upgrade to Sequoia. You can add new ones, too. Hover over the Shared Groups section title in the left pane, and a plus button appears for adding a new group. From here, you can also click on the caret icon to hide your Shared Groups. As before, Shared Groups are not limited by things like Family Sharing; for example, I have a Shared Group with my family, but I have another one with Federico for MacStories passwords.
In Passwords’ Settings, you can display accounts as Titles or Websites. There are also checkboxes for showing the Passwords app in the menu bar, detecting compromised passwords, suggesting strong passwords, and automatically creating passkeys.
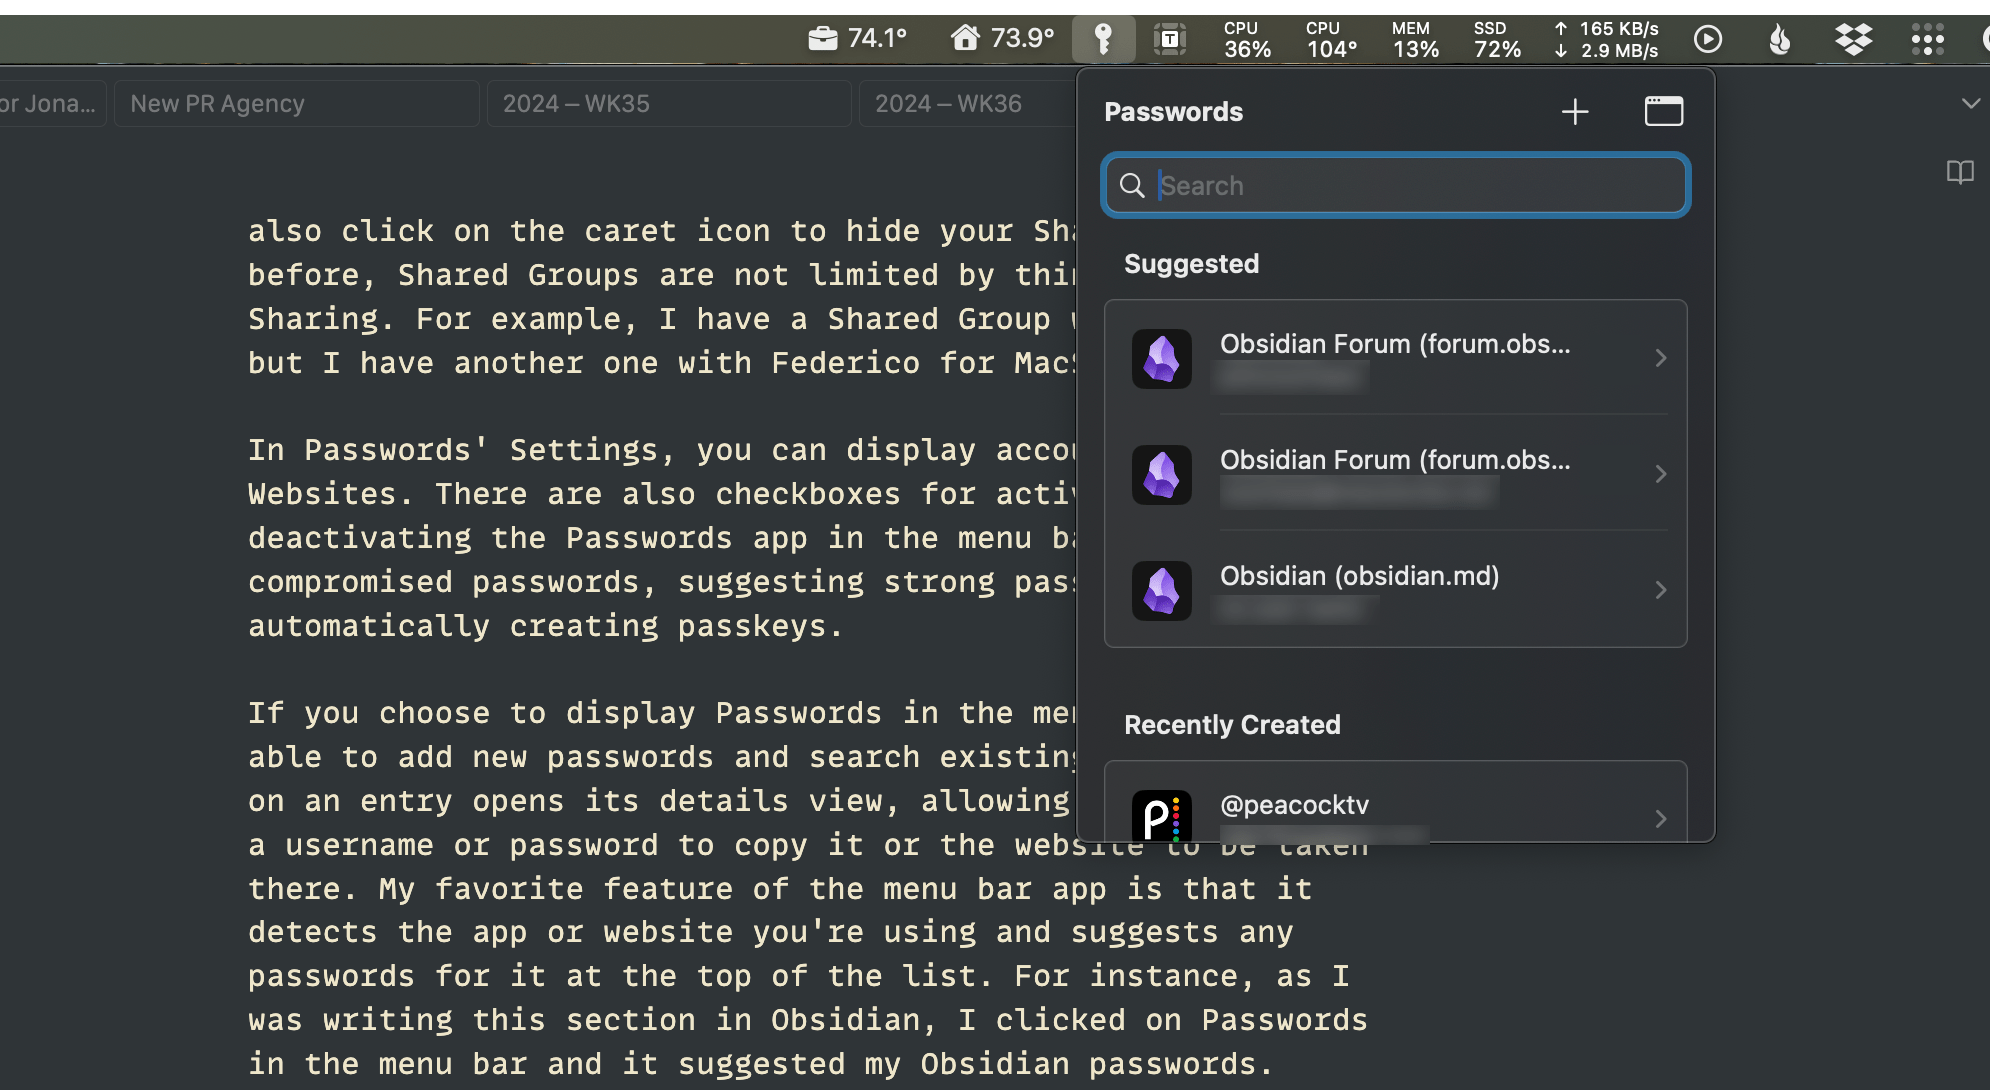
If you choose to display Passwords in the menu bar, it will enable you to add new passwords and search for existing ones. Clicking on an entry opens its details view, where you can copy a username or password simply by clicking on it or choose any website to be taken there. My favorite feature of the menu bar app is that it detects the app or website you’re using and suggests any passwords for it at the top of the list. For instance, as I was writing this section in Obsidian, I clicked on Passwords in the menu bar, and it suggested my Obsidian passwords.
As I mentioned at the top of this section, I’ve been migrating passwords away from 1Password for a long time in anticipation of this day. 1Password is a good app, but it’s more than I really need, and I’ve always felt that version 8 makes it harder to find things than it should be.
That said, I do miss a few features from 1Password that I would like to see added to Passwords:
- file attachments, which can be partially handled by setting up a password-protected note in the Notes app, but that solution isn’t as robust as the one 1Password offers; and
- a new category for things like government IDs, credit cards, and insurance details.
The lack of a notes field and document attachments has made me hesitant to fully migrate MacStories to Passwords, and not having credit cards in the app is a pain for me personally, but for a 1.0 system app, Passwords is excellent. If there were more to say about Passwords, I would. The team behind it deserves a lot of credit for migrating years of work to a standalone app in a way that’s so simple that there’s very little that I can say about it, except that I highly encourage readers to give Passwords a try.
Maps
Maps is one of those system apps that sometimes flies a little under the radar, but it shouldn’t. The app has evolved over the years to encompass far more than driving directions. That’s an essential core feature that I use more than anything else, but Maps has become as much about exploring the world around you as it is about getting from one point to another.
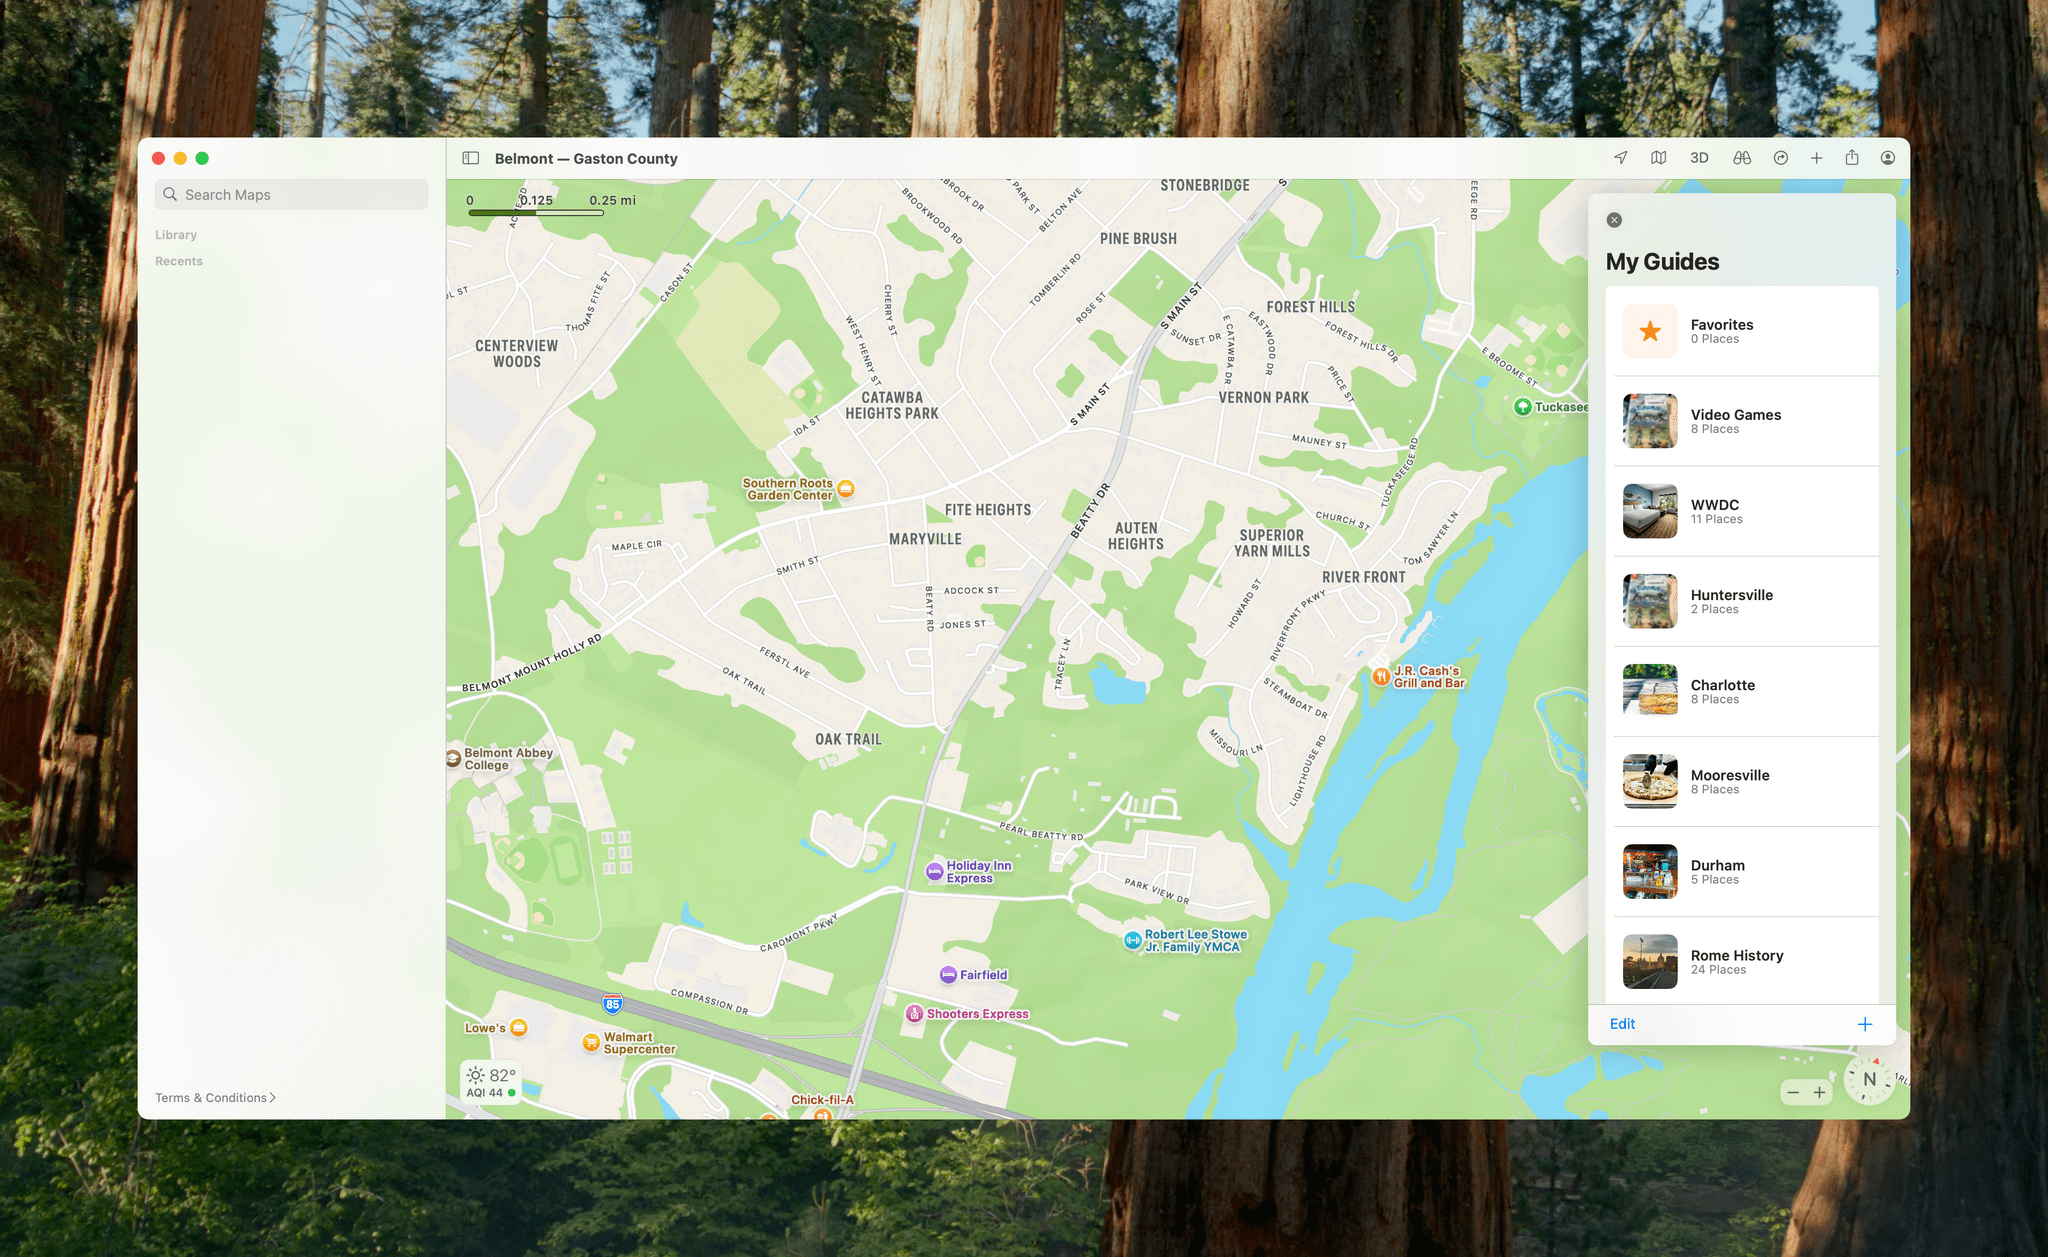
Maps already allows you to pin locations, save places, and create guides. This year, the app adds new Routes features, and along with them, a new Library section to organize everything.
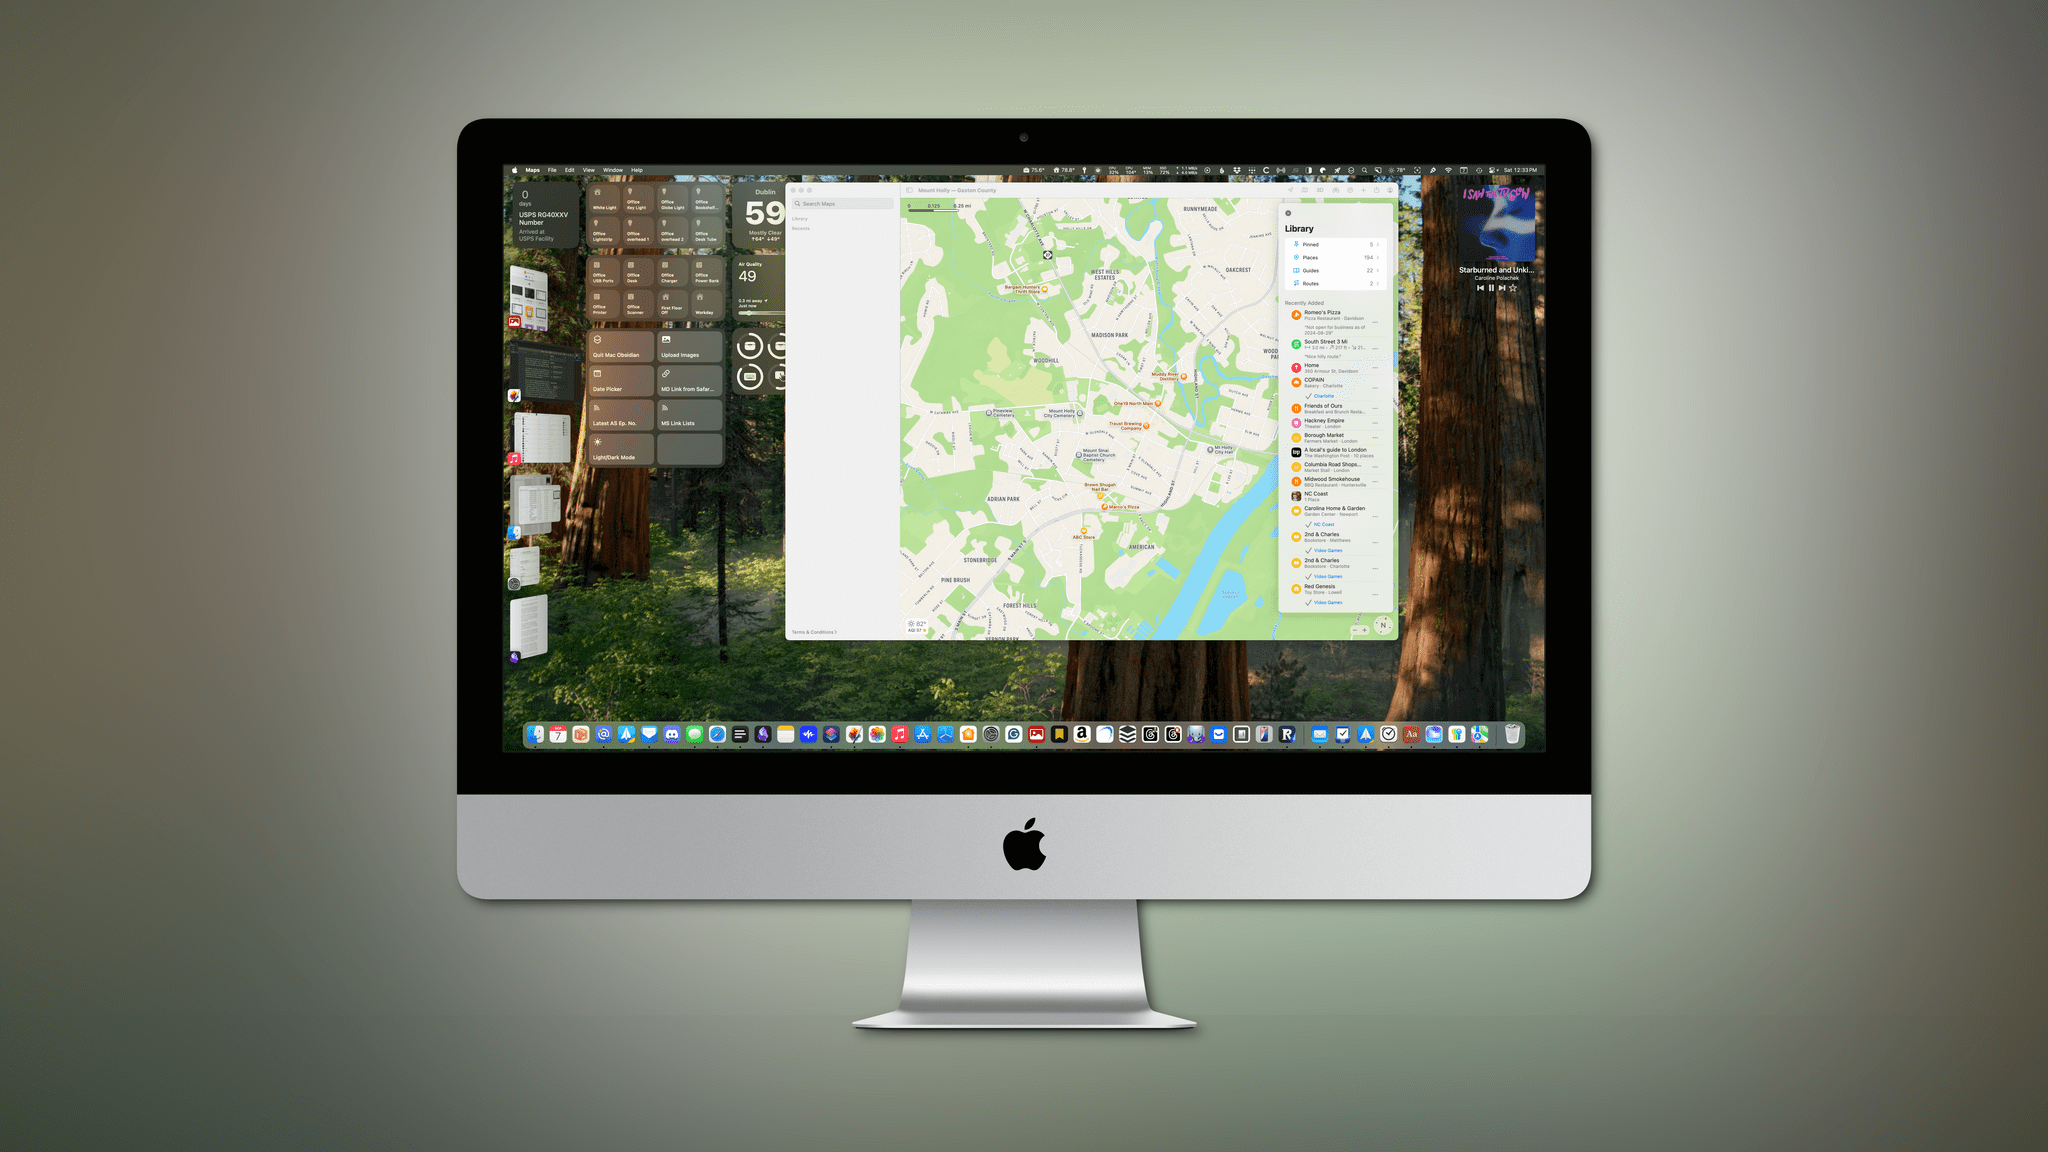
To access the Library, click on your profile button and select Library. That opens a view with Pinned, Places, Guides, and Routes sections, followed by recently added items. Ever since I moved a couple of years ago, I’ve been saving places I’d like to visit in Maps, so the new Library, which makes it easier to find everything you’ve saved, is a very welcome addition.
The Routes section of the Library is entirely new, and it’s another feature I know I’ll use a lot. If you’ve ever used an app like Footpath, you’ll be familiar with how this new addition works. Like a lot of system features, Routes is simpler than similar third-party apps, but I expect it will get the job done for a lot of people.
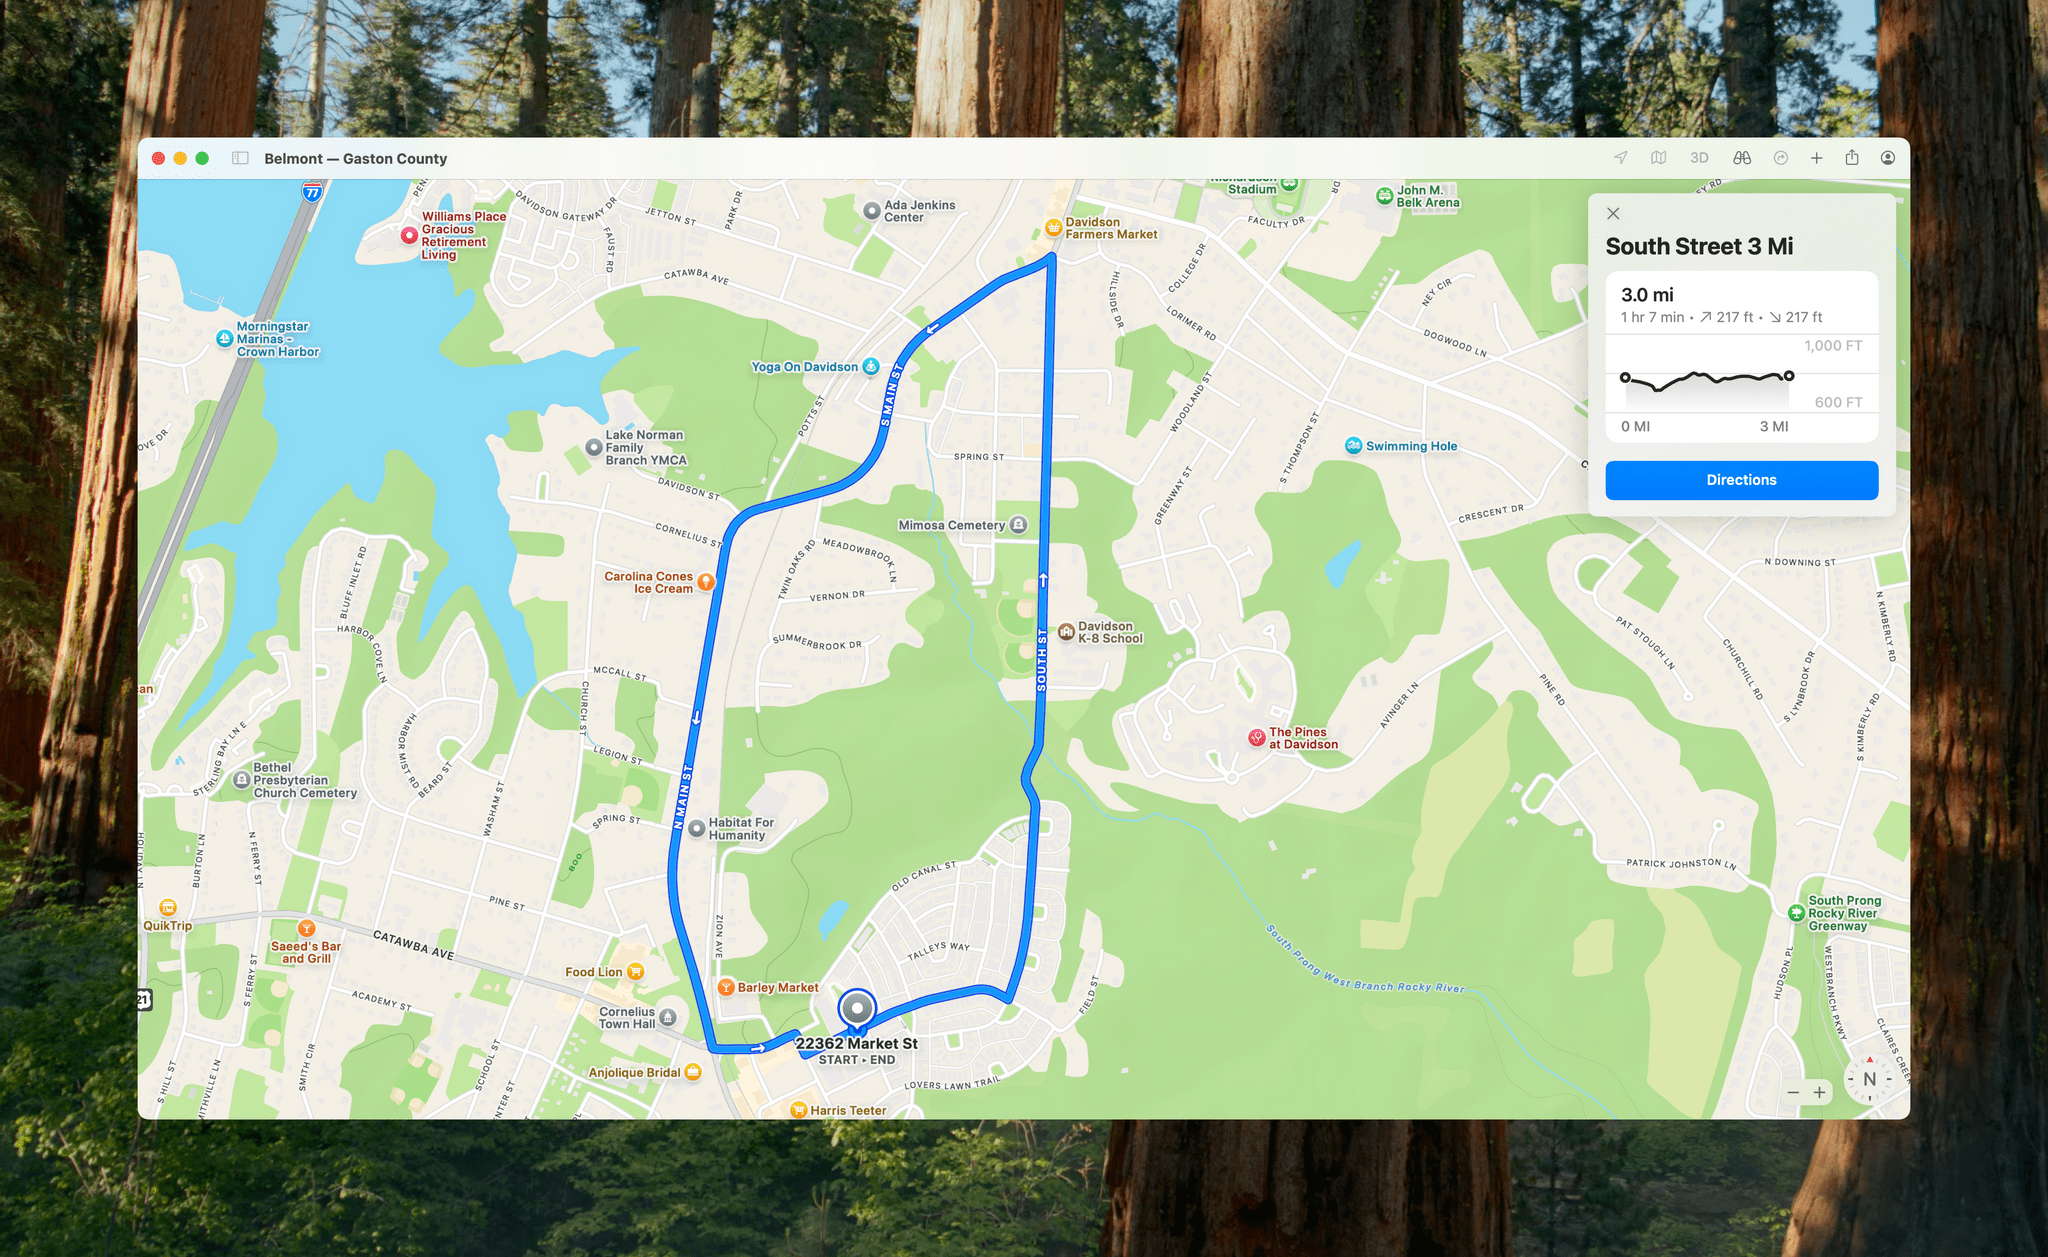
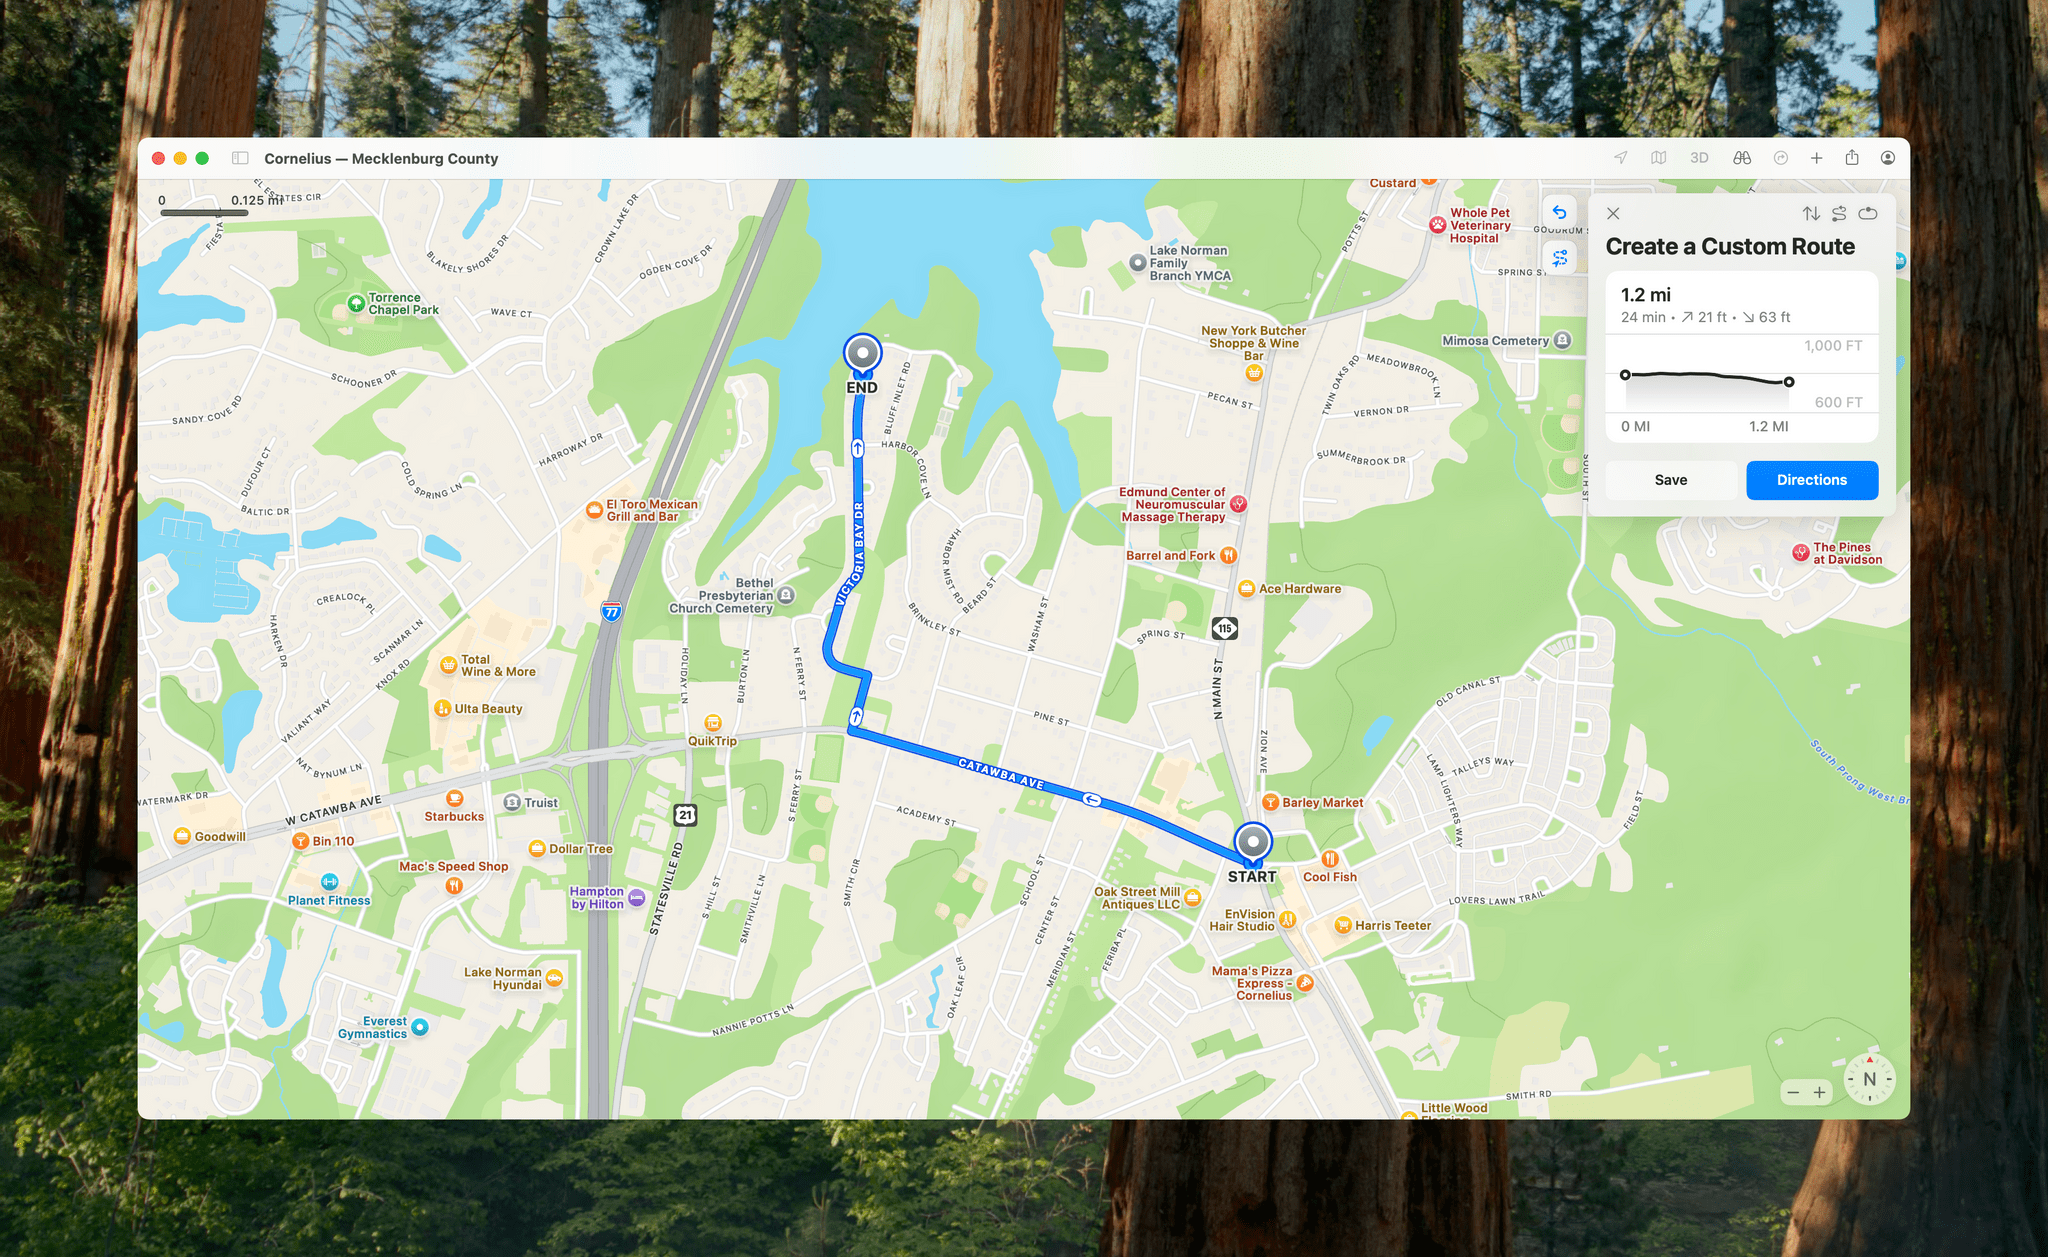
At the top of the Routes section of your Library is a ‘Create’ button that activates Maps’ route creation mode. Choose a starting point, click it, and then add additional points along your route. You can click on any point to remove it, reverse your start and end points, create an ‘out and back’ route, or close your loop. As you lay down points, Maps automatically snaps to the nearest roads and paths.
Once you’ve finished a route, Maps will show you how long it is, the time it will take to walk it, elevation changes, and a graph of those changes over the course of the route. You can add Notes to a route, too. Maps will also offer directions from your current location to the start of the route, as well as the option to save the route to your Library.
I wish I’d had this feature two years ago when I first moved to North Carolina. I spent a lot of time picking out walking routes in my area when I first moved here, and Routes would have been incredibly useful for that. Still, I plan to use the feature as a handy way to pick a route that matches the time or energy I have when I head out for some exercise.
This leads me to something I hope Apple adds to Routes in the future: integration with the Apple Watch. Planning a route is something walkers, runners, and cyclists do all the time, and it would be great to be able to plan a route in advance and then navigate it with a combination of the Apple Watch and voice prompts via AirPods. I’ll be surprised if Routes doesn’t come to the Apple Watch next year, but for now, the initial implementation is excellent and a nice addition that continues the app’s evolution beyond driving directions.
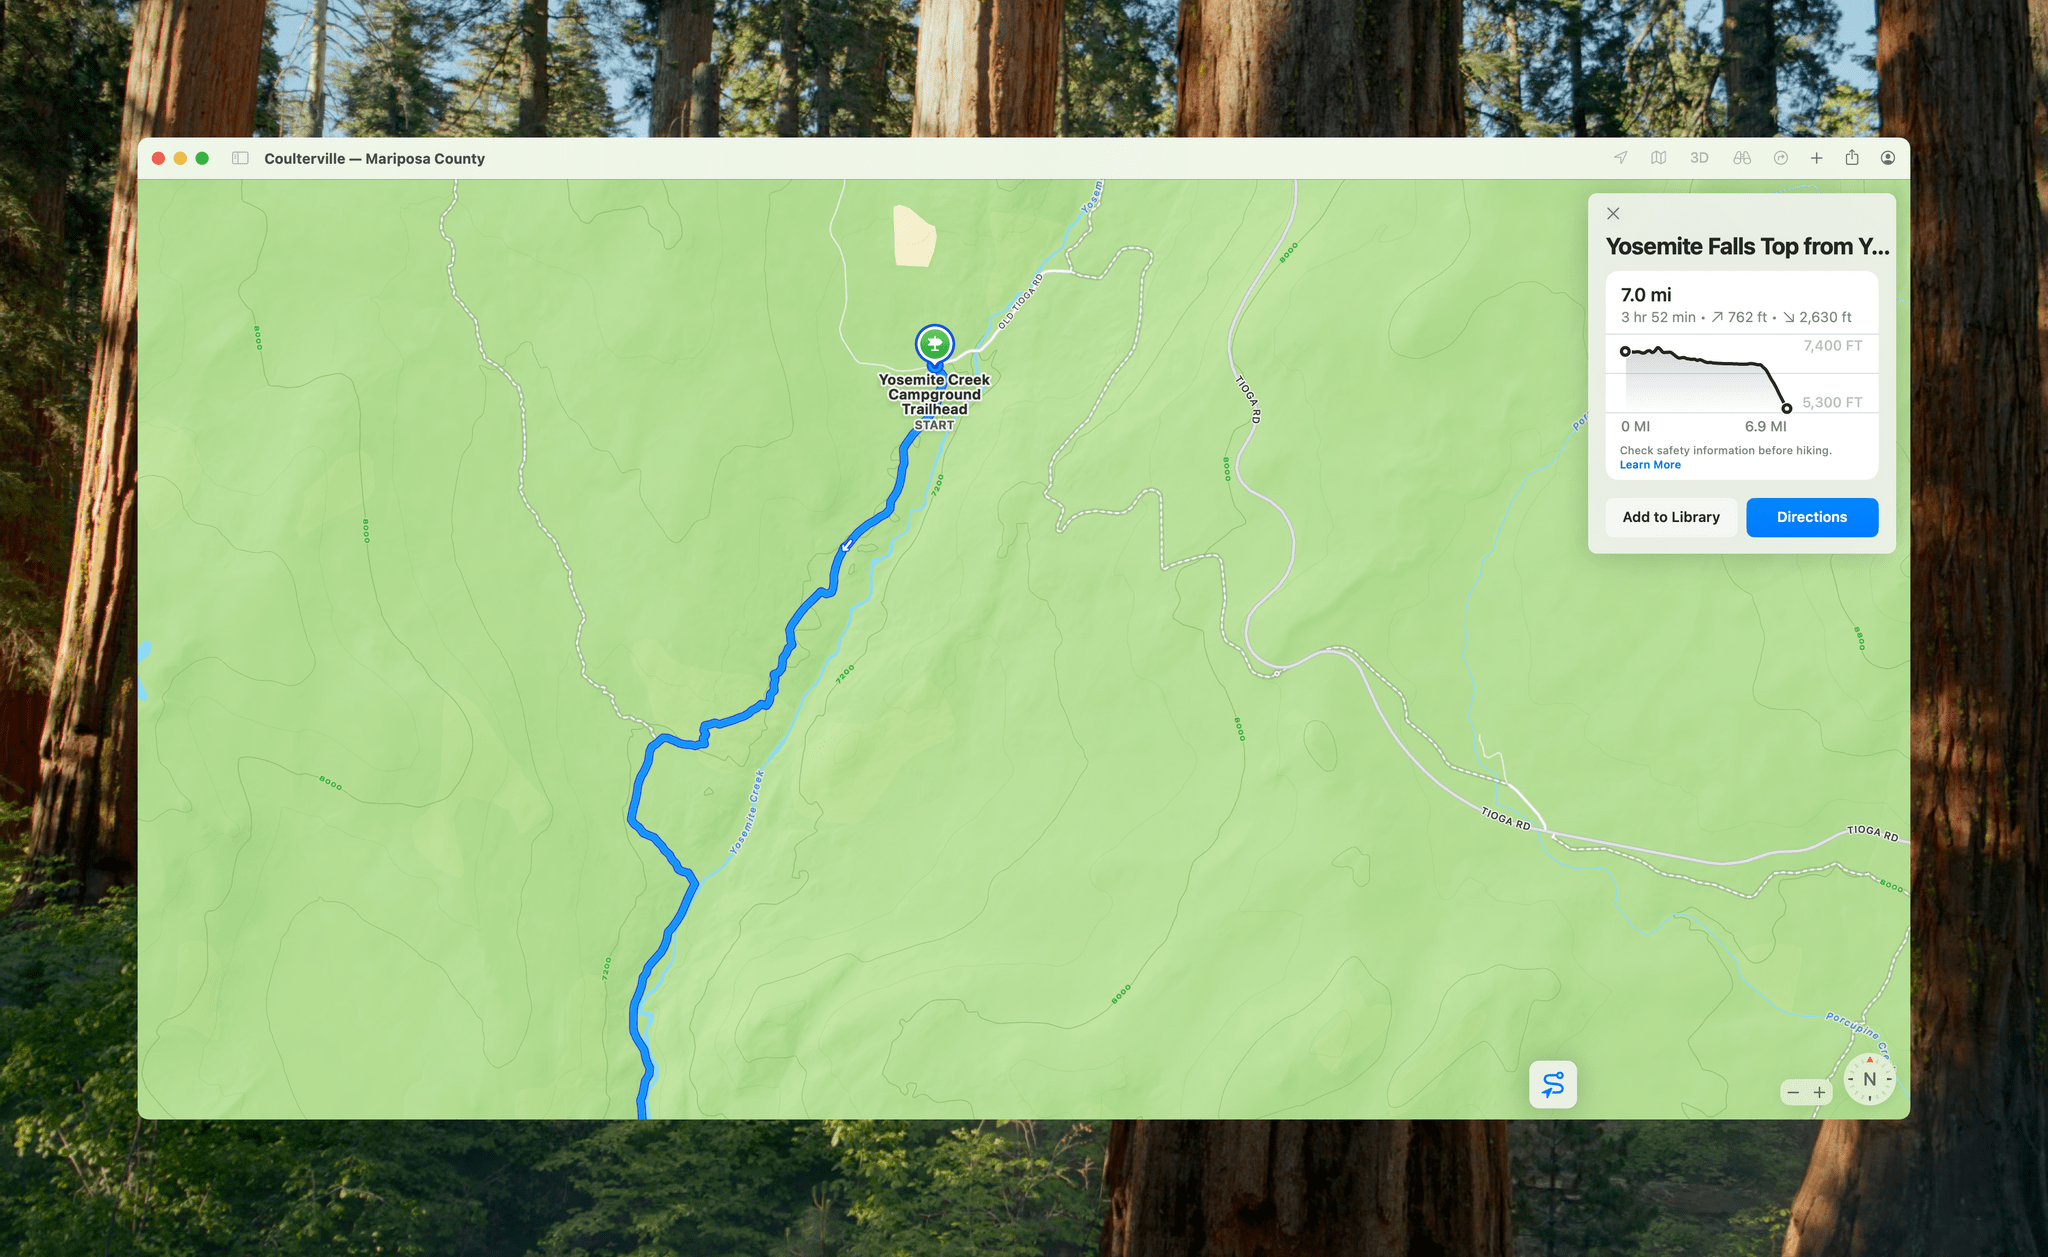
Maps also includes a set of built-in hiking routes for U.S. national parks that can be filtered by length, elevation, and type. They’re similar to the custom routes you can create anywhere in the app and include the same sort of data. However, although hiking routes are a terrific addition to Maps, I hope they’re expanded beyond national parks and to other countries because, unless you live near a national park with hiking trails, you probably won’t get much out of them.
If you look at one of the hiking trails added to Maps, you’ll notice something else, too. Topographic data has been layered into Maps in the U.S. and Japan. The topographic contours of the landscape seem to show up a little differently depending on where you are. By default, you won’t see topographic features, but if you search for a park with trailheads, like Yosemite National Park, and click on the Trailheads button in Maps’ search results, the contours of the landscape will appear. They also appear if you click on the marker for the park itself or a trail, but they disappear when it isn’t selected. In other parks, I’ve noticed that topographic features only appear when you select a trail. Either way, it’s worth noting that topographic maps aren’t limited to U.S. national parks. I’ve checked multiple North Carolina state parks, and they work there, too.
Another addition for hikers this year is the option to save hiking trails for offline use. If you’re hiking far from civilization, this will be a great feature to have, but I haven’t had the opportunity to try it yet.
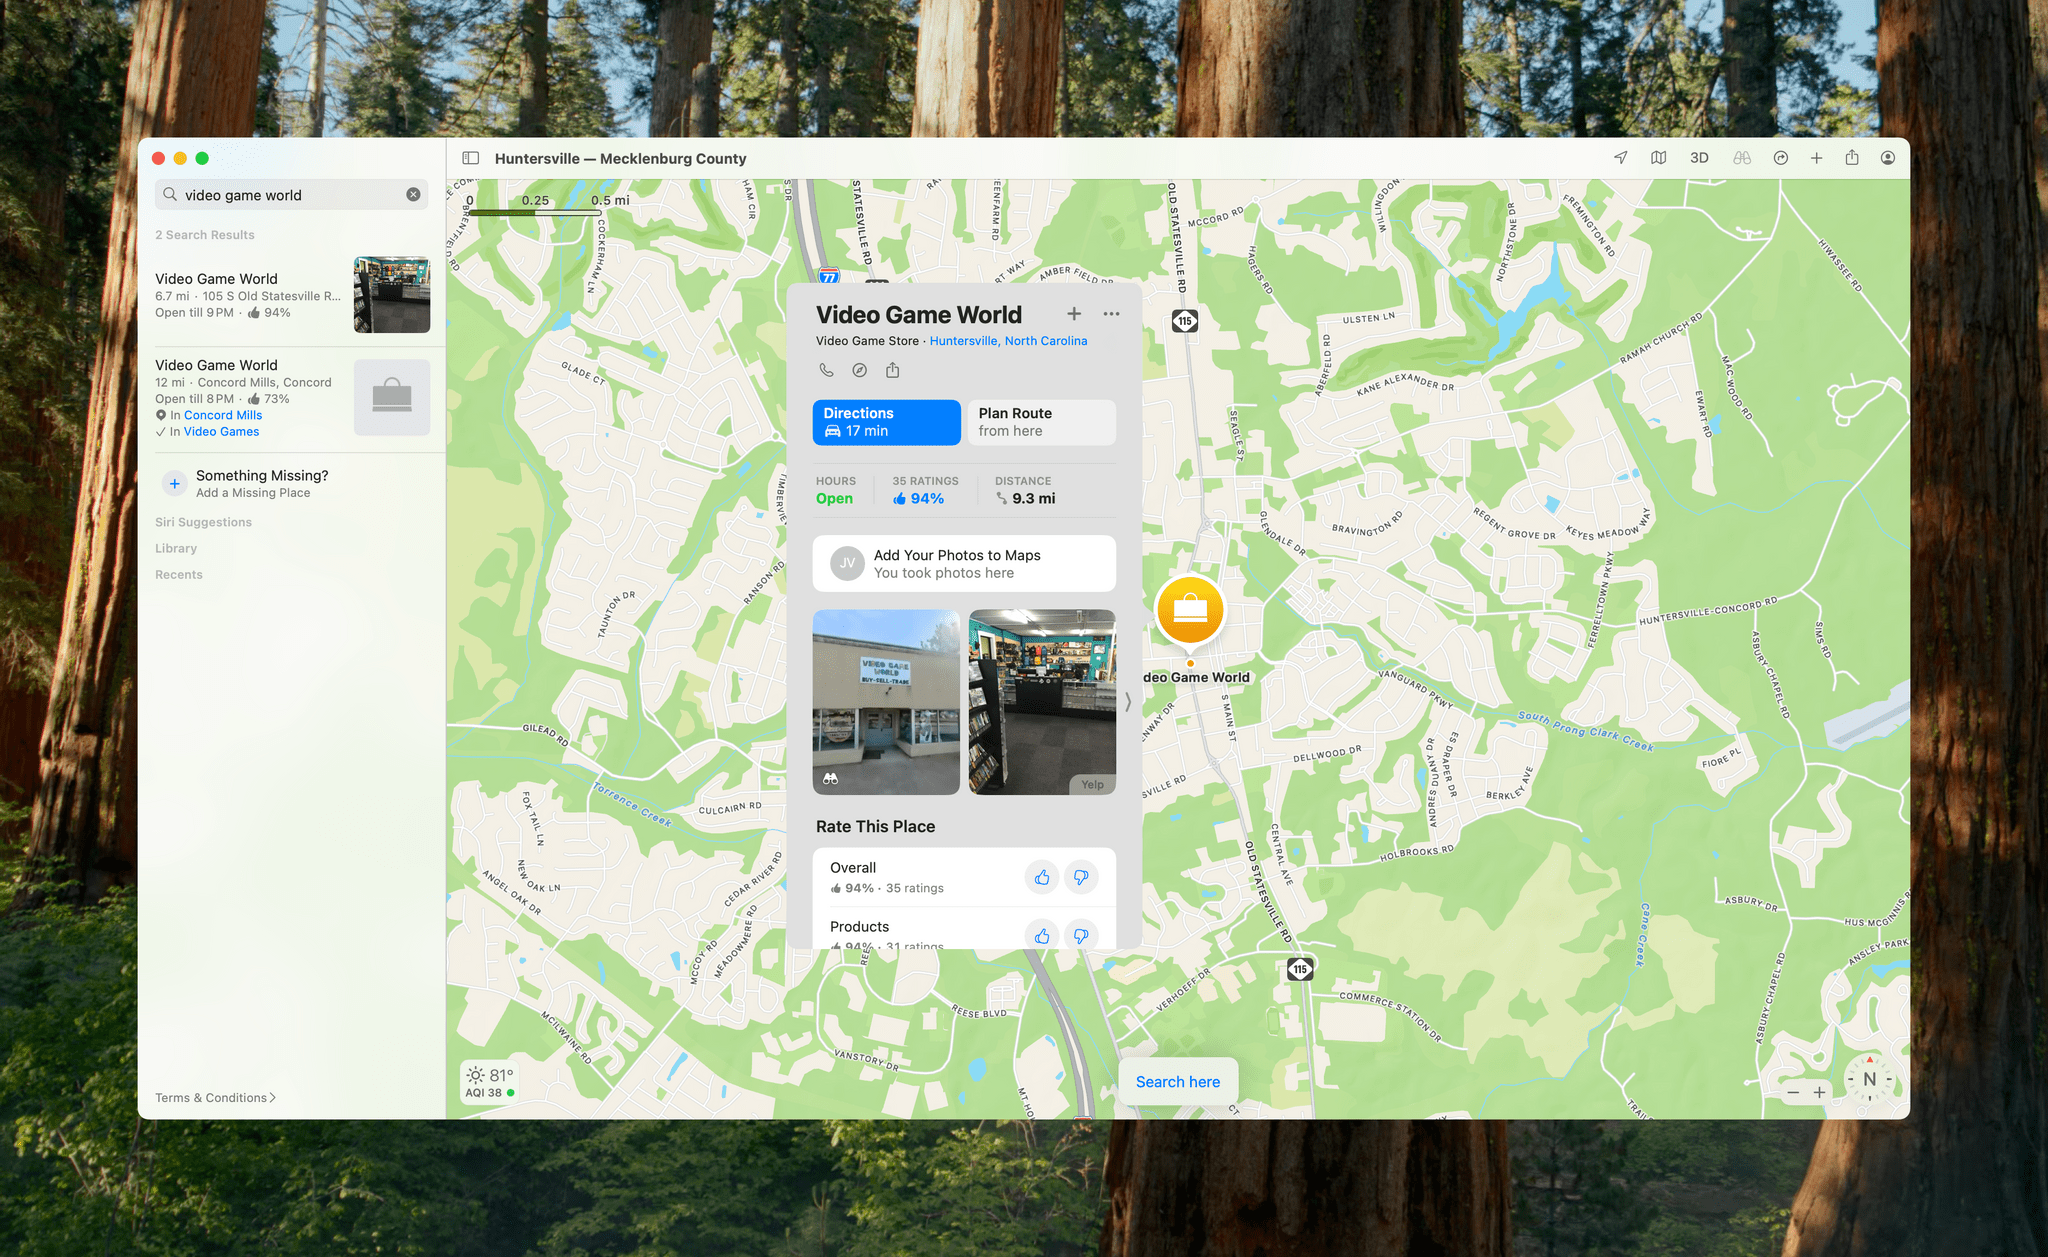
Apple has also reorganized the detail cards for locations in Maps. There’s a new ‘+’ button next to the ‘More’ button on a location’s card for quickly adding a destination to your Library. Click on the ‘More’ button, and there are new options to add a note to a location or pin it too.
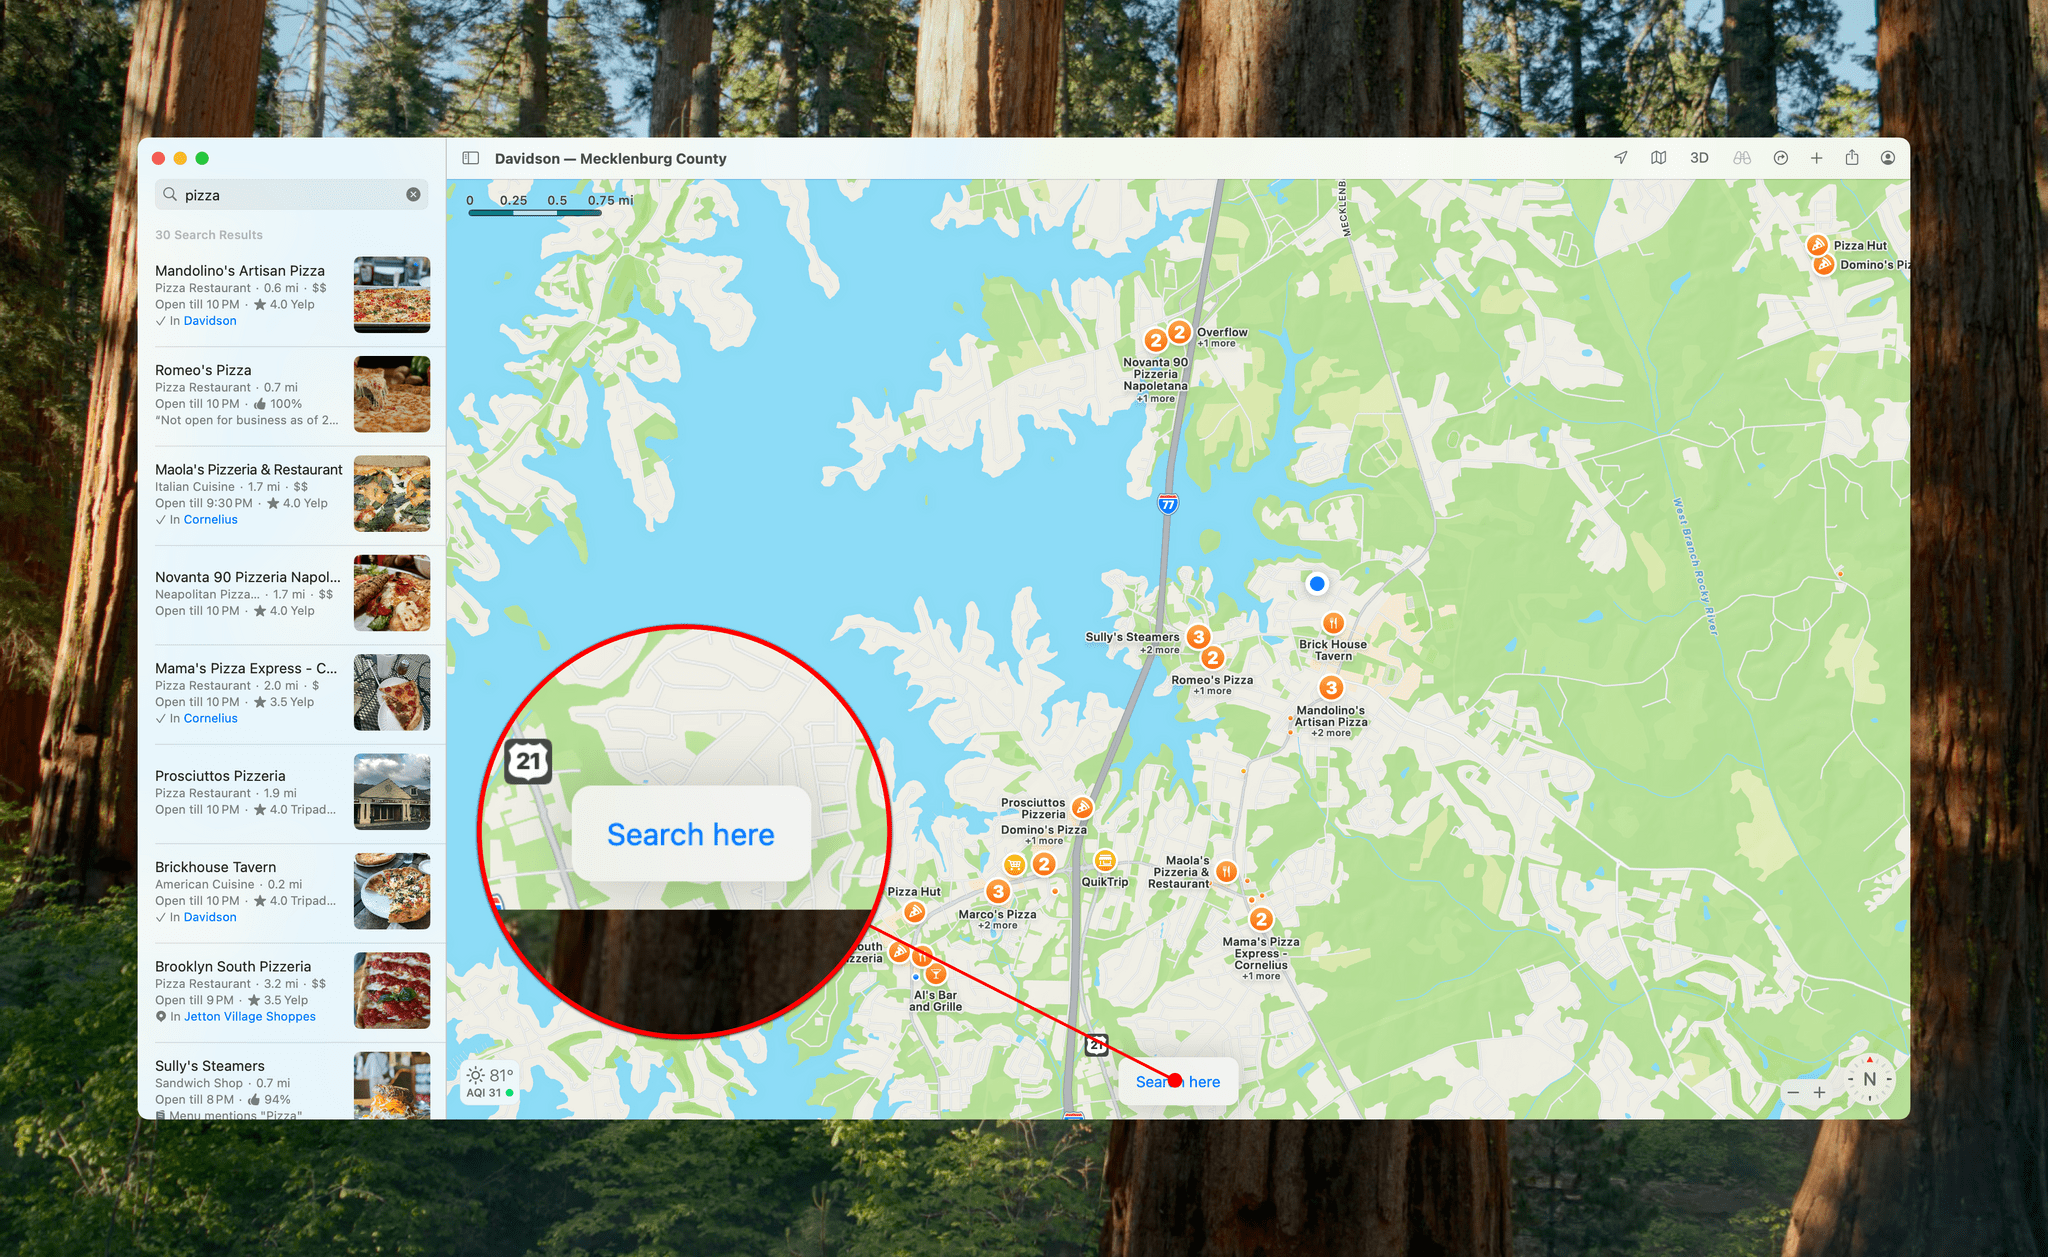
Finally, if you search for something in Maps and then pan around, search results will automatically update to show the new area. That’s not new. However, now, if you pan Maps’ view just a little bit, instead of updating the search results, the app will display a ‘Search Here’ button at the bottom of the map to update the results for your slightly changed view.
All in all, this year’s update to Maps is great. It continues to expand the app beyond the table stakes of navigation to include more ways to explore the world around you. Maps is an app that by definition will never be finished, but it’s great to see the team behind it not just updating existing data but expanding what’s available too.


