No matter how tech-inclined a person may be, no one sits down at their first computer and instantly finds themselves at home with the device. We all have our own tales of computing learning curves – figuring out how menus, file systems, and other traditional software elements work. Similarly, when making the move from one type of computer to another, there’s an adaptation cost in acquainting yourself with all that’s new. This is true when switching from a PC to a Mac, and also a Mac to an iPad.
Before the iPad Pro debuted in late 2015, transitions from Mac to iPad were extremely scarce. The iPad’s hardware and software were both far too limited to compel many switchers. The software has advanced since that time – thanks to Split View, drag and drop, and Files, it’s far easier to work on an iPad than before – but there’s plenty more progress still to be made. The hardware, however, is where the iPad has shined most, especially with the newest iPad Pros.
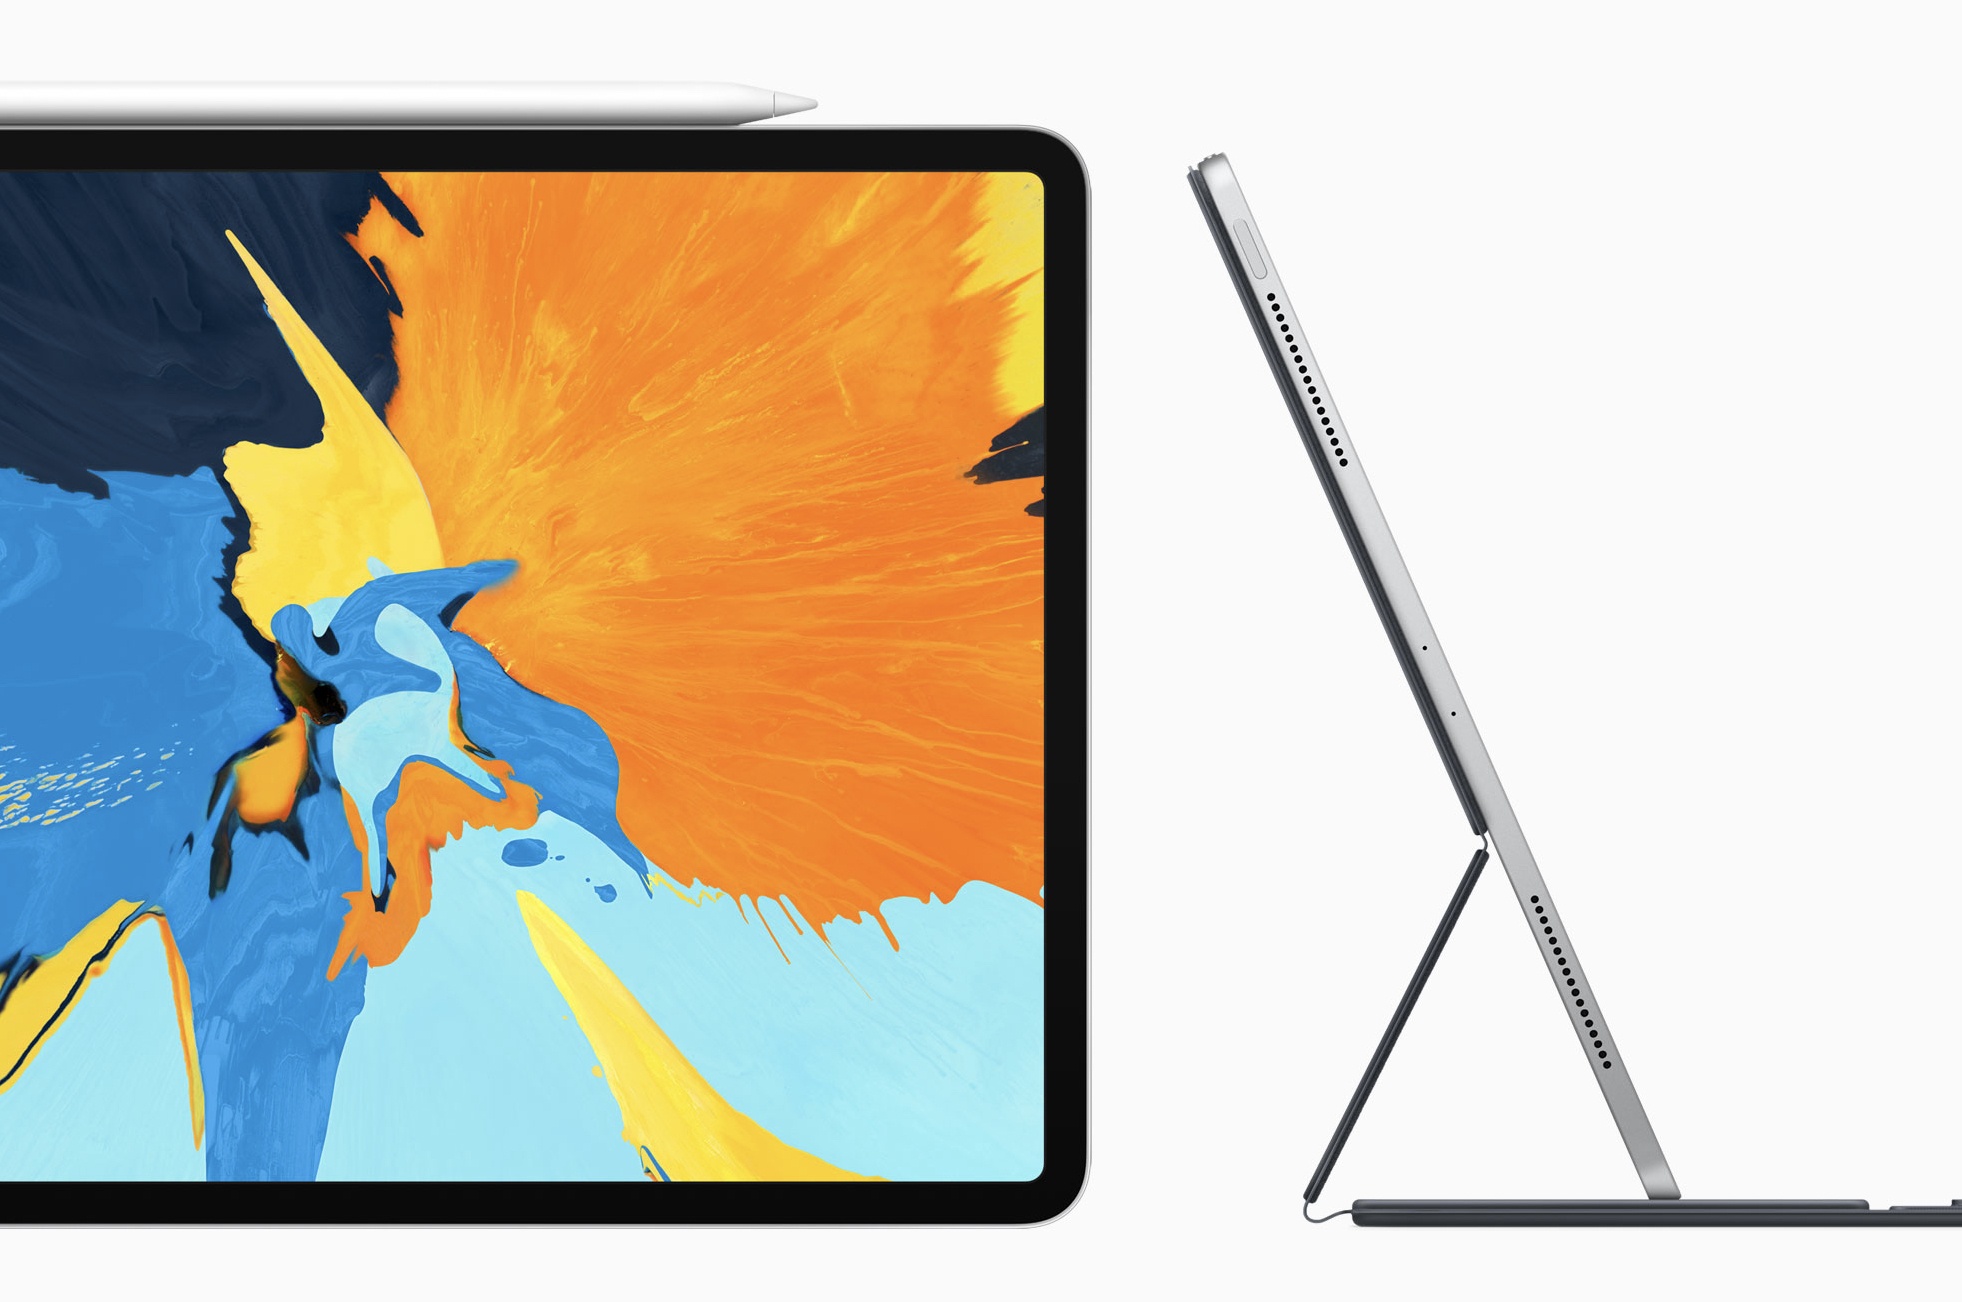
Compare the iPad Pro’s hardware to Apple’s modern Mac lineup and the difference is striking. The iPad has Face ID, while Macs are stuck with Touch ID; the iPad has a Liquid Retina display with ProMotion, and Macs are still Retina only; the iPad Pro benchmarks comparably to the most powerful portable Macs; iPads can include LTE, while Macs cannot; and where Mac keyboards are vulnerable to specs of dust, the iPad’s Smart Keyboard Folio can endure any crumbs you throw at it – plus, with the iPad you can choose the keyboard that’s best for you. To top off all these advantages, the iPad Pro is also more affordable than most Macs.
Software limitations aside, the iPad clearly has a lot going for it; the iPad Pro is a more attractive Mac alternative than ever before. But moving to the iPad still involves some growing pains. The longer you’ve used a traditional computer, the harder an iPad transition can be. There are a few key things, however, that can help make your iPad adoption a success.
Cloud Storage
Cloud storage is the only sane way to maintain files on the iPad. While many apps can save data locally to your device, that method doesn’t work at all like storage on a traditional computer – it’s not the default, instead it’s a niche, largely legacy feature. For the most seamless, pain-free file experience, the cloud is the way to go.
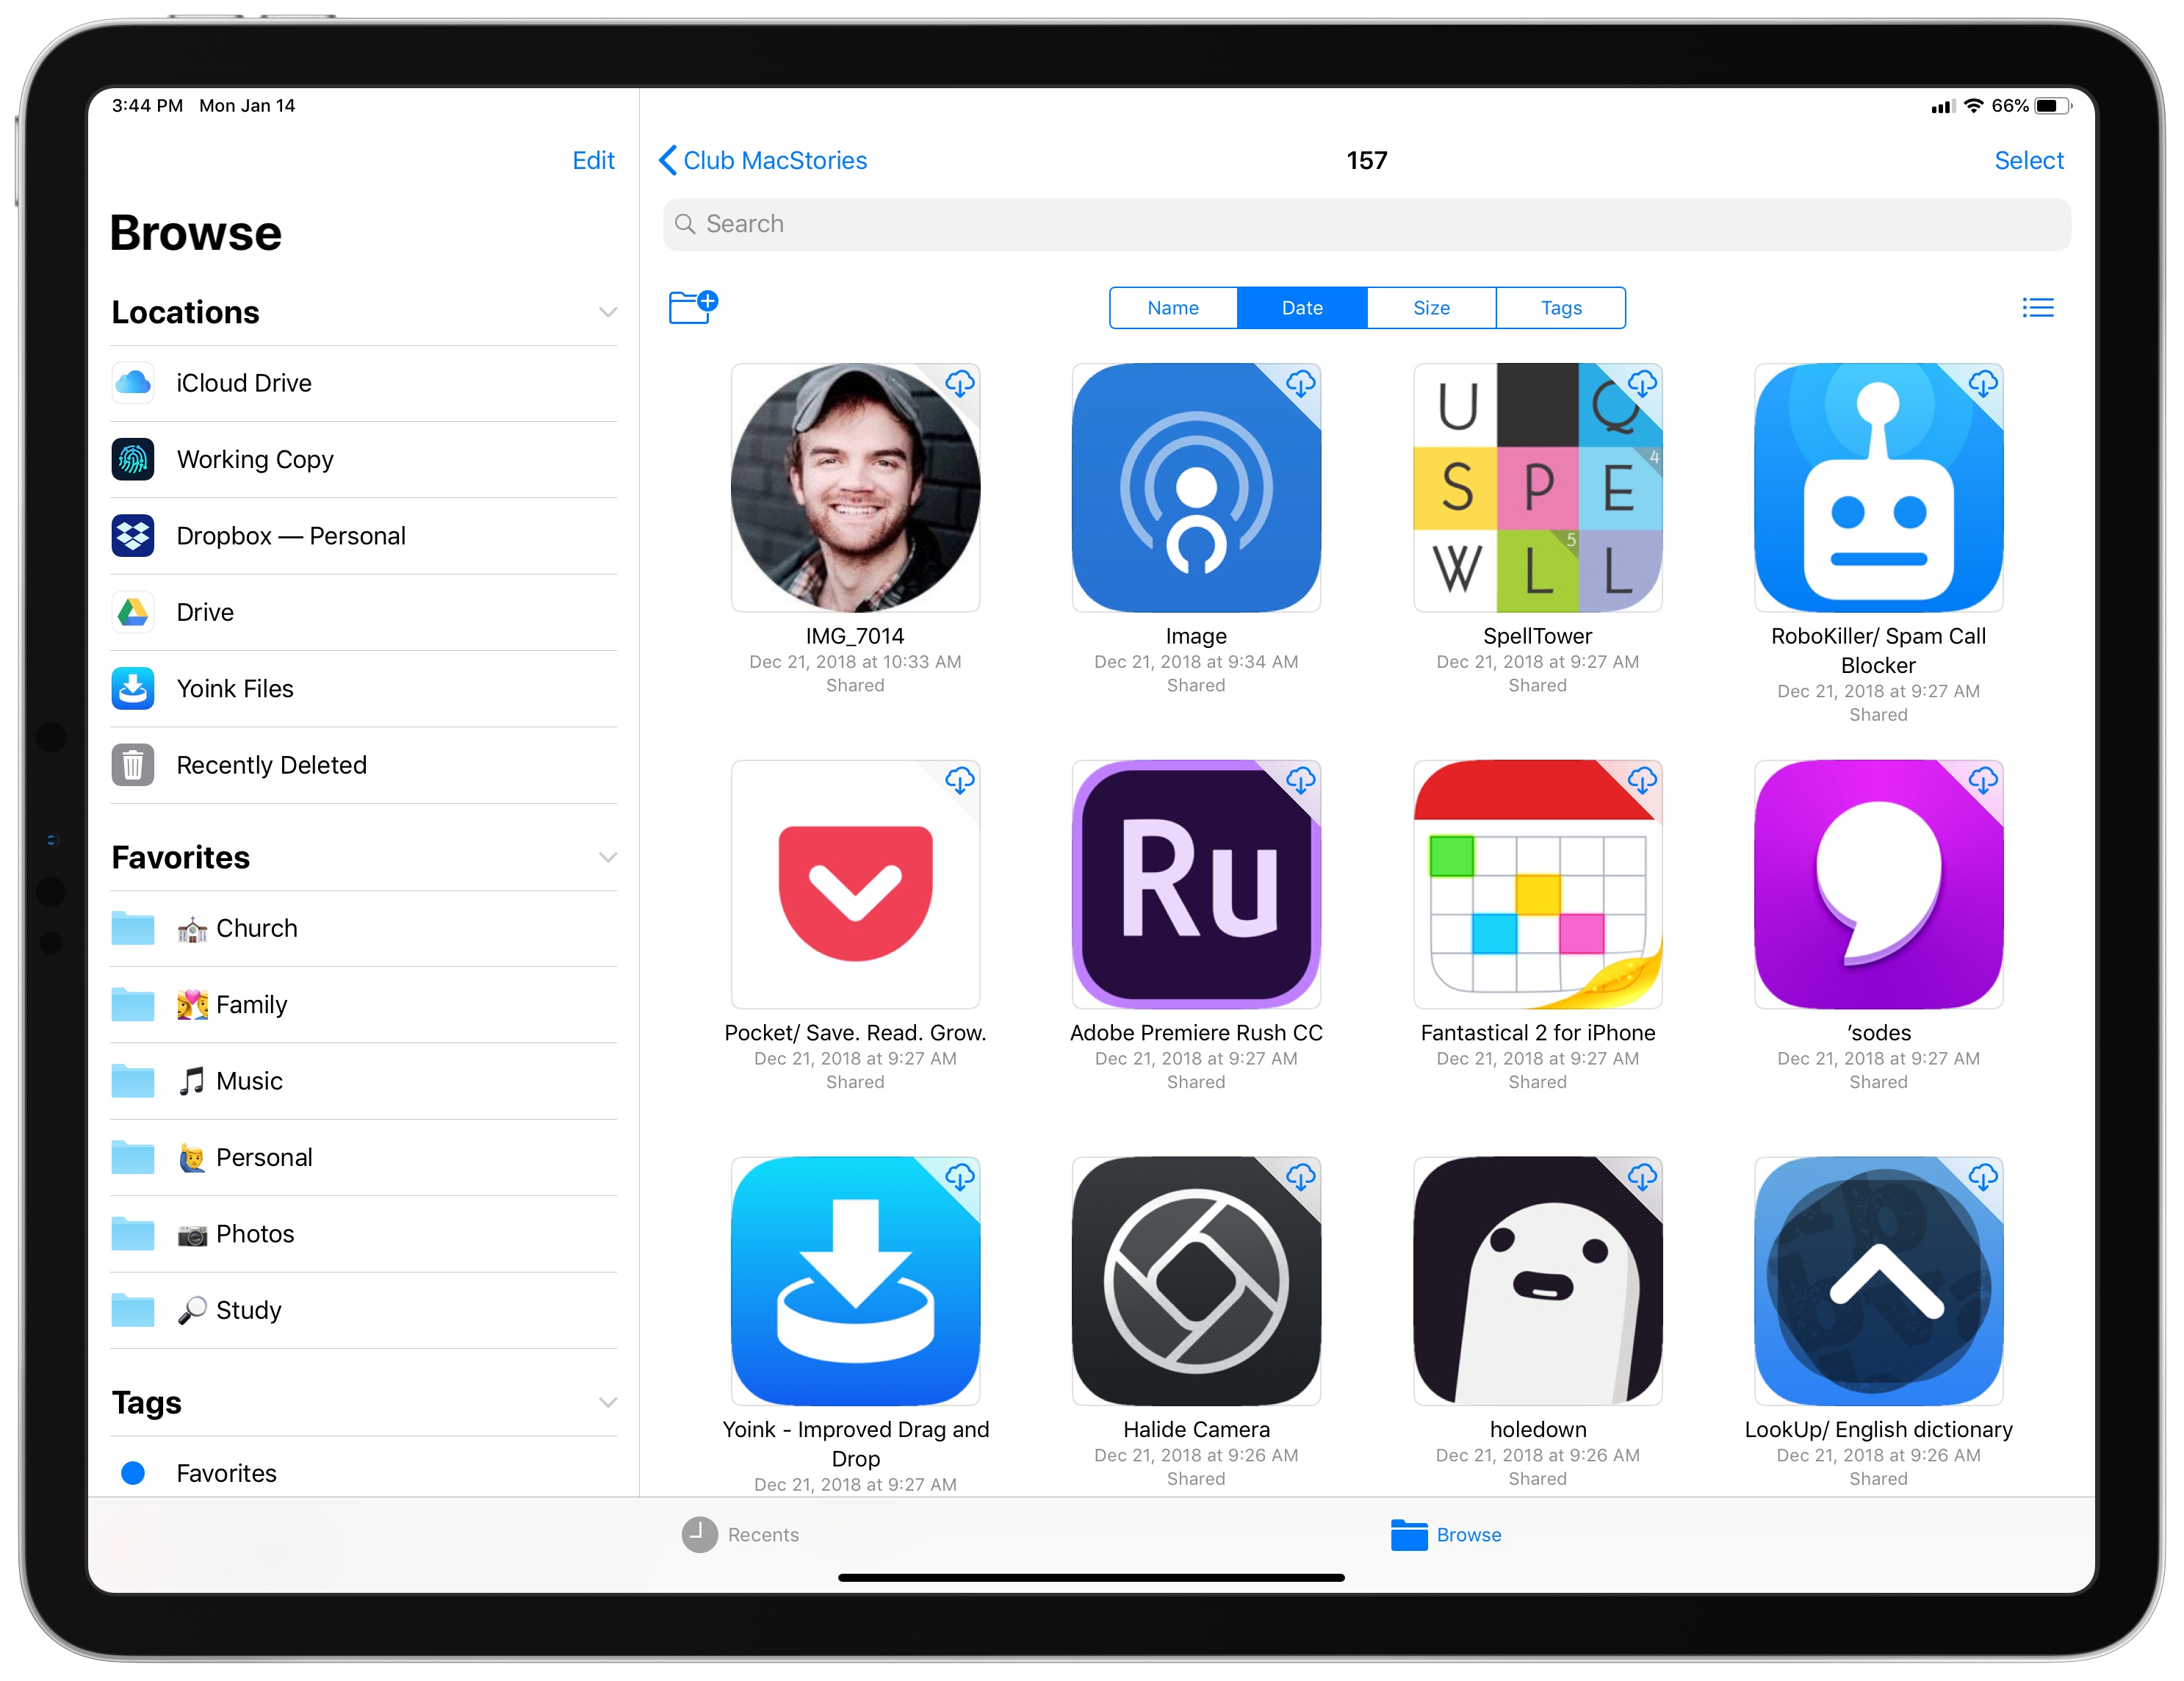
There’s no shortage of cloud storage options on the iPad, and your only requirement should be picking a service that integrates with iOS’ Files app. The default option is iCloud Drive, which comes built-in as part of iOS; alternately, you can download apps for Dropbox, OneDrive, Google Drive, or any other storage provider you prefer. In some cases you may even want to mix and match services – as long as you use Files, separate storage providers essentially just act as folders in the overarching Files ecosystem.
Once all your documents are in the cloud, you can browse and search for them in Files just as you might in the Mac’s Finder or Windows’ File Explorer. The biggest difference to note between those systems is that the iPad doesn’t offer much control of which files are stored offline. You can download documents on-demand in Files, and they’ll stay offline for a time, but at any given point iOS may decide that it needs that storage space back, and suddenly those offline files are back to cloud-only. Many apps for third-party services have their own offline storage methods that are more dependable, but generally speaking, the iPad’s file system is built to depend on an Internet connection.
Learn the Systems: Dock, Multitasking, and Files
The average iPad adopter benefits from a history of experience with the iPhone, providing a leg up when learning Apple’s tablet because the vast majority of iOS works the same across both devices. There are, however, a few key iPad systems that are especially important to familiarize yourself with: the dock, multitasking, and Files.
Dock
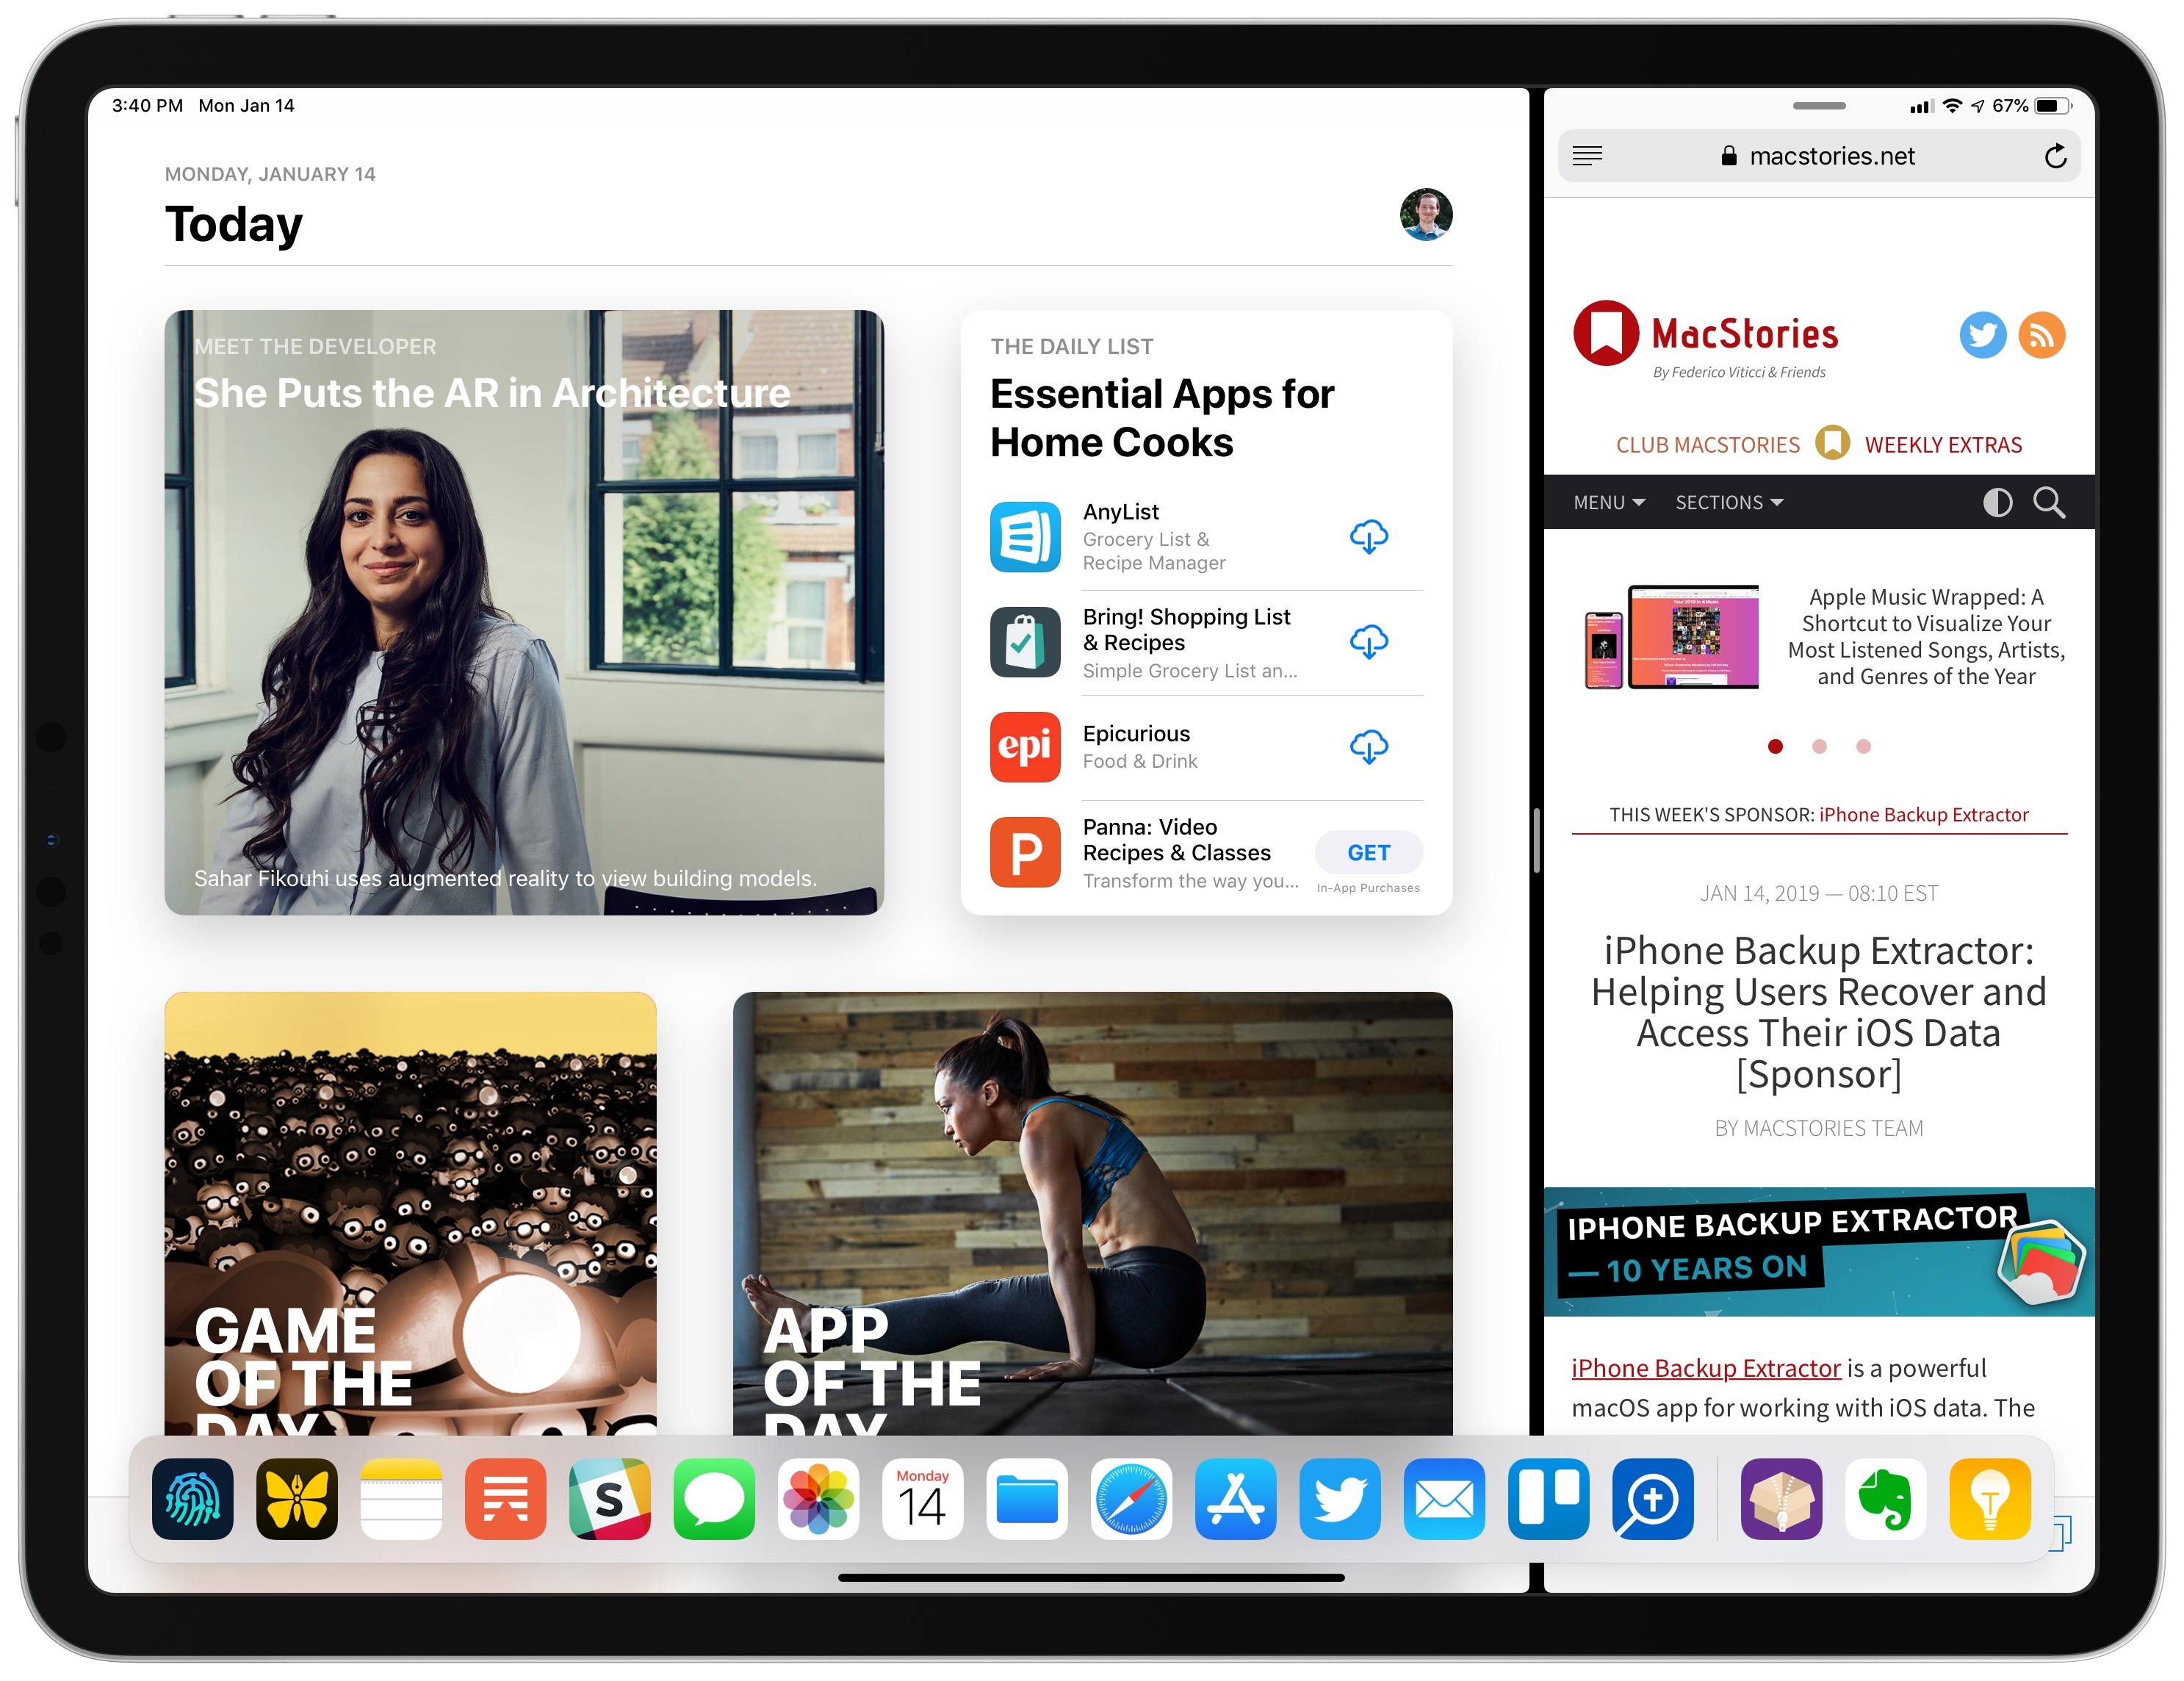
The iPad’s dock used to be just like the iPhone’s: namely, a holding place for a handful of apps that’s available across all your home screens. Starting with iOS 11, though, the dock on iPad became much more powerful. The modern dock can now hold up to 15 apps, depending on your display size; it can be accessed not only from the home screen, but also from within any app via a short swipe up from the bottom of the screen; and finally, it’s the most convenient way to engage the iPad’s multitasking setups. Your dock should be loaded with the apps you use most, and any apps you use in Split View often. Once your dock set up is complete, avoid the urge to constantly go back to the home screen to switch apps, and train yourself to invoke the dock first instead.
Multitasking
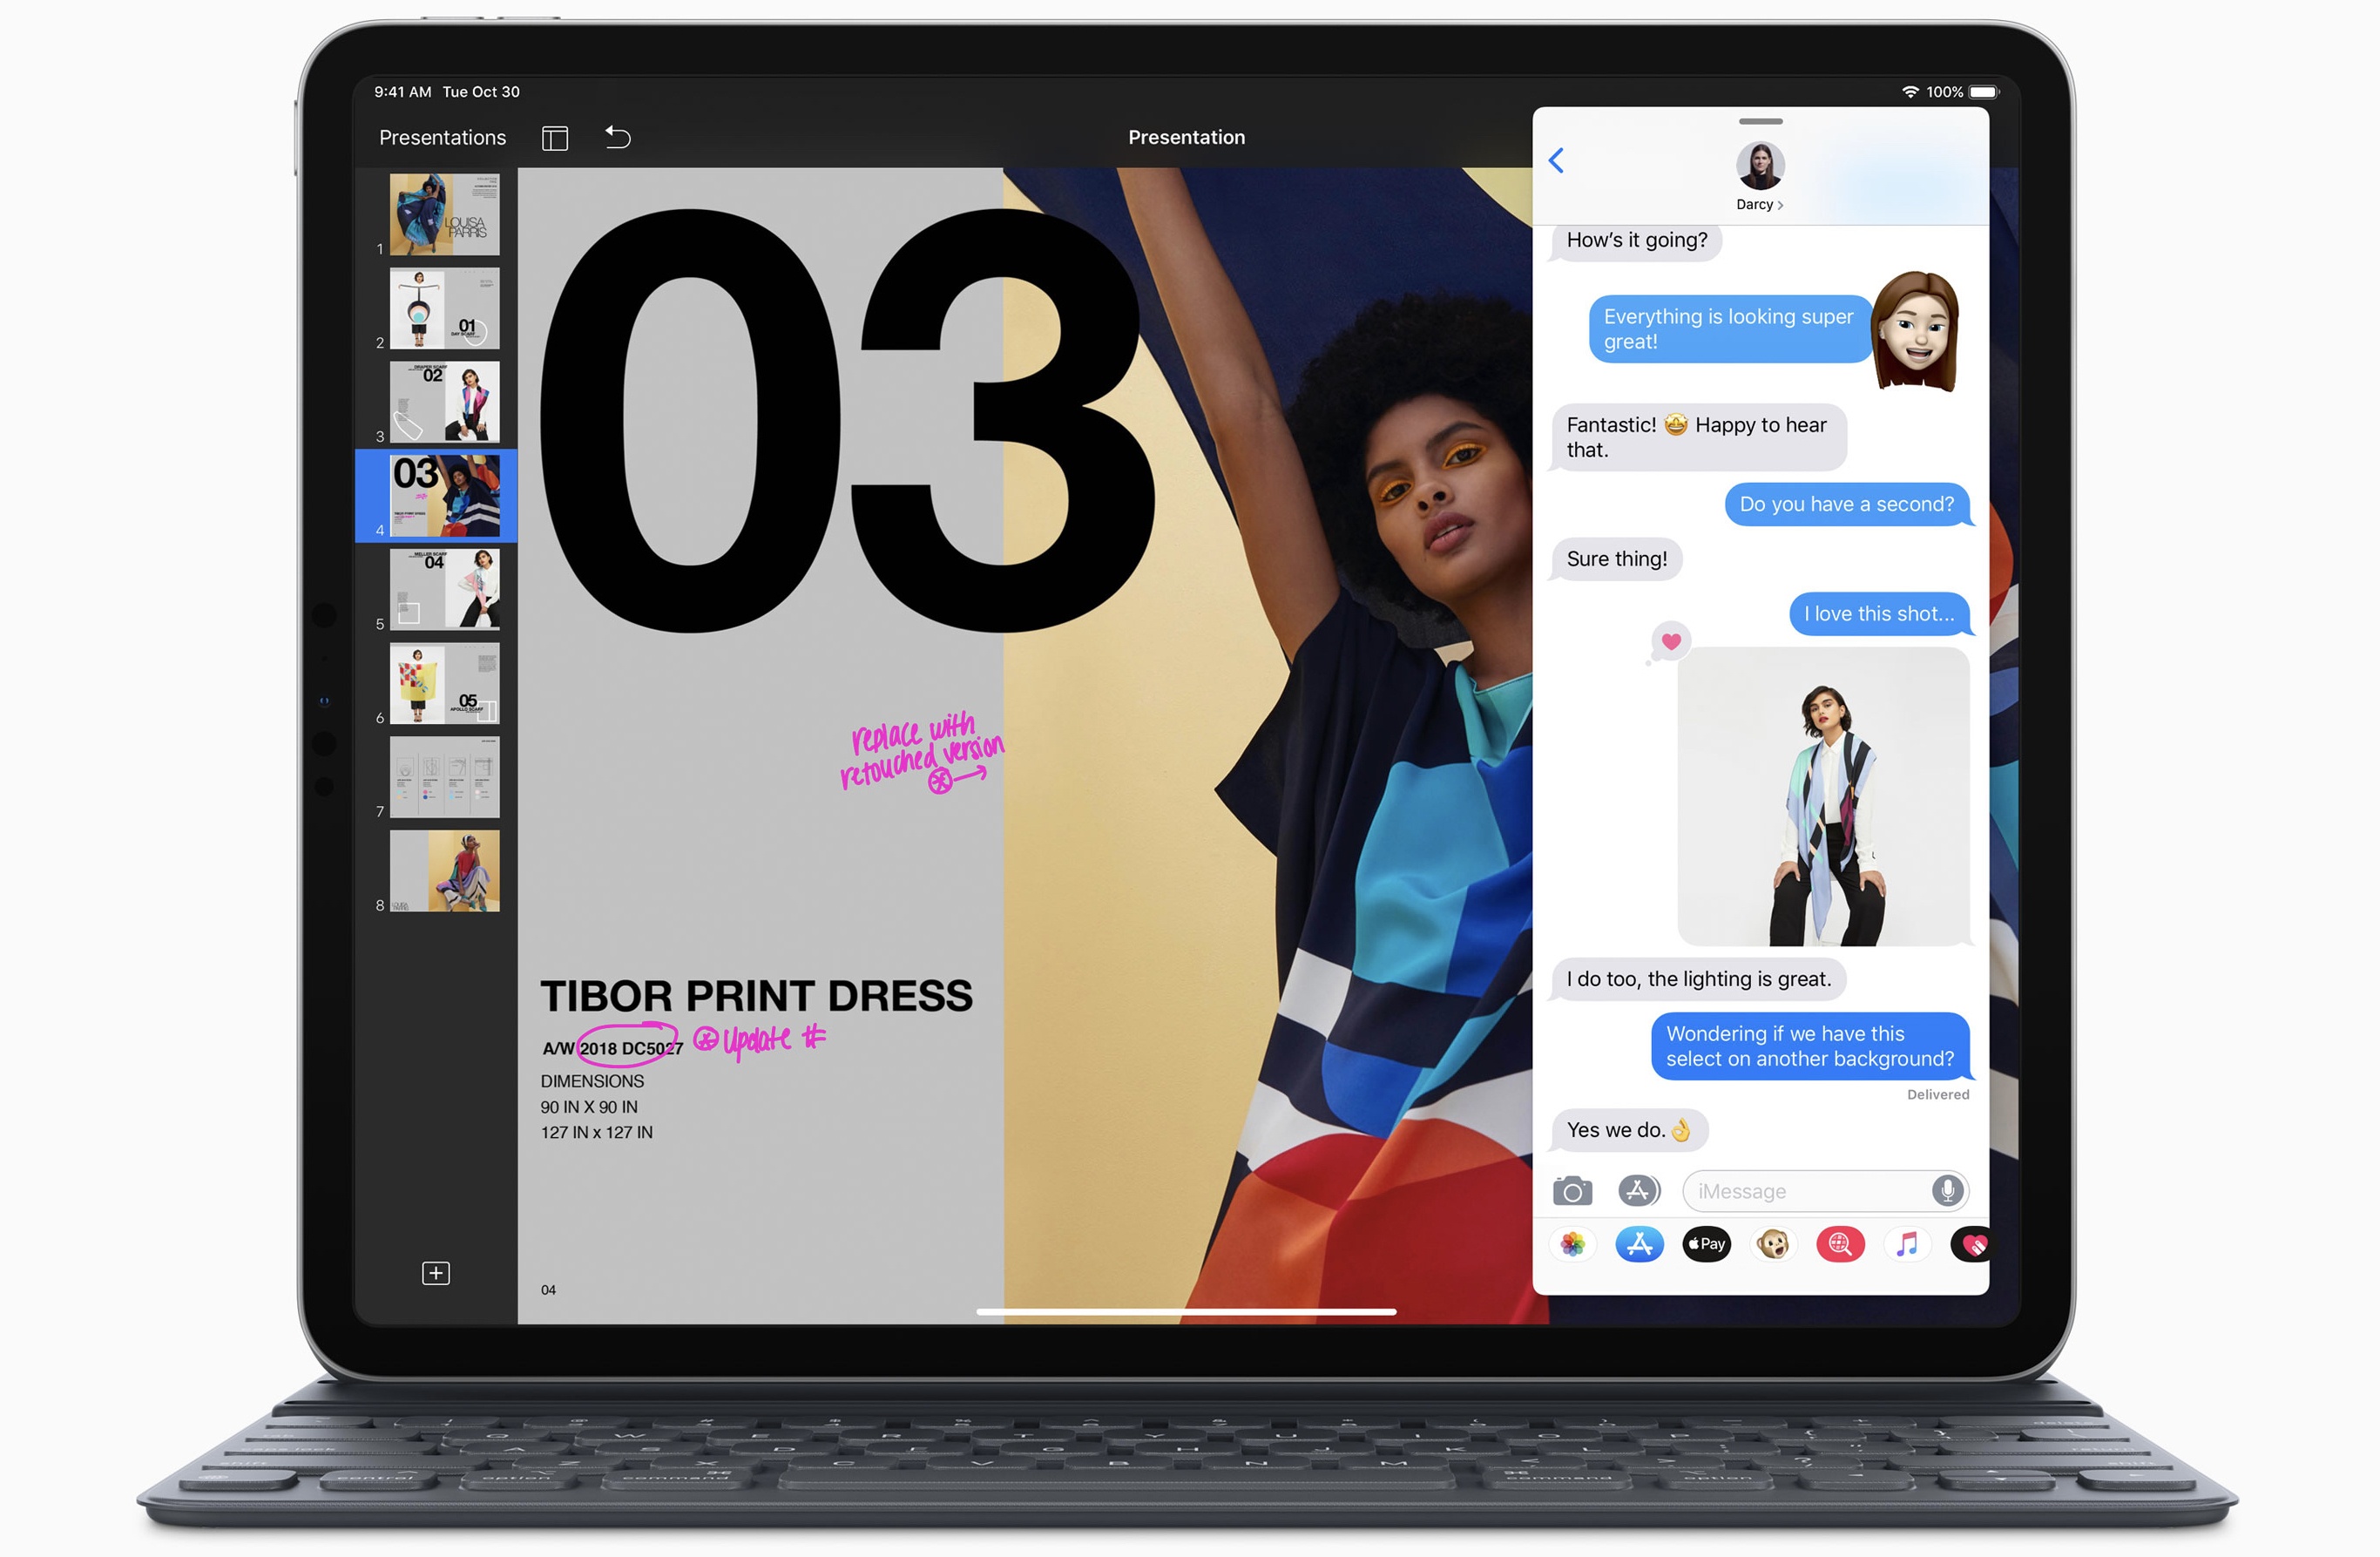
The iPad is a tremendous tool for focus, with its one-app-at-a-time philosophy a helpful aid in both work and leisure contexts. That said, there are definitely times when viewing a single app can be a drawback rather than a benefit. For such occasions there’s the iPad’s multitasking system, which enables working in two apps at once with Split View, keeping a third app close at hand via Slide Over, and watching video or making FaceTime calls using Picture in Picture.
The way you engage Picture in Picture is simple: just hit the PiP icon on compatible videos. Activating Split View or Slide Over, on the other hand, is a lot less obvious. Each mode requires physically selecting an app from your dock, then moving it elsewhere on-screen: either on top of your current app, which loads the new app in Slide Over, or to the left or right edge of your current app, which creates a side-by-side Split View. Neither of these methods are discoverable in the slightest, but once you get the hang of them, they feel more natural than you’d expect.
Slide Over and Split View are most easily engaged with apps from the dock, but you can also pull in apps for multitasking via the Search screen. A quick Command–Space keyboard shortcut activates Search, where you can start typing an app’s name, then upon seeing its icon appear, simply touch the icon and drag it away – Search will immediately be dismissed so you can place the app in Split View or Slide Over.
Files
If you’re an iPhone user you likely already have Files installed on your phone, but chances are you’ve never used it. That will need to change if you want to get the most out of your iPad. As I alluded to when covering cloud storage providers, Files is the glue that can bind them all together. While it’s possible to manage your documents from a cloud provider’s native app, in most cases you’re better off using Files because of the system benefits it offers.
Files enables accessing documents from different cloud sources all in one location, which you can’t do any other way. It’s also the only place you’ll find data for apps that depend on iCloud Drive – such as Shortcuts, iWork, Pixelmator, and iA Writer. A growing number of apps base their entire user interface on Files by adopting its document browser, so choosing Files as your sole document source will make for a more consistent experience across the OS. All things considered, since you’re almost guaranteed to need Files for some of your document management, it makes sense to just go all-in on the app.
Embrace Change in How Things Work
One of the biggest mistakes you can make when using a new computer is assuming everything will work like your old computer. Just as PC-to-Mac switchers face their own pain points – like using Command for keyboard shortcuts rather than Control – so are there challenging transition costs when moving to the iPad.
Being a master of the iPad’s dock, multitasking system, and Files app will move you a long way toward getting the most out of your device. Nonetheless, additional frustrations will surely pop up that require adapting the way you work. For example, moving data between different apps is a common computing function, but you may need to change the way you do that on the iPad. There are a host of options at your disposal – drag and drop, the share sheet, apps’ export functions, the clipboard, and more – but you’ll need to discover through trial and error the best tool for each use. Additionally, certain tasks might be overly repetitive on iOS at first, but you’ll discover that in many cases those make prime candidates for shortcuts. It’s a learning process, and the more you lean into that, the quicker you’ll feel at home on the iPad.
Don’t Look Back
In the early days of your iPad use, you will undoubtedly be tempted to run back to a Mac for certain tasks. Don’t do it. Part of embracing change on the iPad is resolving to stick with the iPad through its learning curve. When you hit a wall and don’t know what to do, rather than jumping quickly to the machine that you’re familiar with, stay on iPad and find the solution. Those early speed bumps will make way for a much smoother road in the future, but only if you push through. If you abandon the iPad every time a task seems difficult, you’ll simply continue encountering those same frustrations over and over again. But if you stick it out and discover how to accomplish those tasks with your iPad, you’ll be investing in an easier future for yourself.
The iPad isn’t for everyone. Depending on your needs, it may not be the best tool for you. But there’s no denying that it can be a successful Mac alternative for some – myself included.
An iPad Pro has been my primary computer for over three years, and the device has continually grown more capable during that time. There are still some things a Mac does better, but the iPad’s trade offs are worth it for me. The more time you spend with the device, the more you may learn its weaknesses, but the same is true of its strengths.
As with any computer transition, moving to the iPad isn’t cost-free; it requires a healthy dose of time, and the patient commitment to power through pain points. If you’re willing to think different about how a computer should work, though, you may just find your new favorite one.


