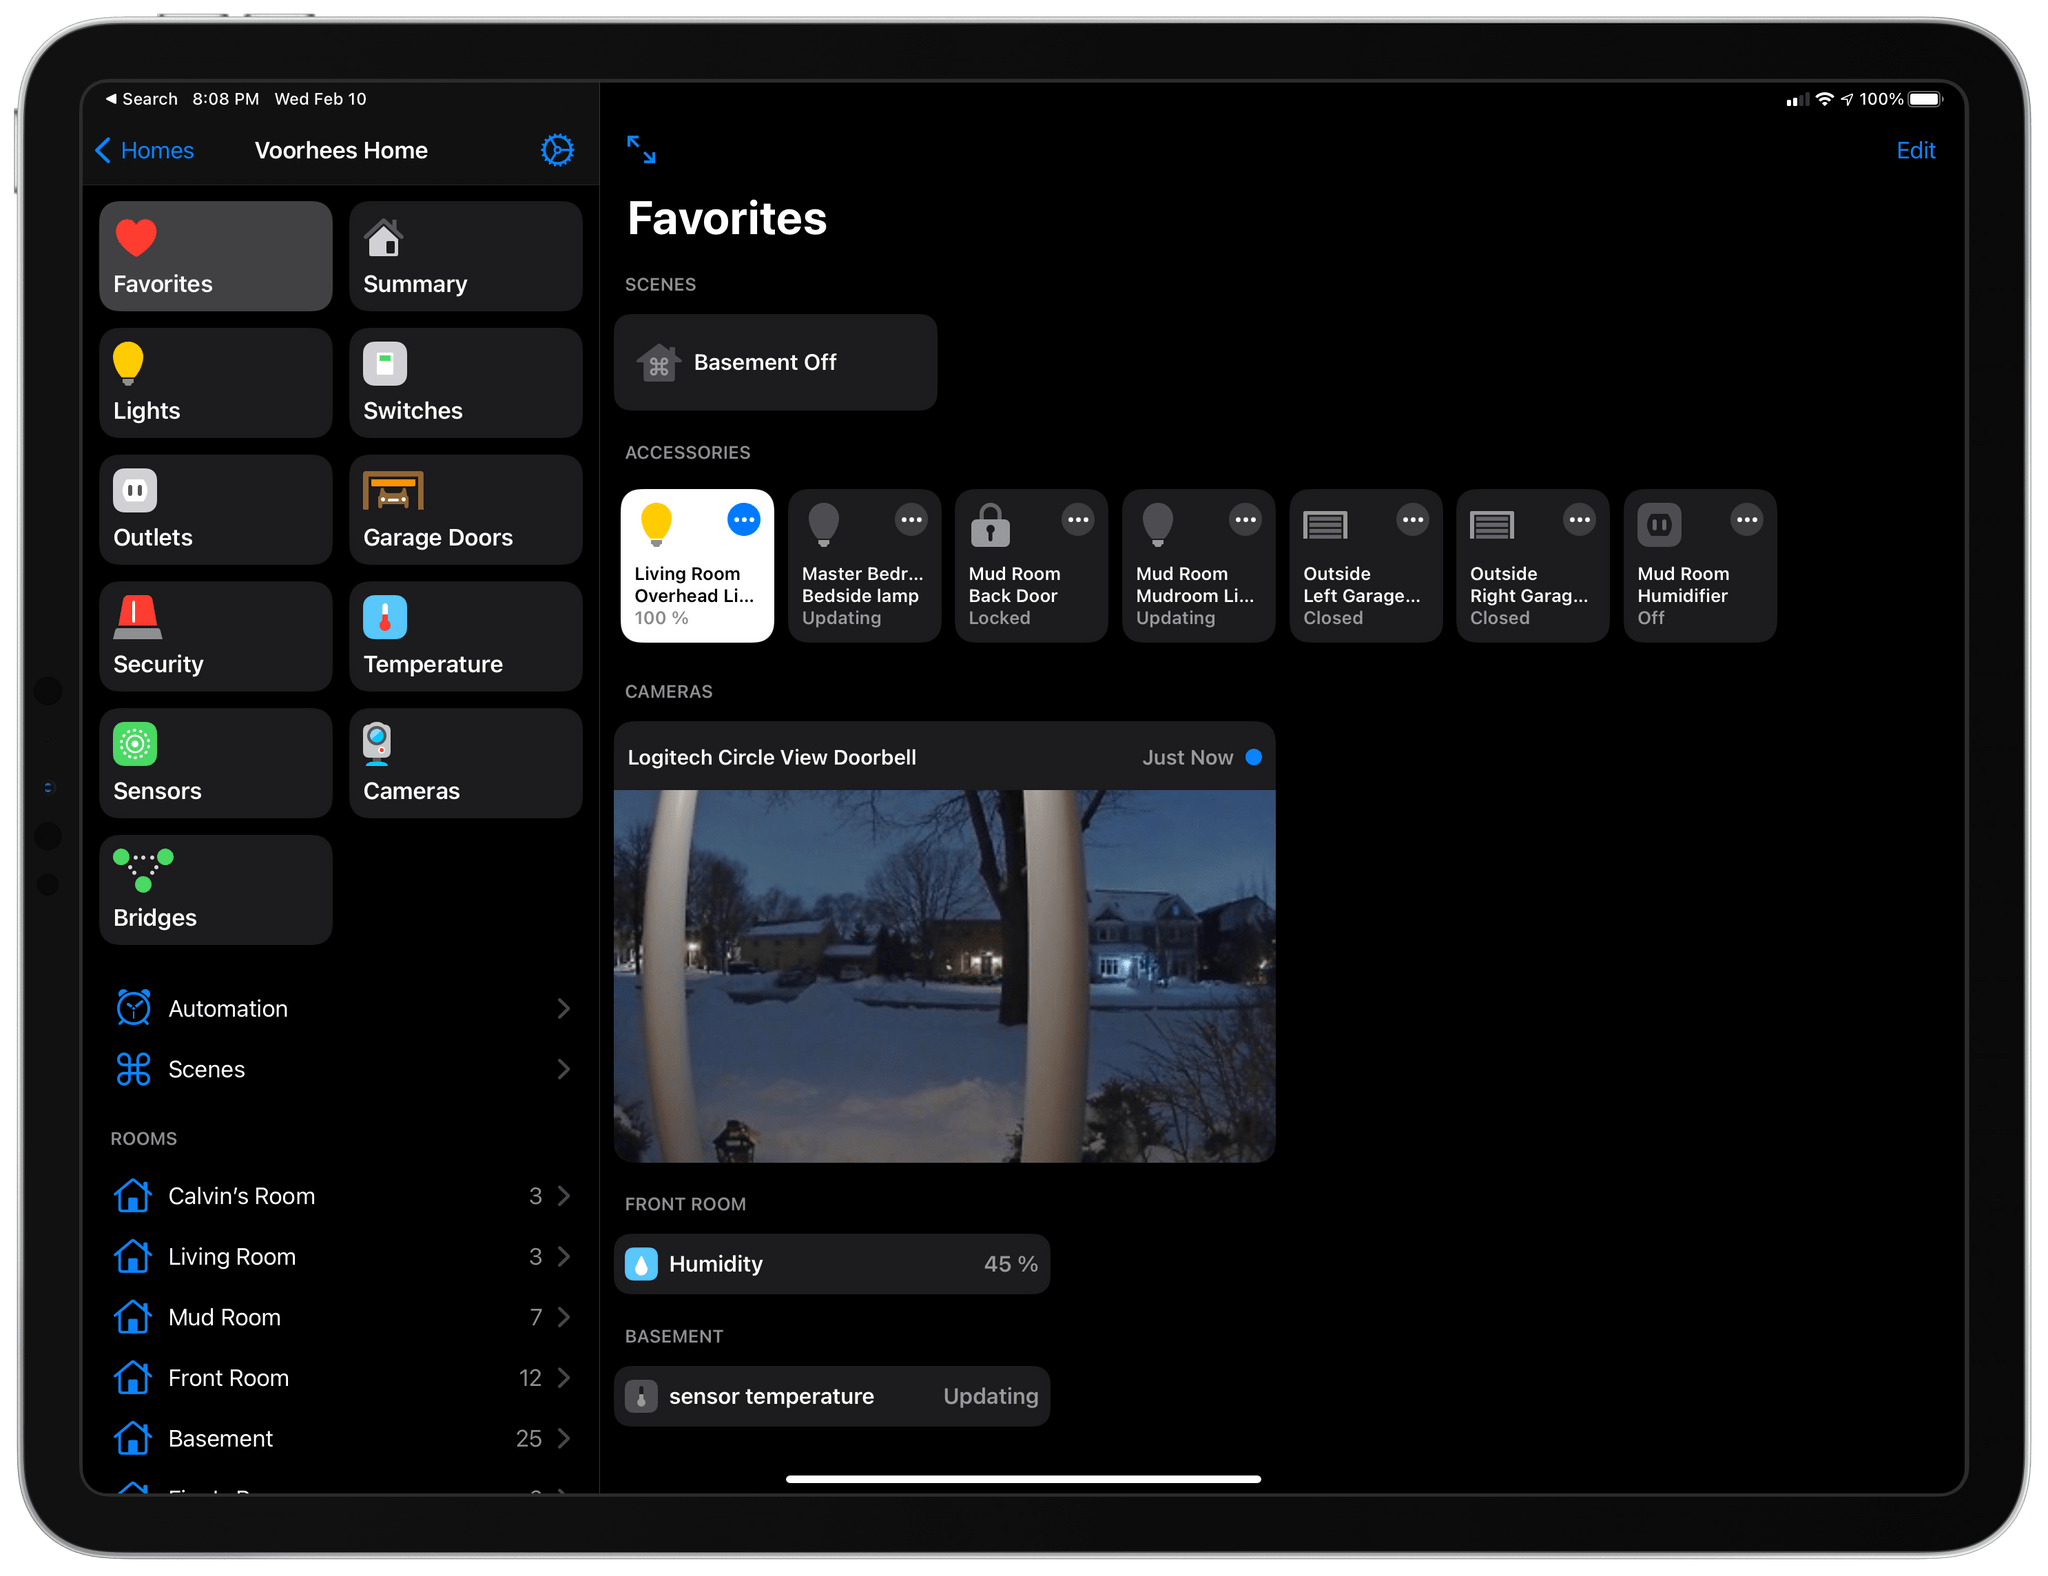
With the release of Home+ 5 by Matthias Hochgatterer, there are more reasons for HomeKit power-users to try the app than ever before. One of the app’s strengths has always been creating automations based on device attributes that aren’t available in Apple’s Home app. That’s why I was already using Home+. However, now, the app has added a new design, folders to organize automations, Smart Groups for accessories, a Favorites view, and backups, which make the app more compelling than ever.
Posts tagged with "HomeKit"
Power-User HomeKit App Home+ 5 Adds Automation Folders, Backups, and a Fresh Design
CES Rundown: Highlights of This Year’s Most Intriguing (and Bizarre) Announcements
My coverage of CES has always been virtual. This year the show itself is virtual too, which left me wondering whether there would be much to cover. Although there are fewer vendors participating than in the past, the event continues to provide a steady stream of news about new products planned for the coming months.
Some of what is announced each year will never see the light of day, and other gadgets will never look as good as they did in the hands of expert marketers. Still, CES always provides a useful snapshot of tech industry hardware trends, a handful of unexpected gems, like last year’s Eve Cam that I reviewed over the summer and Samsung’s T7 external SSD, which ended up powering my Big Sur beta testing, plus a healthy dose of the truly strange.
After pouring over hundreds of headlines and press releases, I’ve compiled a roundup of some of this week’s most intriguing announcements. Feel free to skip around to the categories that you find most interesting using the table of contents below.
Two Months with the HomePod mini: More Than Meets the Eye
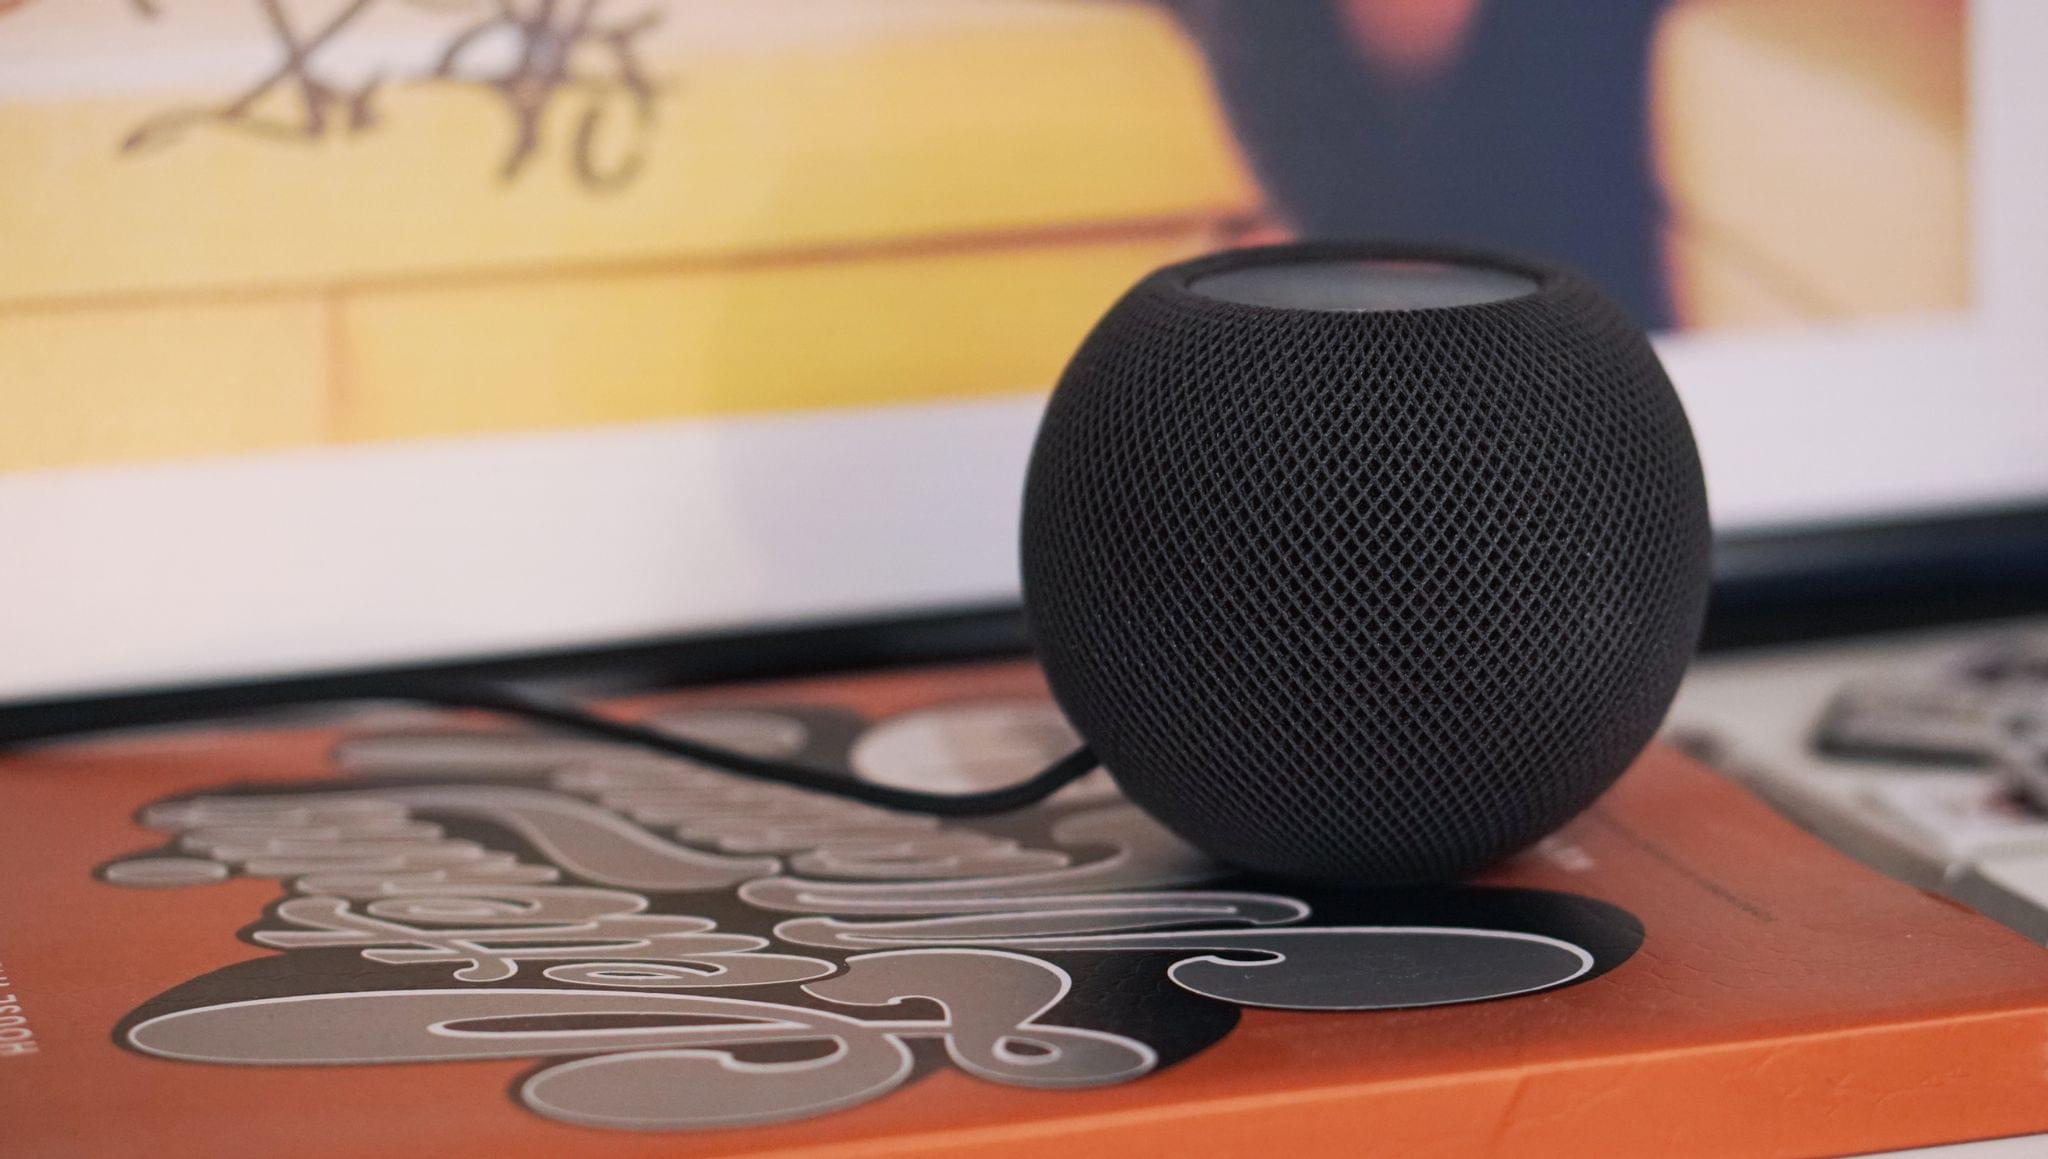
As a smaller, affordable smart speaker tightly integrated with Apple services, the HomePod mini is a compelling product for many people. The mini is little enough to work just about anywhere in most homes. At $99, the device’s price tag also fits more budgets and makes multiple HomePod minis a far more realistic option than multiple original HomePods ever were. Of course, the mini comes with tradeoffs compared to its larger, more expensive sibling, which I’ll get into, but for many people, it’s a terrific alternative.
As compelling as the HomePod mini is as a speaker, though, its potential as a smart device reaches beyond the original HomePod in ways that have far greater implications for Apple’s place in customers’ homes. Part of the story is the mini’s ability to serve as a border router for Thread-compatible smart devices, forming a low-power, mesh network that can operate independently of your Wi-Fi setup. The other part of the story is the way the mini extends Siri throughout your home. Apple’s smart assistant still has room to improve. However, the promise of a ubiquitous audio interface to Apple services, apps, HomeKit devices, and the Internet is more compelling than ever as Siri-enabled devices proliferate.
For the past couple of months, I’ve been testing a pair of HomePod minis that Apple sent me. That pair joined my original HomePods and another pair of minis that I added to the setup to get a sense of what having a whole-home audio system with Siri always within earshot would be like. The result is a more flexible system that outshines its individual parts and should improve over time as the HomeKit device market evolves.
Scenecuts Adds Effortless Access to HomeKit Scenes in Your Mac’s Menu Bar
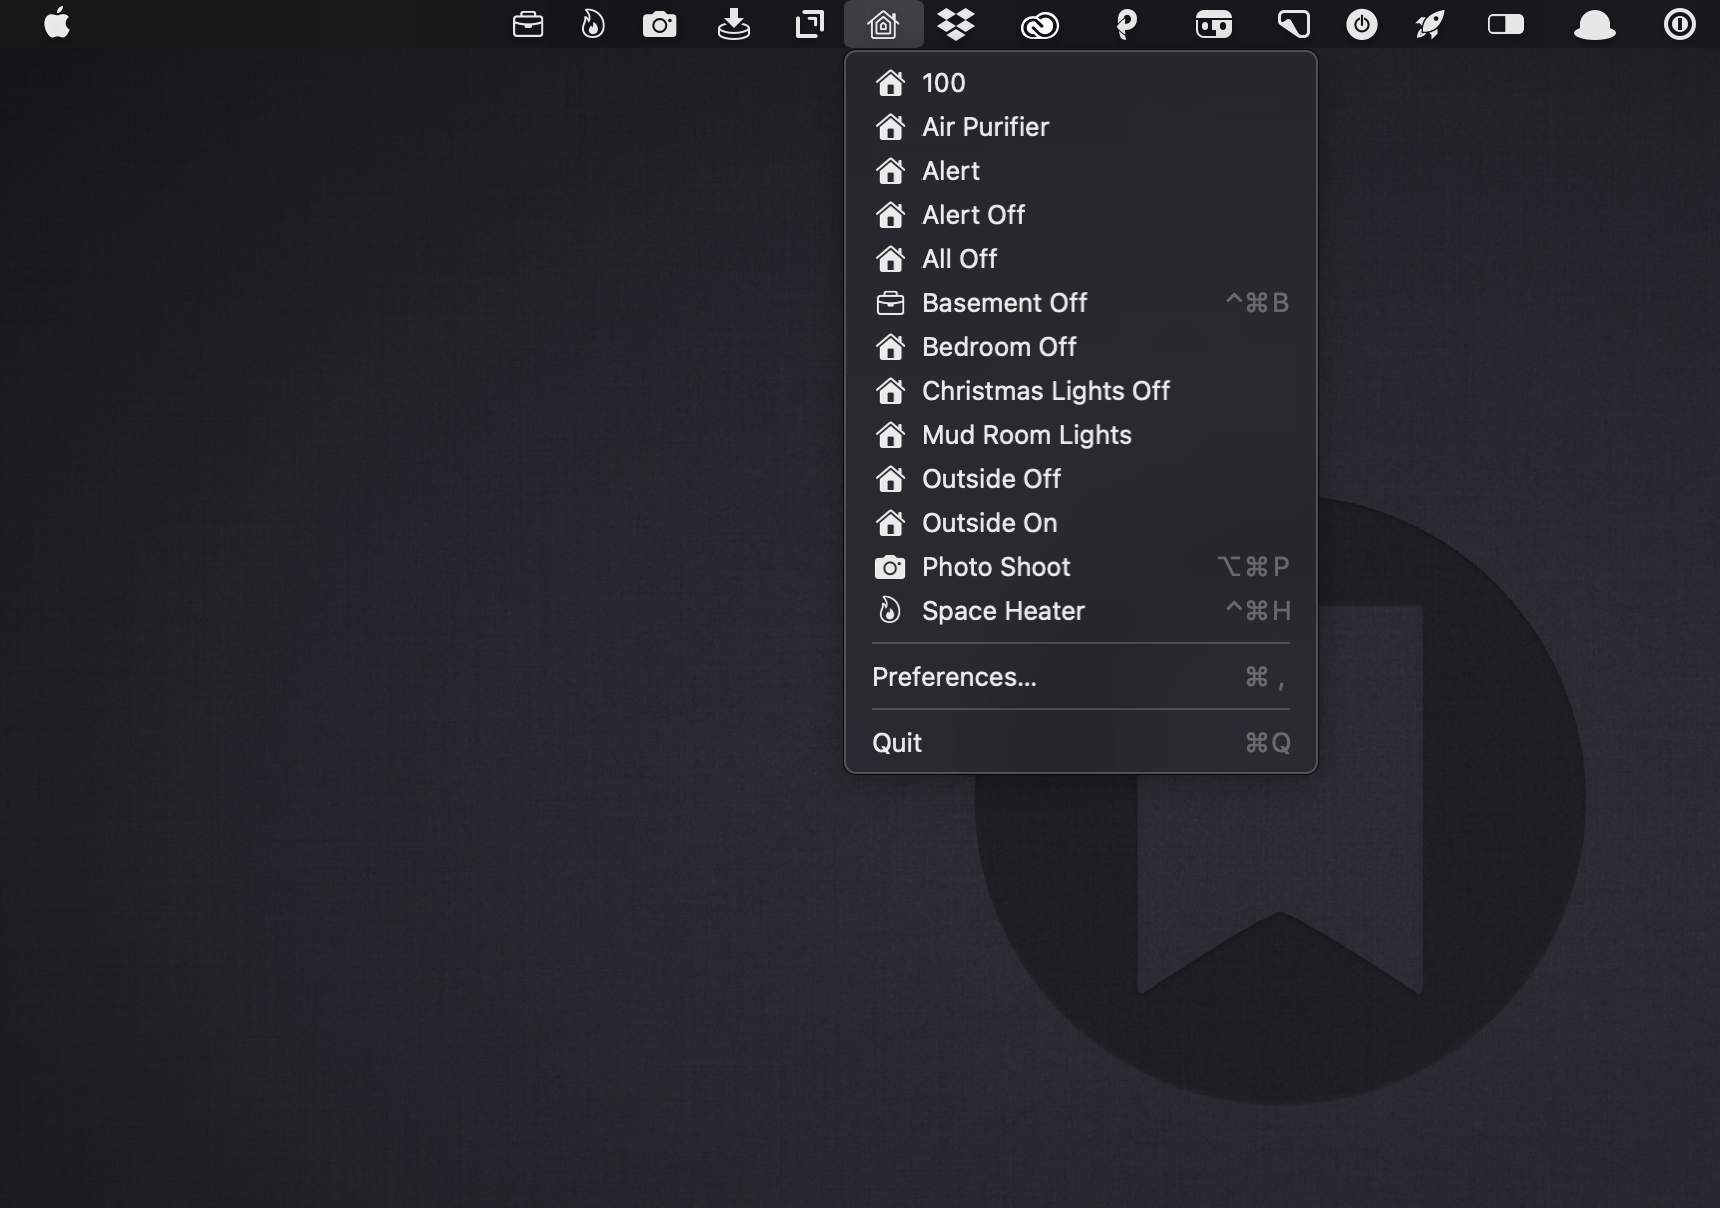
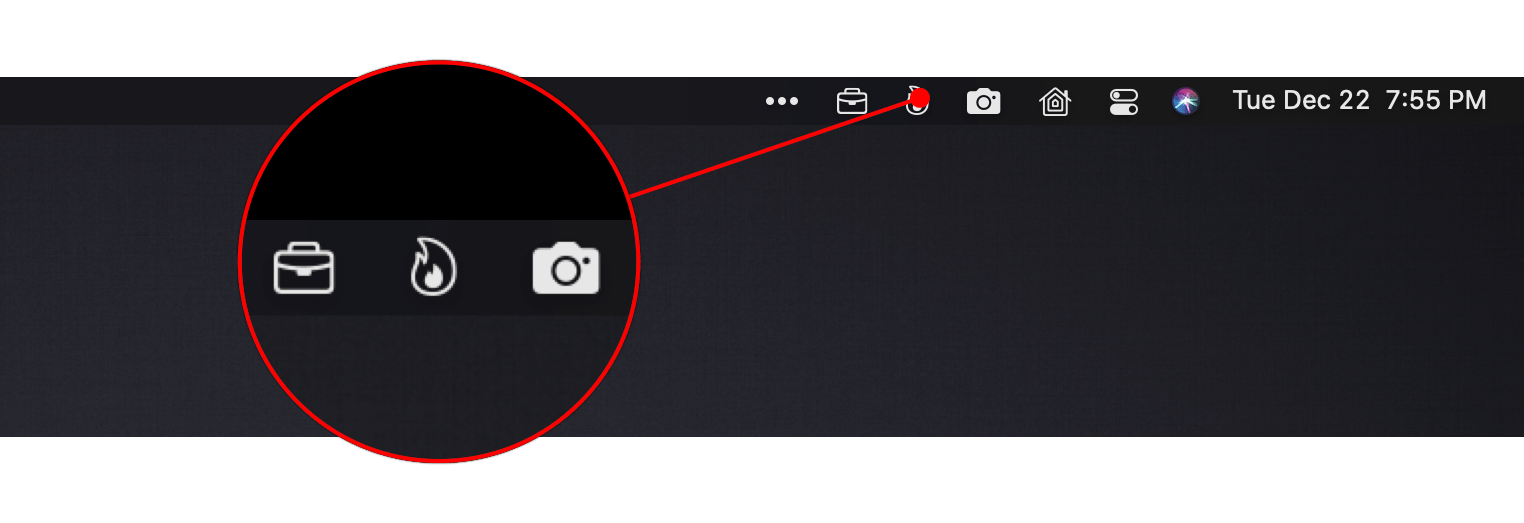
Scenecuts is a new utility app for controlling HomeKit devices from your Mac’s menu bar. The free, open source app, by Seattle developer Nick Hayward can control HomeKit scenes from the menu bar app’s drop-down menu, customizable per-scene menu bar icons, or the keyboard. It’s a terrific trio of options that makes controlling your smart devices immediate by freeing them from the confines of the Home app.
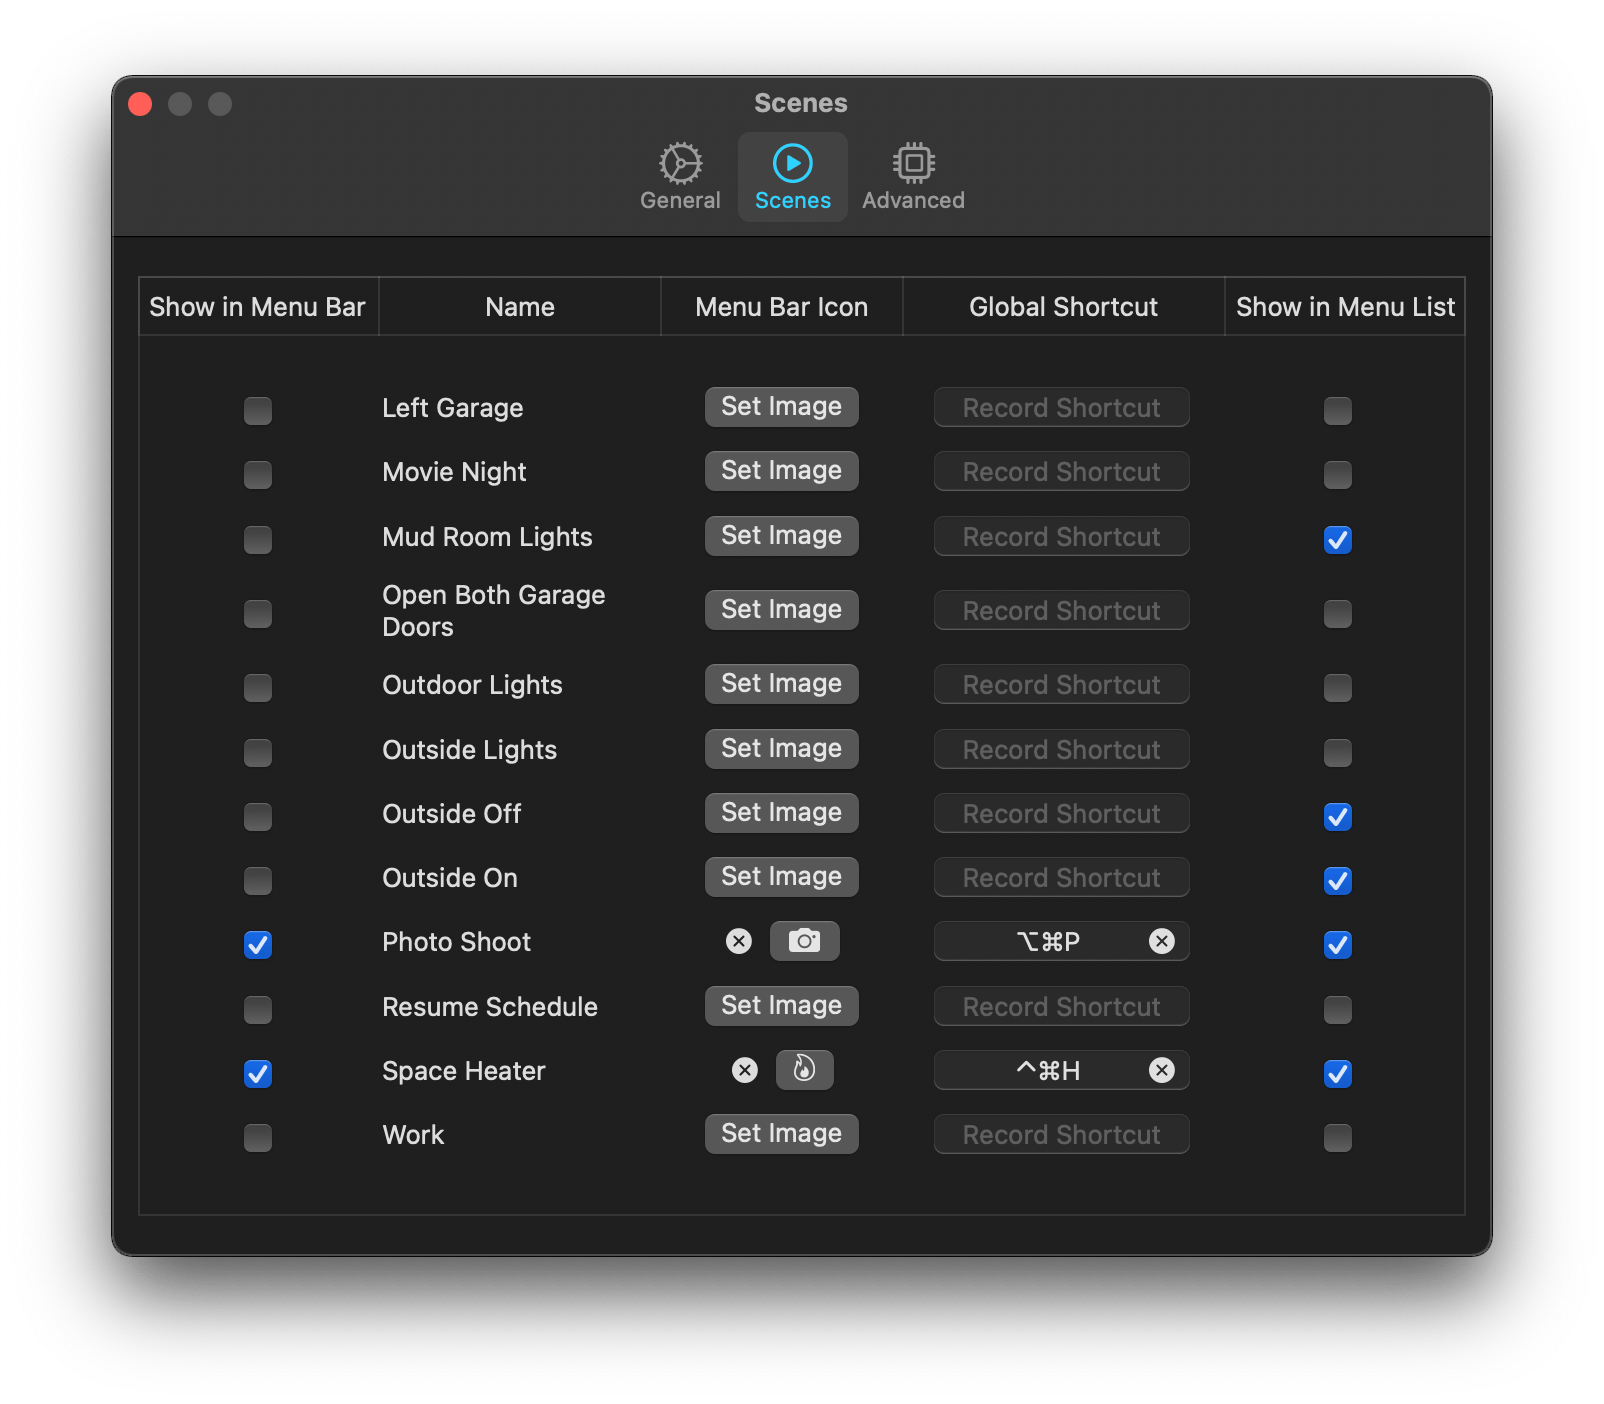
In its default configuration, Scenecuts adds its icon to your menu bar, and clicking on it reveals a drop-down menu of all the HomeKit scenes you’ve created in Apple’s Home app for controlling your smart devices. However, the app’s real power lies in its preferences, where you can edit Scenecuts’ drop-down menu, add individual scenes to your menu bar, and assign them to global keyboard shortcuts.
The HomeKit scenes you want to control with a particular Mac may vary. For instance, you may only care about the lights in the room where your desktop Mac sits, but want to control any of the lights in your home with a laptop that you carry with you. Scenecuts recognizes this by providing checkboxes next to every scene in its preferences. By default, all of your scenes are available in Scenecuts’ drop-down menu, but each of them can be turned off by unchecking its checkbox, which is a nice way to tidy up a long list of scenes. I turned off a bunch of scenes to make it easier to quickly locate the ones I use most often.
Another series of checkboxes, which are unchecked by default, controls whether scenes are shown as individual menu bar items. The feature is a lot like the ability to drag items out of Control Center to the menu bar. You can also add an icon for any of the scenes you add to the menu bar using Apple’s SF Symbols. I immediately added separate menu bar items for the space heater in my office and the settings for my overhead lights that I use for product photography because those are two scenes I find myself wanting to trigger from my desk regularly. The use of SF Symbols is an excellent way to pick something that is meaningful and memorable for triggering scenes.
The third way to use Scenecuts to trigger scenes is by using global keyboard shortcuts. Keyboard shortcuts are optional but extremely handy when you’re working with the keyboard instead of a trackpad or mouse. I appreciate, too, that Scenecuts displays the keyboard shortcuts you’ve assigned in its drop-down menu. The visibility provides a little reminder that has helped me memorize the shortcuts faster than I might otherwise have.
I’ve leveled my fair share of criticisms against the Home app, especially on the iPhone, but it’s grown on me when using my Mac. There’s more screen real estate than on the iPhone, which means its tile UI is less of an issue. Still, for quickly toggling my space heater or switching off a set of lights, opening a full-blown Mac app is overkill. By surfacing individual scenes in the menu bar, Scenecuts is the perfect complement to Apple’s Home app.
Scenecuts also highlights the anemic state of Control Center on the Mac. As I explained in my Big Sur review, I like the concept of Control Center on the Mac a lot, but it’s disappointing that so much of the functionality found in iOS is unavailable. Until Apple expands Control Center to incorporate scene support, Scenecuts is an excellent solution.
Level Touch: A HomeKit-Enabled Smart Lock That Everyone in Your Household Can Appreciate
I’m fairly conservative about the HomeKit devices I add to my home these days. Most of my early HomeKit experiments were limited to my studio, where the impact on the rest of my family was minimal. That approach has worked well for many accessories, but it’s not possible to do with everything.
My studio doesn’t have an exterior door, so although I’ve been intrigued by smart locks for what feels like forever, I’ve been hesitant to test them. Security is clearly a question, but so is convenience. I didn’t want to subject my family to a HomeKit experiment that had the potential to cause headaches for them as they were coming or going throughout the day. Smart locks need to be simple, easy, and reliable while also offering real benefits above and beyond the tried and true method of locking a door.
As a result of these concerns, I sat on the HomeKit lock sidelines for a long time. So, when the makers of the Level Touch smart lock contacted me and offered to send me one to try, I thought long and hard about it. Ultimately, though, my curiosity got the best of me.
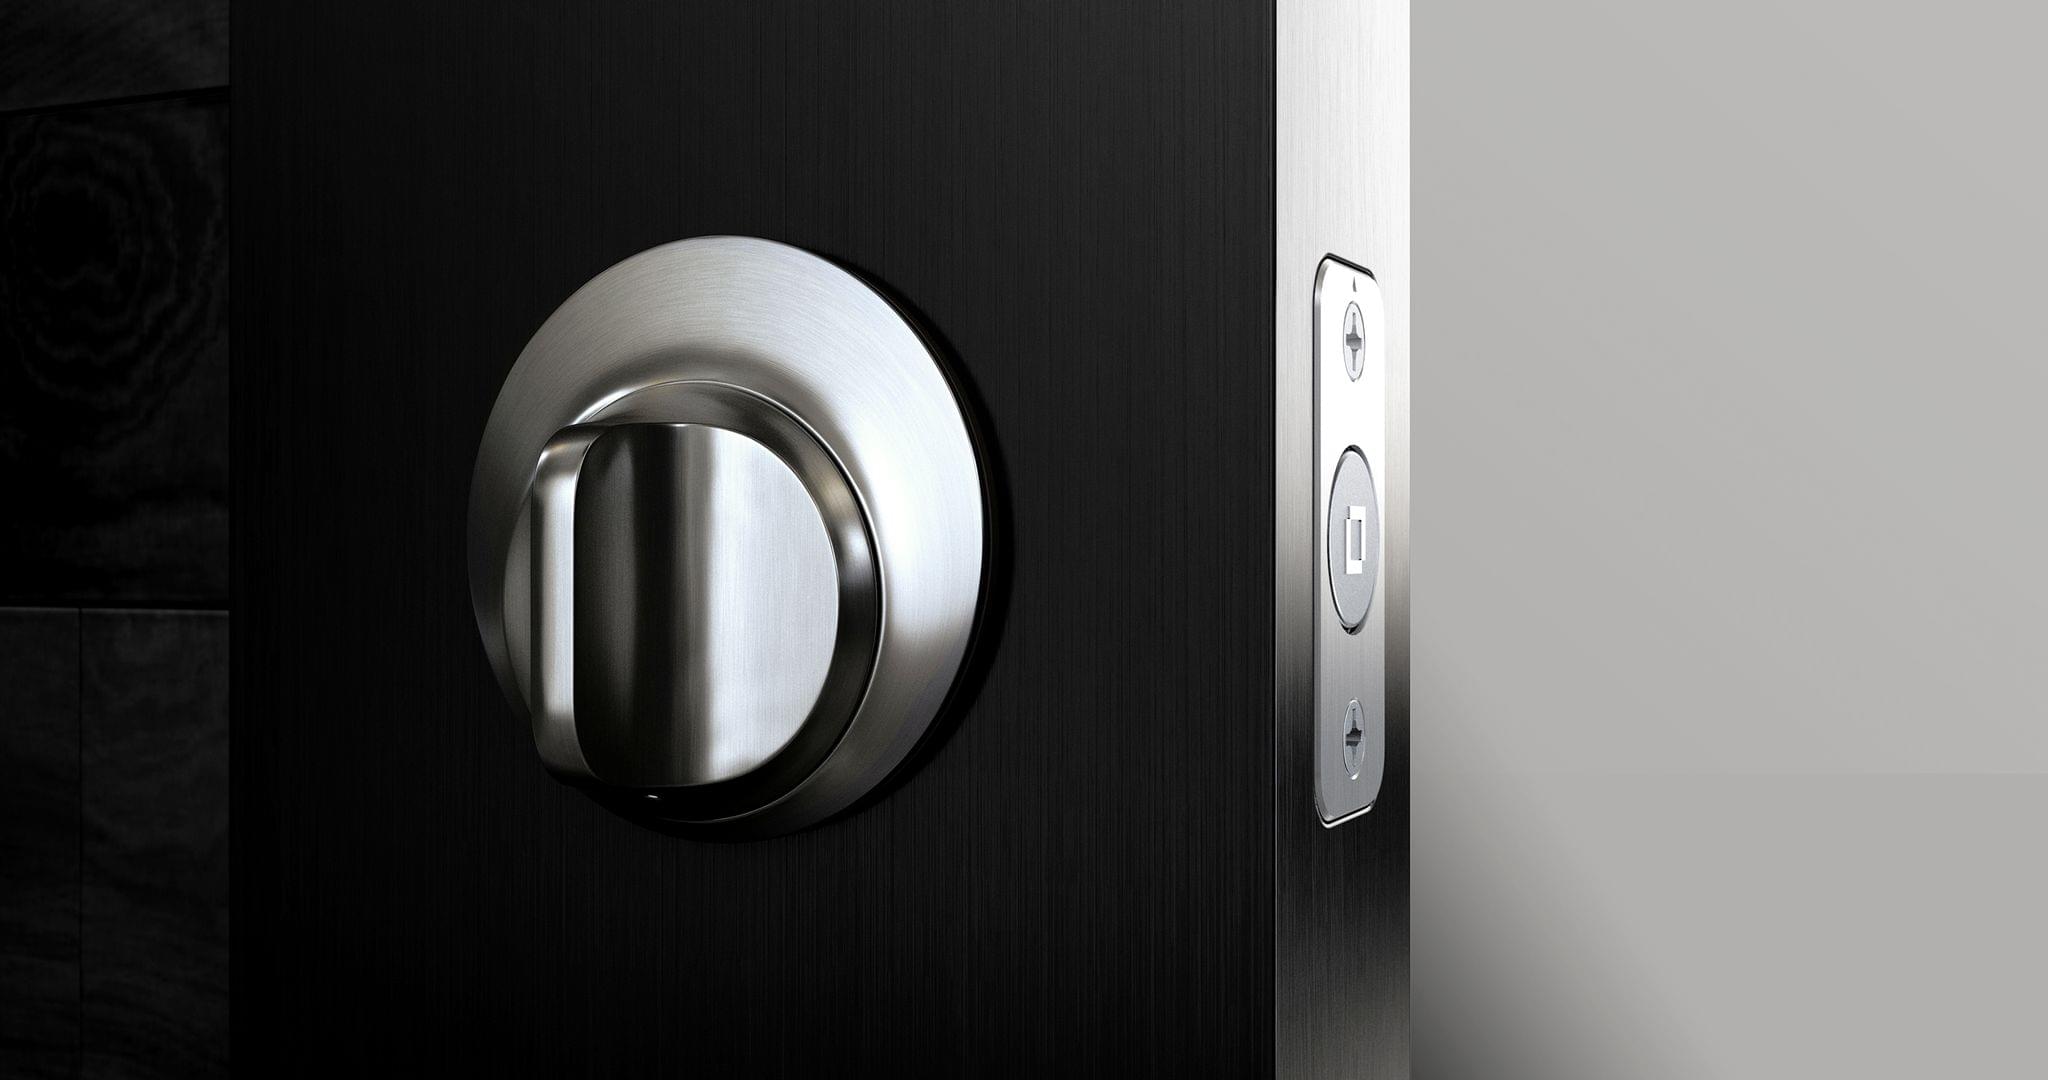
The first thing that caught my eye was what the Level Touch isn’t. The lock isn’t one of those big bulky smart locks that you may have seen before. Instead, the Level Touch is ordinary in the sense that it looks like a normal lock on the outside. That’s because the smarts are cleverly hidden inside the lock mechanism itself.
So, a few weekends ago, I took the plunge and installed the Level Touch on an exterior door that gets a lot of use daily. Since then, I’ve been impressed with not only what the Level Touch enables as a HomeKit-enabled device, but also how well it performs as a plain old standard lock. It’s a combination that too few smart home devices accomplish, putting it in a pretty exclusive club.
Switching Your Default HomePod Music Service to Pandora
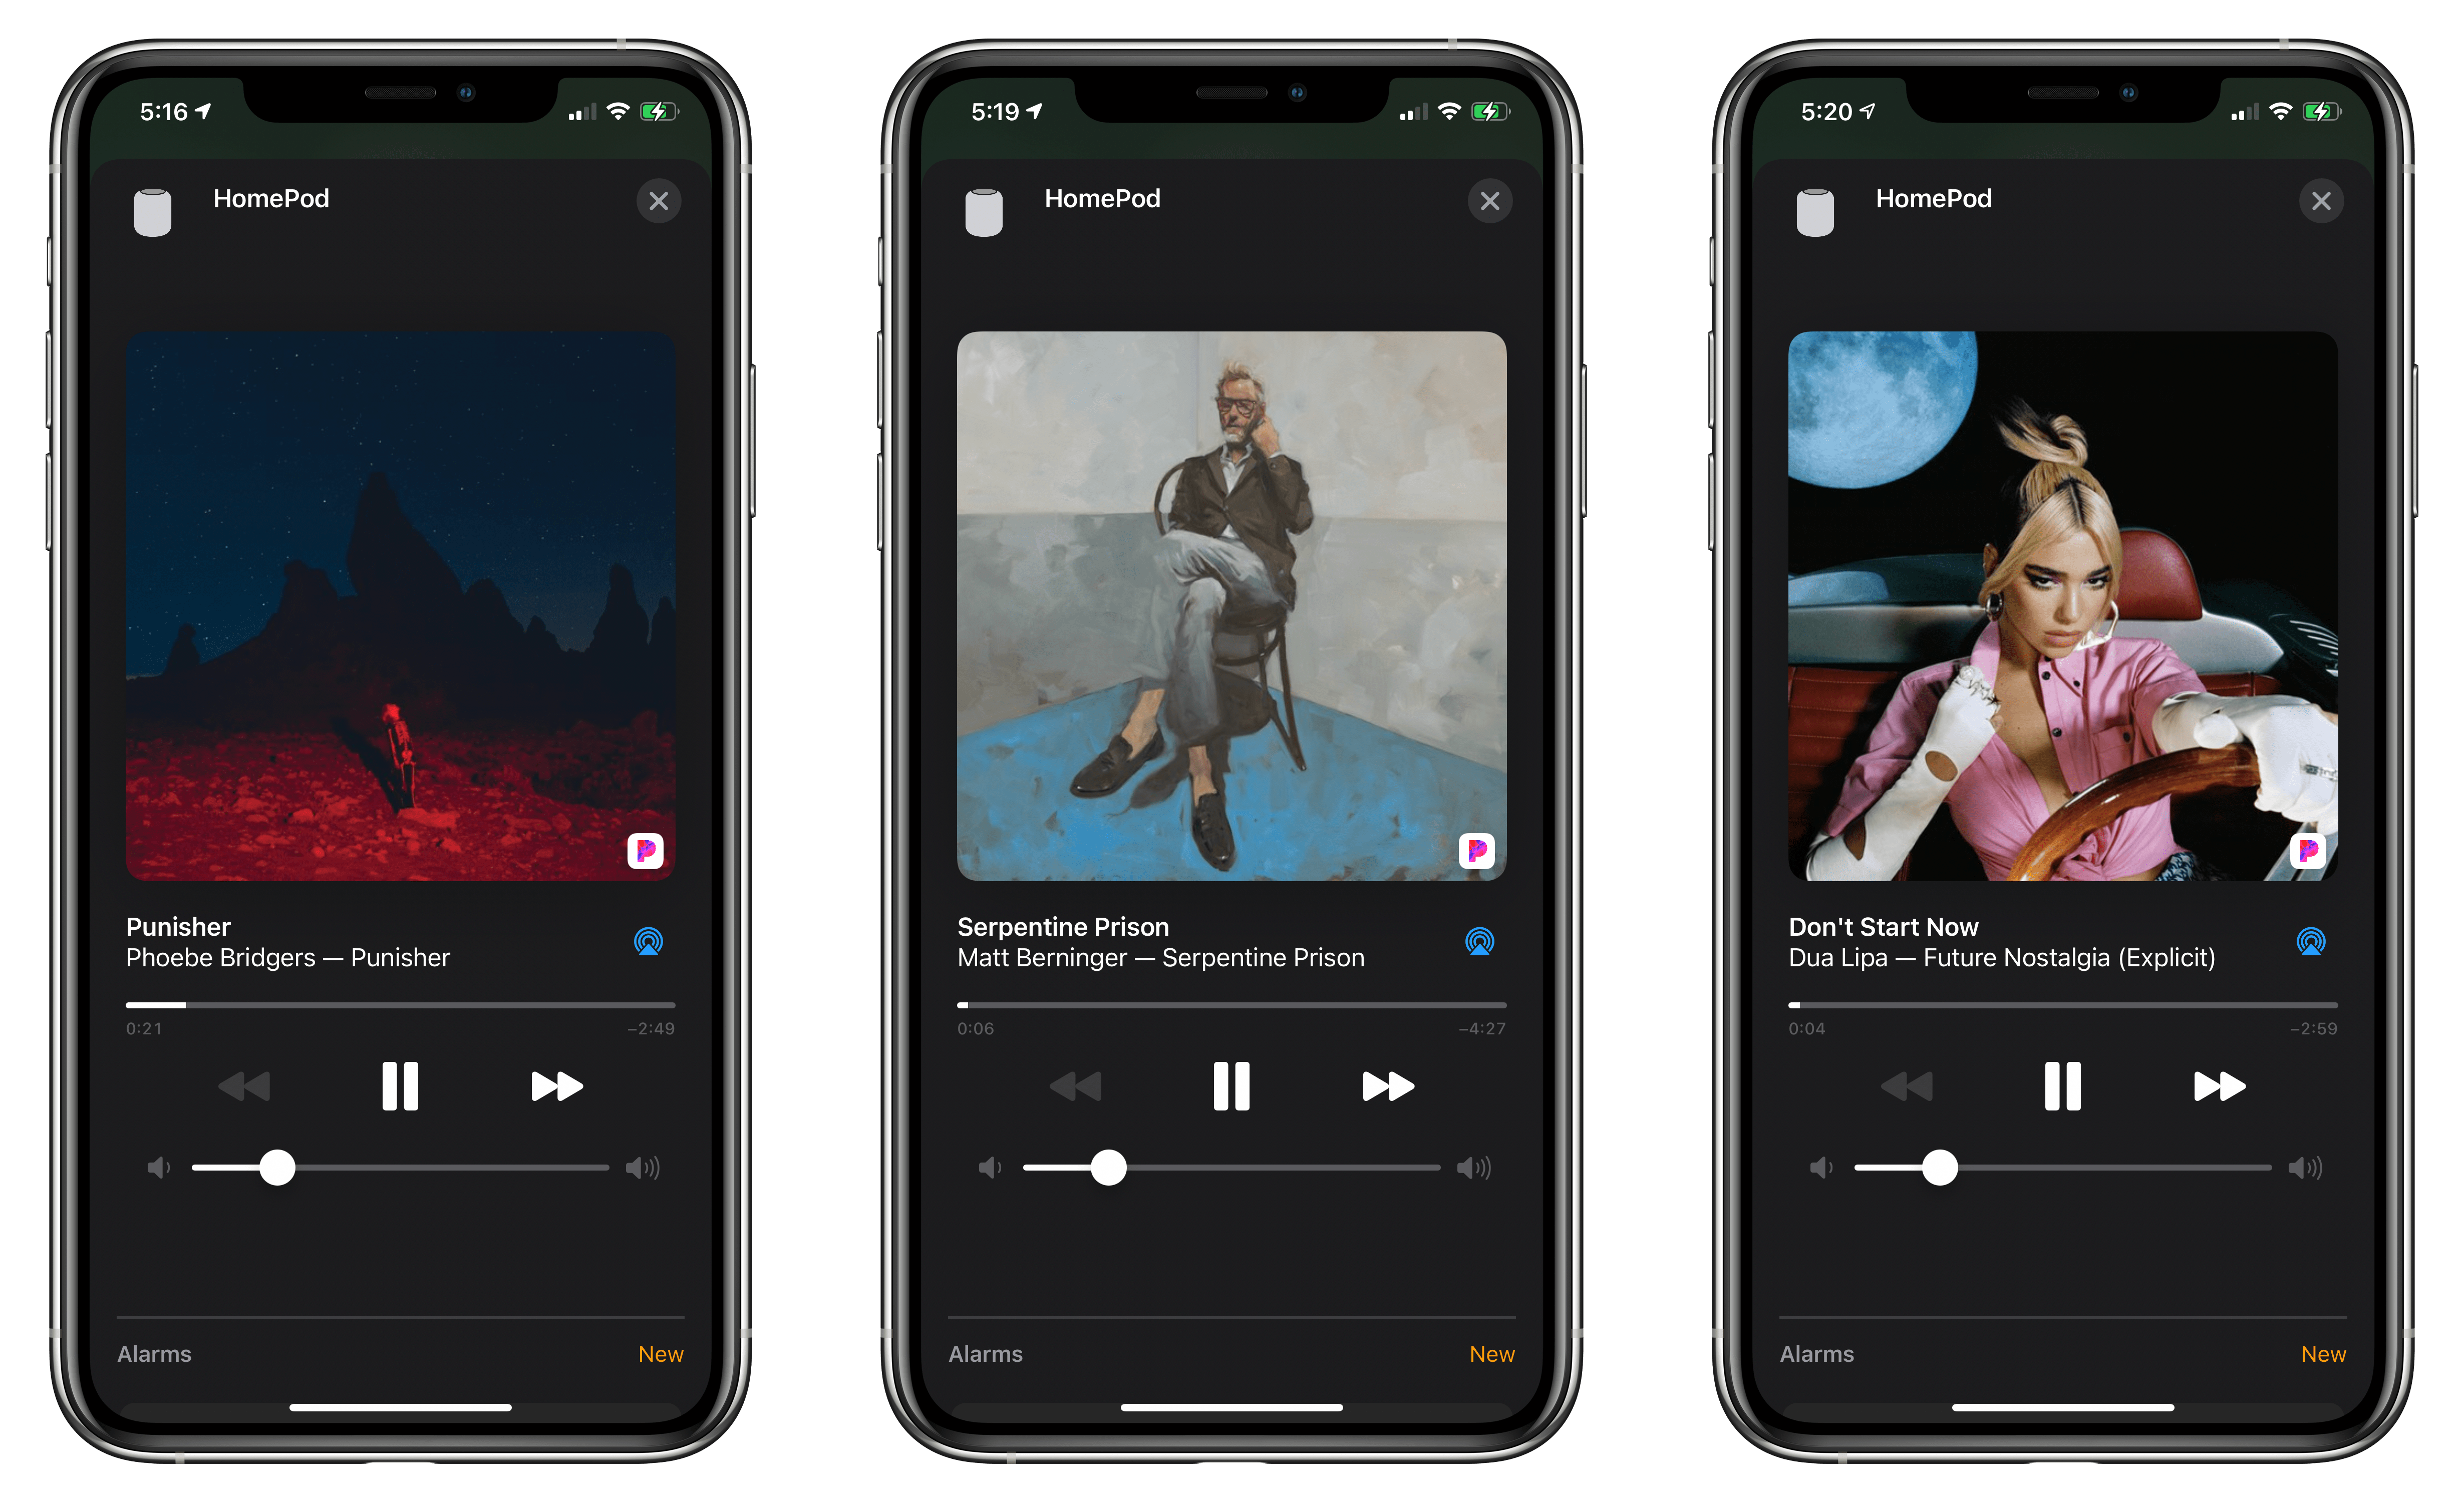
Yesterday, Pandora updated its iOS app, allowing it to serve as your default music streaming service on the HomePod. The setup isn’t entirely obvious, but it’s not difficult either, and it’s available in iOS and iPadOS 14.1 and 14.2. Here’s how it works.
Apple first revealed that the HomePod would support third-party music streaming services at WWDC without any explanation of how that would work. However, with the release of Pandora’s update, we now know that the process involves a combination of the third-party app’s settings and Apple’s Home app.
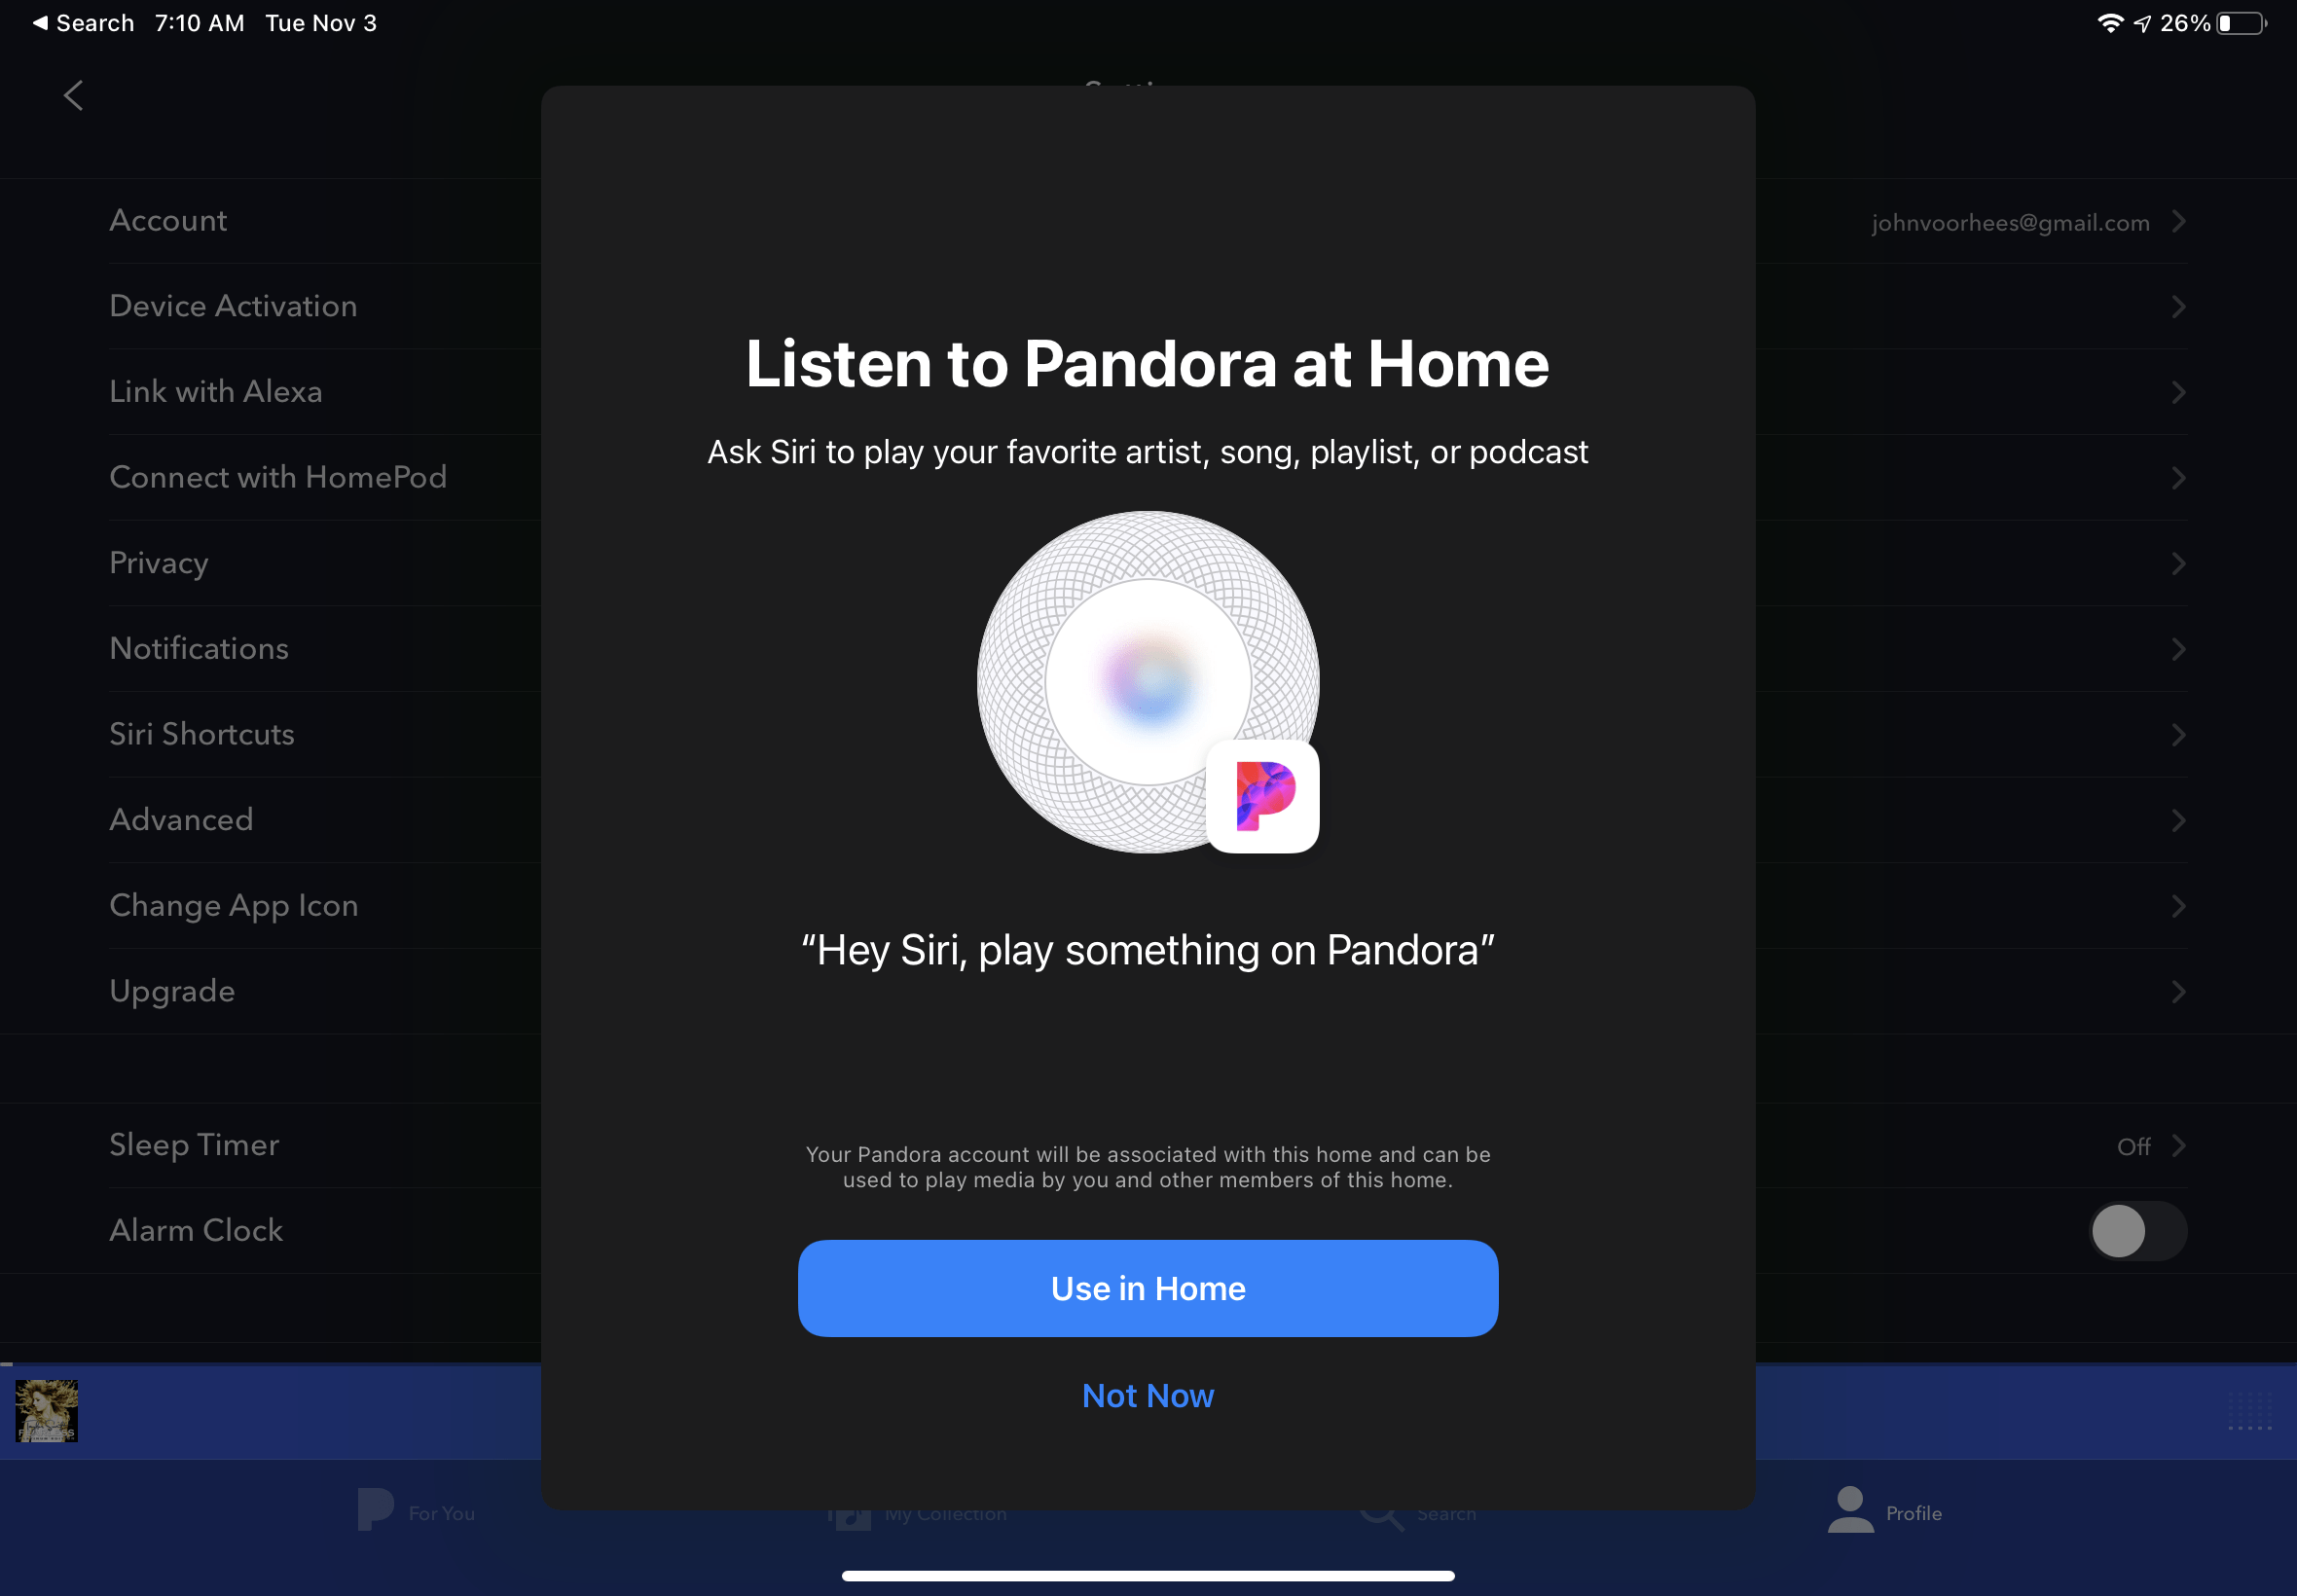
Other third-party music services are sure to follow Pandora’s lead, so even if you’re not a Pandora user, it’s instructive to see how it has implemented HomePod integration. In the Pandora app, tap on the Profile tab, select the gear icon in the top, righthand corner of the screen, and then tap ‘Connect to HomePod’ and then ‘Use in Home’ when prompted. Once you complete these steps, you can ask Siri to play music ‘on Pandora’ from your HomePod.
If you want to take things a step further, you can make Pandora your default music service in the Home app. Open Home, and go to Home Settings, which you can reach by tapping the house button at the top of your iPhone or iPad’s screen. Next, tap your profile picture. Here, you’ll see your personal Home settings. If you set things up correctly in Pandora, it will be listed under the Media section of your Home Settings. Tapping on the Pandora entry allows you to toggle Update Listening History on or off and remove Pandora from the Home app. If you have multiple people assigned to your home, only the primary user can manage music streaming services.
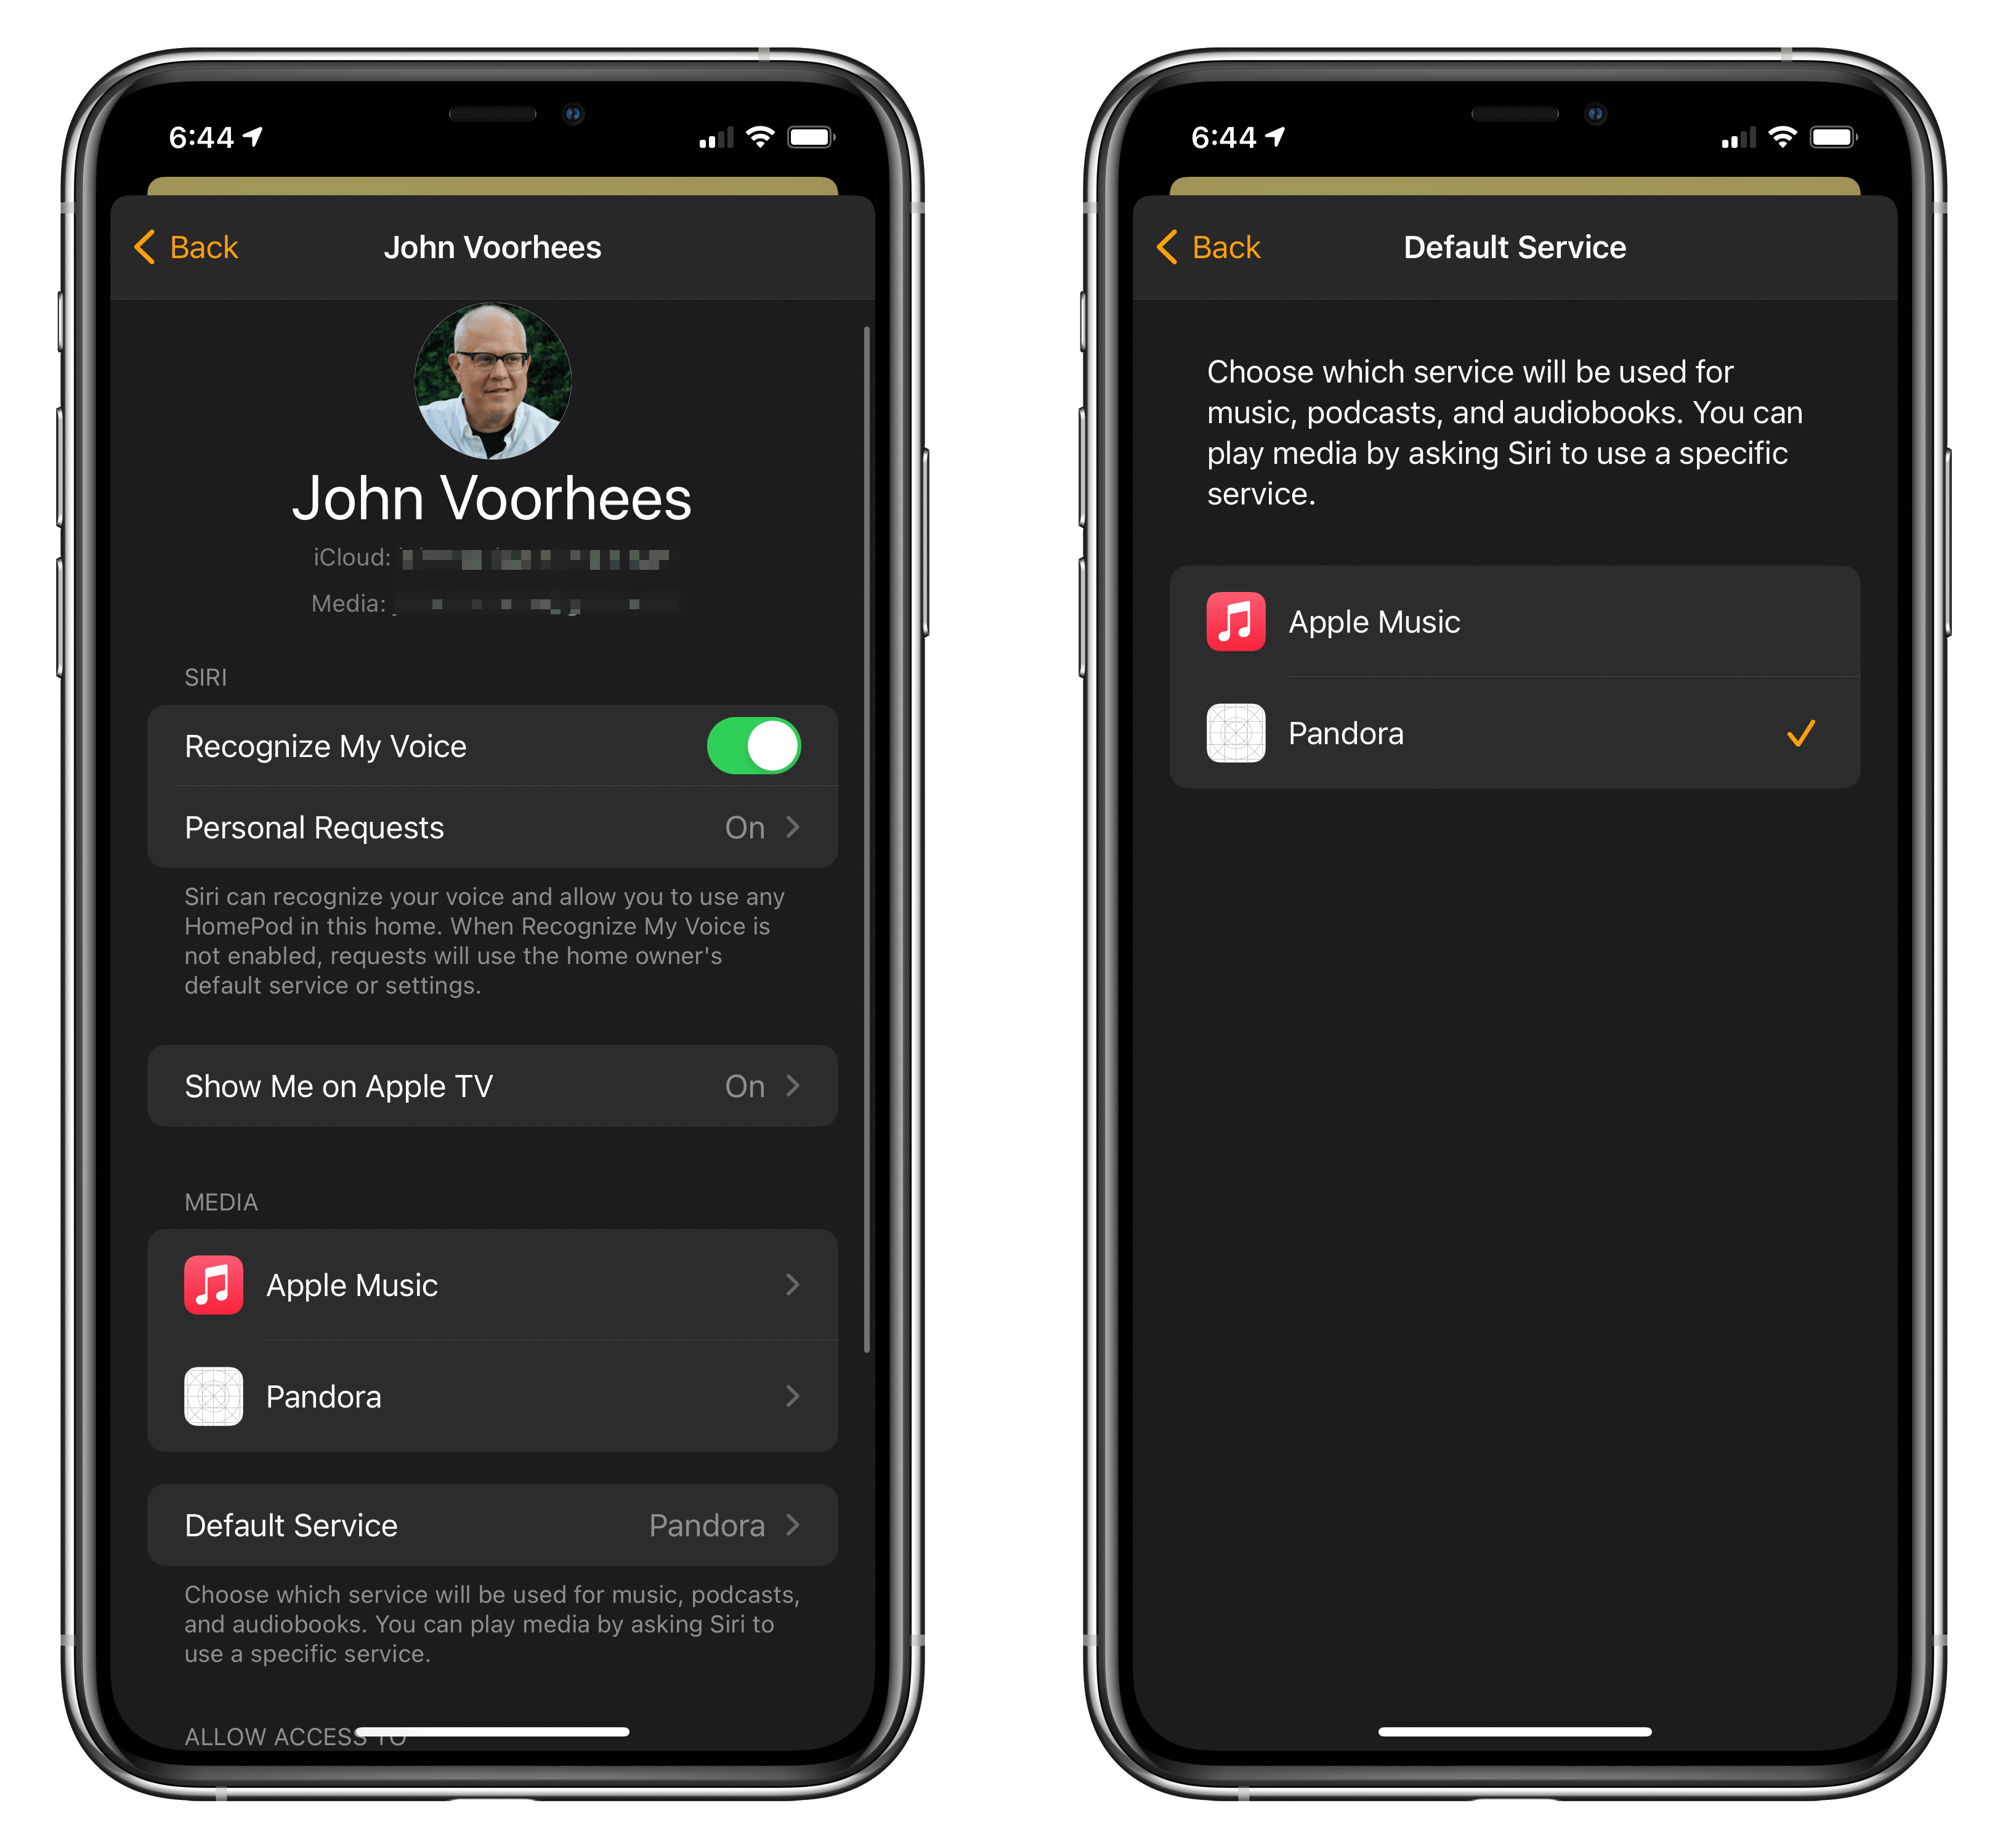
Setting up Pandora as my default music streaming service. Note that a bug in iOS 14.2 fails to display app icons properly at times.
To set Pandora as your HomePod’s default music streaming service, tap ‘Preferred Service,’ which is directly below the Media section.1 Here, you’ll find a list of each service available to be set as your default. Pick Pandora, close Home Settings, and you’re finished. Instead of having to request that Siri play music ‘on Pandora,’ all requests to play music will play using Pandora’s service unless you specify a different service. Once Pandora has been added to Home, it remains available on your HomPod, even after its app is deleted from all your devices.
Apple Music and other services will still be available from your HomePod after you switch default services. However, you’ll have to specify the playback service you want to use, even if you’re asking Siri to play a playlist specific to Apple Music or one you created in your Apple Music library. For example, with Pandora set as your default service, to switch to Apple Music, you need to use a command like “Hey Siri, play Taylor Swift on Apple Music.’
Switching to a different music streaming provider worked seamlessly in my testing. Unfortunately, it’s not immediately obvious where to go to find the settings to switch services in the Home app. I suspect a lot of users will look in their HomePod’s settings or the top level of Home Settings, where you go to manage hubs and other categories of HomeKit devices. Still, once you know where to look, the process is simple and a welcome alternative for users who prefer different music streaming services.
- In iOS and iPadOS 14.2, the Home app uses the terminology ‘Default Service’ instead of ‘Preferred Service.’ ↩︎
Managing the Internet Access of HomeKit Devices with the Linksys Velop Mesh WiFi Router System
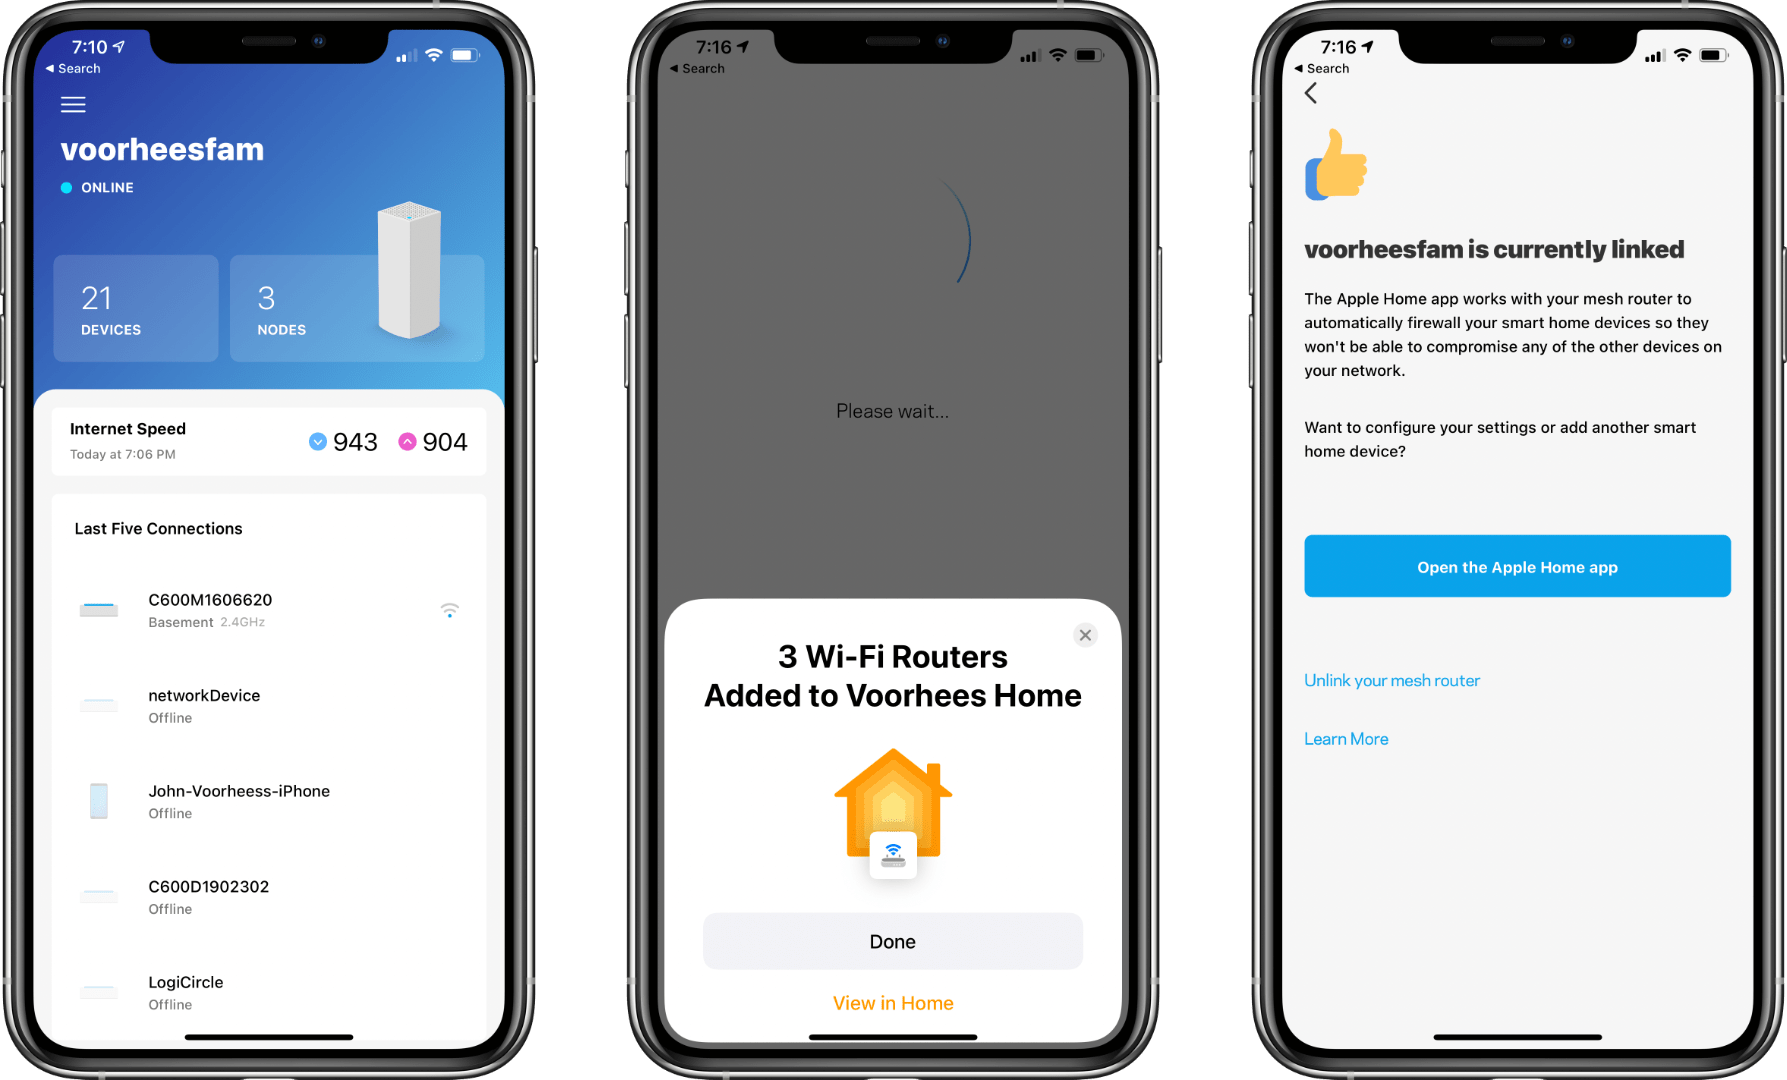
At WWDC 2019, Apple announced that HomeKit support would be coming to WiFi routers. Not a lot was known about what that would entail, until recently, when new and updated routers with HomeKit functionality began to hit store shelves. A few weeks ago, Linksys sent me its Velop Tri-Band Mesh WiFi Router System that added HomeKit support late last month. I’ve been using the system for a few weeks now and want to share the setup process and explain what HomeKit-enabled routers offer that other routers don’t.
Hands-On with the HomePod’s New Intercom Feature, Alarms, and Siri Tricks
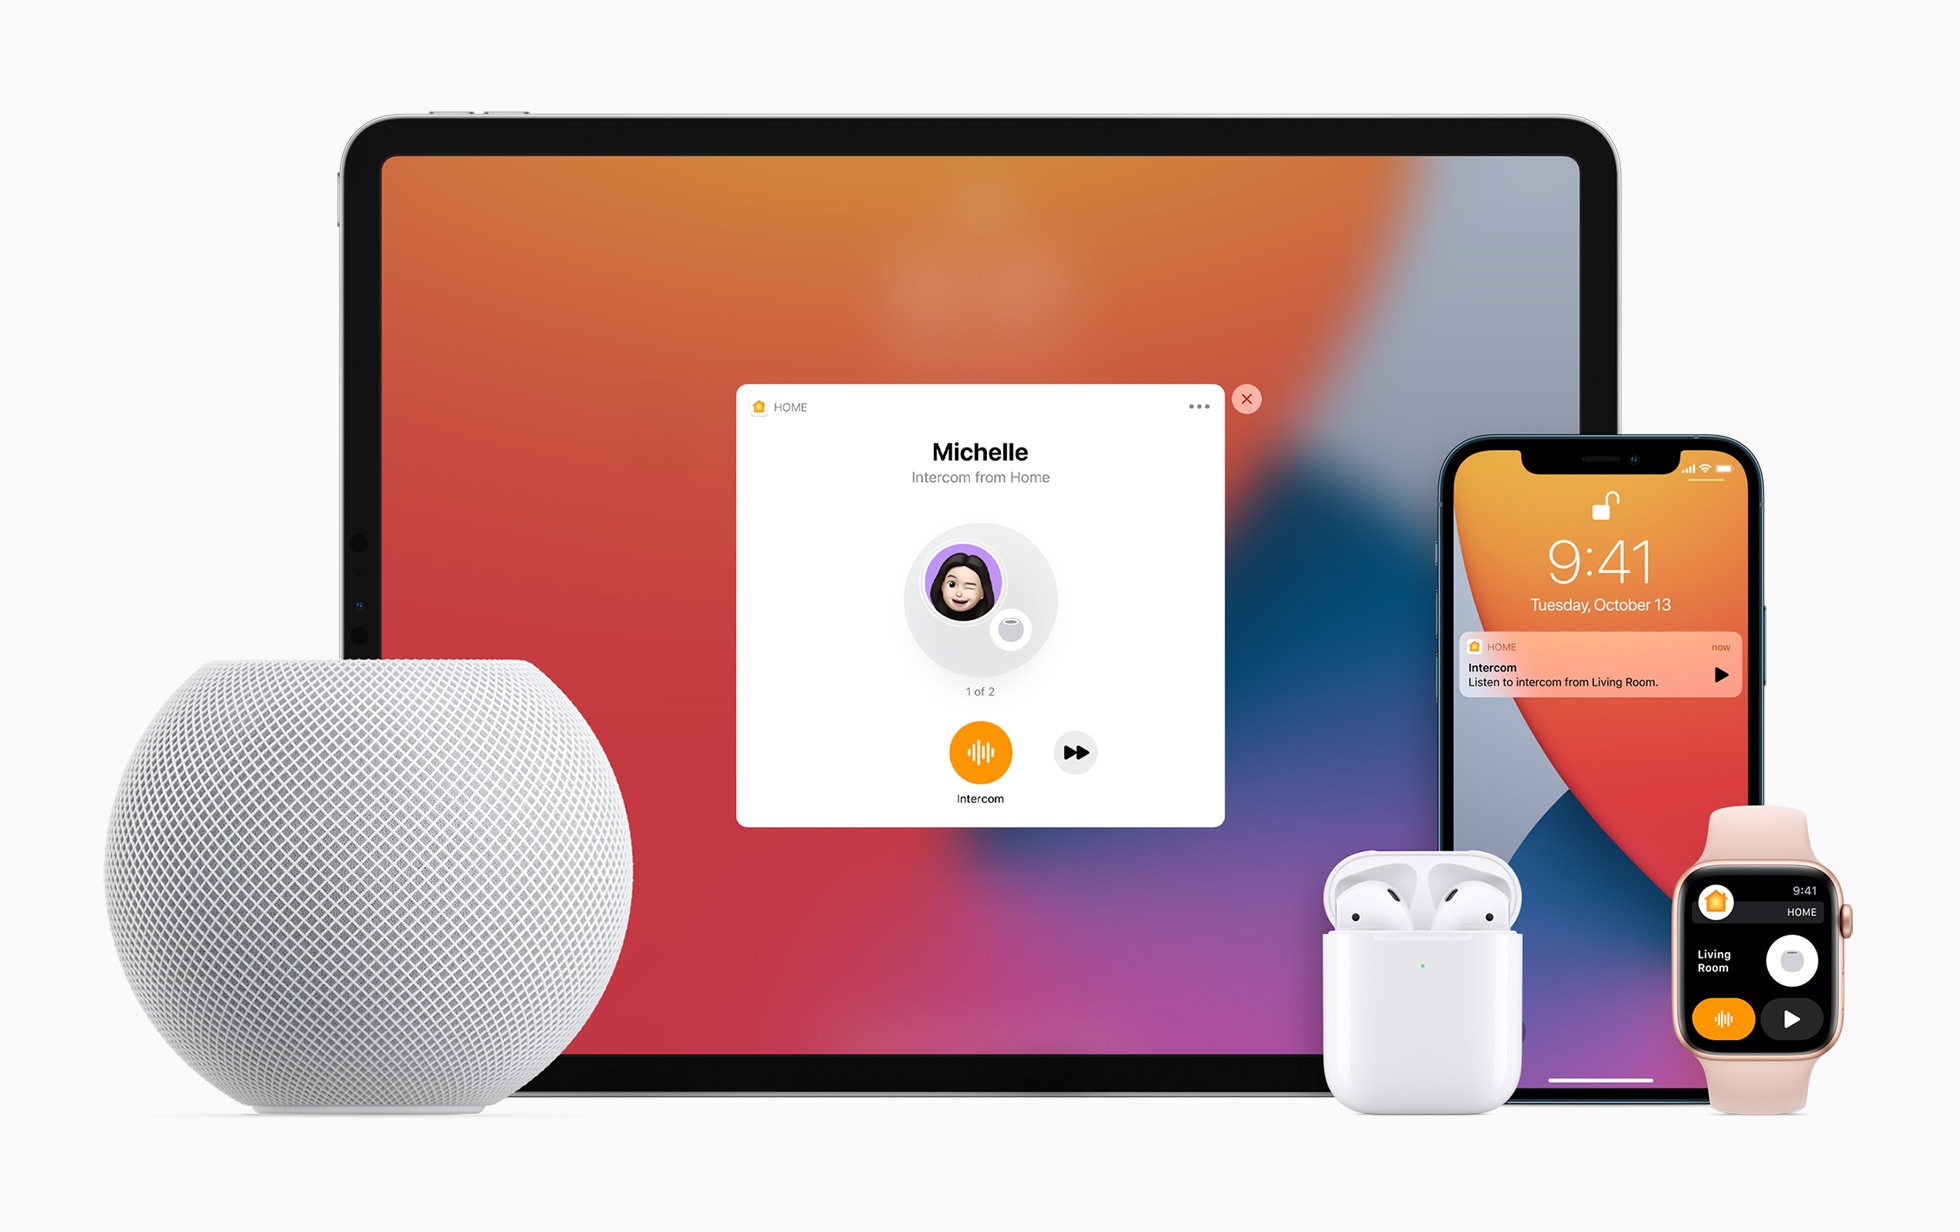
With yesterday’s releases of iOS 14.1 and HomePod Software Version 14.1, which could really use a catchier name, Apple has introduced several new features announced last week at its iPhone 12 and HomePod mini event. Most readers are probably already familiar with what’s in the updates based on our iPhone 12 and HomePod mini overviews, so I thought I’d update my HomePods and devices to provide some hands-on thoughts about the changes.
Most of the new features are related to the HomePod. Although proximity-based features are exclusive to the HomePod mini, which features Apple’s U1 Ultra Wideband chip, some of the other functionality revealed last week is available on all HomePod models.
Apple’s HomePod mini: The MacStories Overview
I have two HomePods: one in our living room and another in my office. They sound terrific, and I’ve grown to depend on the convenience of controlling HomeKit devices, adding groceries to my shopping list, checking the weather, and being able to ask Siri to pick something to play when I can’t think of anything myself. My office isn’t very big, though, and when rumors of a smaller HomePod surfaced, I was curious to see what Apple was planning.
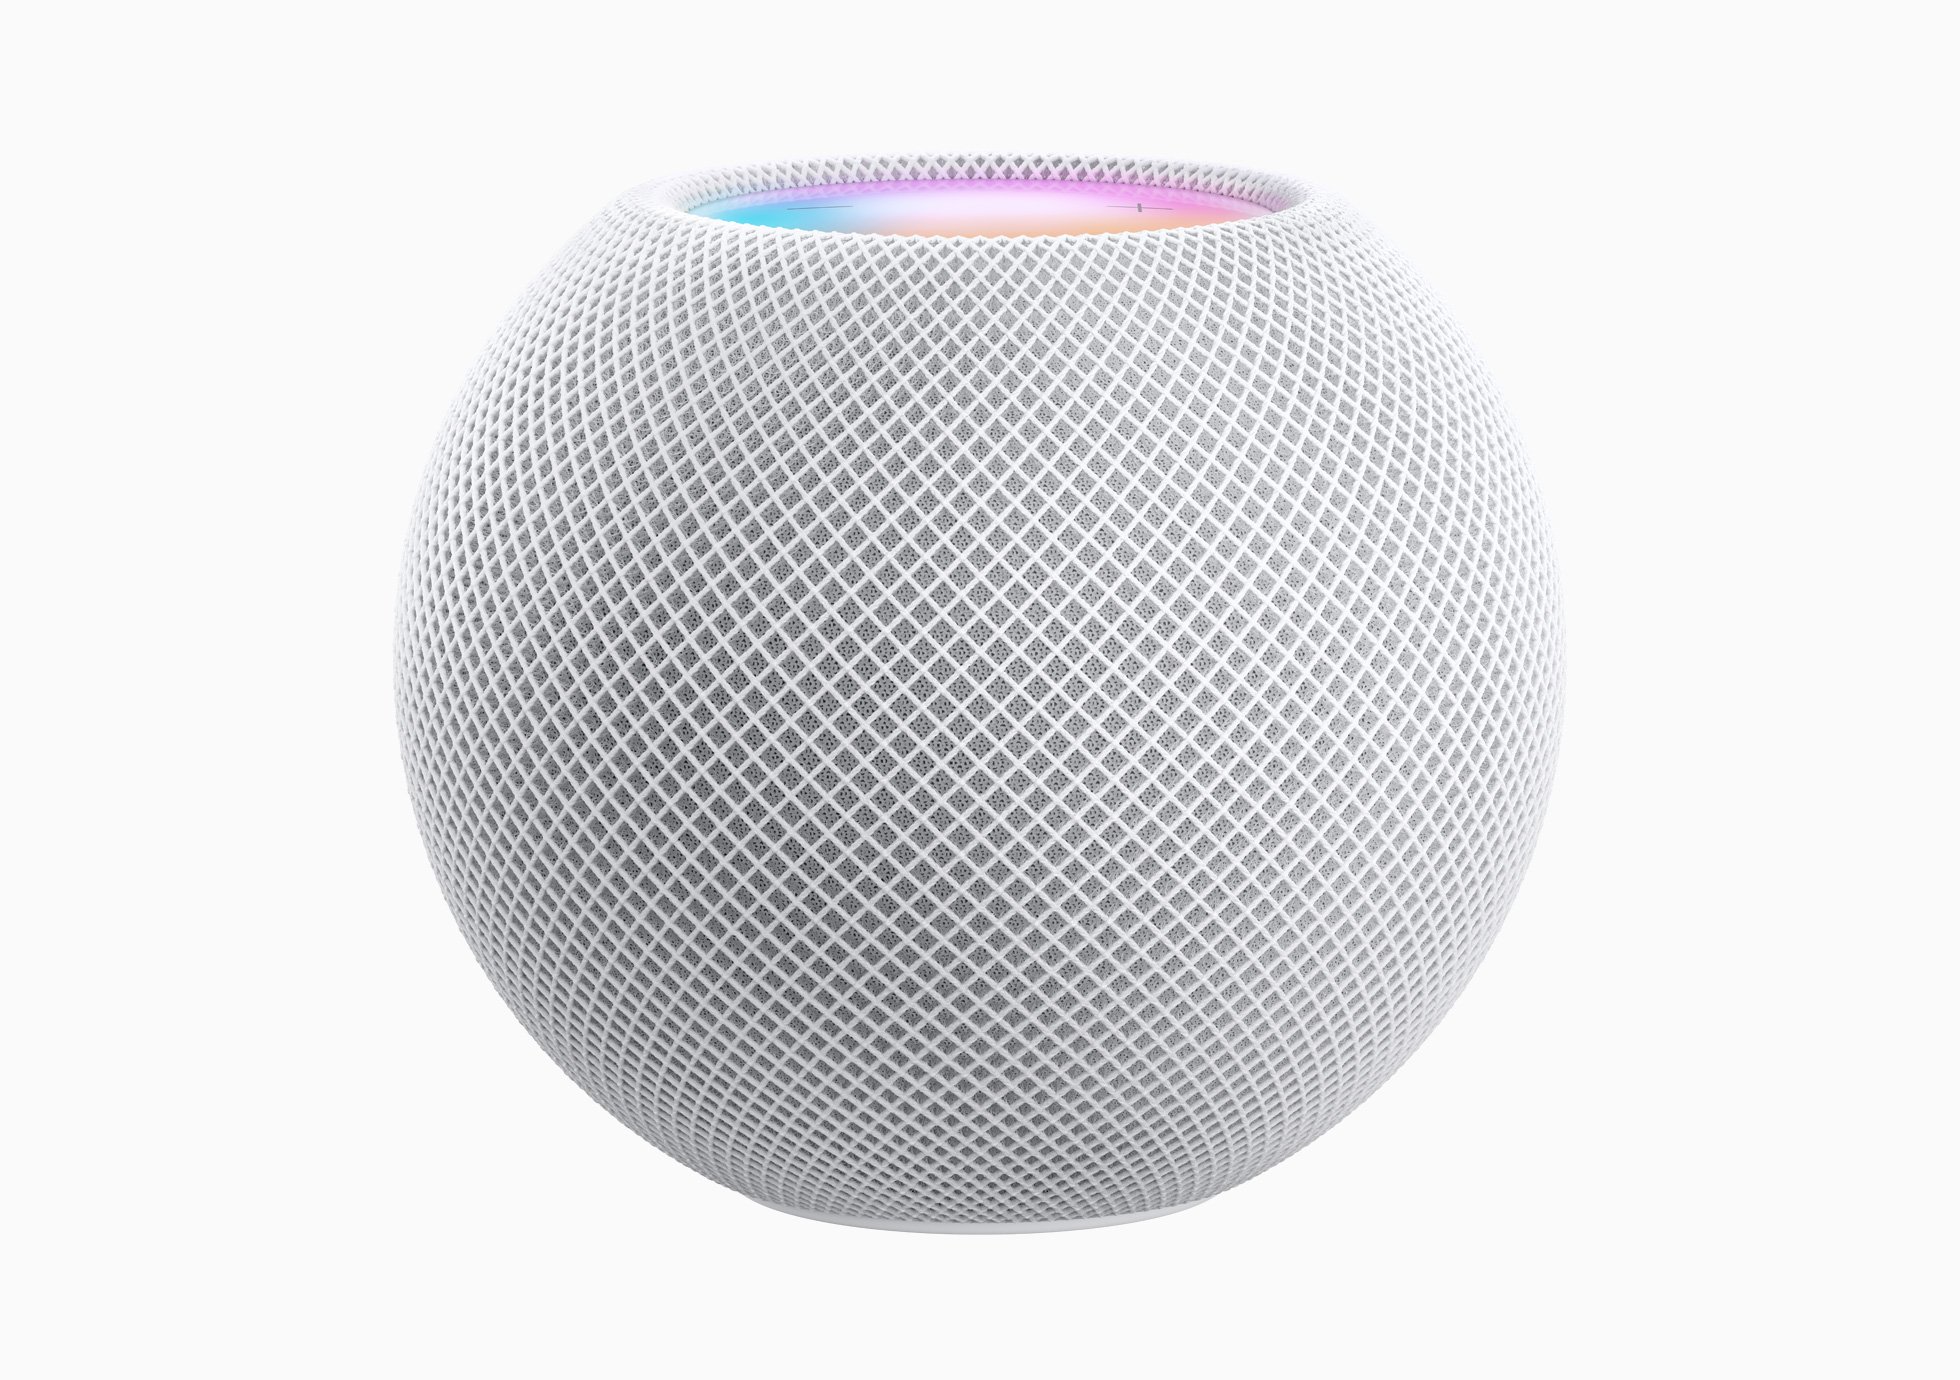
Today, those plans were revealed during the event the company held remotely from the Steve Jobs Theater in Cupertino. Apple introduced the HomePod mini, a diminutive $99 smart speaker that’s just 3.3 inches tall and 3.8 inches wide. In comparison, the original HomePod is 6.8 inches tall and 5.6 inches wide. At just .76 pounds, the mini is also considerably lighter than the 5.5-pound original HomePod.


