Those who have been reading MacStories for a while know that I have a peculiar obsession for portable setups free of the constraints typically involved with working at a desk or playing games in front of a TV.
It’s not that I don’t want to have a desk or dislike my 65” OLED TV: it’s that I don’t want those contexts to be my only options when it comes to getting work done or playing videogames. This is why I’ve spent the better part of my career fine-tuning my iPad-first lifestyle and why I’m so excited at the prospect of a giant screen that can always be with me. Modularity, portability, and freedom from a desk or TV are the driving factors in everything I use or buy these days.
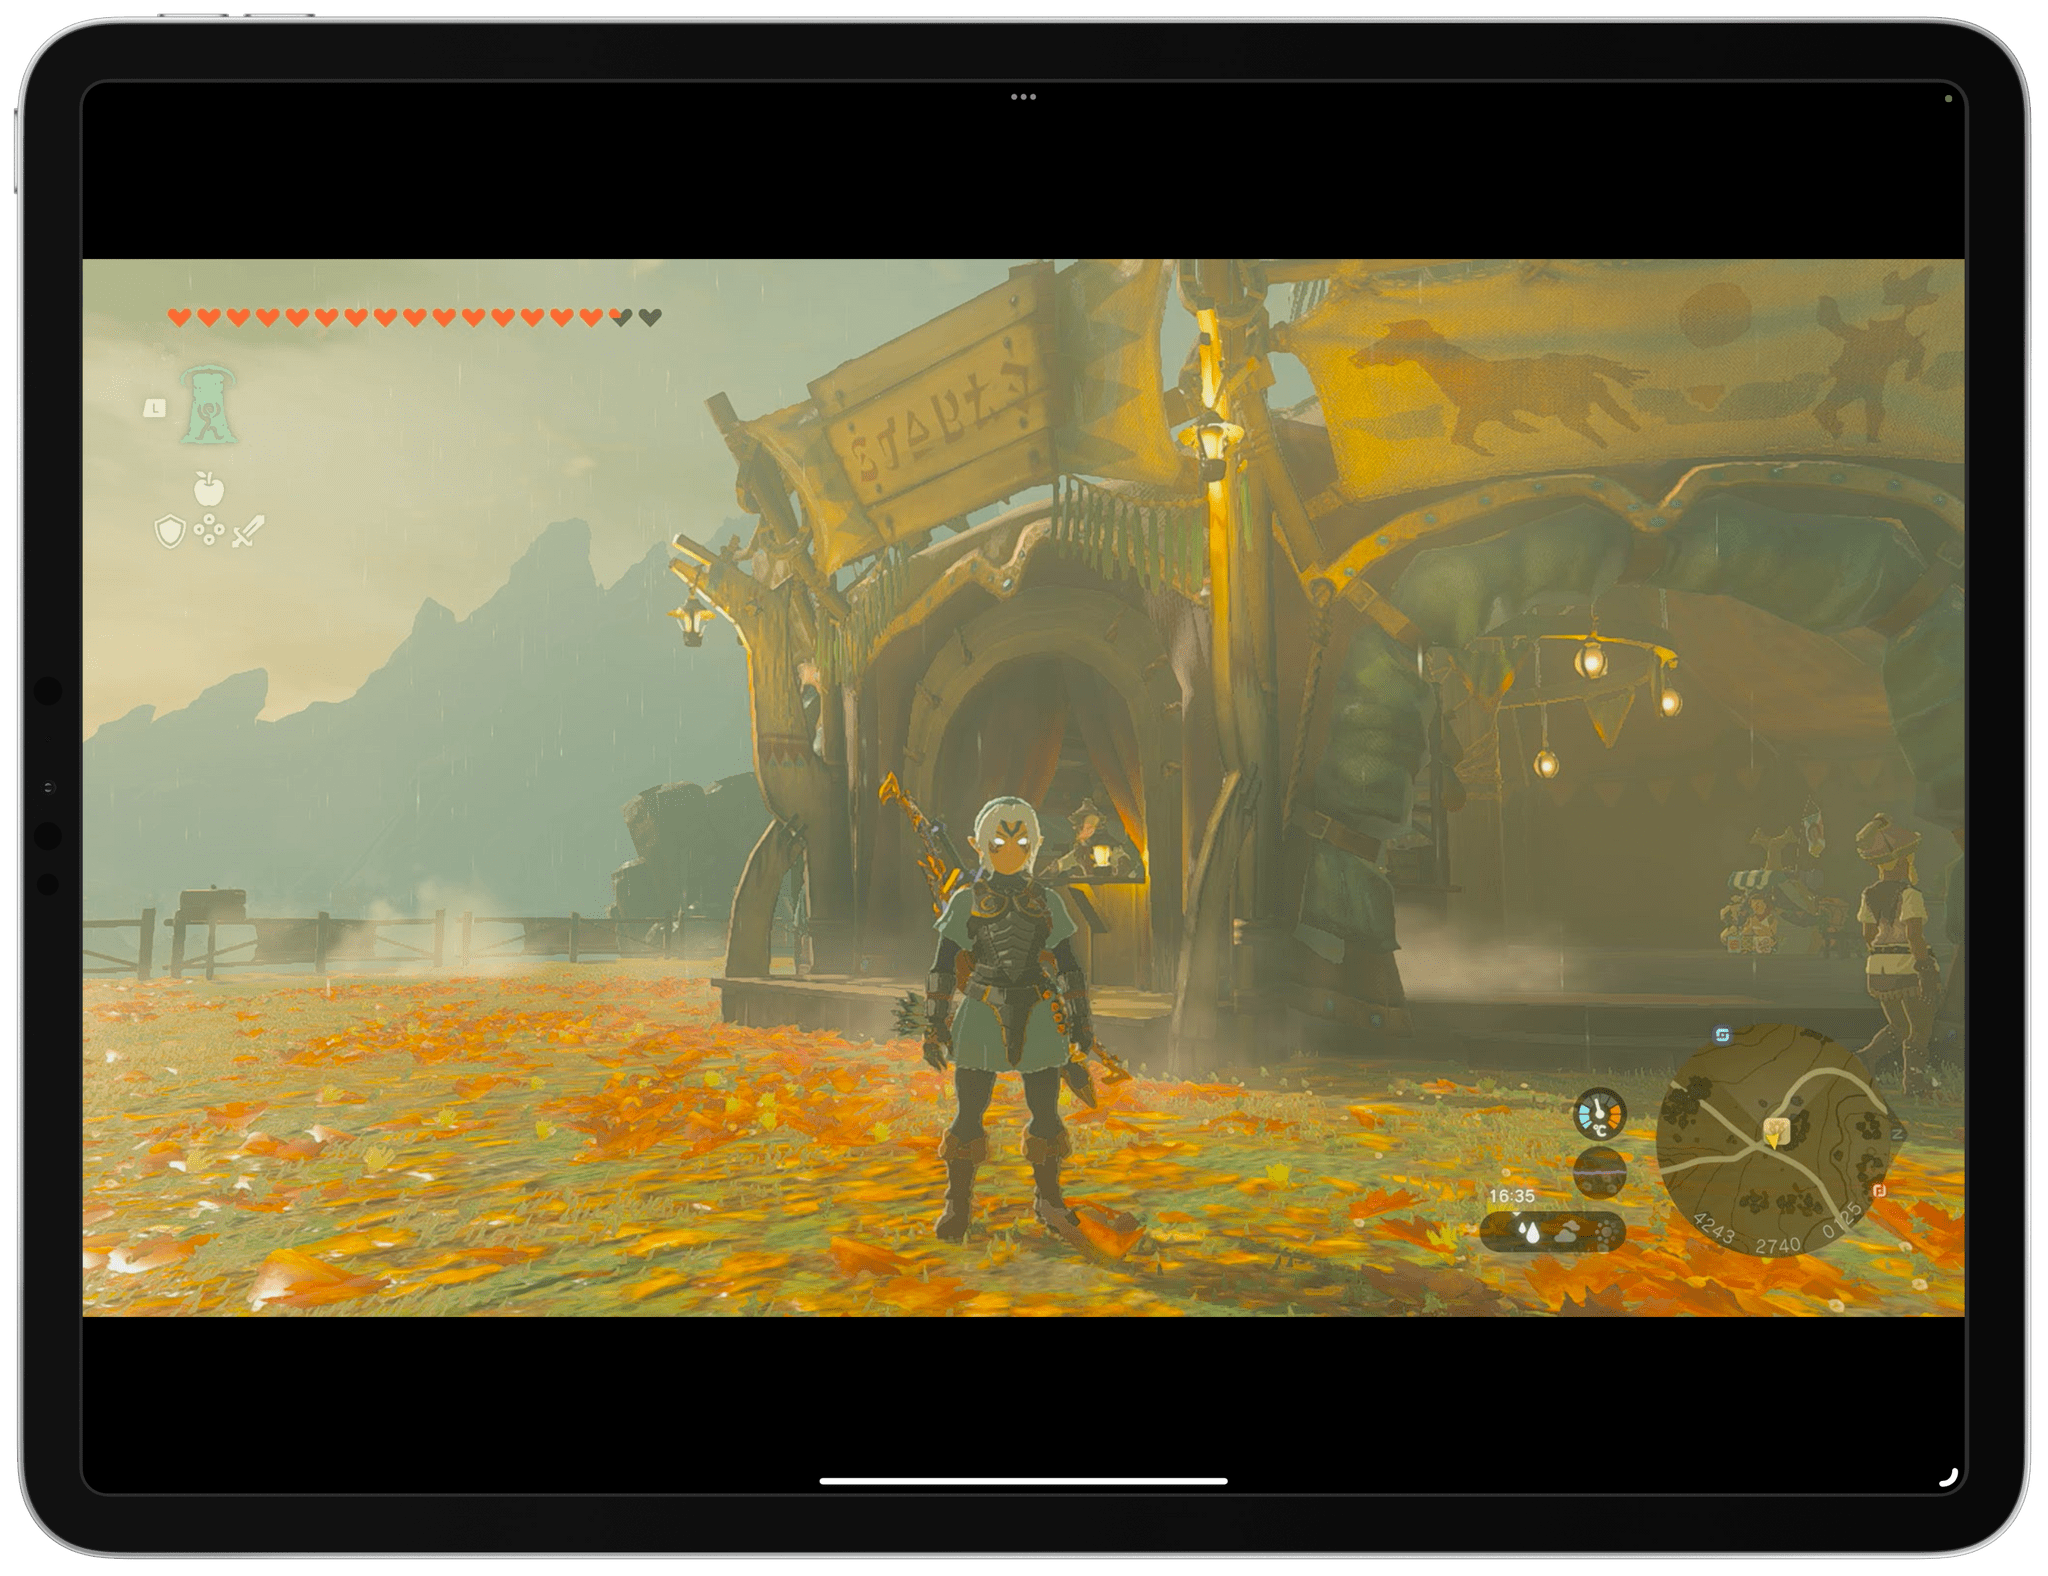
For these reasons, it shouldn’t come as a surprise that I embraced the ability to use the iPad Pro as a portable monitor for videogame consoles thanks to UVC support. As I covered in my iPadOS 17 review, this feature was primarily conceived to let iPad users connect external webcams to their computers, but that hasn’t stopped developers from re-using the same underlying technology to create apps that allow you to display a video feed from any accessory connected via USB.
It’s a very intriguing proposition: the 12.9” iPad Pro has a gorgeous mini-LED display; what if you could use that to give yourself a little extra screen real estate when playing Super Mario Bros. Wonder or Tears of the Kingdom without having to pack a separate portable monitor with you?
In my review, I mentioned the Genki Studio app, which I used to play games with my Nintendo Switch and ROG Ally and output their video feeds to the iPad Pro’s display. Today, I want to explain how I took my setup a step further by enhancing the picture quality of the Nintendo Switch when viewed on the iPad Pro and, most importantly, how I created a fully-portable setup that allows me to play Switch games on the iPad Pro anywhere I am.


