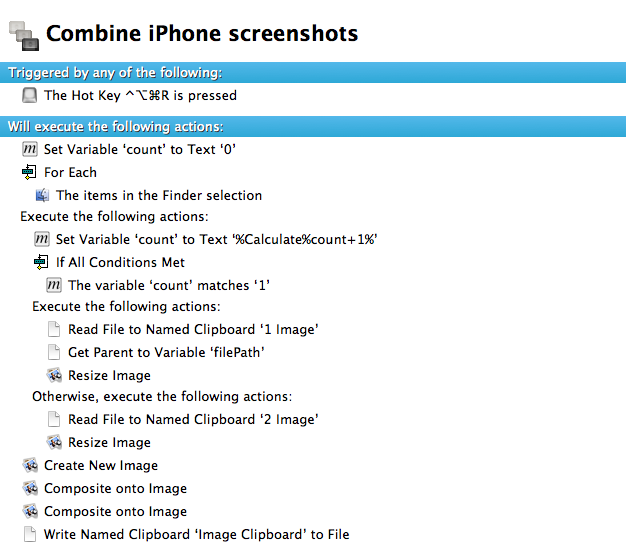
In May, in my coverage of Keyboard Maestro 5.3 I shared a macro to combine two iPhone screenshots in a single image through a keystroke:
For iPhone apps, I like to take two screenshots, place them side by side, and generate a single image. Until today, I had to manually drag the image out of Photo Stream (or use Scotty), resize them with Preview, create a new image in Acorn, drop the images in there, adjust their position, and save. I came to the point where the process took less than a minute, but still it required a manual and boring effort on my side. Enter Keyboard Maestro 5.3: I rename the images I need to use “1″ and “2″, respectively (“1″ goes on the left side); I tell Keyboard Maestro to run an Automator workflow to scale them; Keyboard Maestro creates a blank image in its clipboard, composites files 1 and 2 onto the image at a specific pixel position, and creates a new .png file on my desktop.
With the release of the iPhone 5, I updated the macro to include a version that would use the bigger resolution of the new device; however, the macro was still requiring two files named “1.png” and “2.png” to be available and selected in the Finder. While the process of manually renaming a file was allowing me to “control” the placement of the screenshots on the final image (1.png would end up on the left), I still received several requests to figure out a way to grab any image – not just those named “1” and “2”– from the Finder.
Gabe Weatherhead of Macdrifter came up with a way to allow for such workflow, and he allowed me to share the macro here on MacStories.
The new and improved Keyboard Maestro macro uses the same underlying concept (read files to named clipboards, composite onto final image), but uses a variable count and an if statement to count the items in the Finder selection and assign them to named clipboards. The files don’t have be renamed to “1.png” or “2.png” – you can just, say, drag them out of Photo Stream, select them, and activate the macro.
Futhermore, if you want to control which screenshot goes on the left, just make sure to select it first. Either by clicking or dragging in the Finder, the first screenshot you select will be placed on the left in the final image.
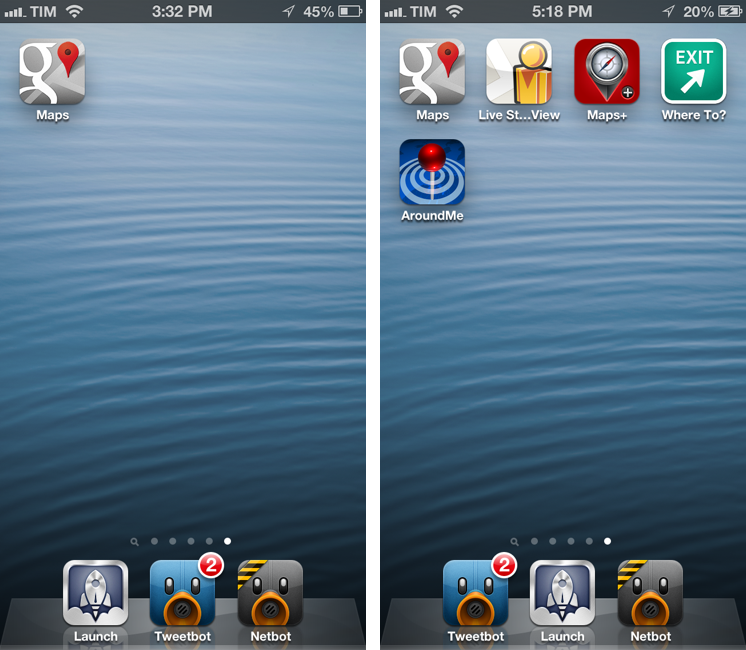
The macro will produce an image like this one for iPhone 5 screenshots:
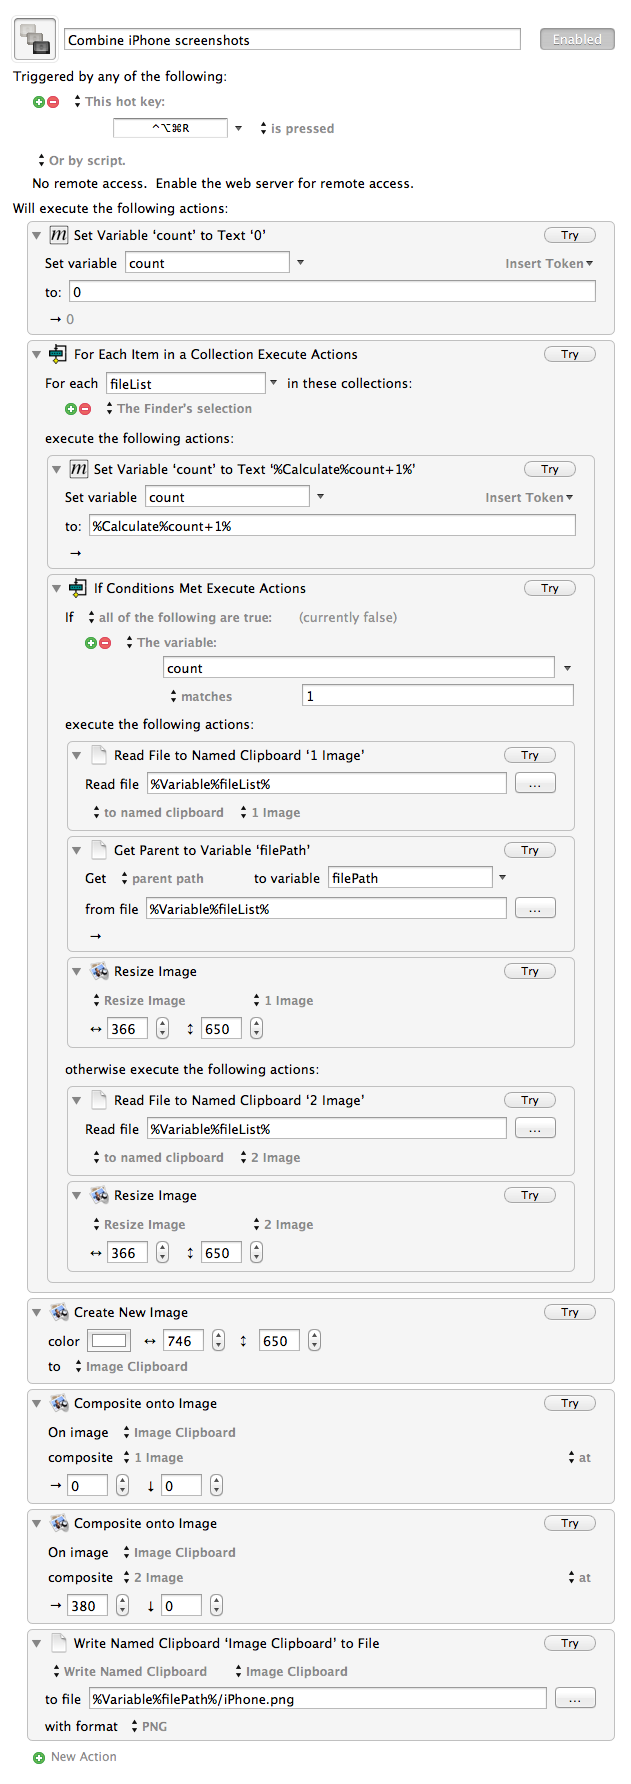
Obviously, you can tweak parameters related to size of the screenshots and final image by editing the values in the macro. Full screenshot of the entire macro below (click for full size):
This is one of my most-used Keyboard Maestro macros on a daily basis: it allows me to produce good-looking iPhone screenshots that fit better together with a single keystroke. It literally takes 2 seconds to complete, instead of the couple of minutes you would spend in Acorn or Photoshop to resize, paste, and align.
You can download the macro here. Make sure to thank Gabe on Twitter, or check out his writing at Macdrifter.


